Table of Contents
Tapo App Guide for Solar & Battery Cameras
About This Guide
This guide provides a brief introduction to Tapo Solar & Battery Cameras and the Tapo app, as well as regulatory information. Please note that features available in Tapo may vary by model and software version. Tapo availability may also vary by region. All images, steps, and descriptions in this guide are only examples and may not reflect your actual Tapo battery camera experience.
Conventions
In this guide, the following convention is used:
| Convention | Description |
|---|---|
| Blue | Key information appears in blue, including management page text such as menus, items, buttons, and so on. |
| Underline | Hyperlinks are in blue and underlined. You can click to redirect to a website. |
| Note |
Ignoring this type of note might result in a malfunction or damage to the device. |
More Info
Specifications can be found on the product page at https://www.tapo.com.
Our Technical Support and troubleshooting information can be found at https://www.tapo.com/support/.
The setup video can be found at https://www.tp-link.com/support/setup-video/#cloud-cameras.
Introduction
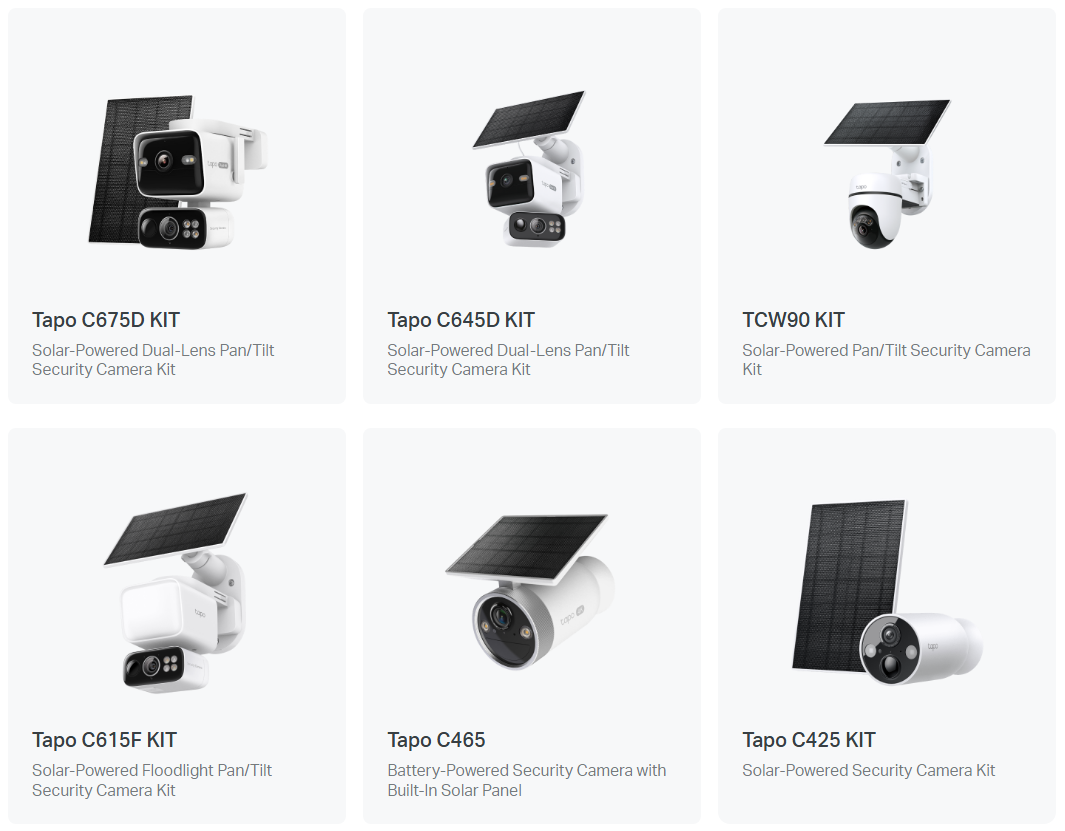
This guide displays the app features of Tapo Solar & Battery Cameras. Features may vary across models. You can find all the Tapo Solar & Battery Camera models on the website at Tapo Solar & Battery Cameras.
Please note that the webpage is subject to change without notice.
Set Up Your Camera
Follow the steps below to get started with your new camera.
Step 1. Download Tapo App
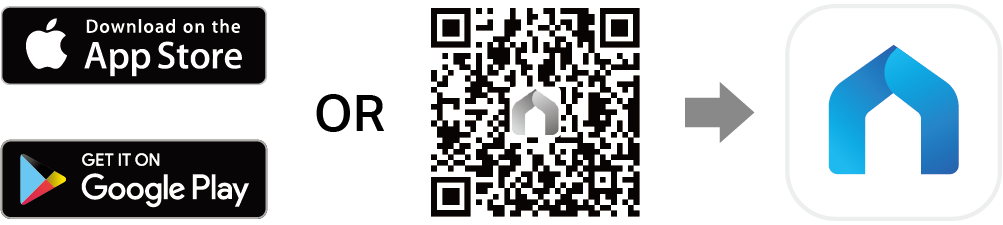
Get the Tapo app from the App Store or Google Play, or by scanning the QR code below.
Step 2. Log In
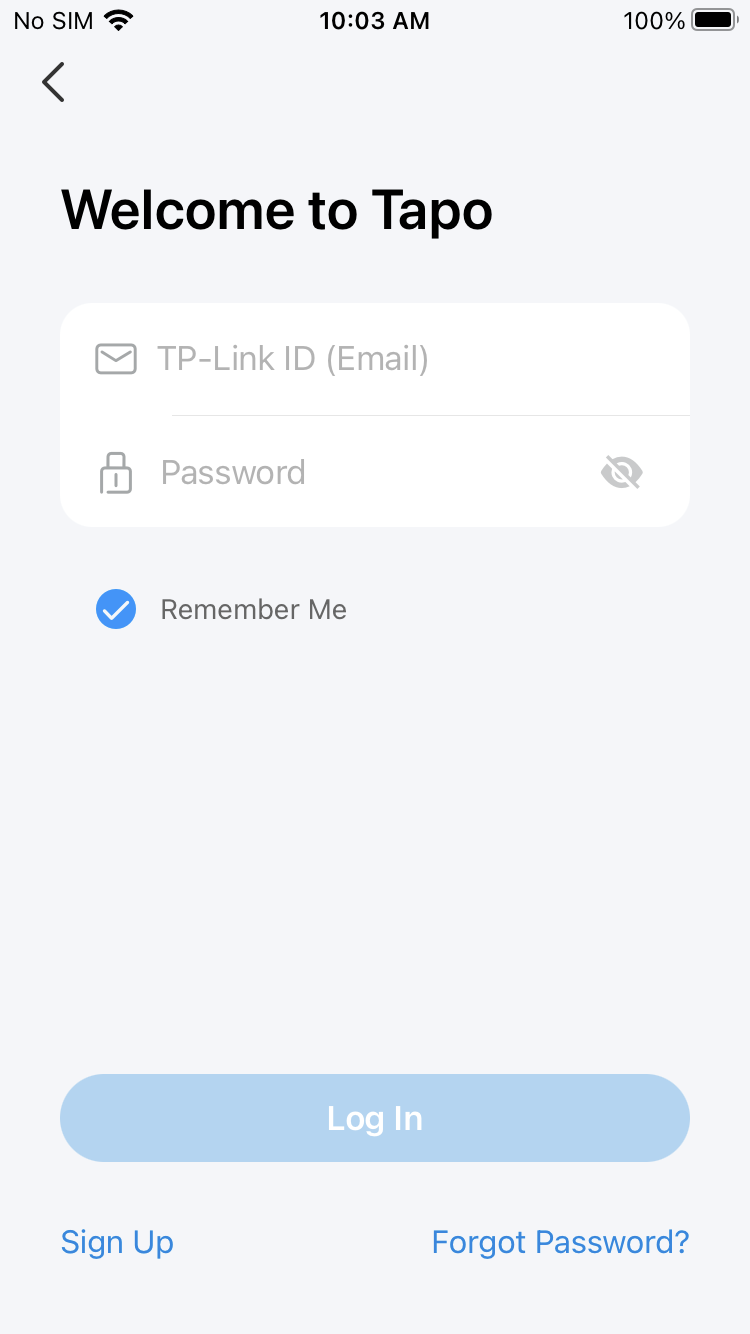
Open the app, and log in with your TP-Link ID. If you don't have an account, create one first.
Step 3. Add Your Camera
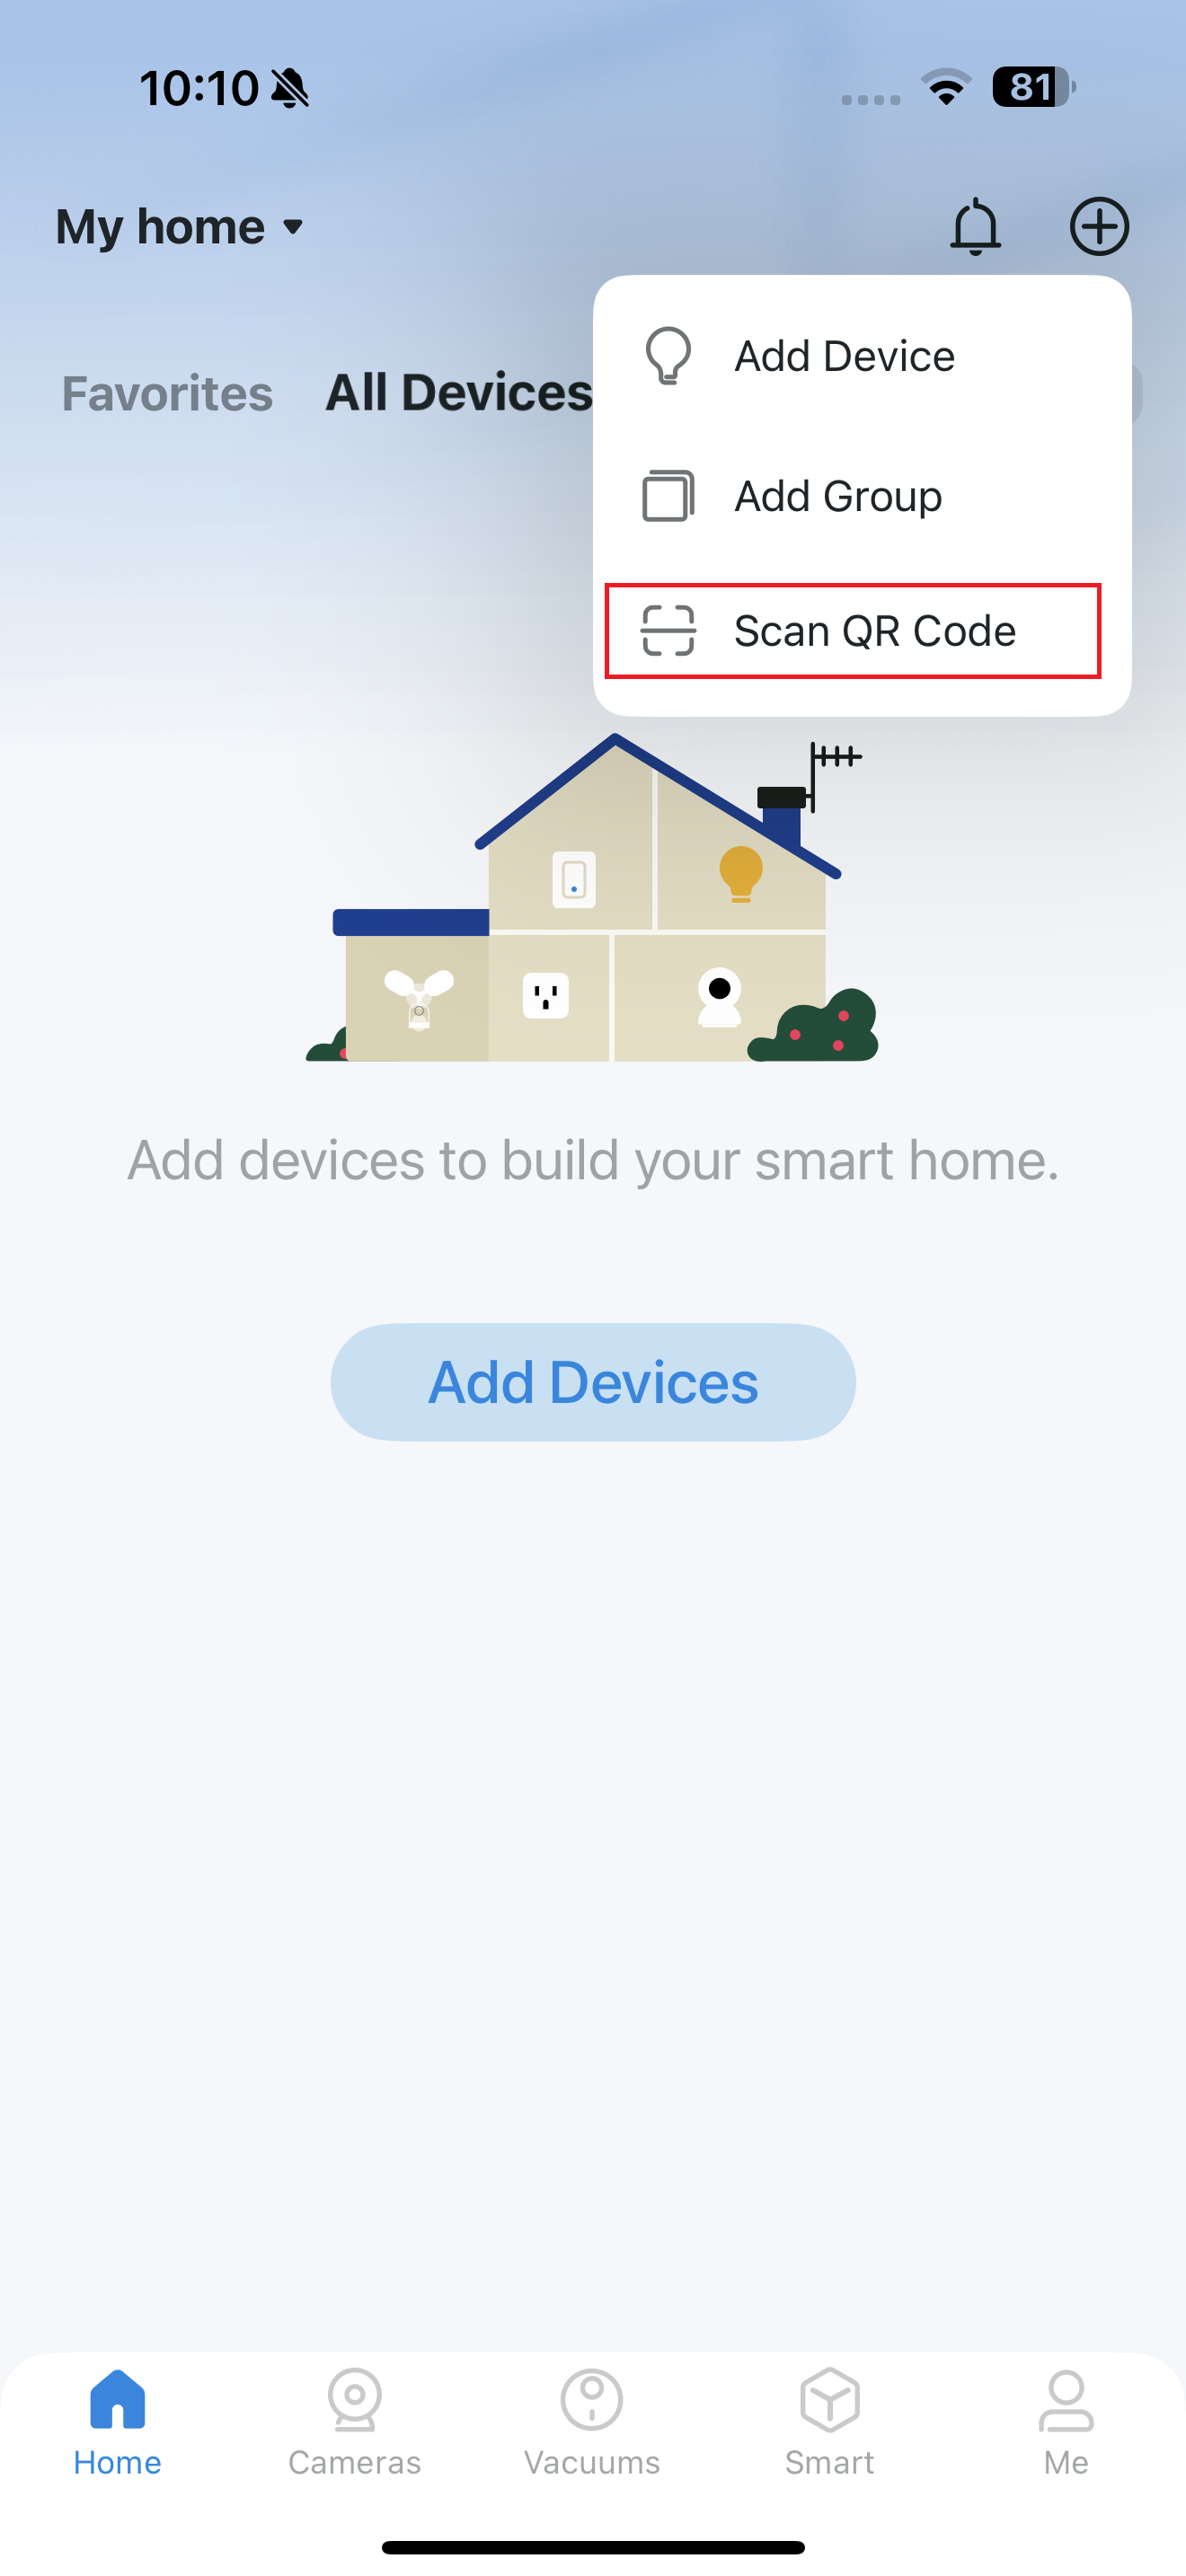
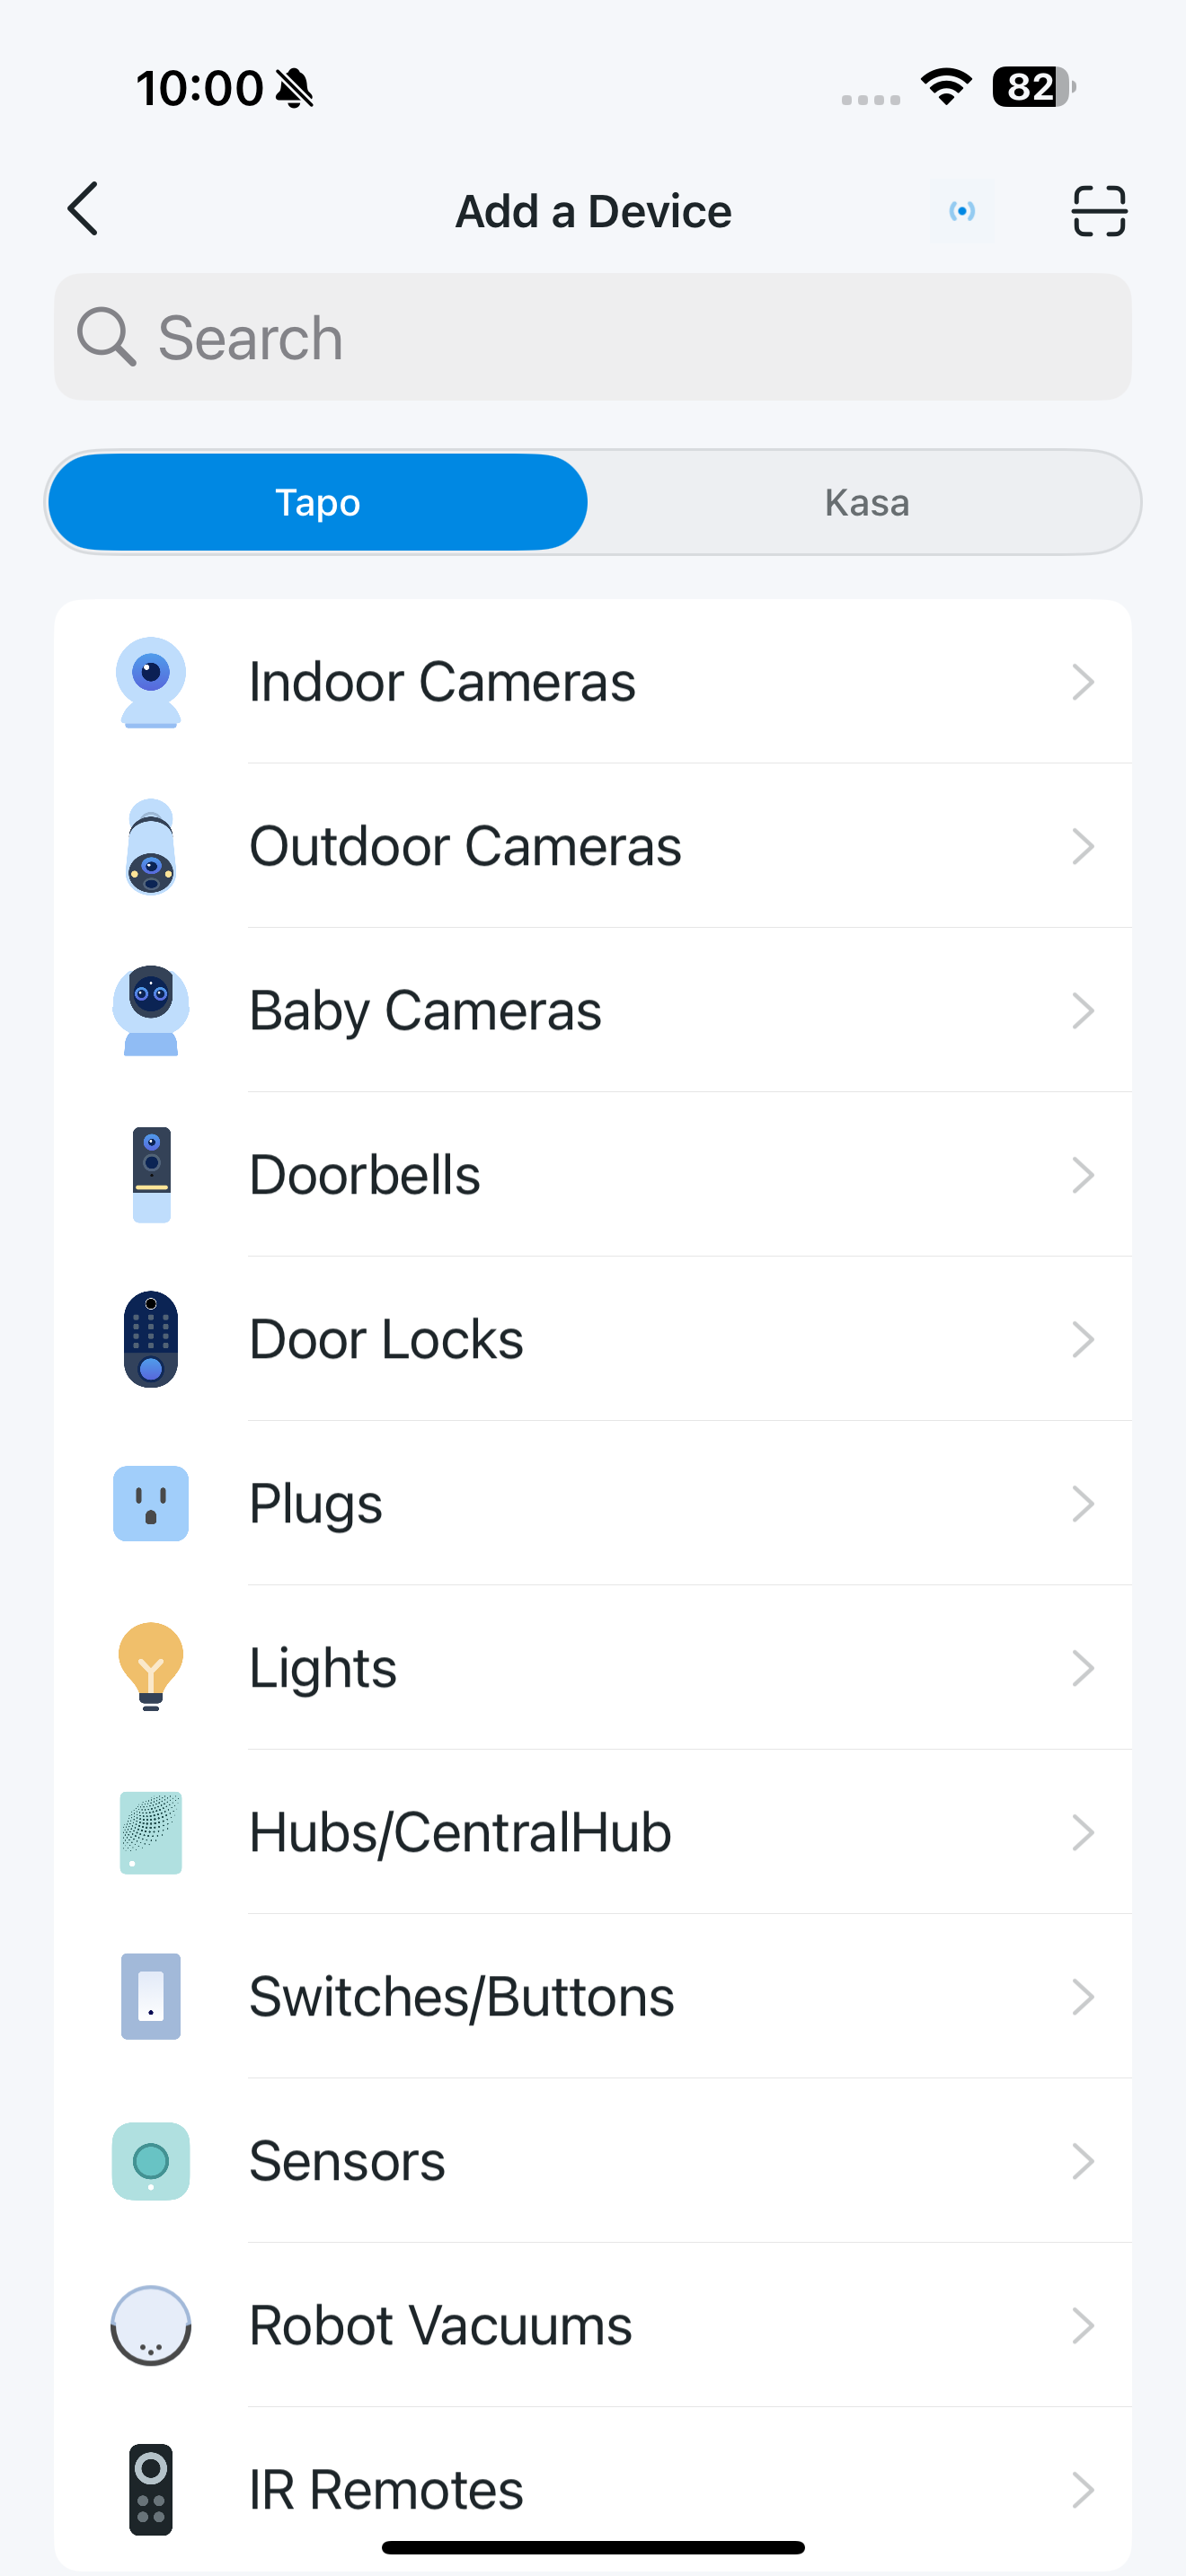
Tap the + button > Add Device in the app and search for your model. Follow the app instructions to complete the setup.
You can also choose to scan the setup QR code on the device to add it.
 Note: Only certain models support adding via setup QR code. Please refer to your product label.
Main Device Controls
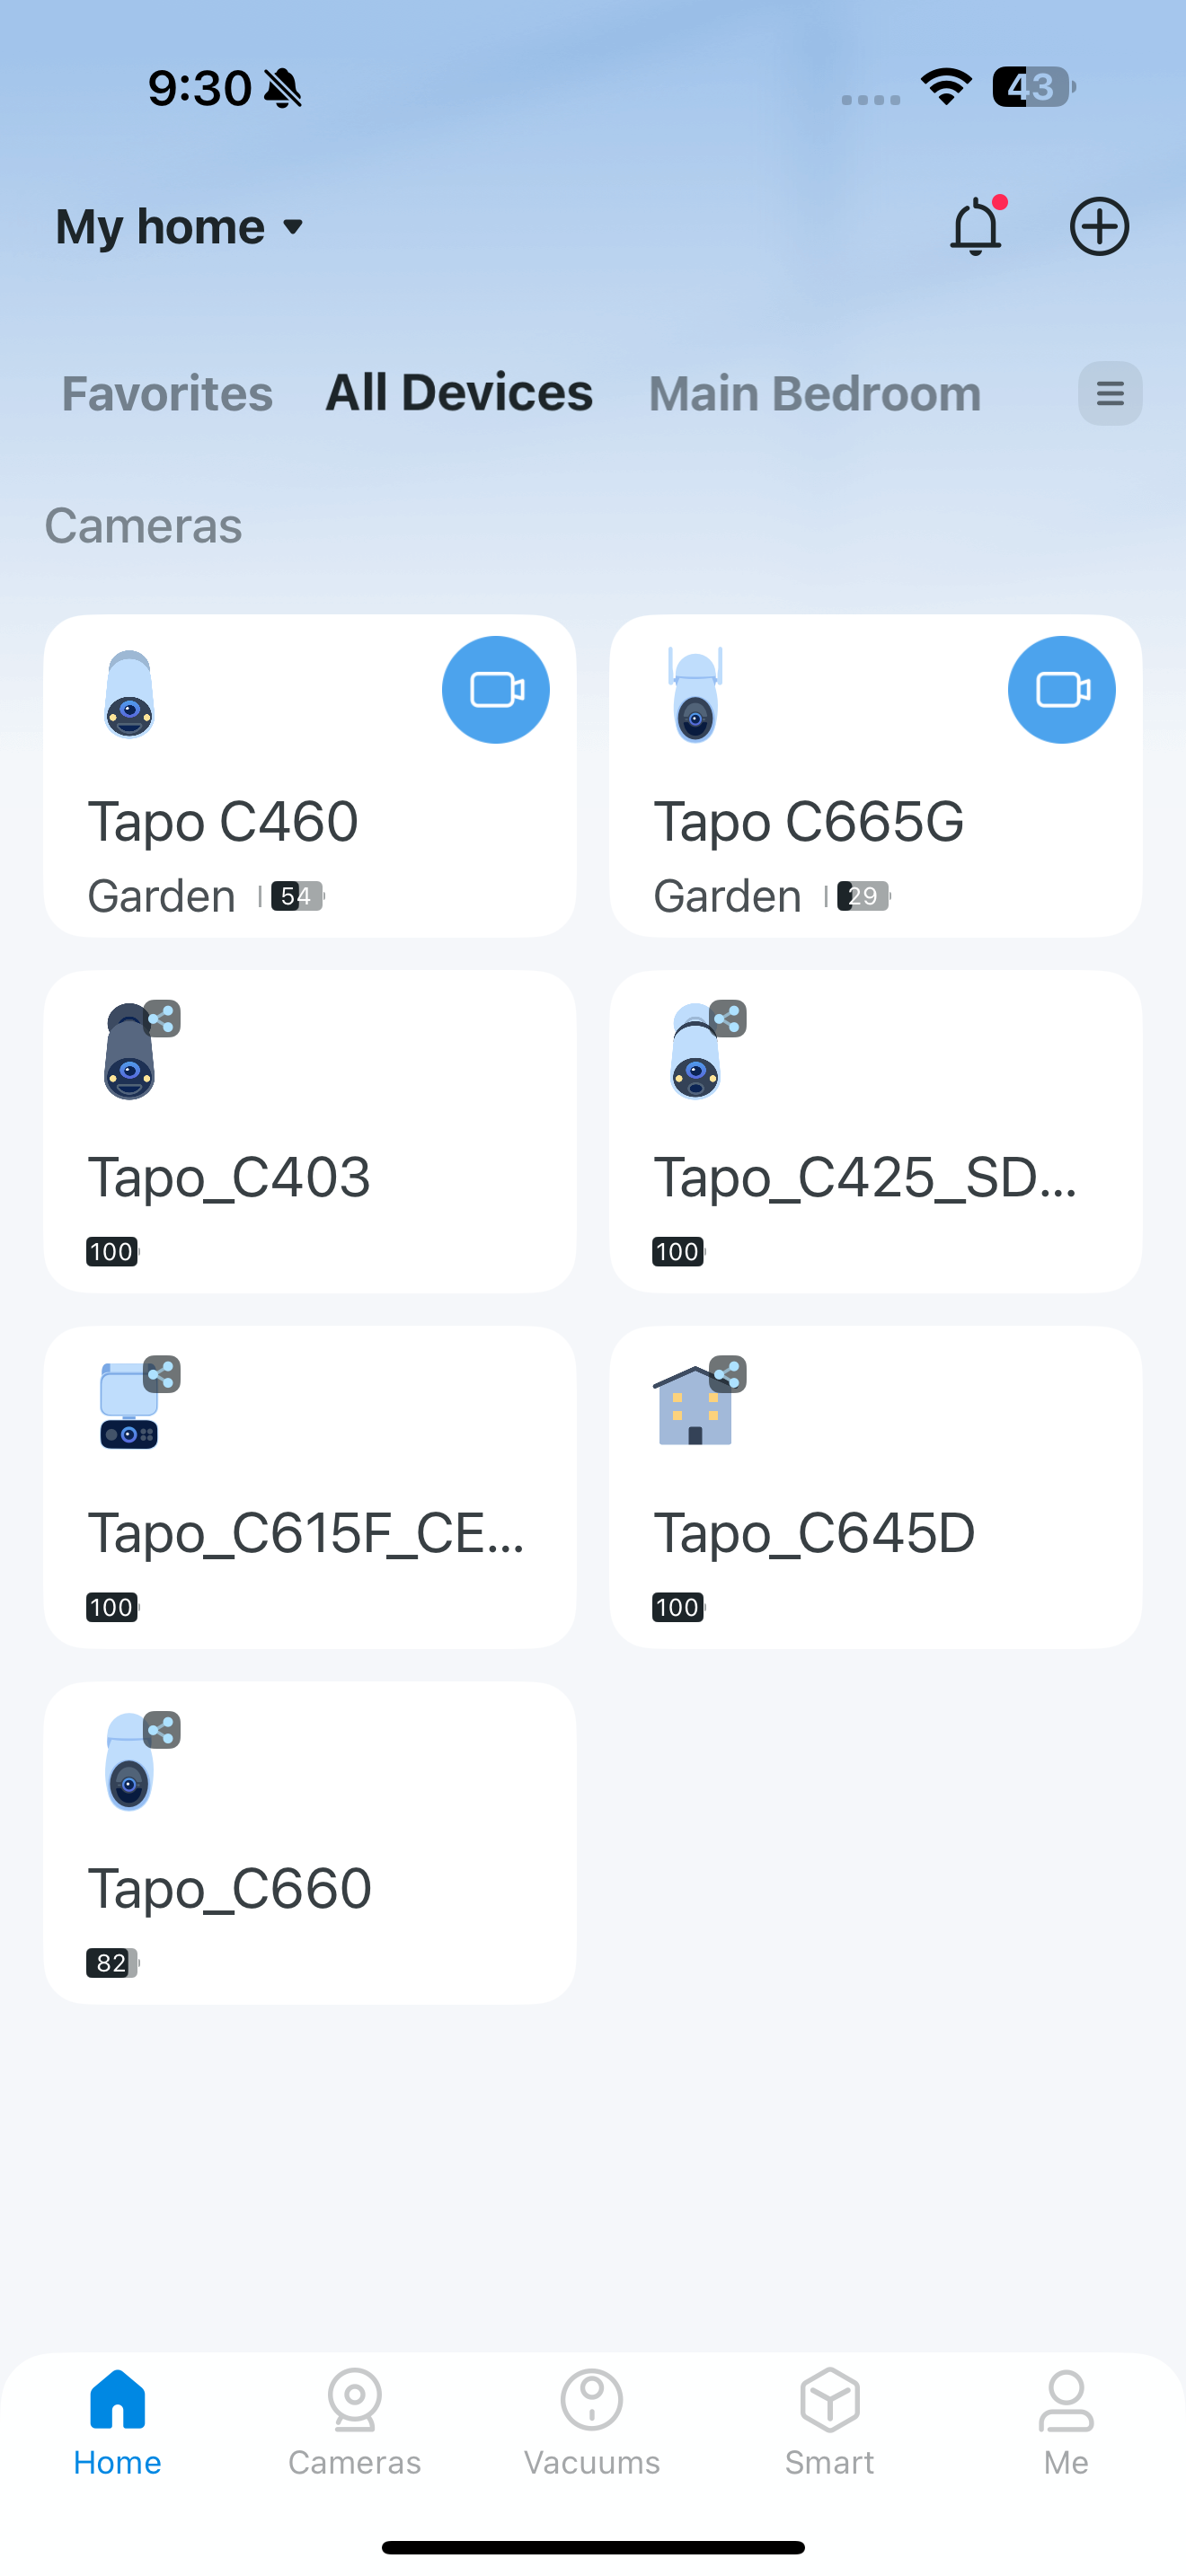
After setup, your devices will be listed on the Home page. You can view and manage all devices that you've added to Tapo.
Home Page
You can see all your smart devices listed on the Home page.
Home Settings
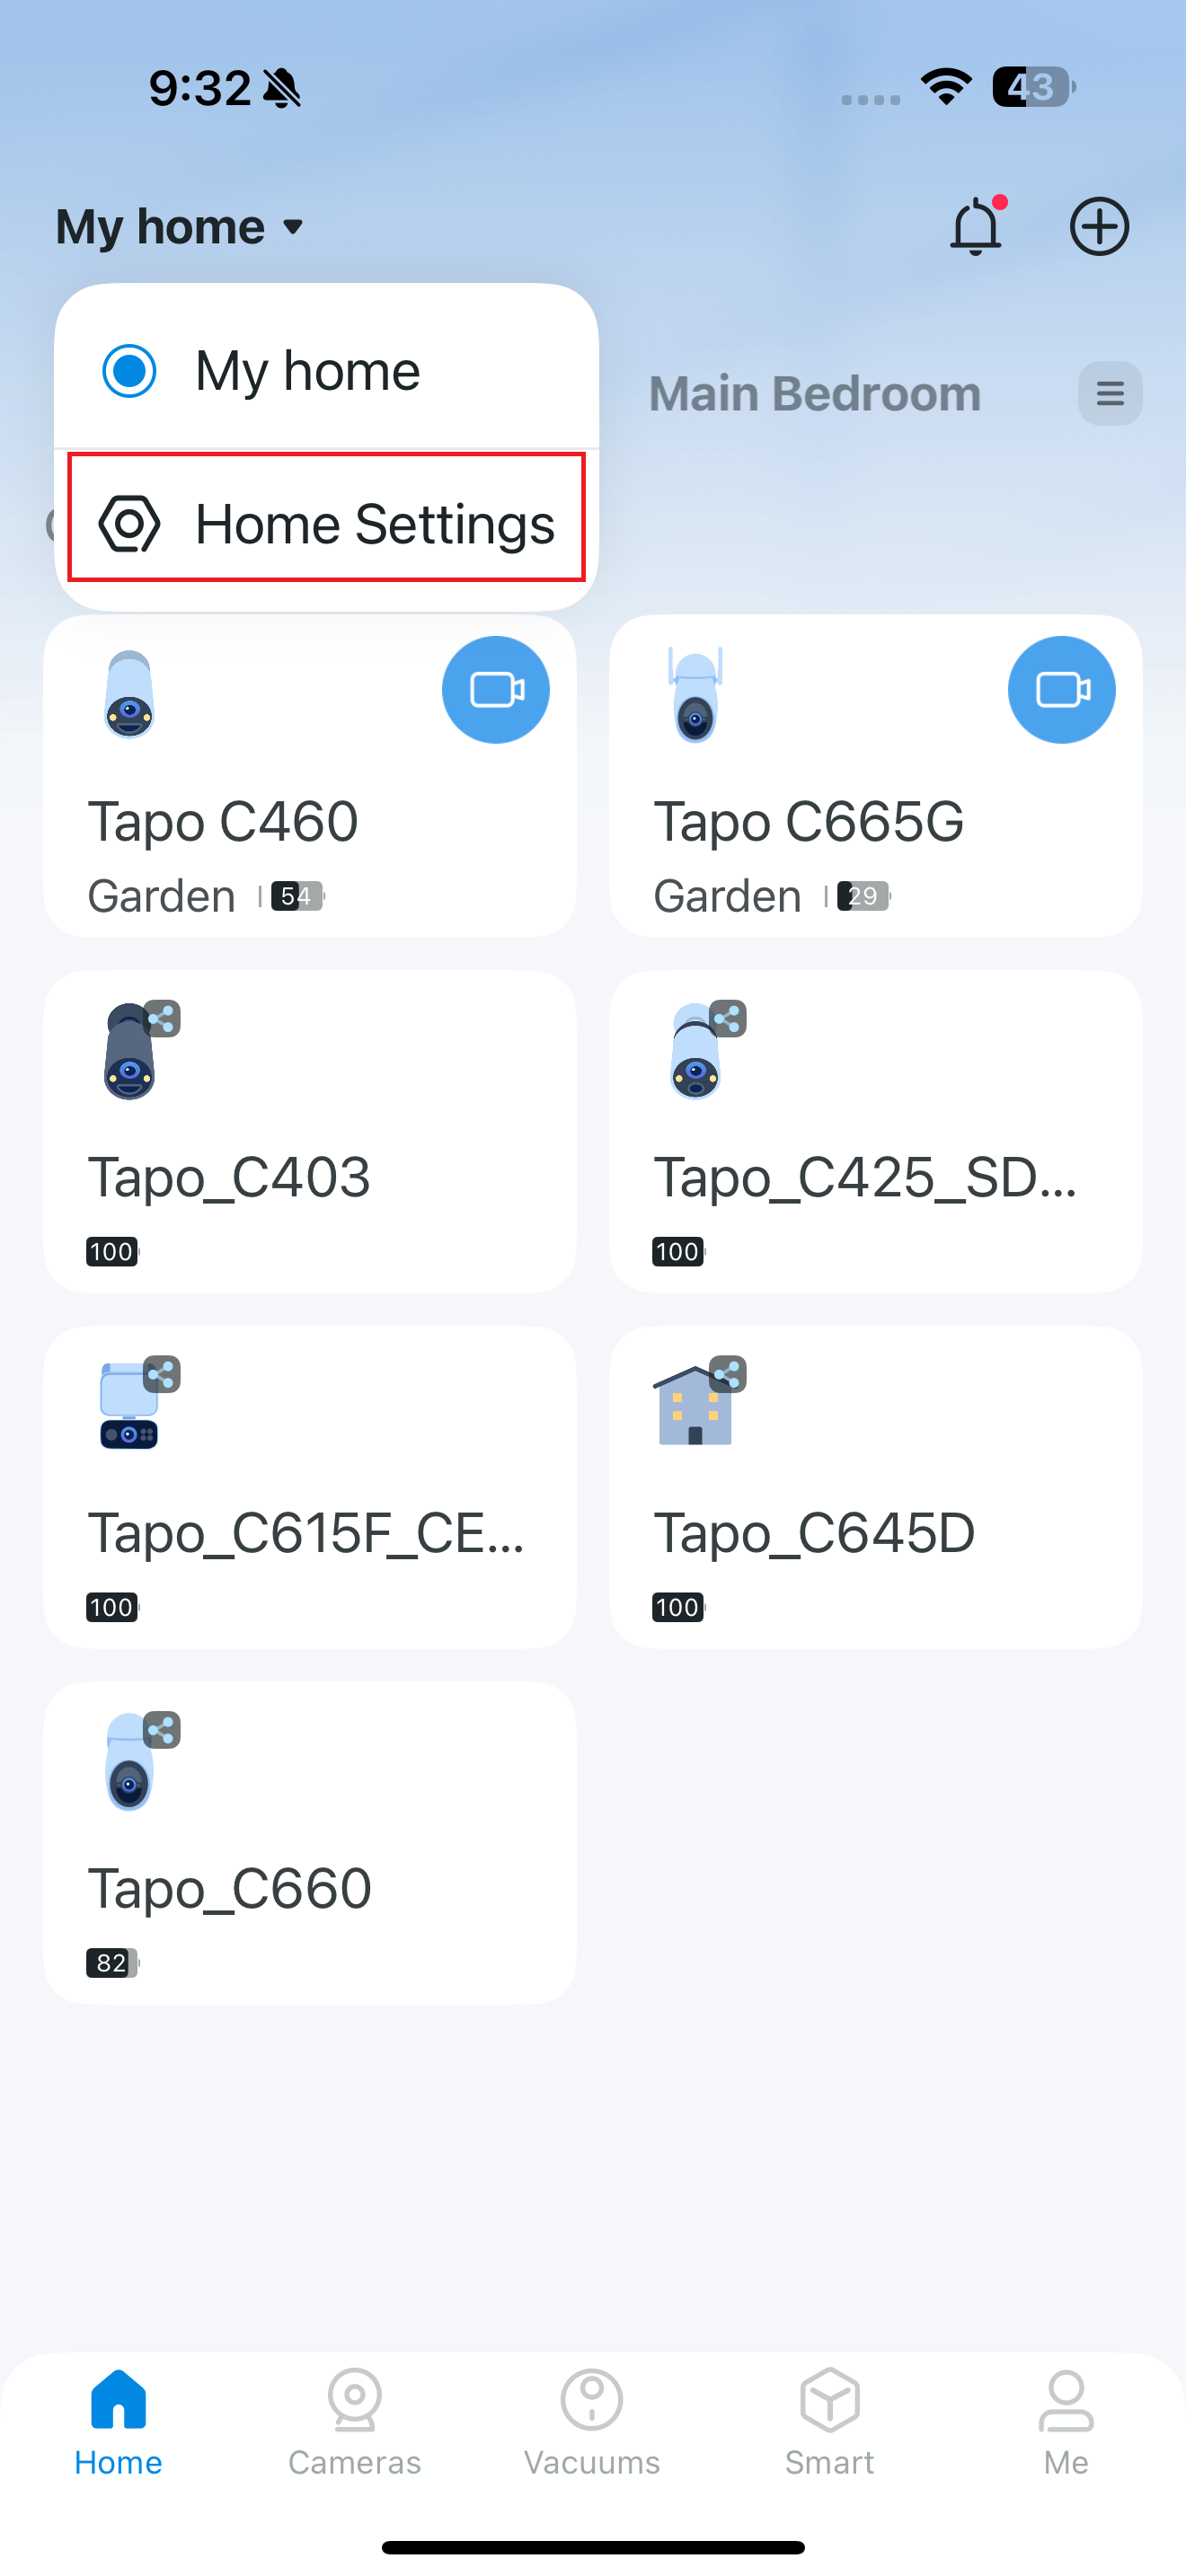
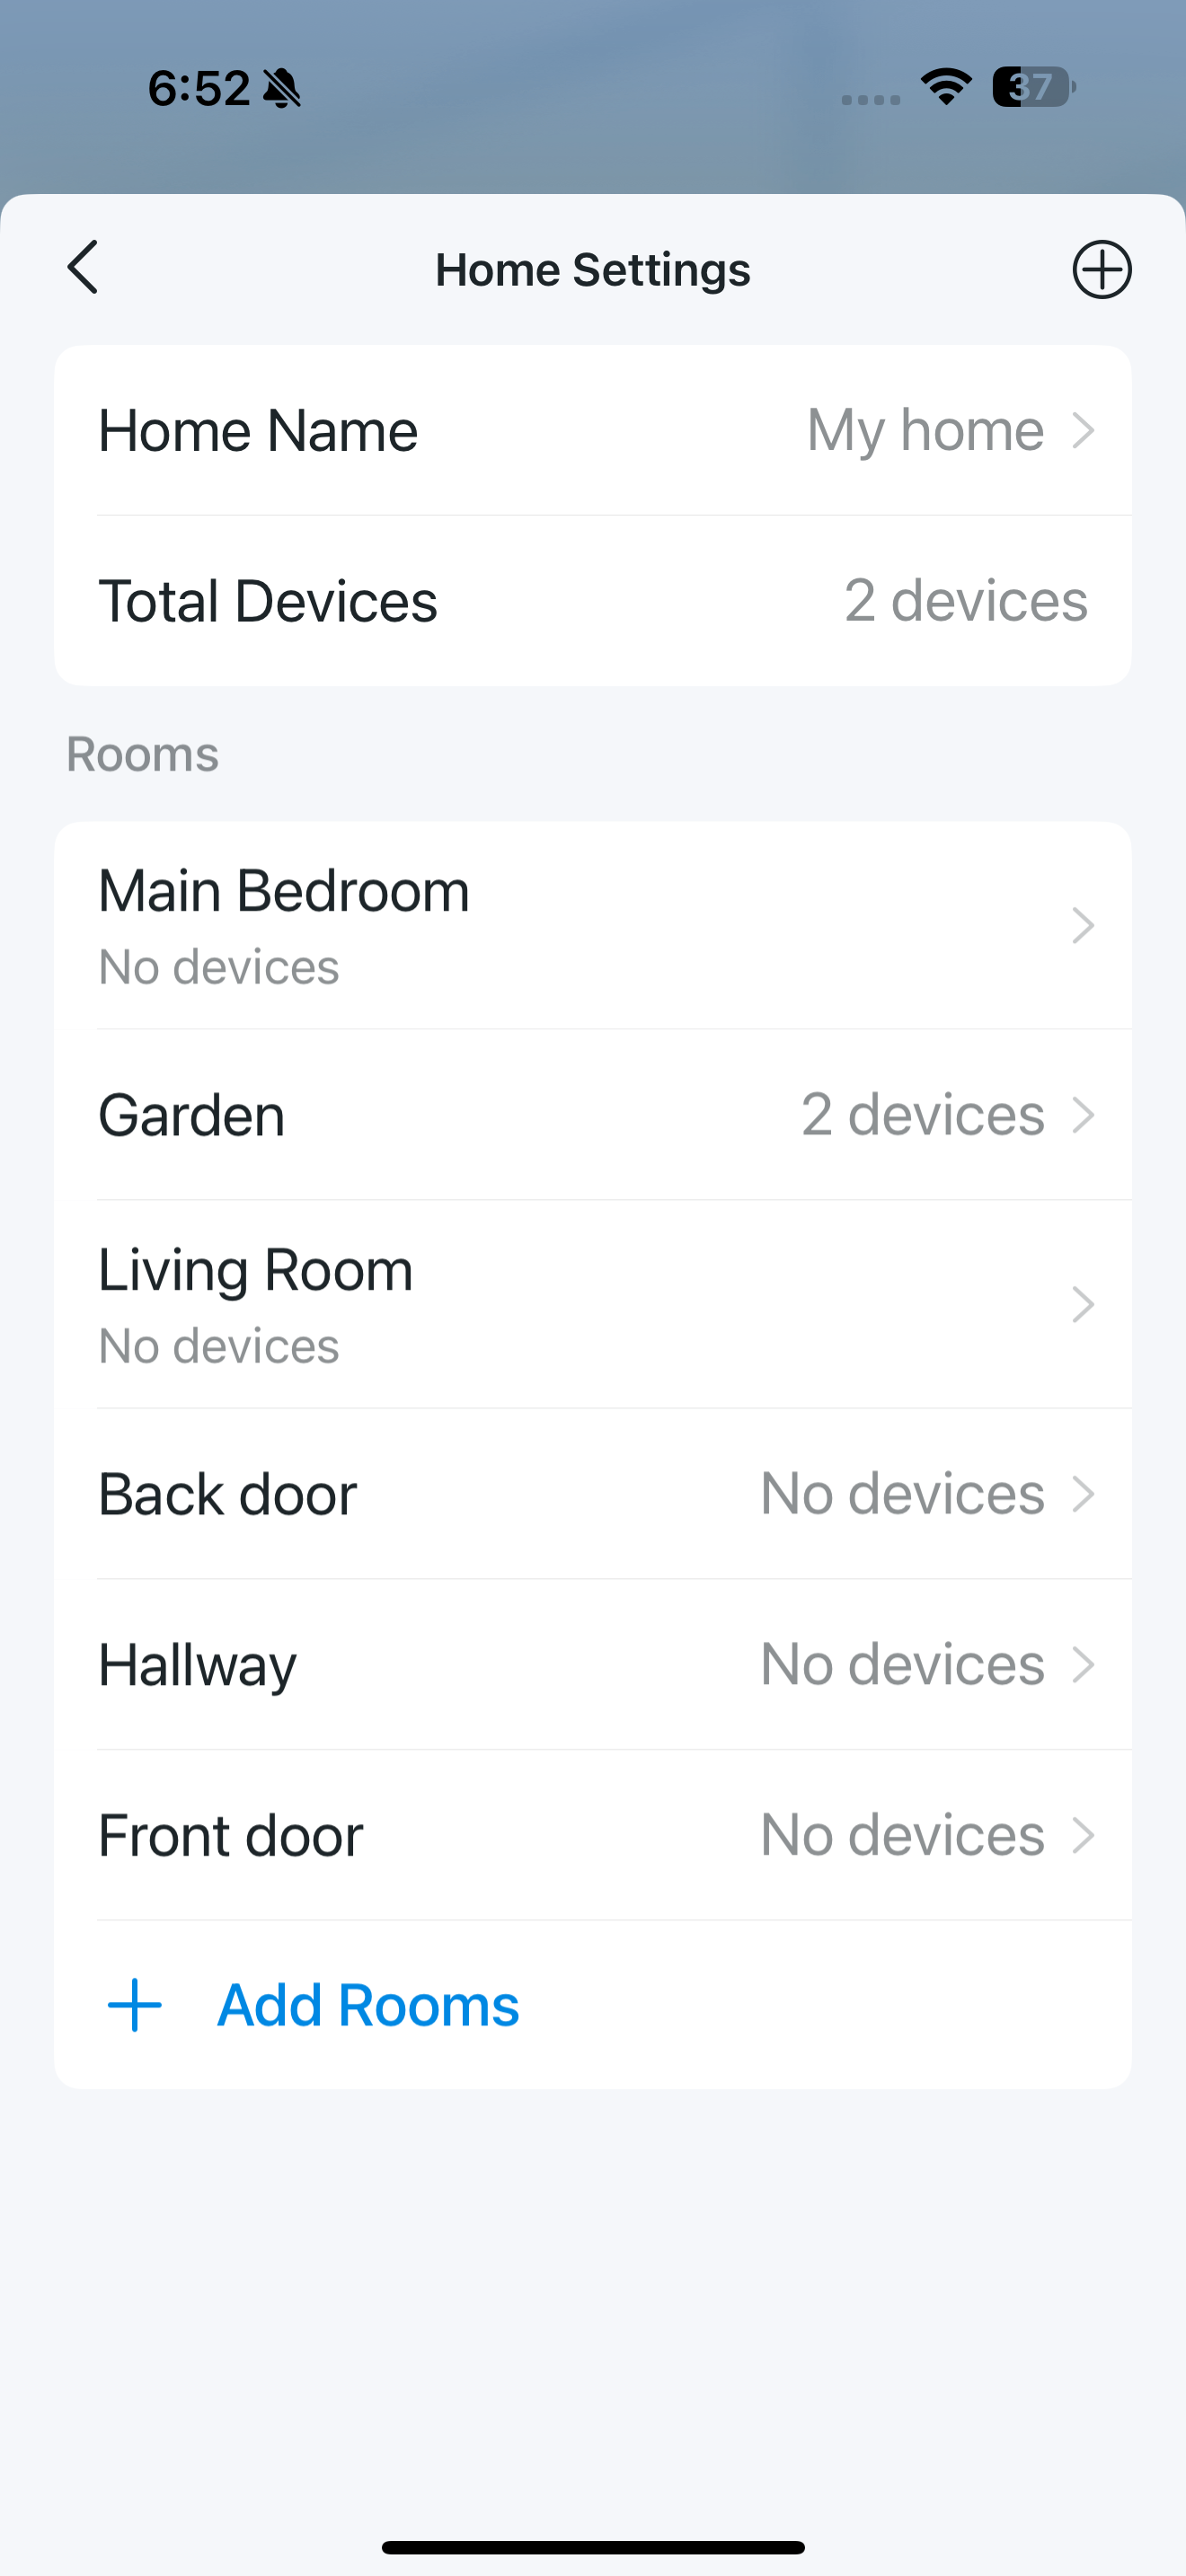
Tap My home, go to Home Settings, and you can edit Home Name and manage devices in different rooms. You can also Add A Home or Add Rooms under different homes.
Notifications
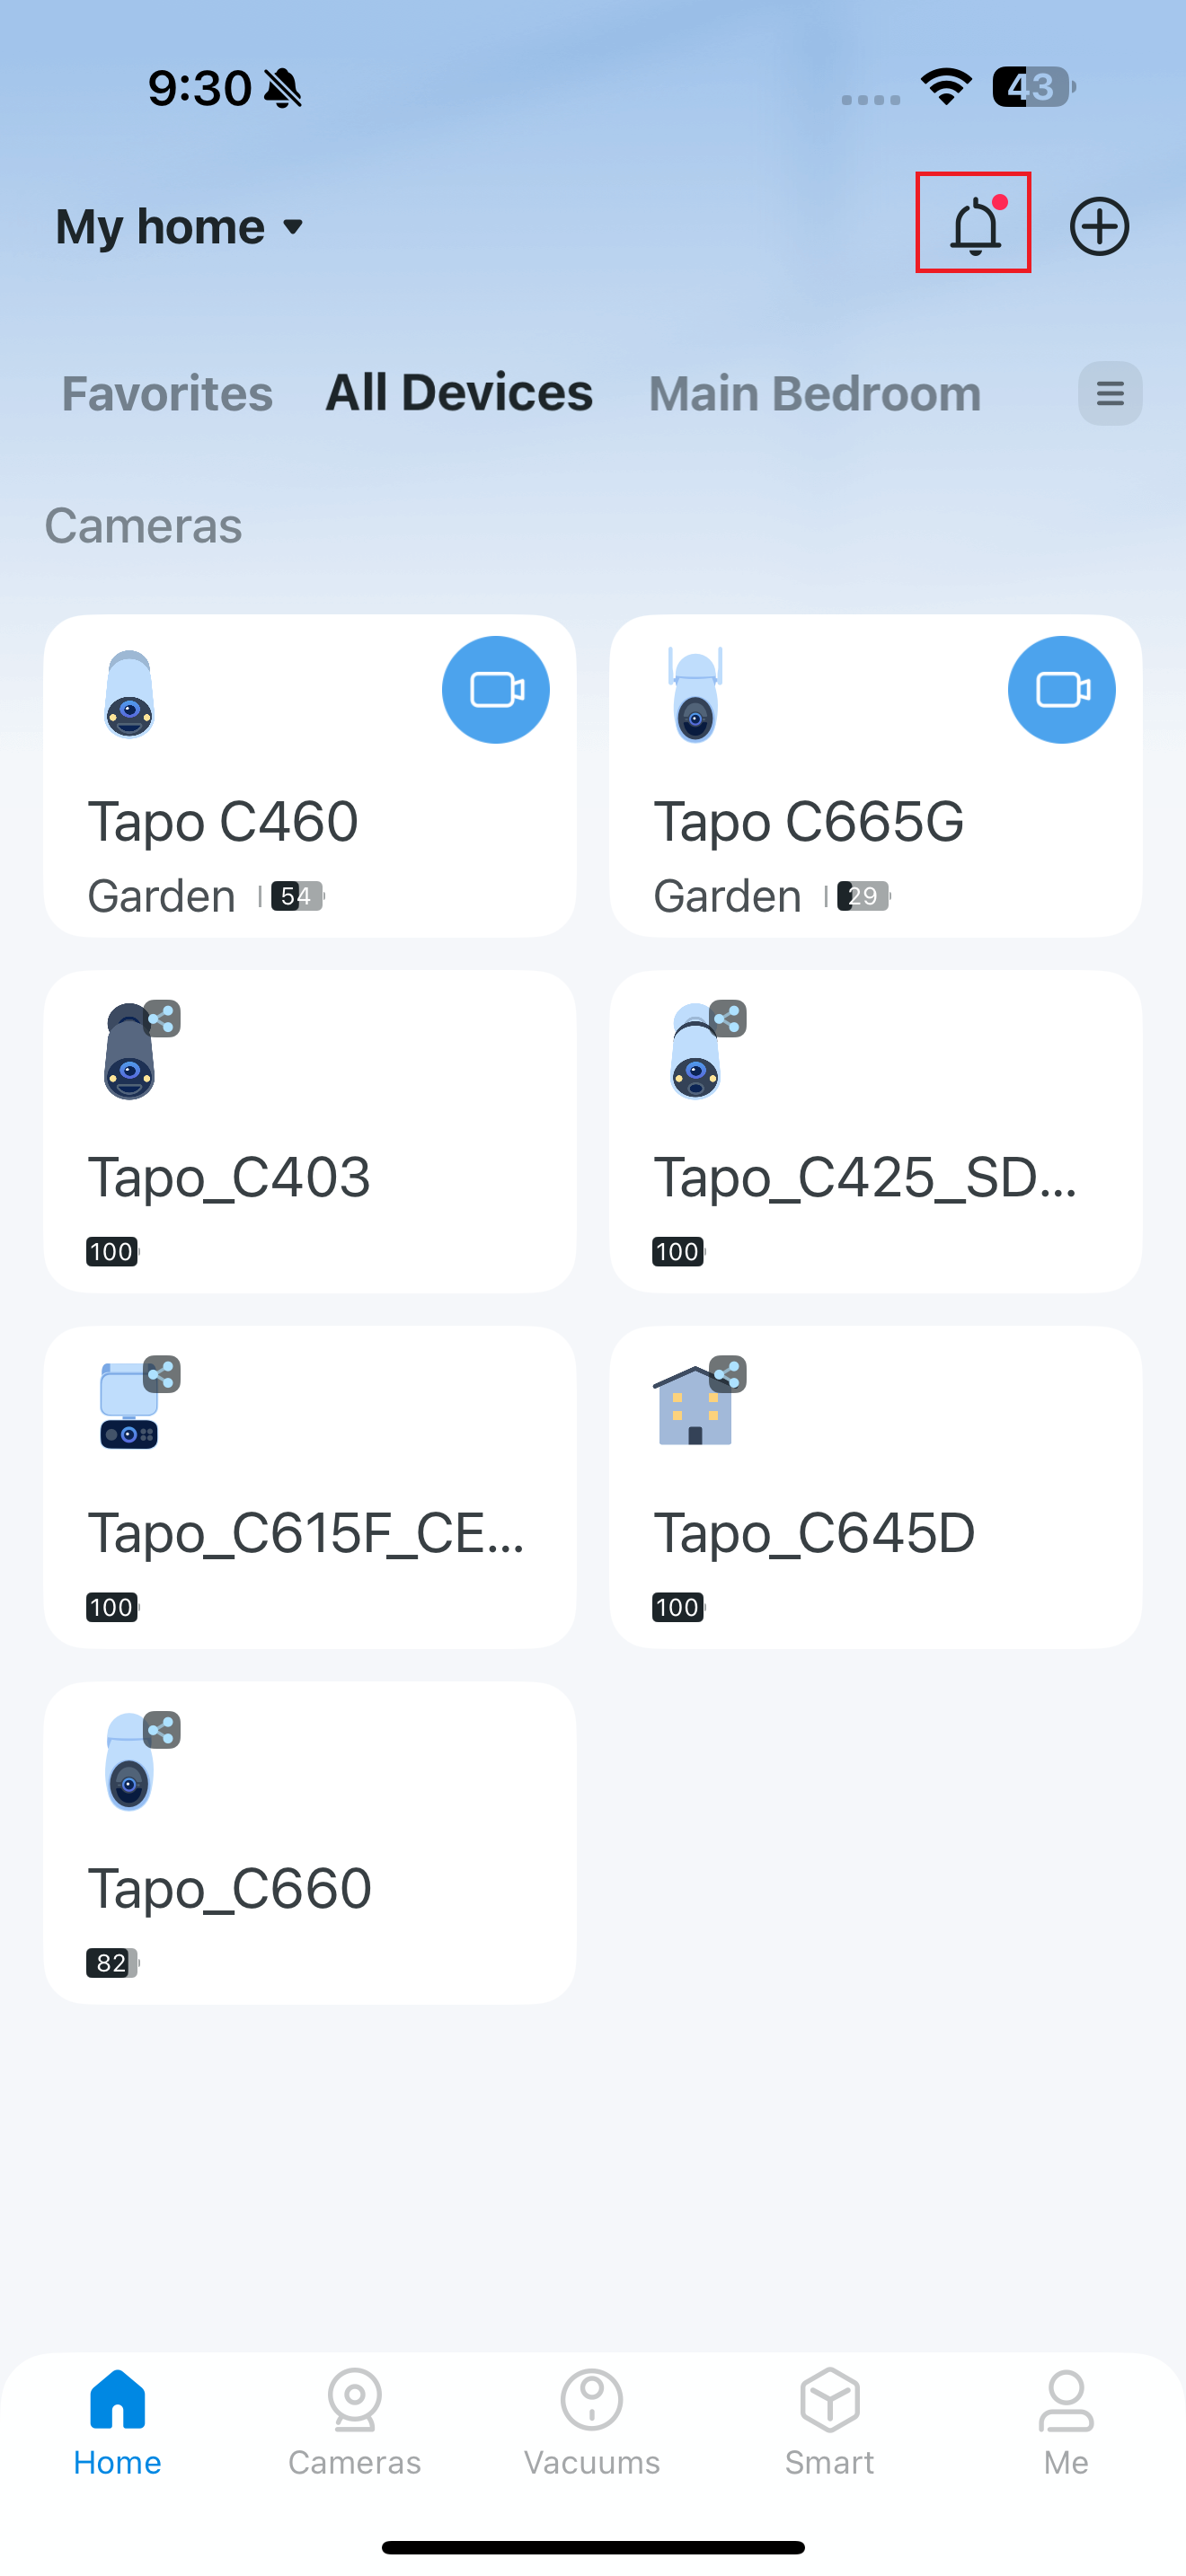
Tap the bell icon to view all notifications. You can then tap the broom icon to mark all messages as read or tap the gear icon to customize your notification settings.
_20260724014701g.PNG)
Grid View or List View
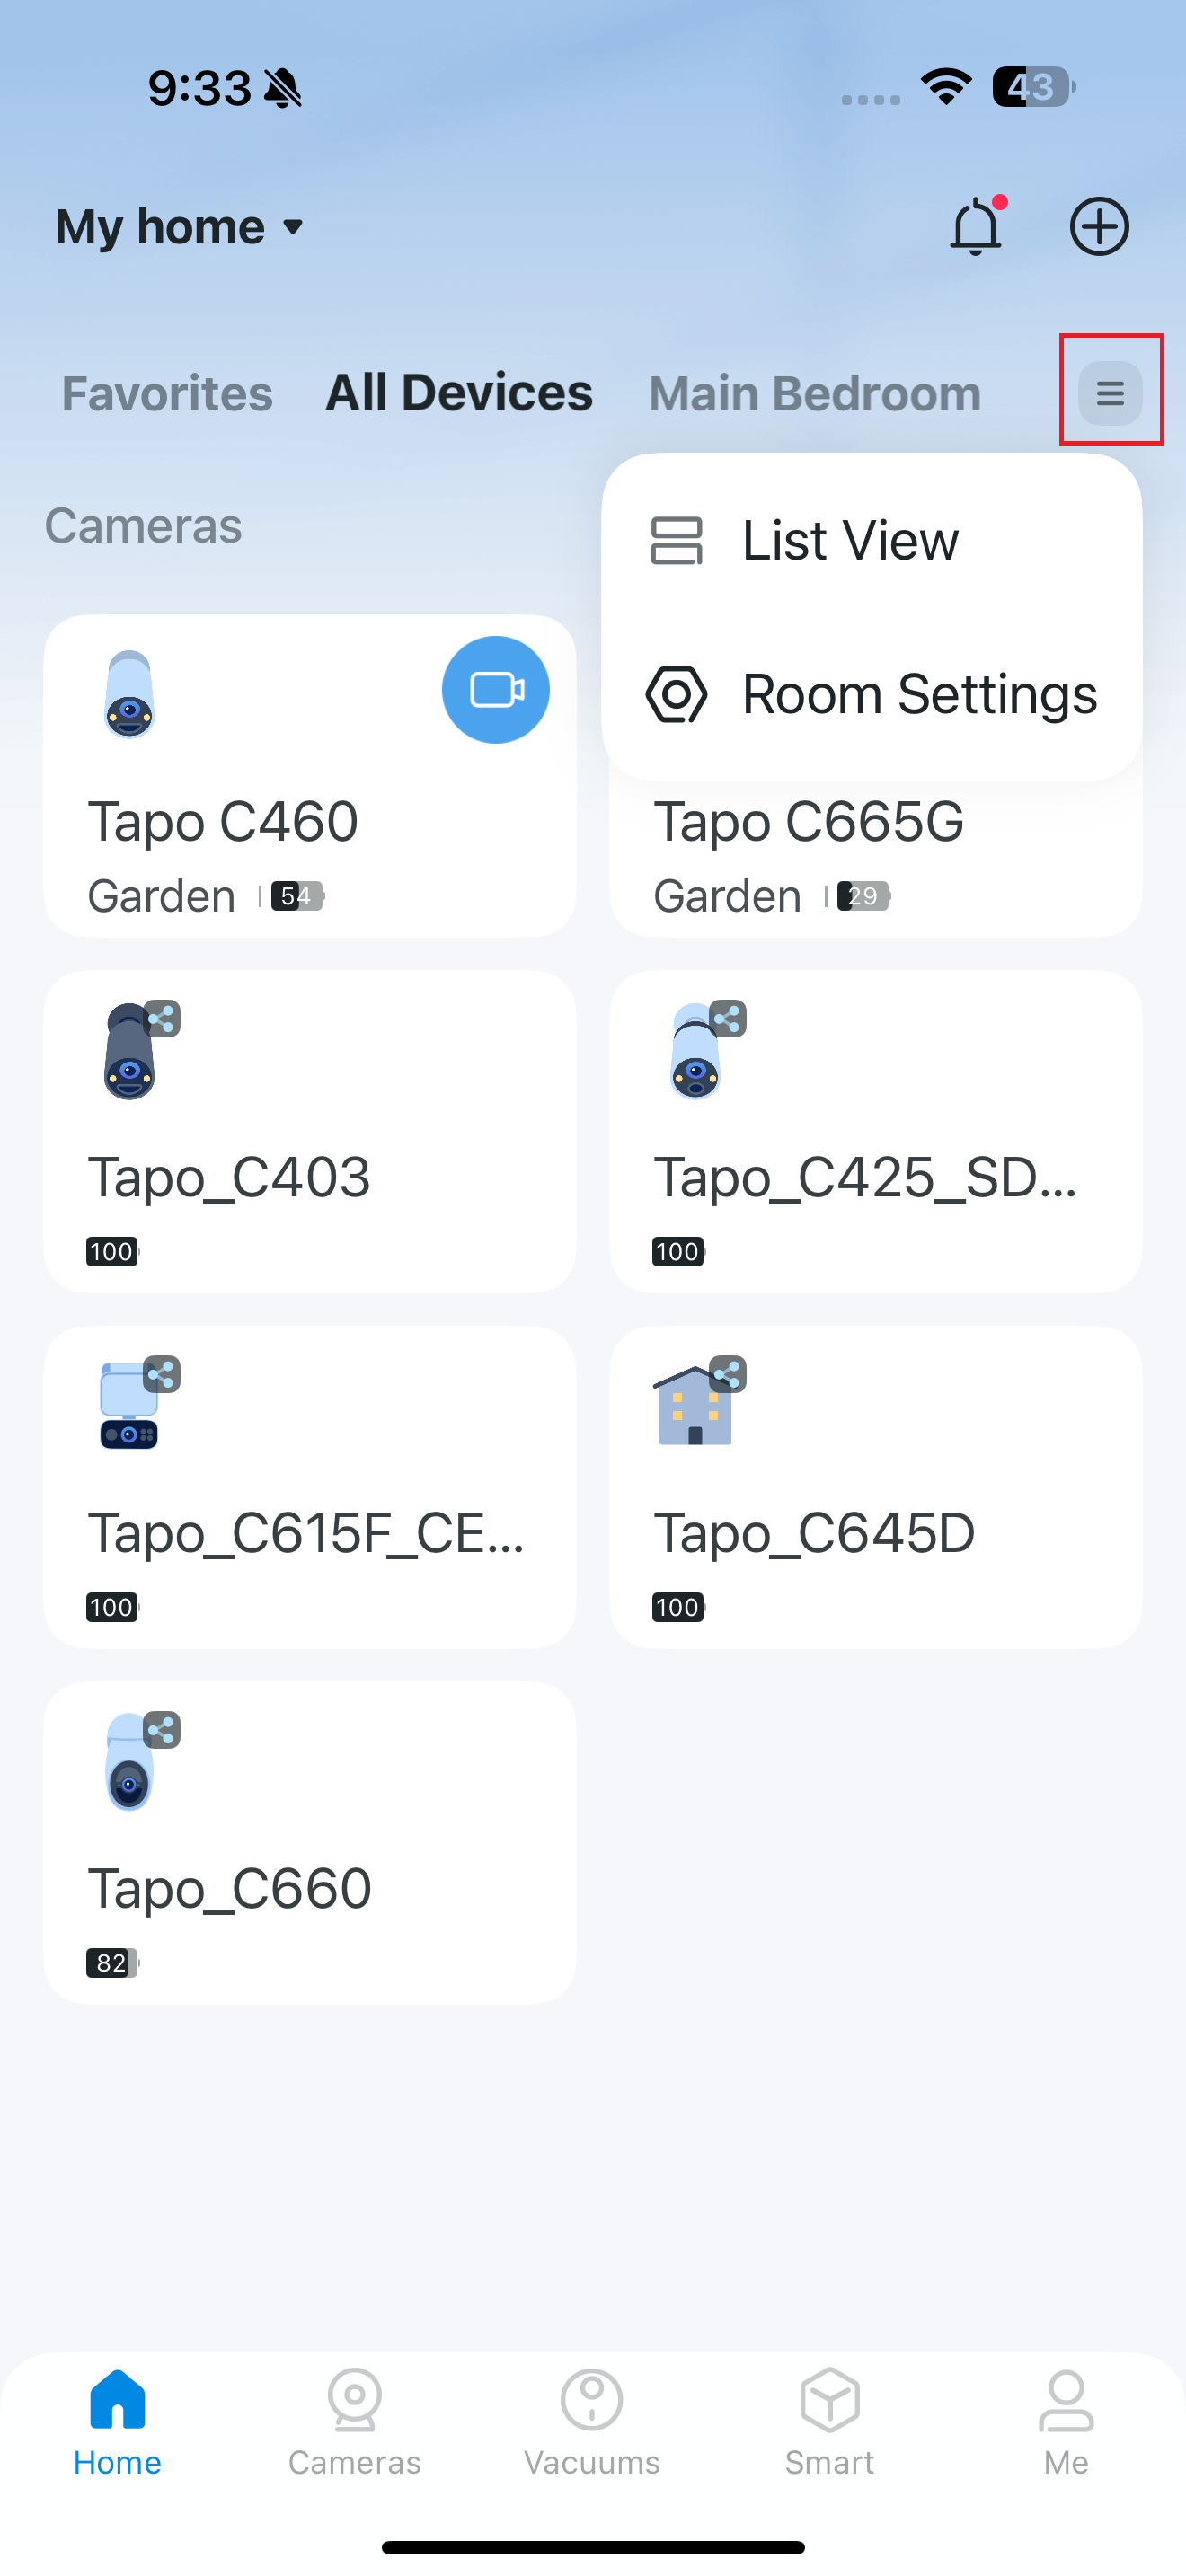
Tap the hamburger icon to switch your device list between grid and list views. You can also tap Room Settings to modify the rooms in your current home.
Remove Your Device
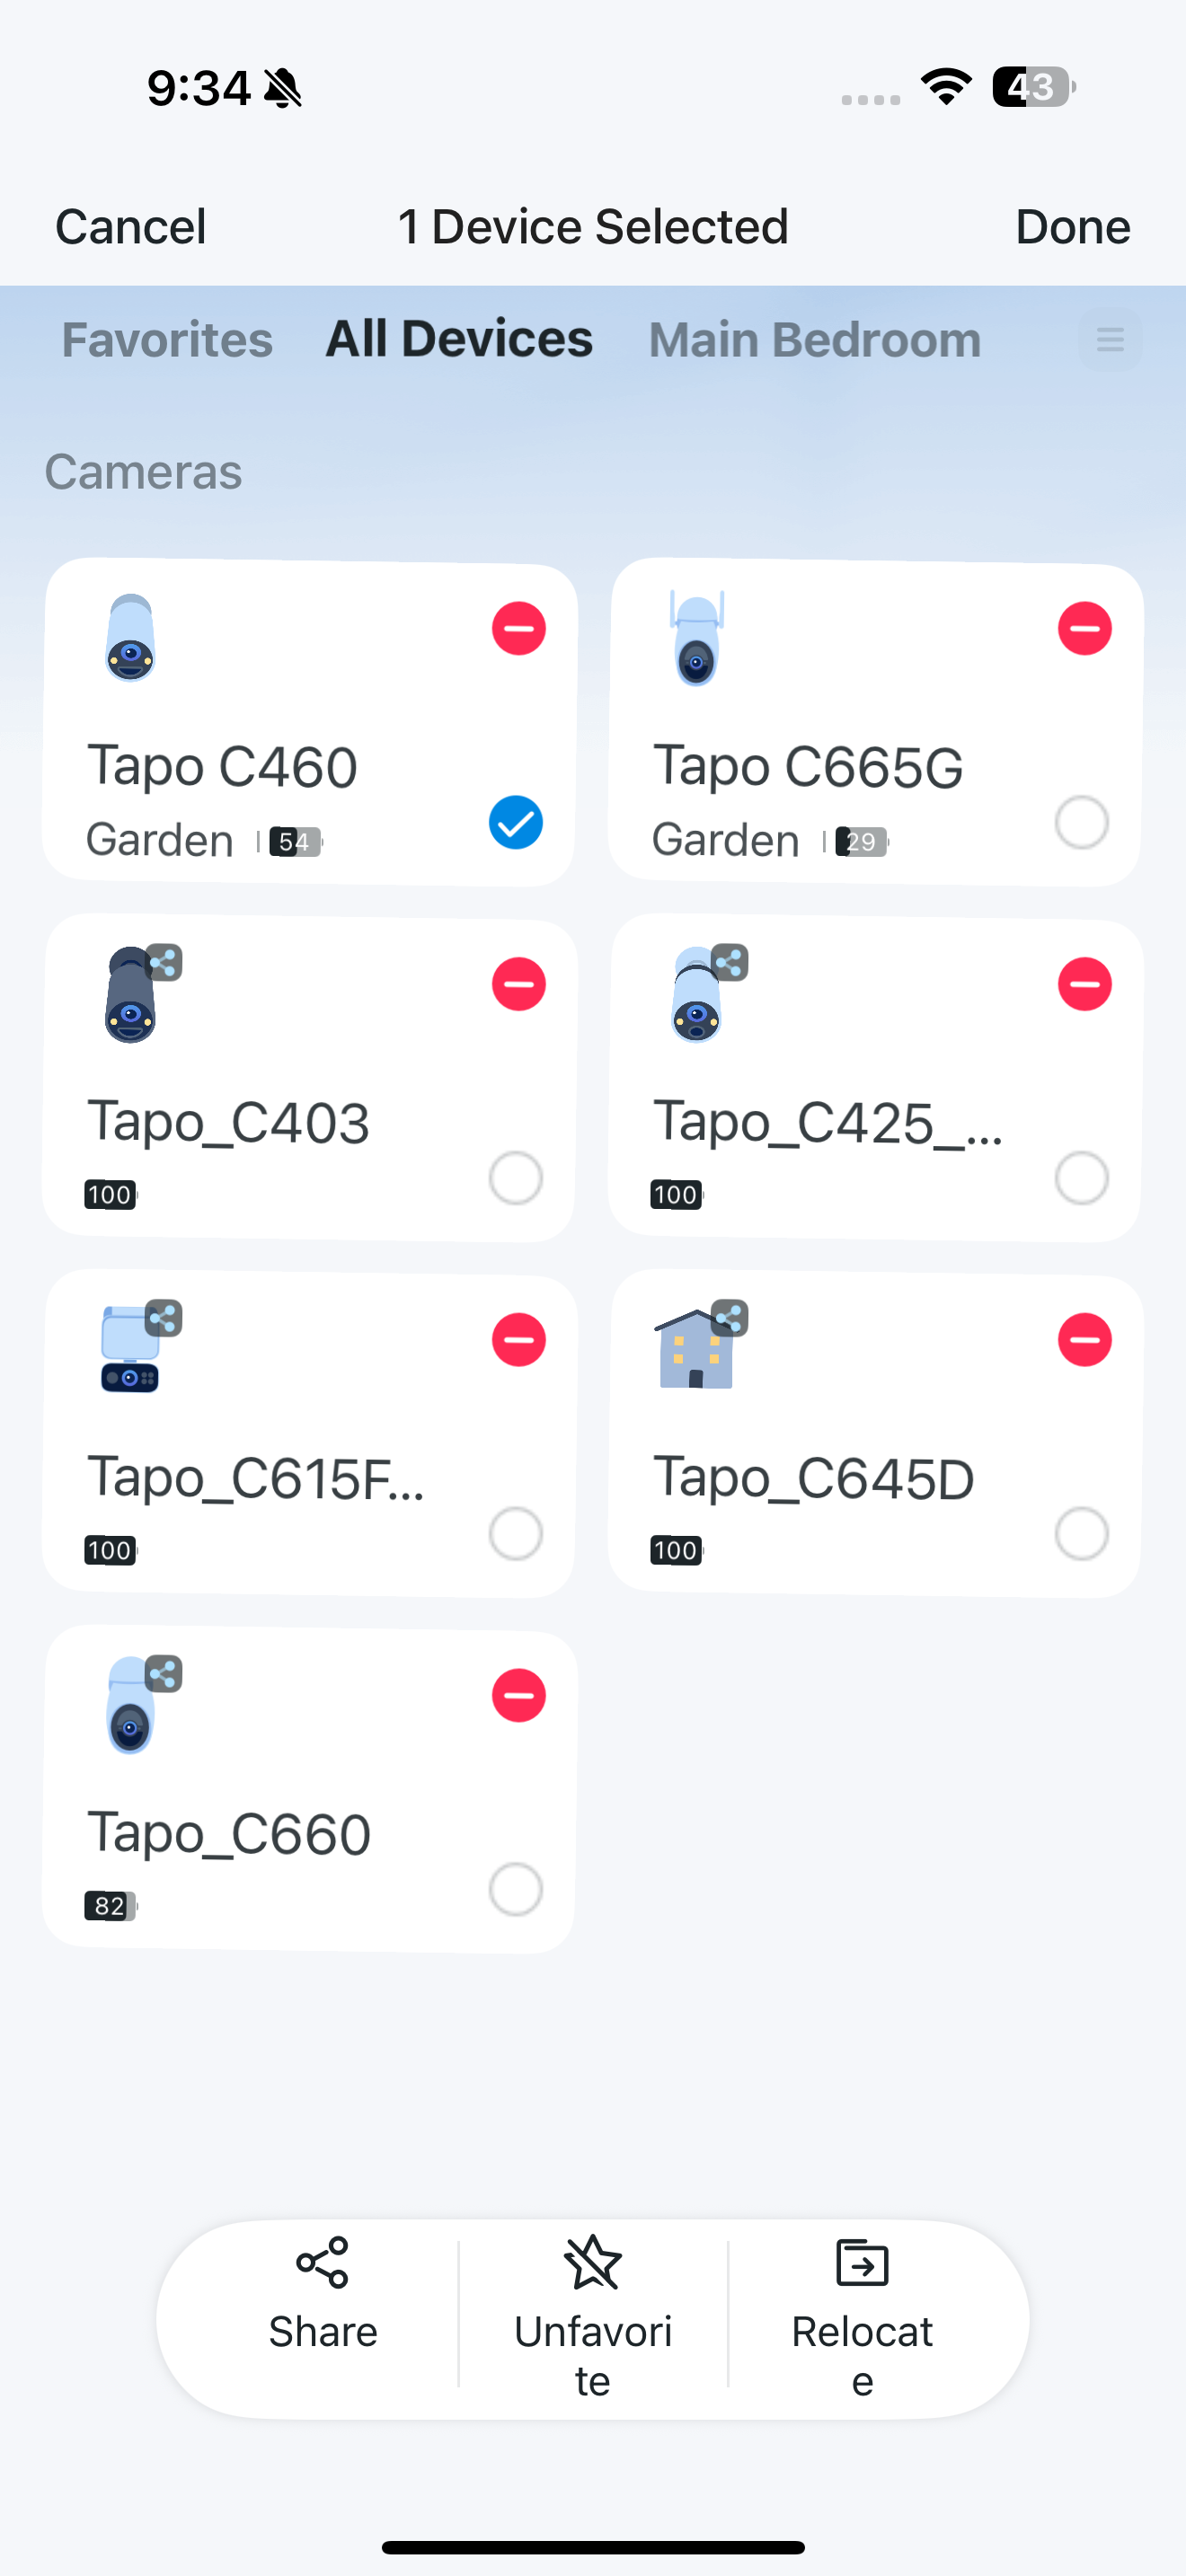
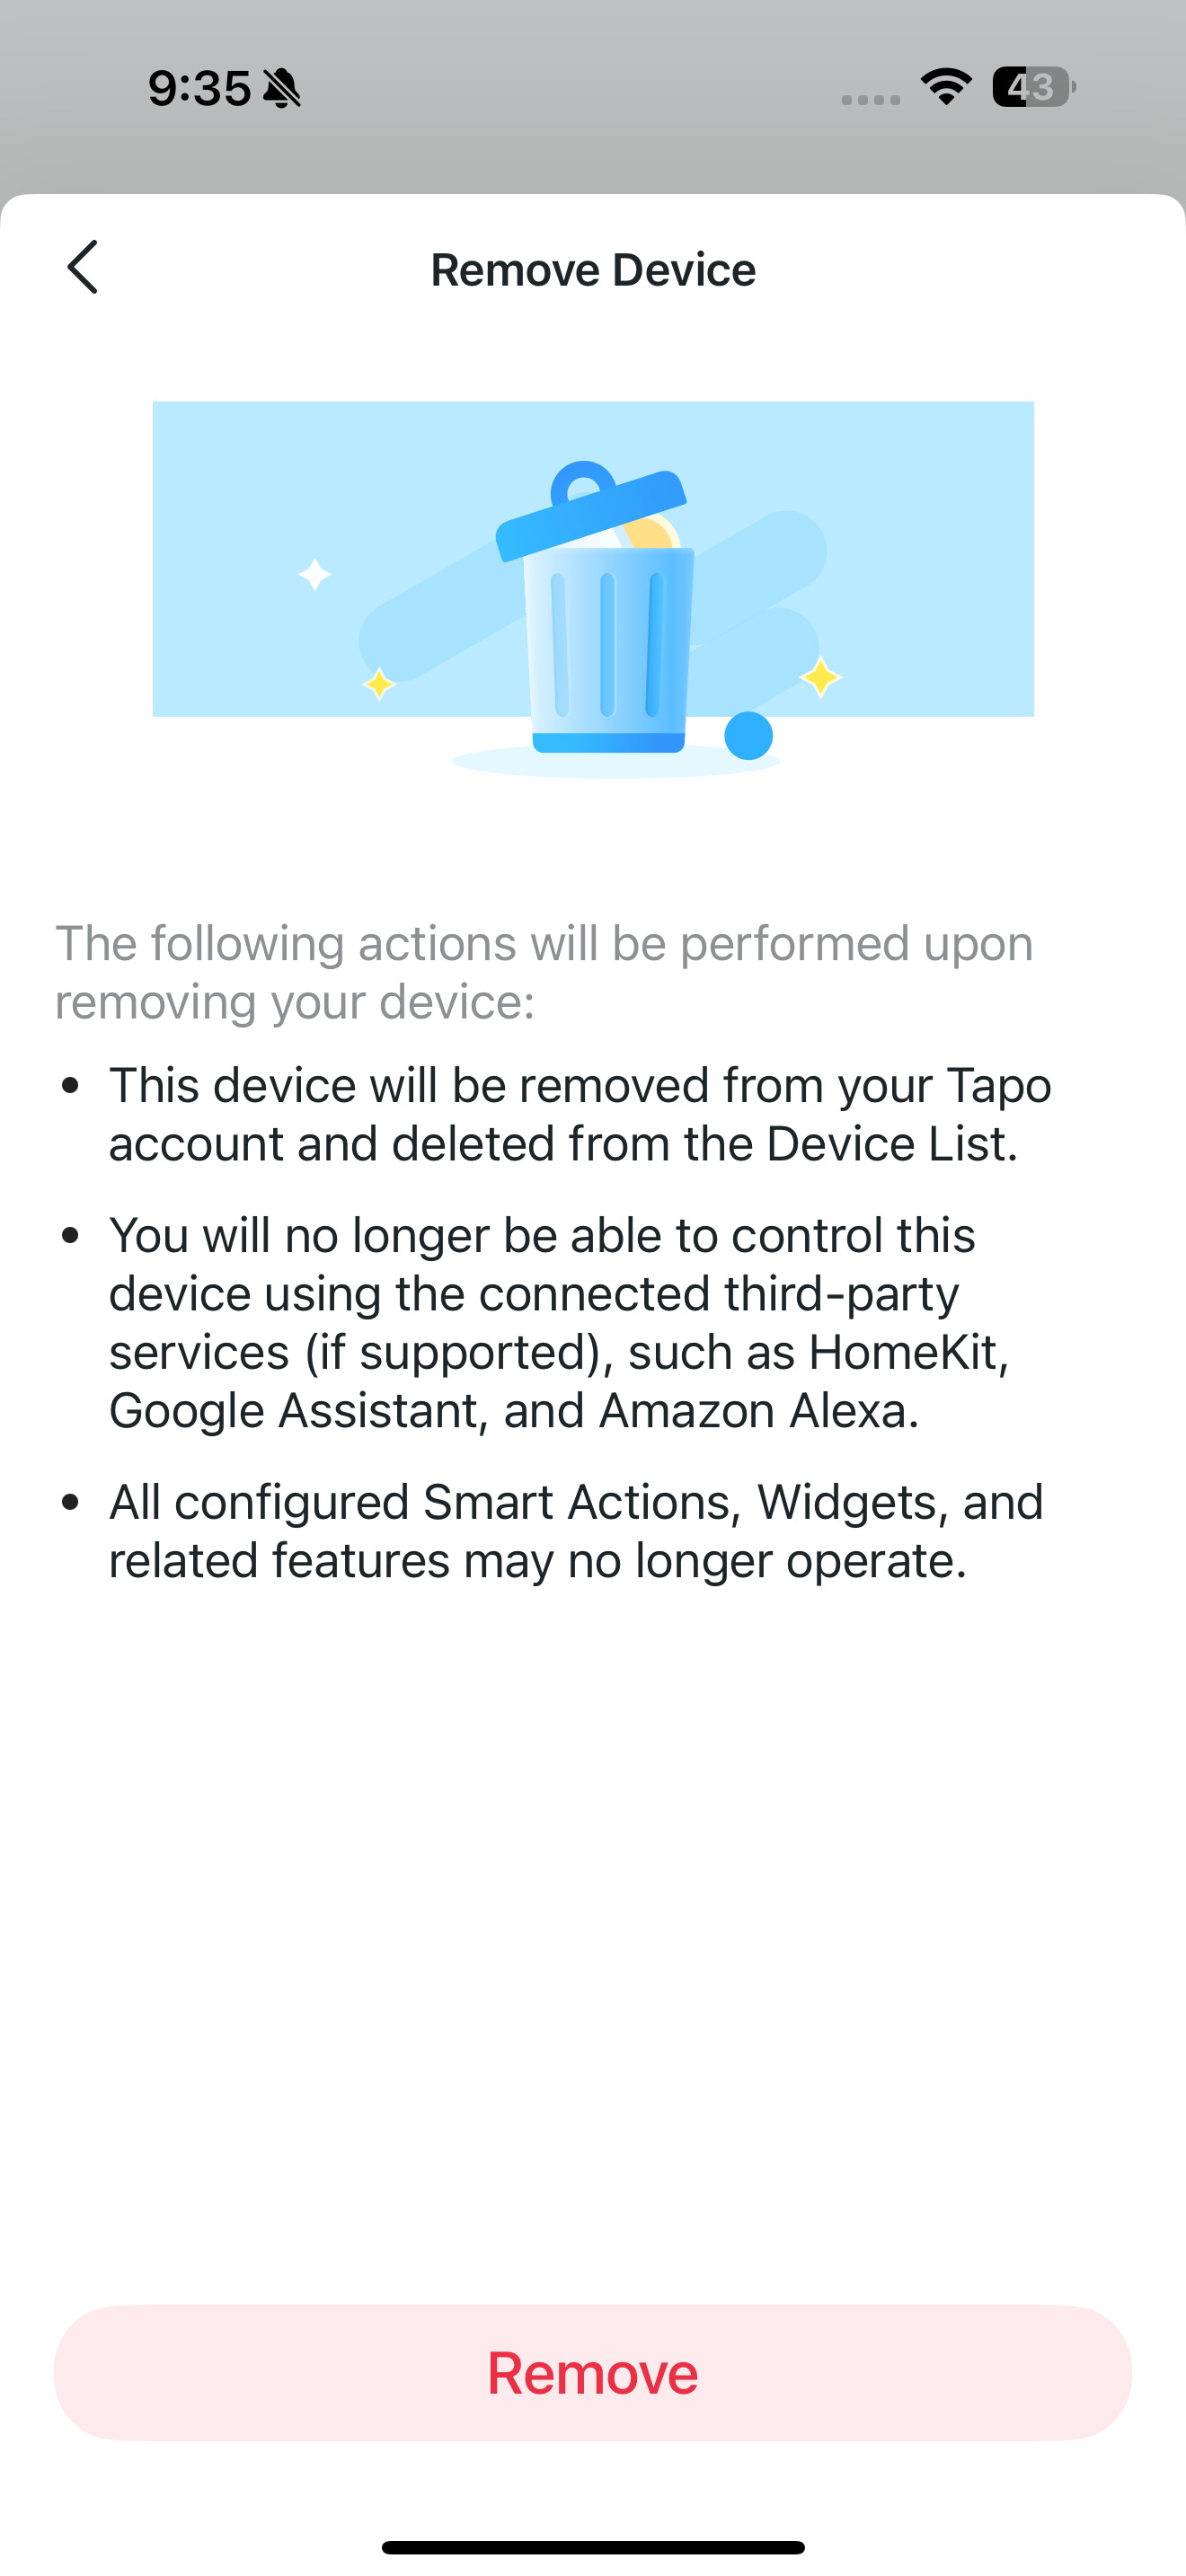
To remove a device, long-press its card. Tap the minus (–) icon that appears to delete it. The device will then be reset to its factory settings.
Share, Favorite/Unfavorite, or Relocate Your Device
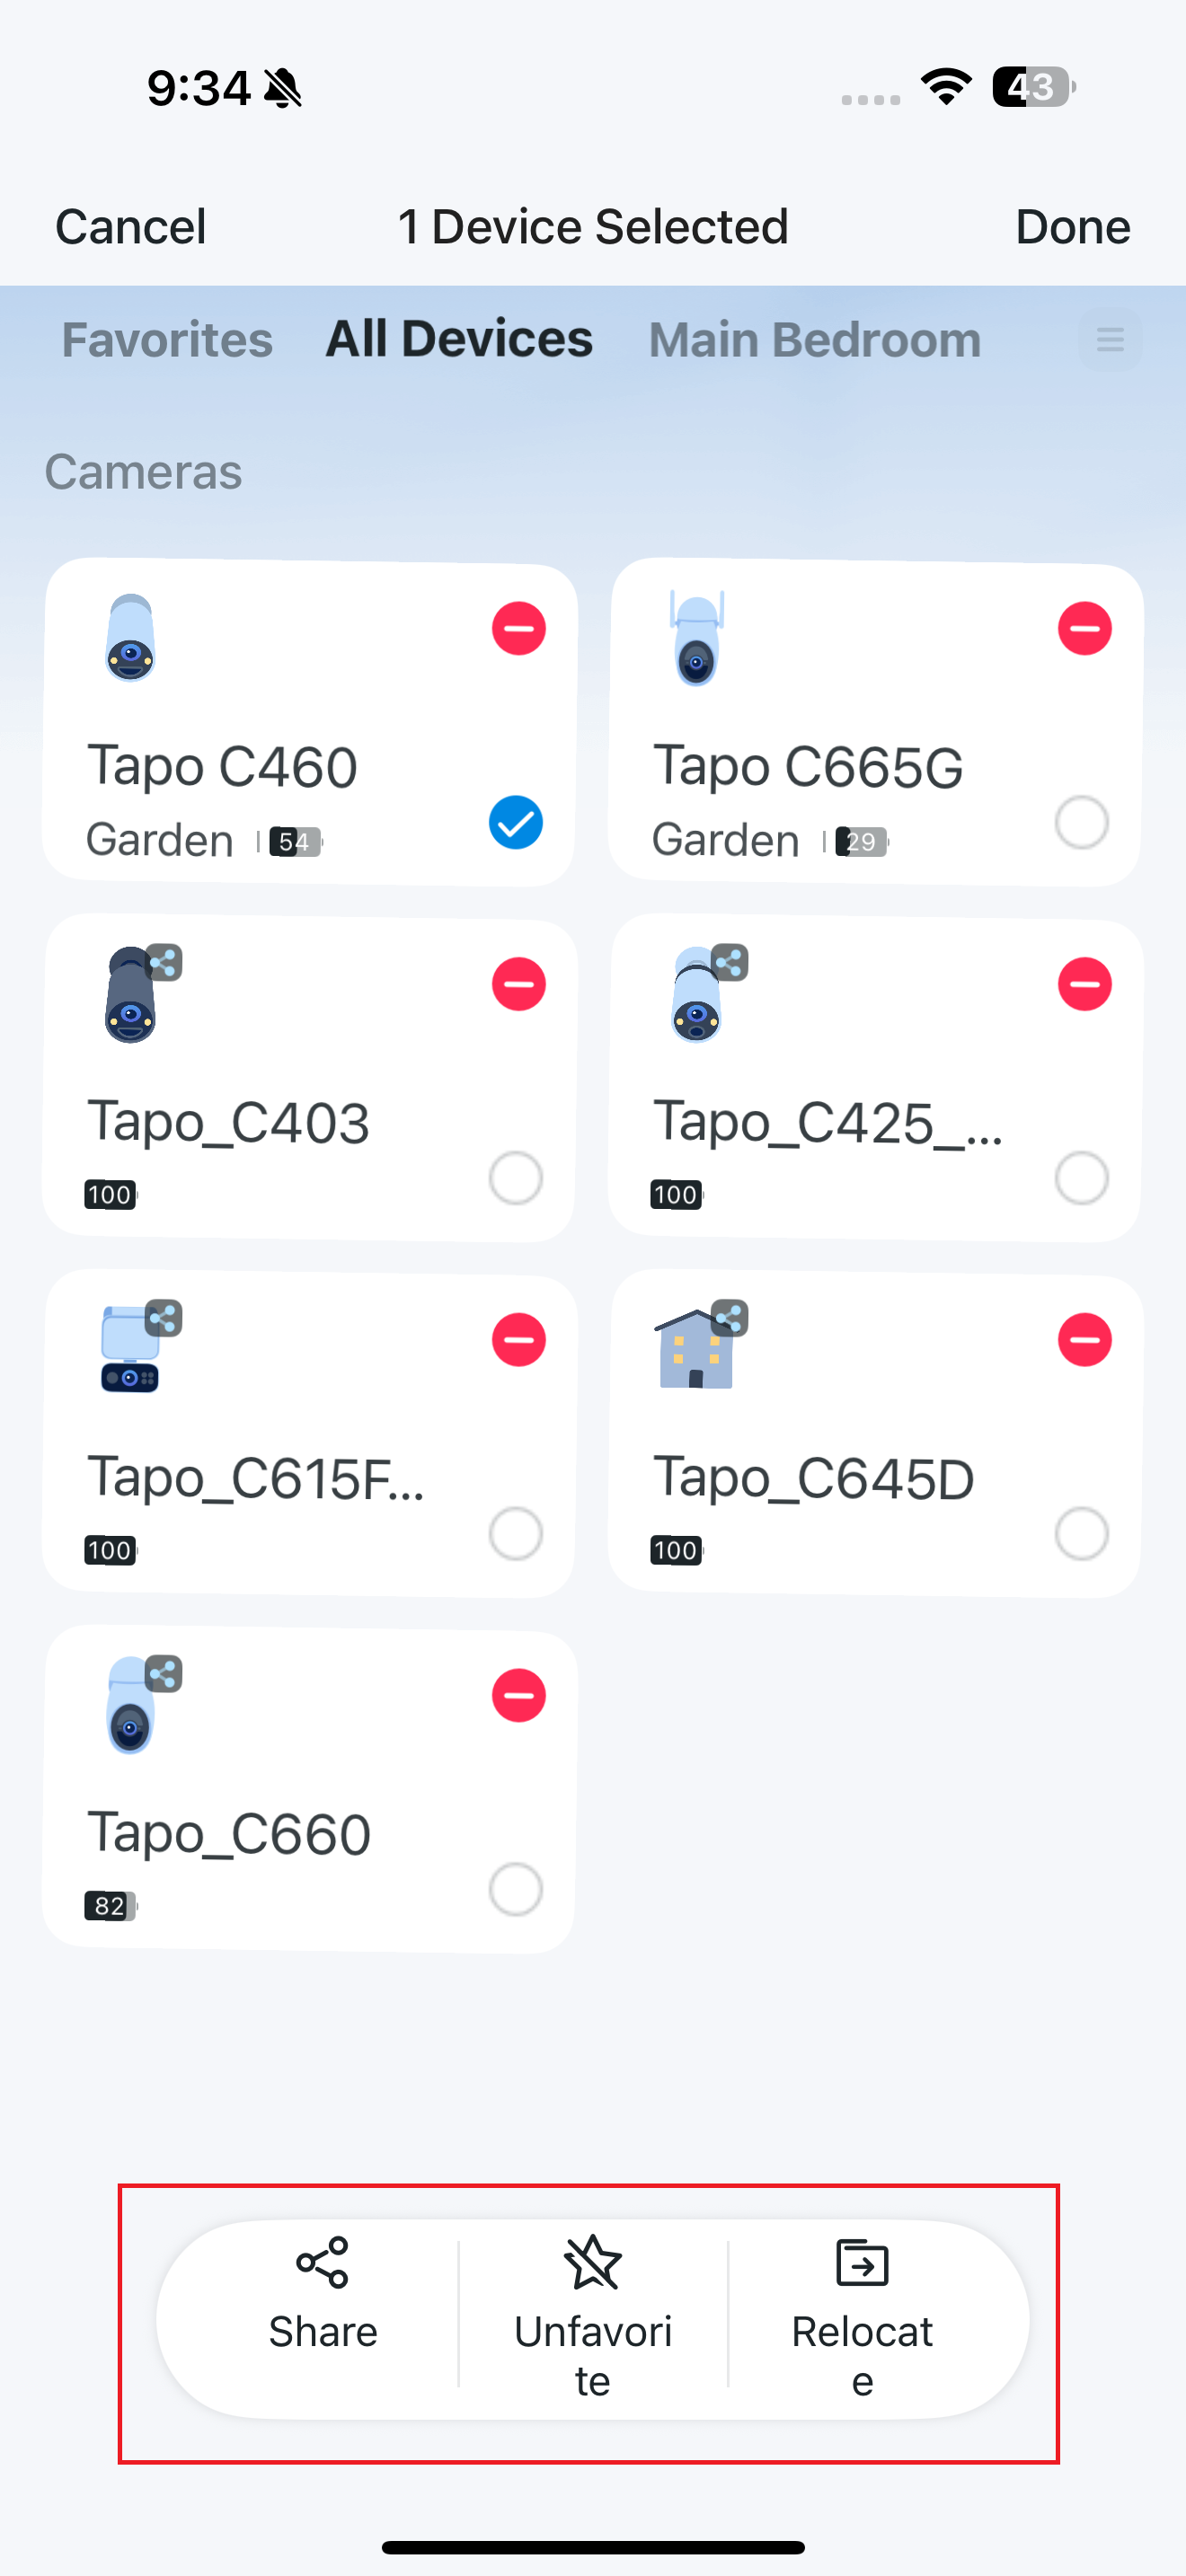
Long press the device card and a menu appears on the bottom. You can share, favorite/unfavorite, or relocate the selected devices.
Camera Live View
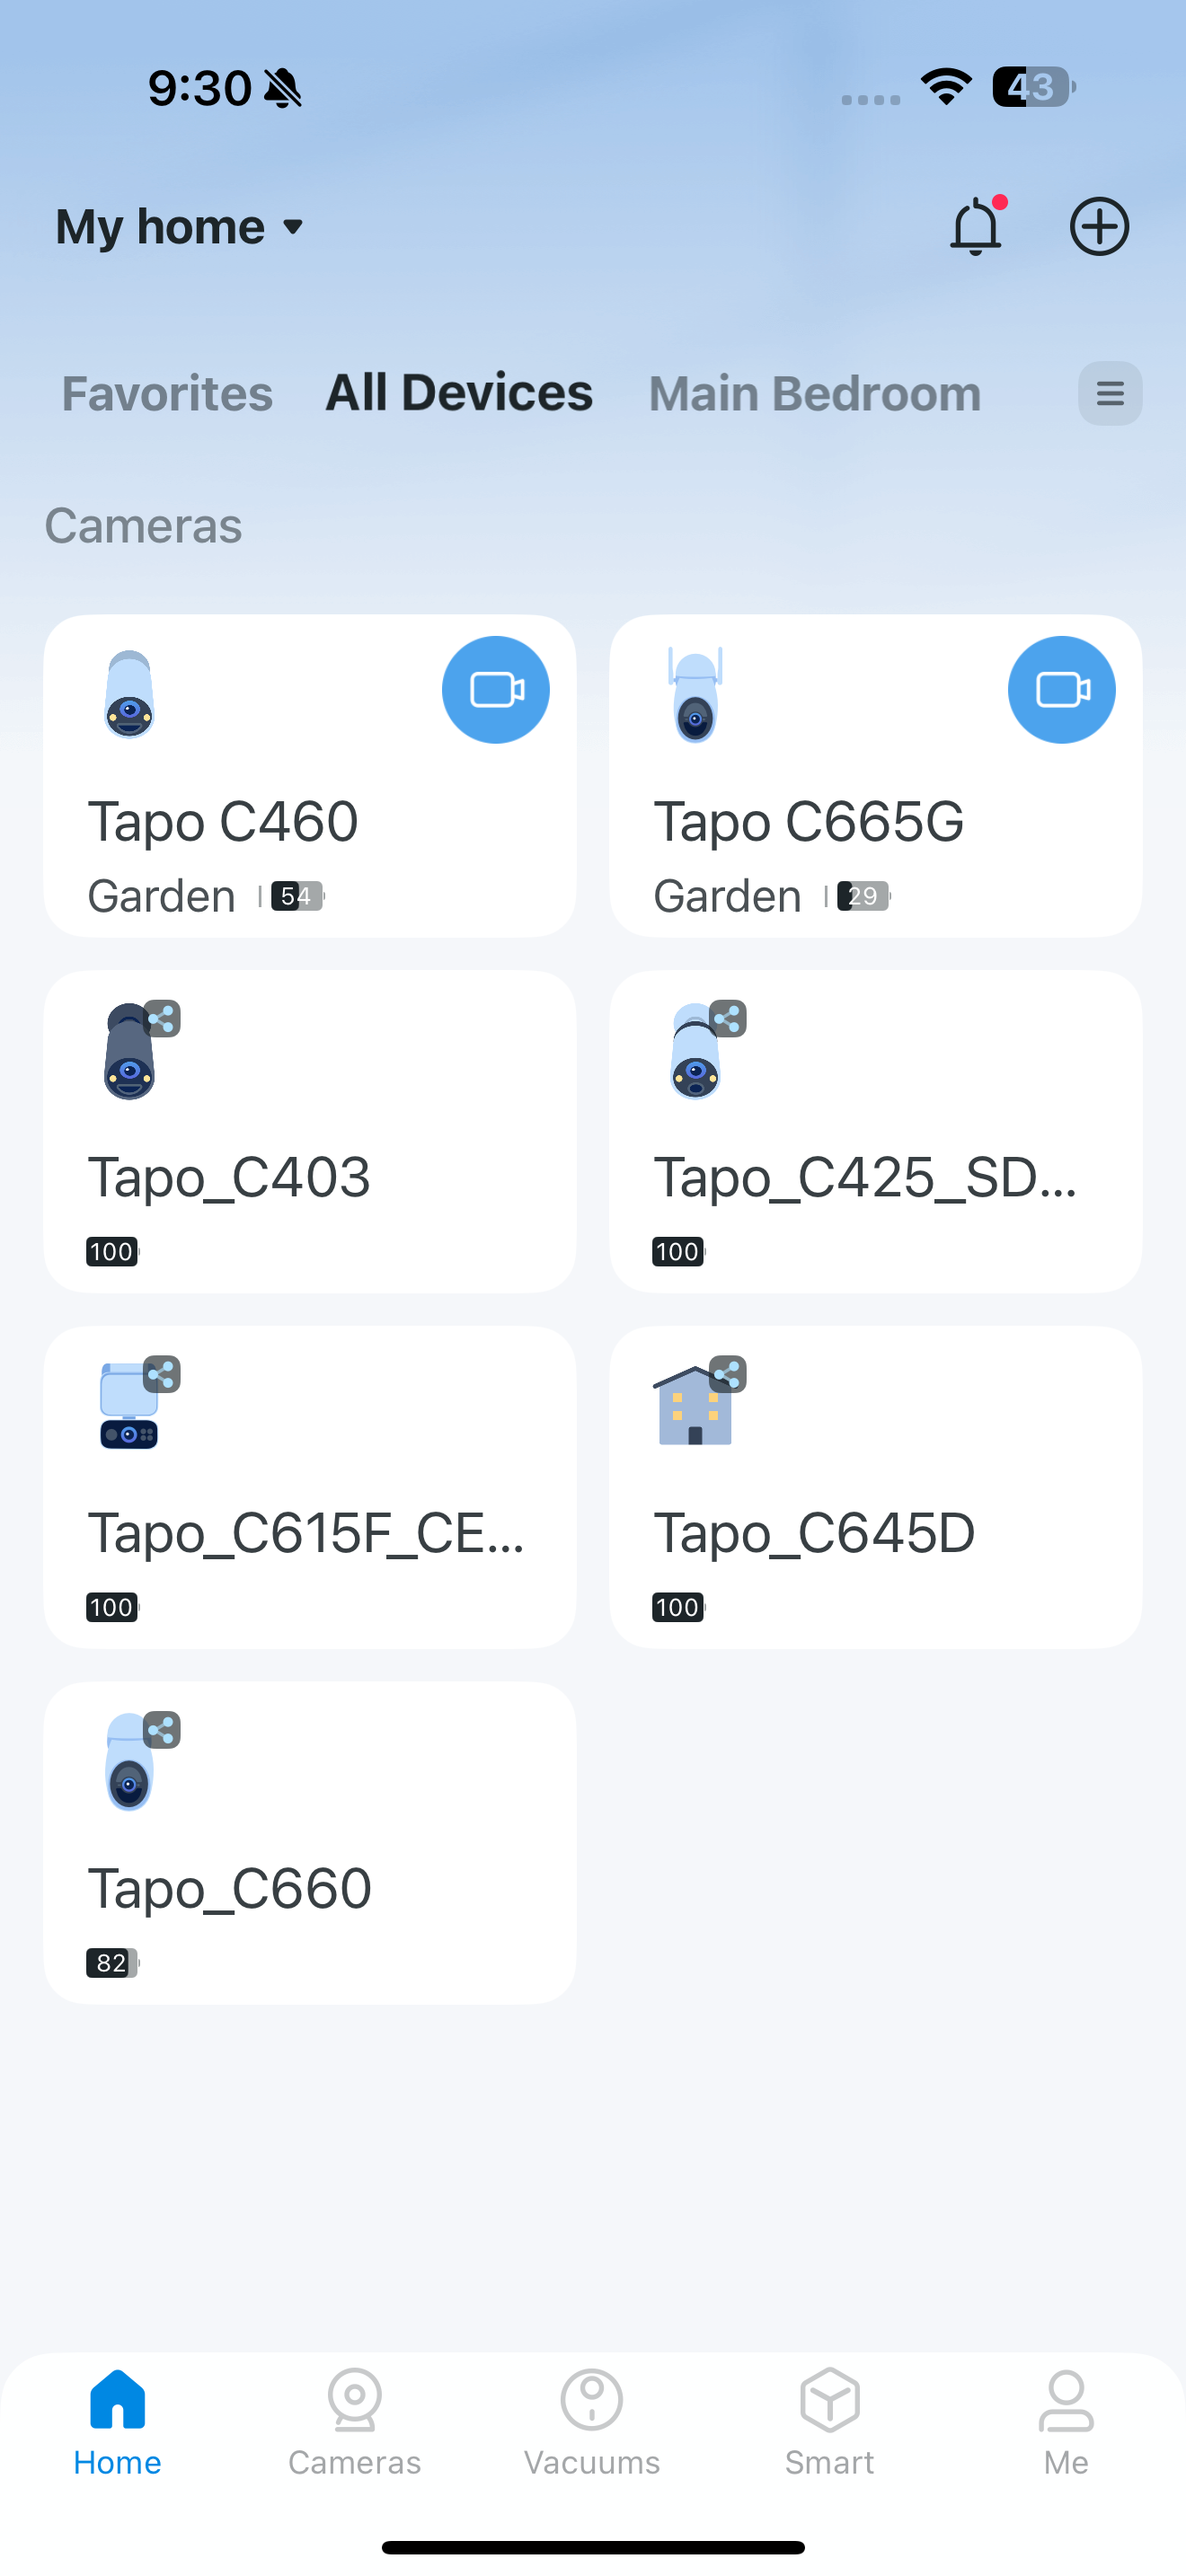
Tap your device card on the Home page to enter the live view page.
Live View
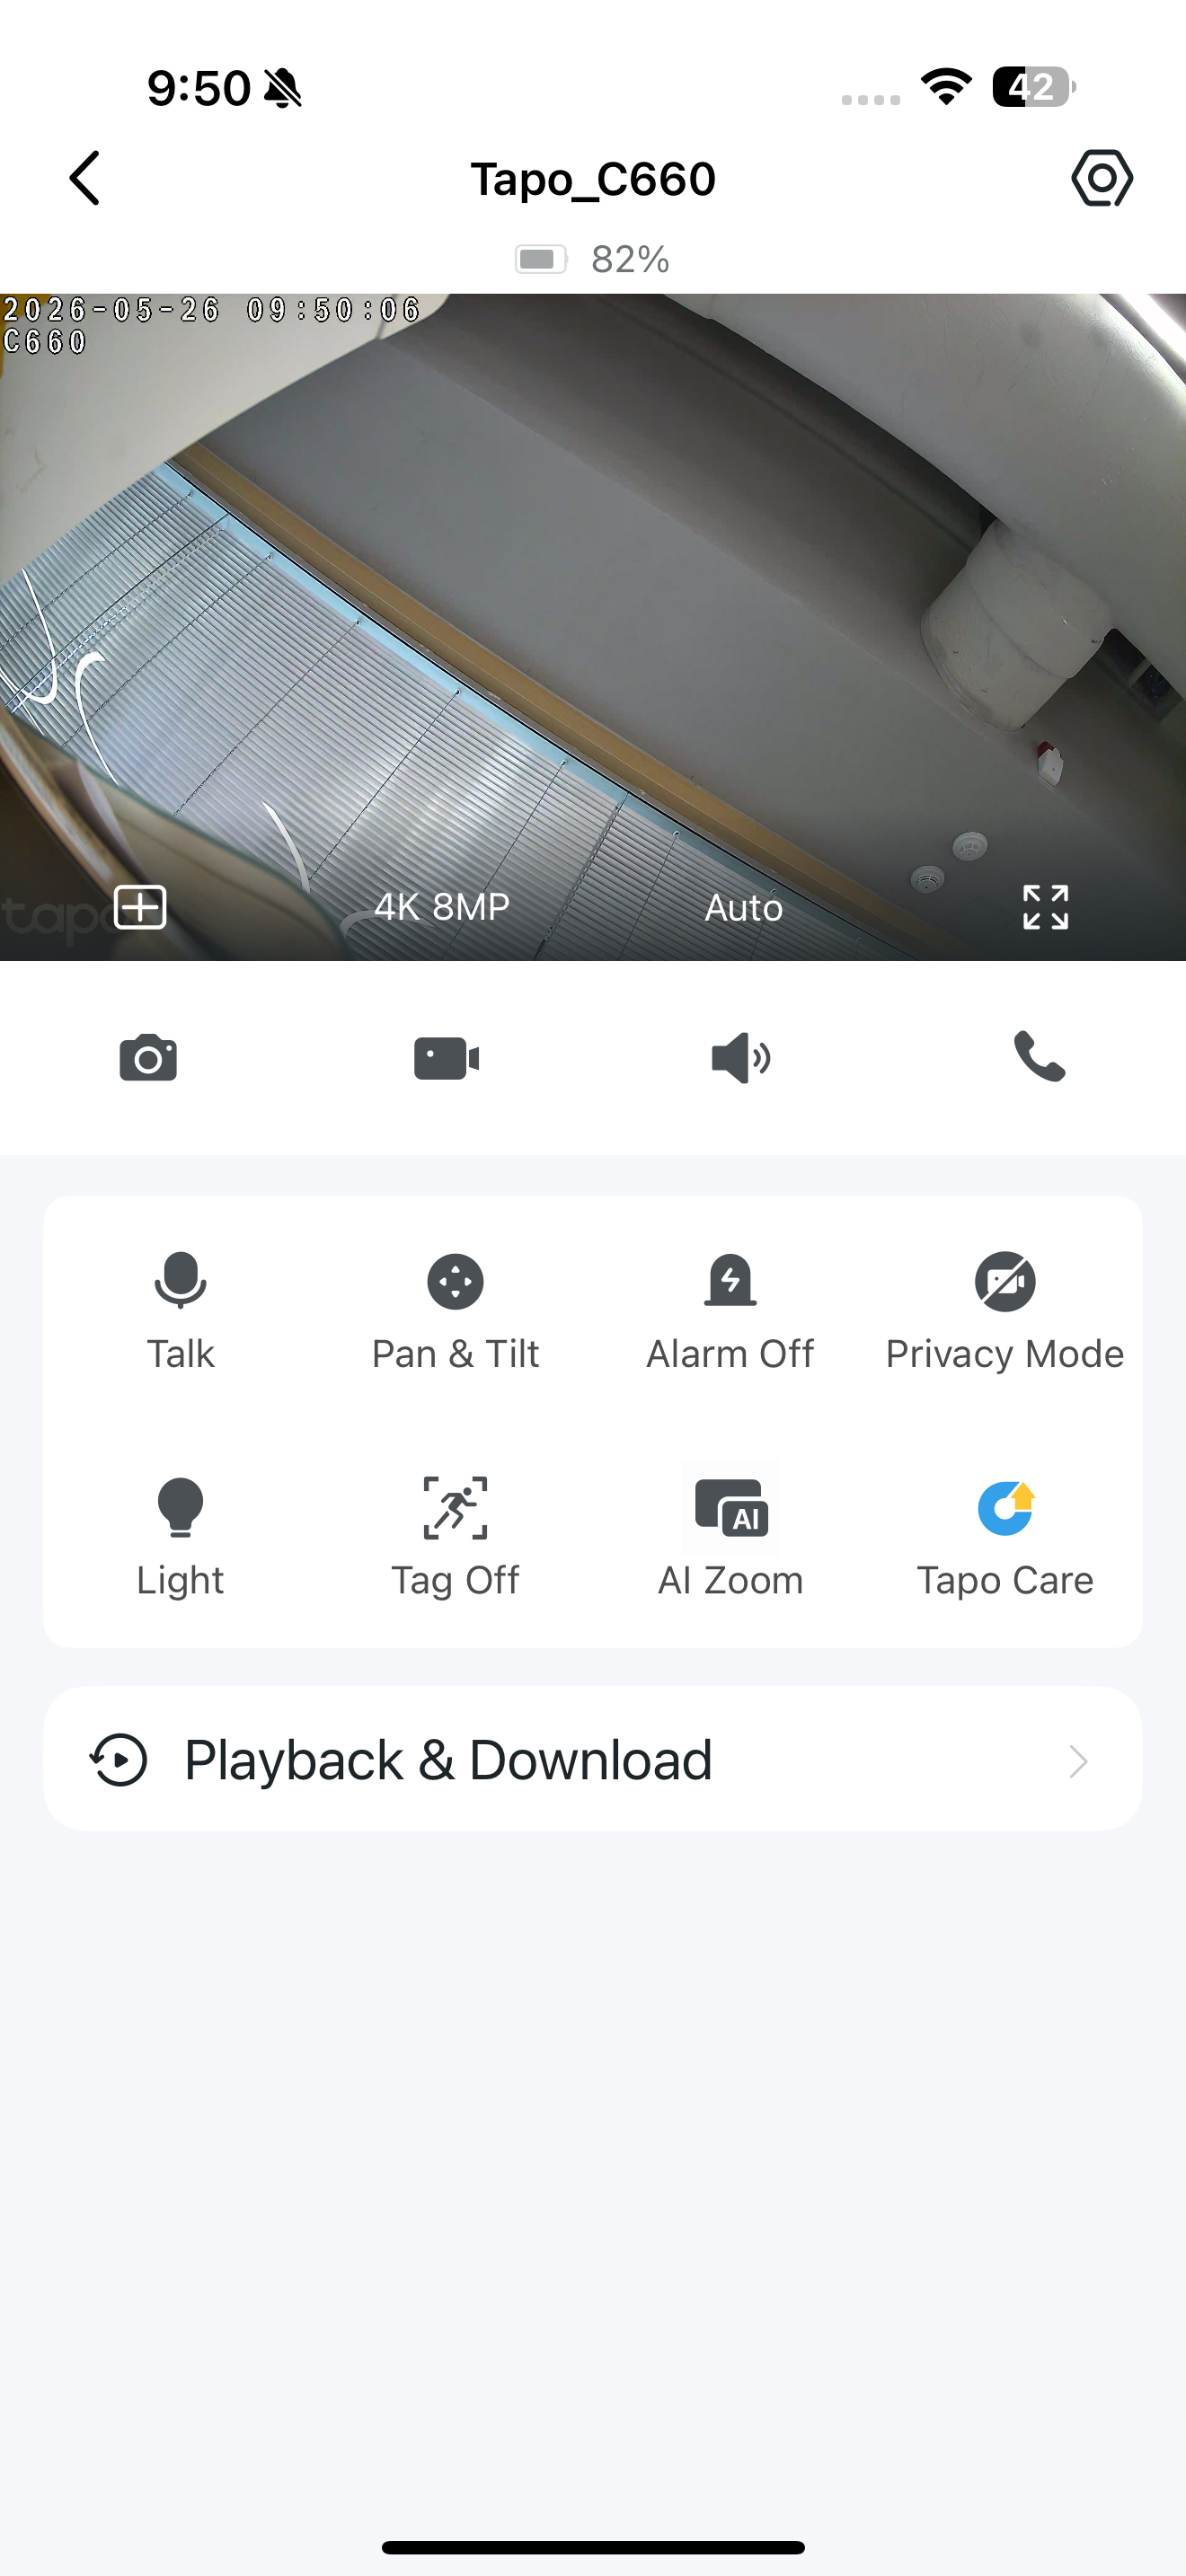
This is a brief overview of the icons and features on the camera's live view page. The icons on the live screen will appear after you tap the screen once.
Note: Here we take Tapo C660 as an example. Icons and features on the live view page may differ by models.
Explanations to Icons on the Live Screen
| Icons | Functionality | Screen Performance |
|---|---|---|
|
Multi-Screen |
View live videos from multiple cameras at the same time. | 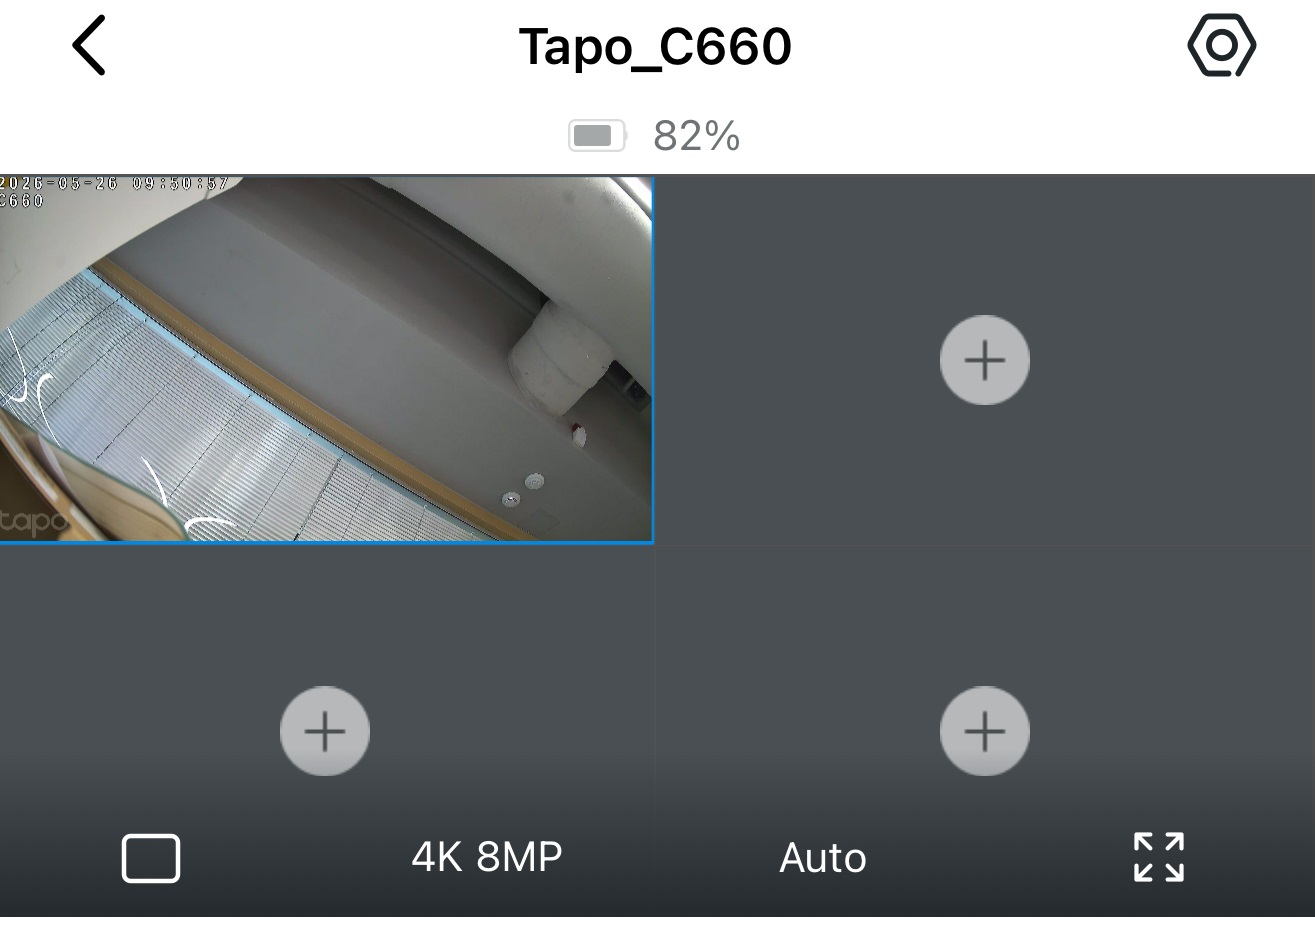 |
|
4K Resolution |
Tap to switch the video quality. | 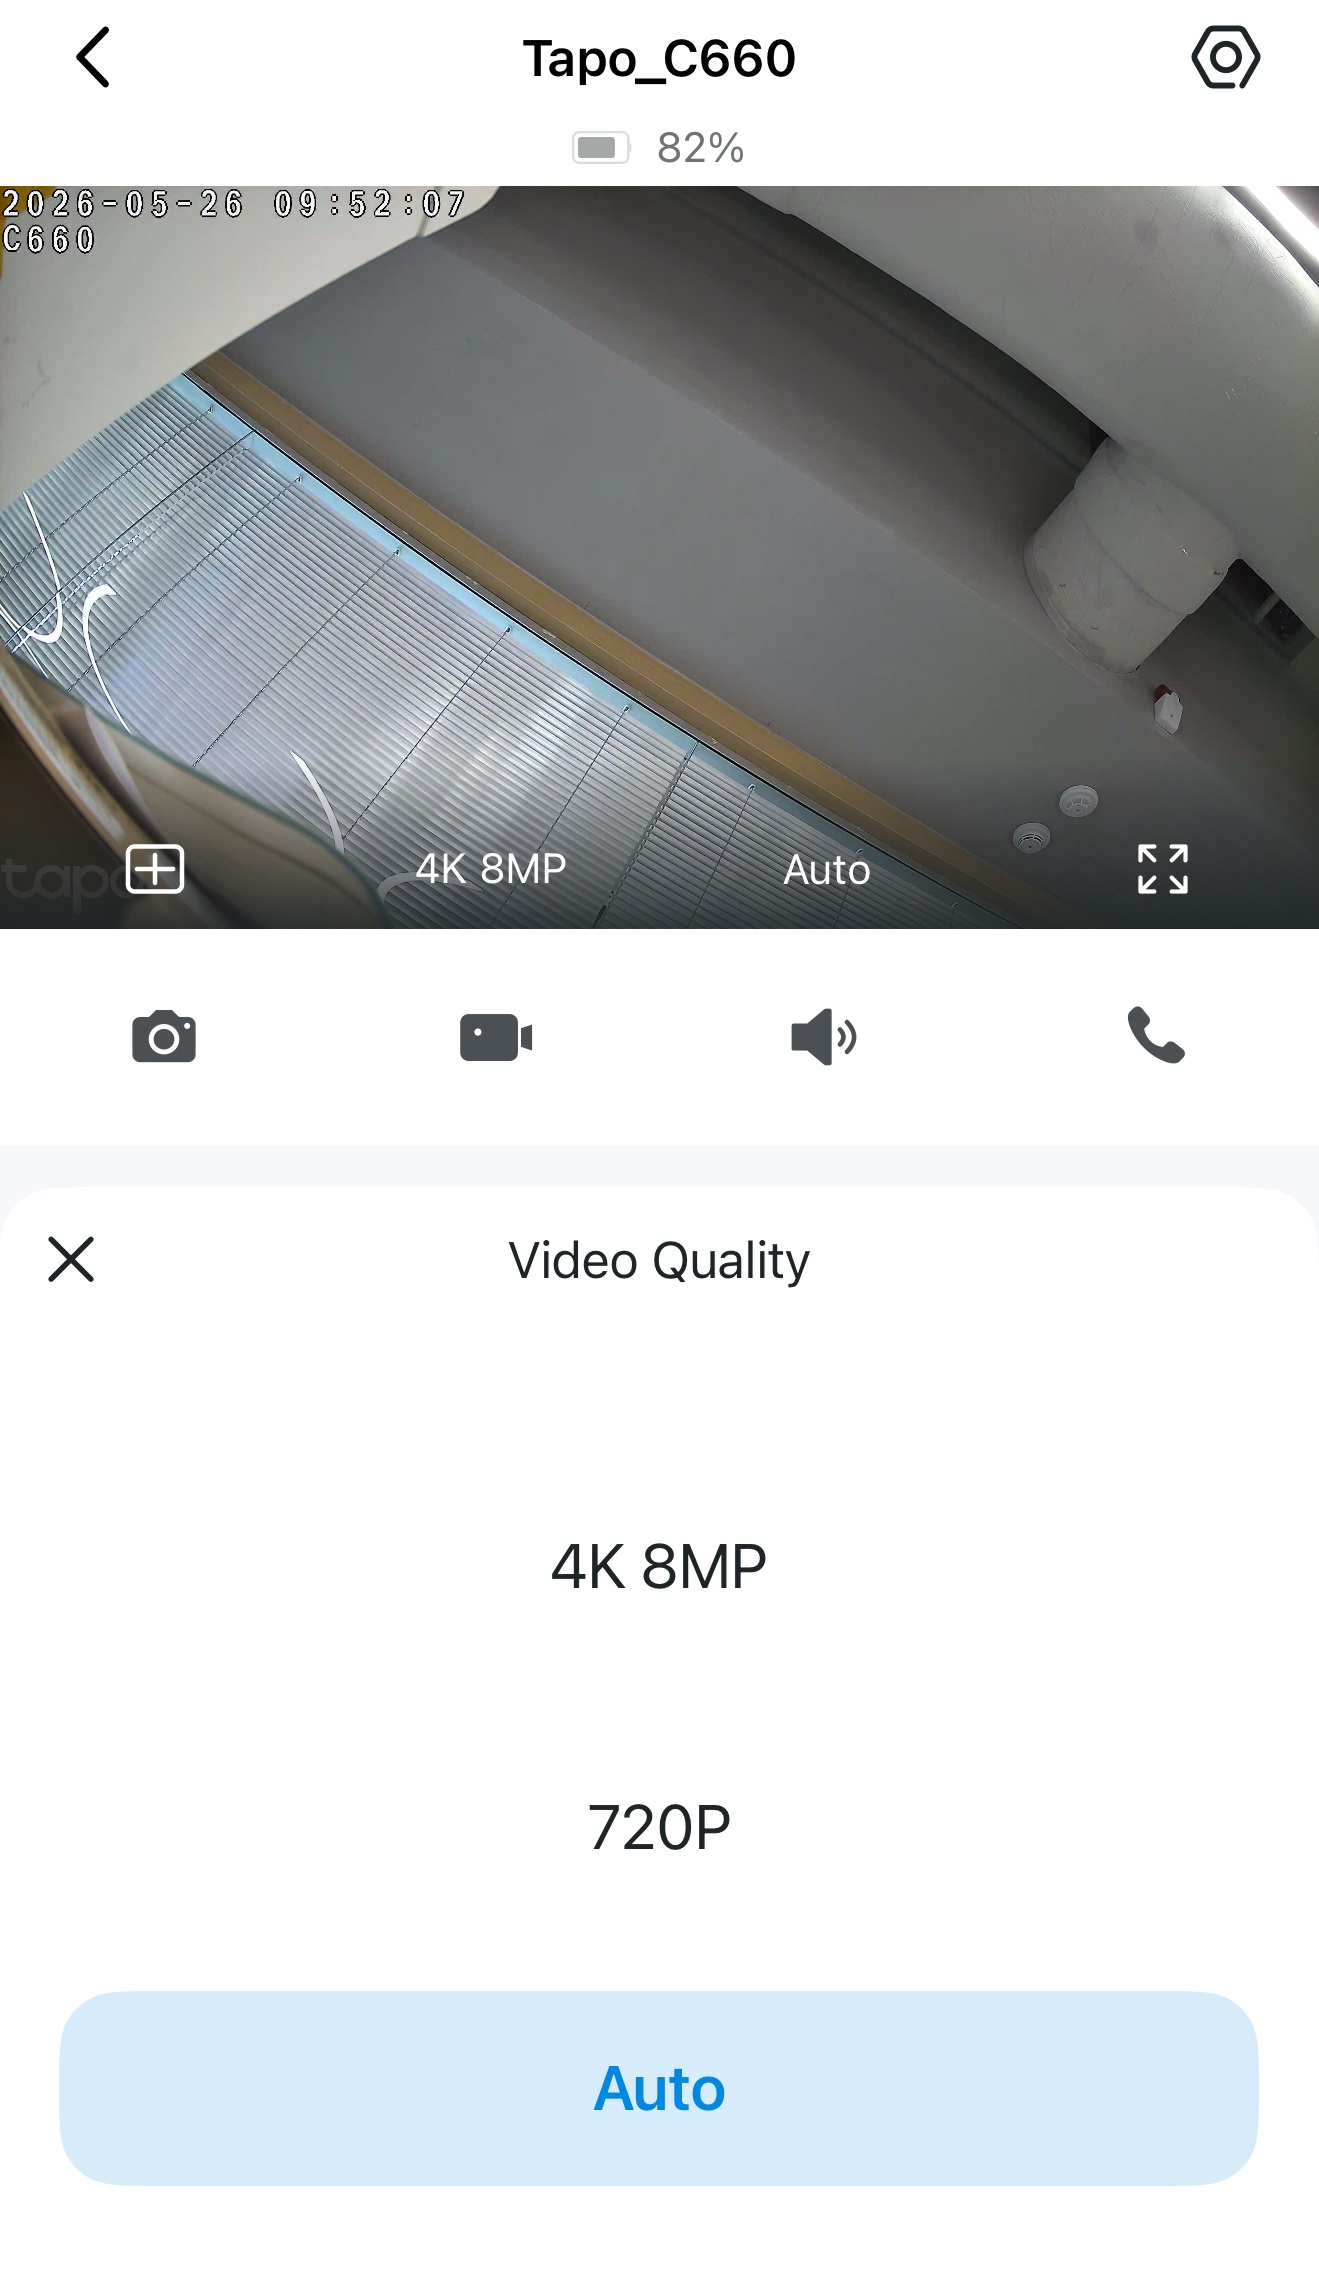 |
|
Auto Video Mode |
Tap to switch the video mode to Day Mode, Night Mode, or Auto. | 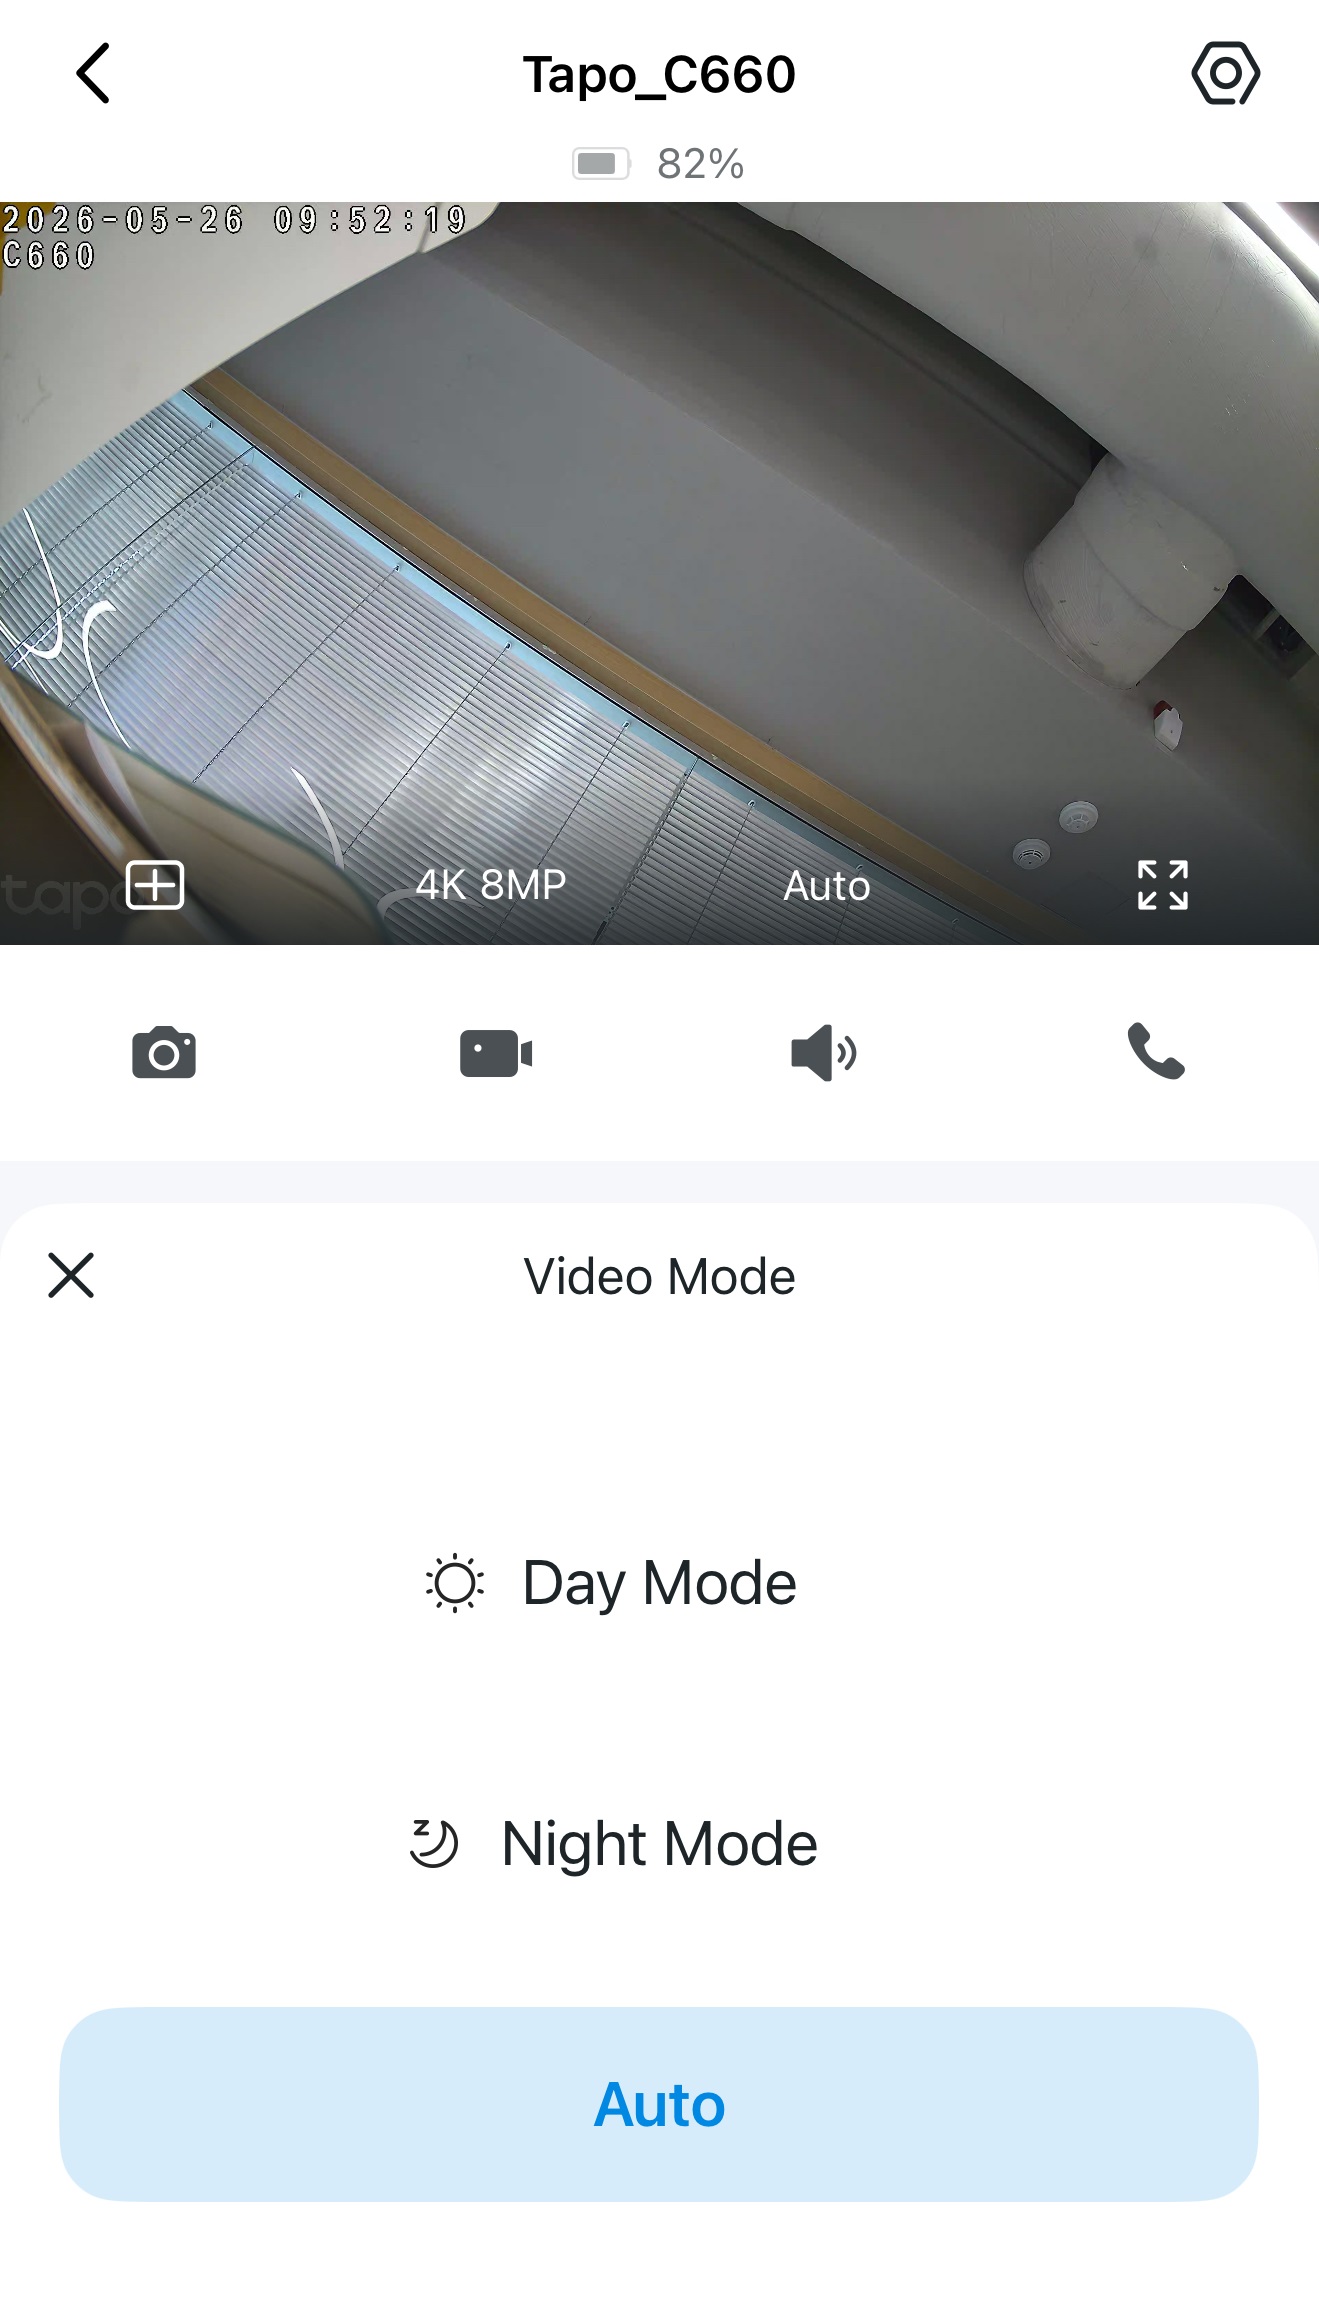 |
|
Full Screen |
Tap for a full screen display. | 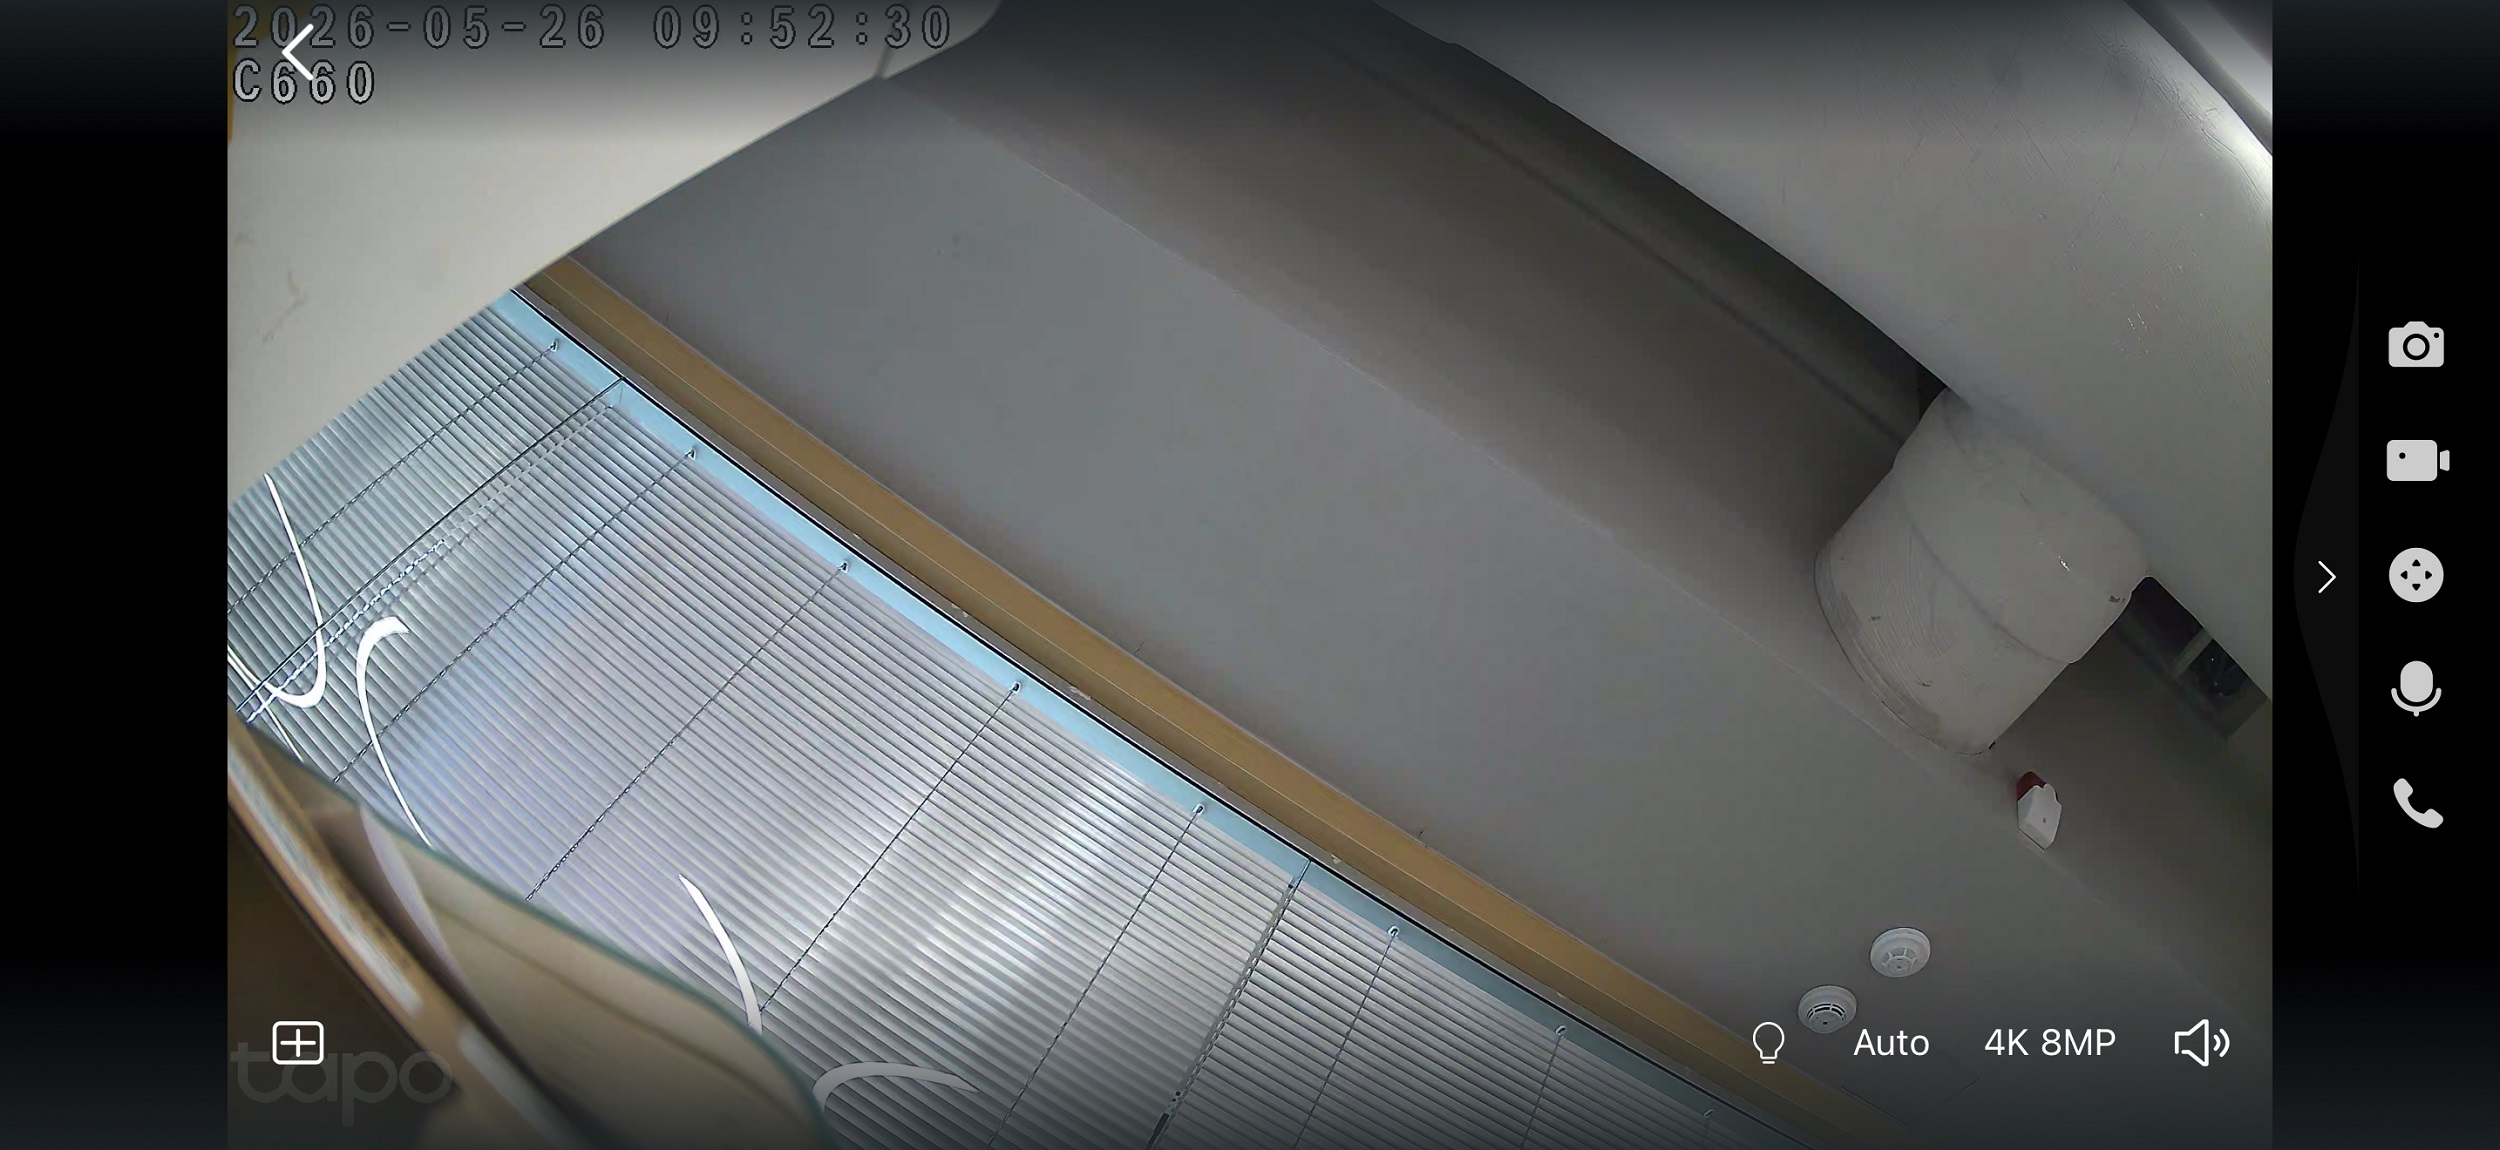 |
|
Screenshot |
Take a screenshot and save captures to Download. | 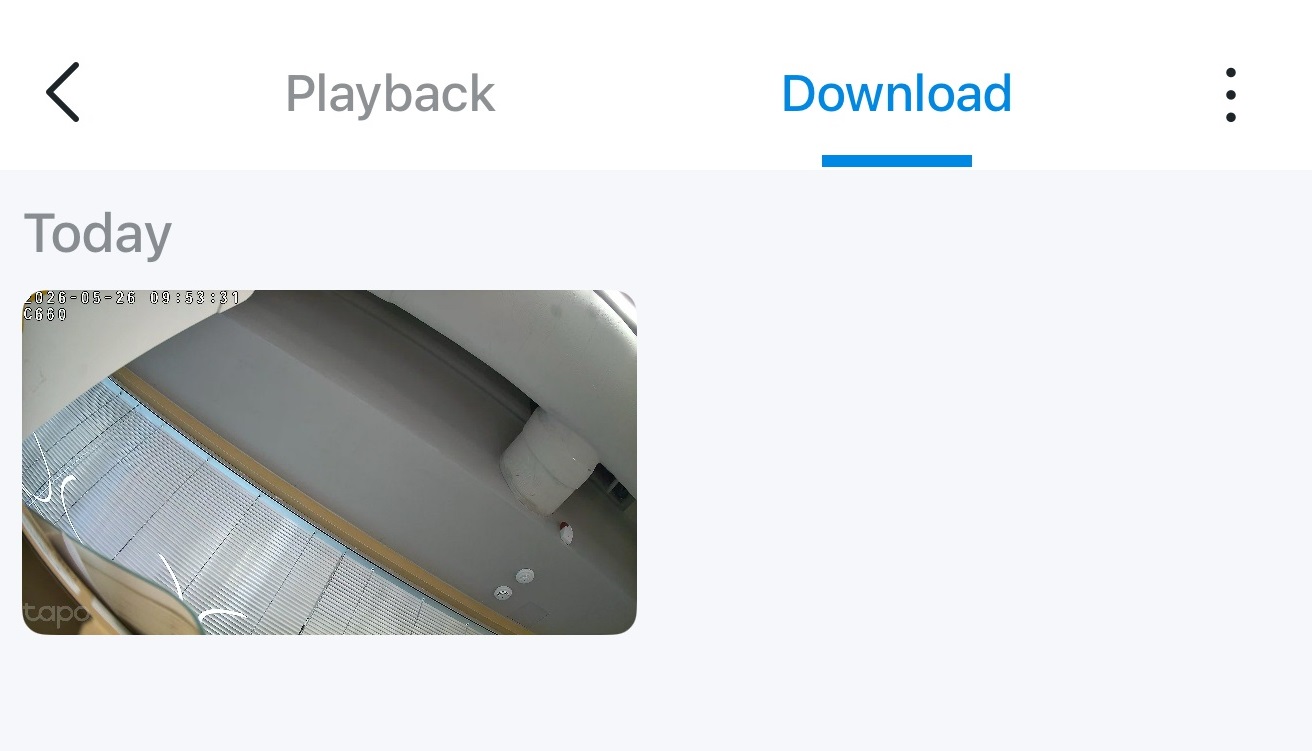 |
|
Record |
Record the live view and save recordings to Download. | 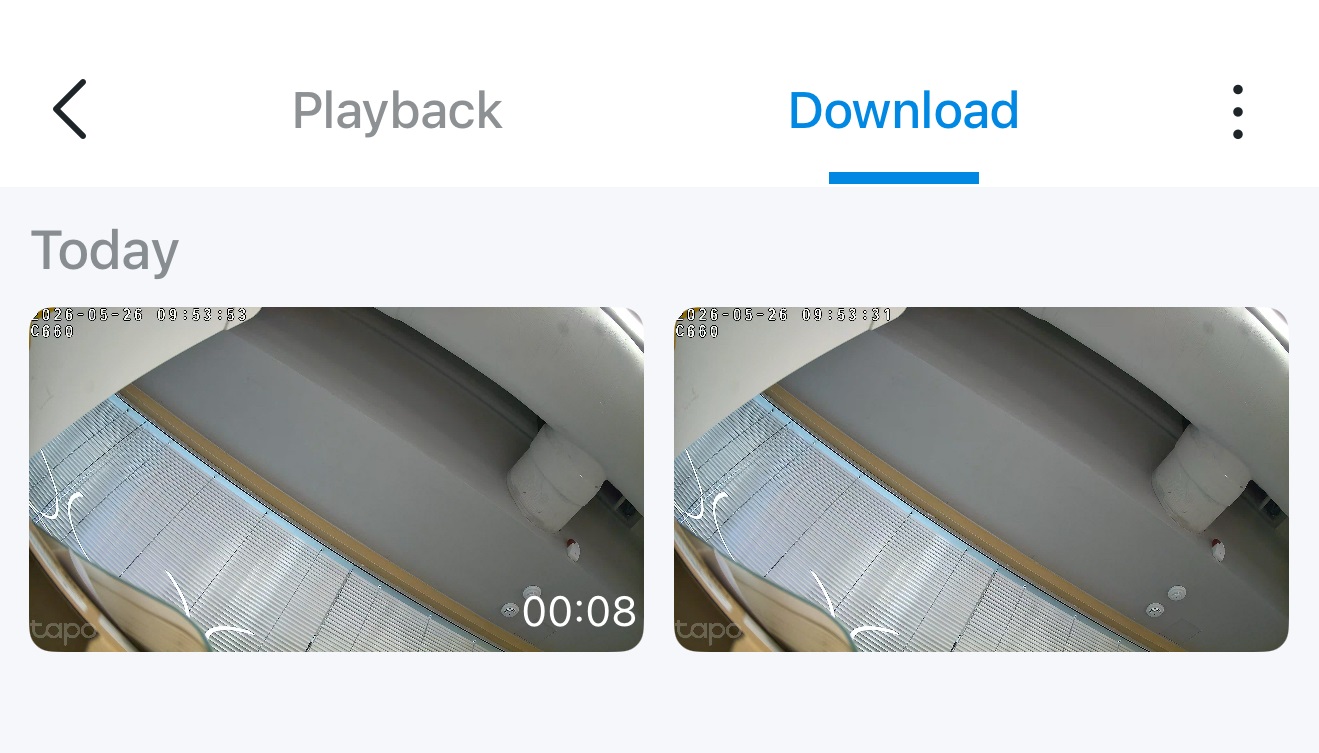 |
|
Volume |
Tap to adjust the microphone's volume. | 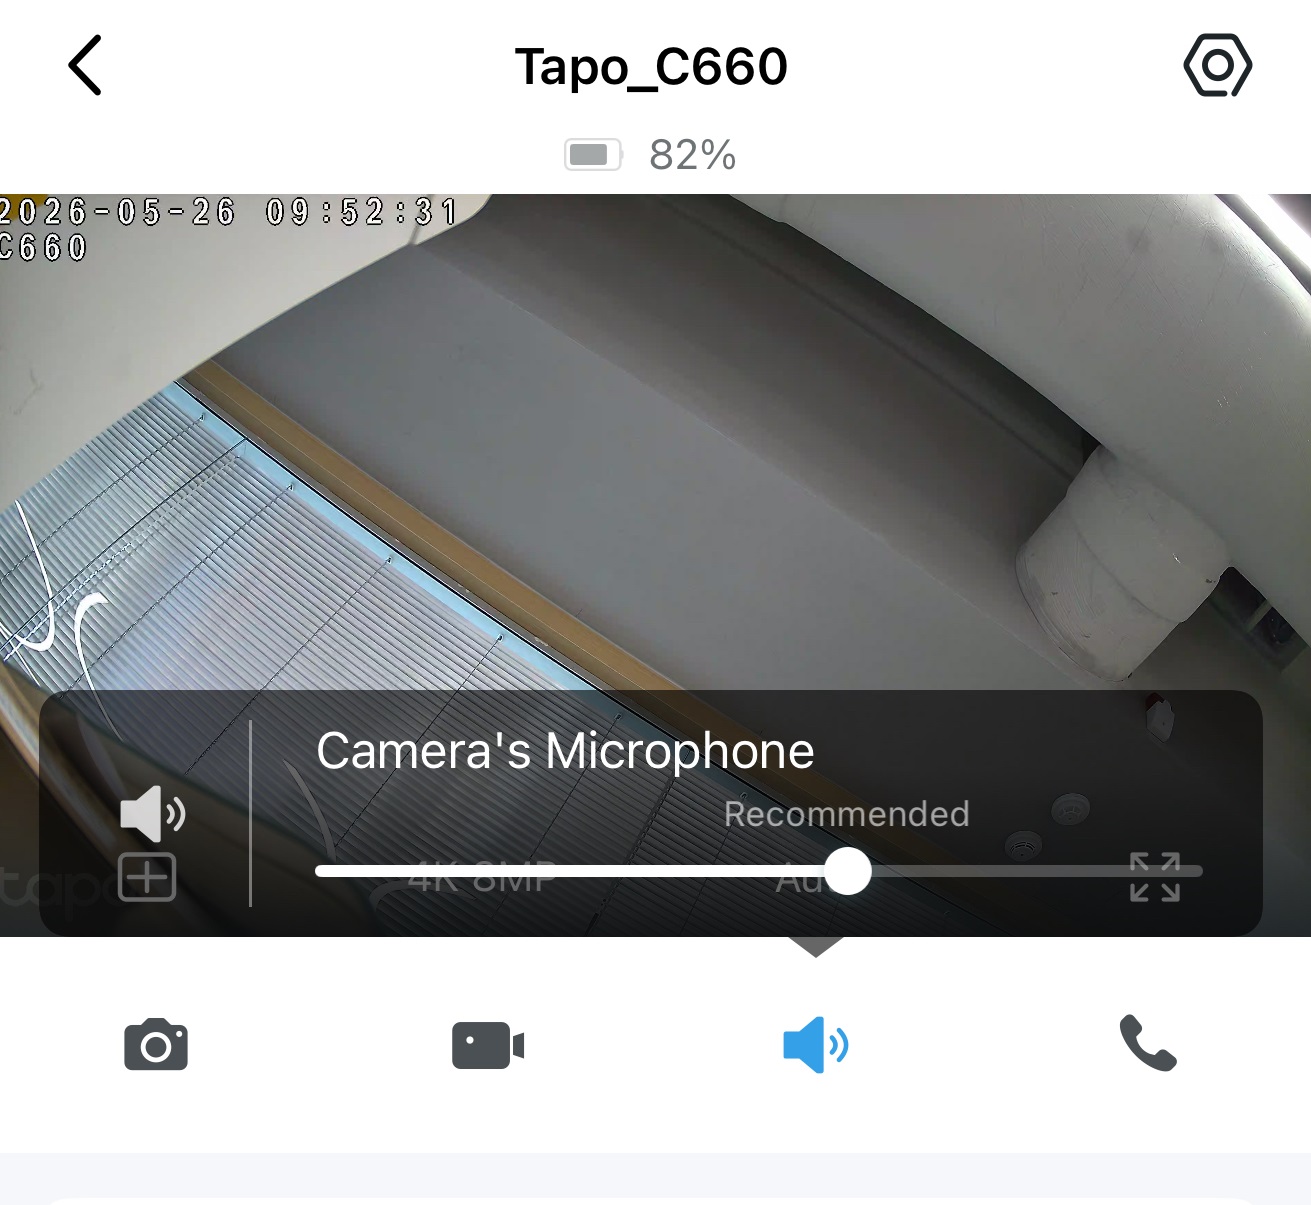 |
|
Voice Call |
Communicate with your loved ones. | 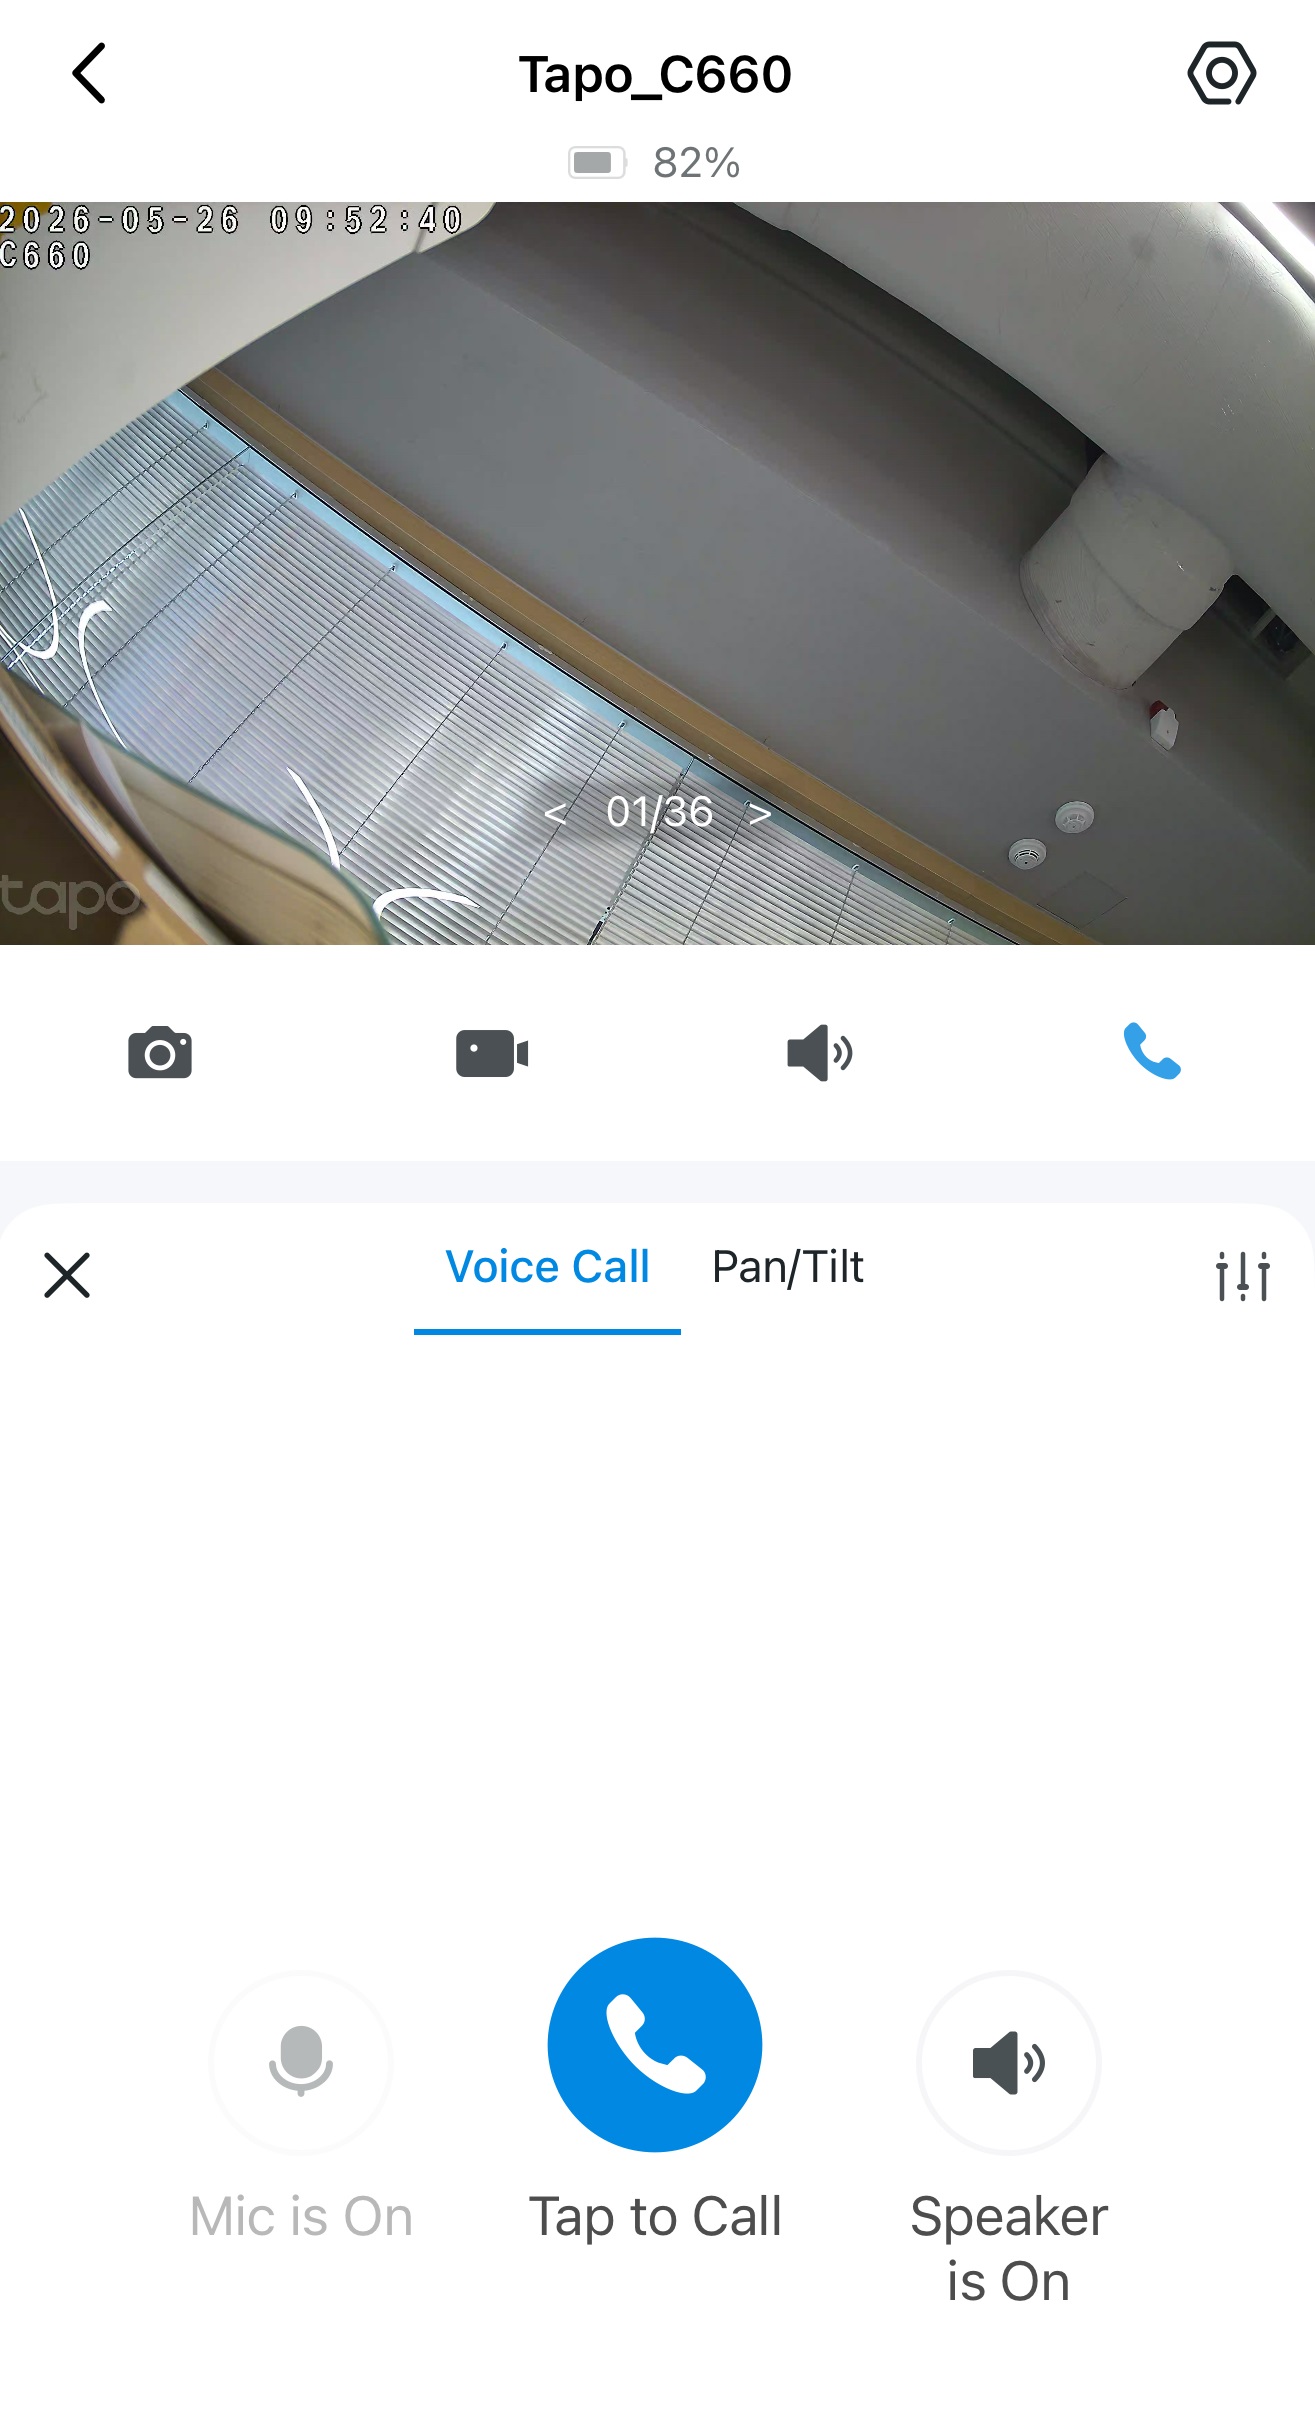 |
|
Talk |
Tap and hold to talk with your loved ones. | |
|
Pan & Tilt |
Rotate your camera to monitor every angle of your home. | |
|
Alarm On/Alarm Off |
Turn your alarm on if you want to get noticed when event is detected. | |
|
Privacy Mode |
Enable to shut down the surveillance for privacy protection. | |
|
Single View/Dual View |
Tap to switch between dual live views and single live view.
|
|
|
Switch View |
Tap to switch between the camera's pan/tilt lens and fixed lens when Dual View is enabled.
|
|
|
Light |
Turn on the spotlight to create colorful images at night. |
|
|
Tag On/Tag Off |
Turn on to display the person/pet/vehicle tag on the screen of your camera. | |
|
AI Zoom |
Allow the camera to automatically zoom in and follow the target's movement.
|
|
|
Tapo Care |
Subscribe Tapo Care to enjoy unlimited cloud storage. |











Pan & Tilt
Tap Pan & Tilt and the control panel appears. Tap on the Pan/Tilt, Patrol, or Pano panel to control your camera to move.
Note: Only Pan/Tilt cameras have this feature. Here we take Tapo C660 and C645D as examples.
_20260526061815j.jpg)
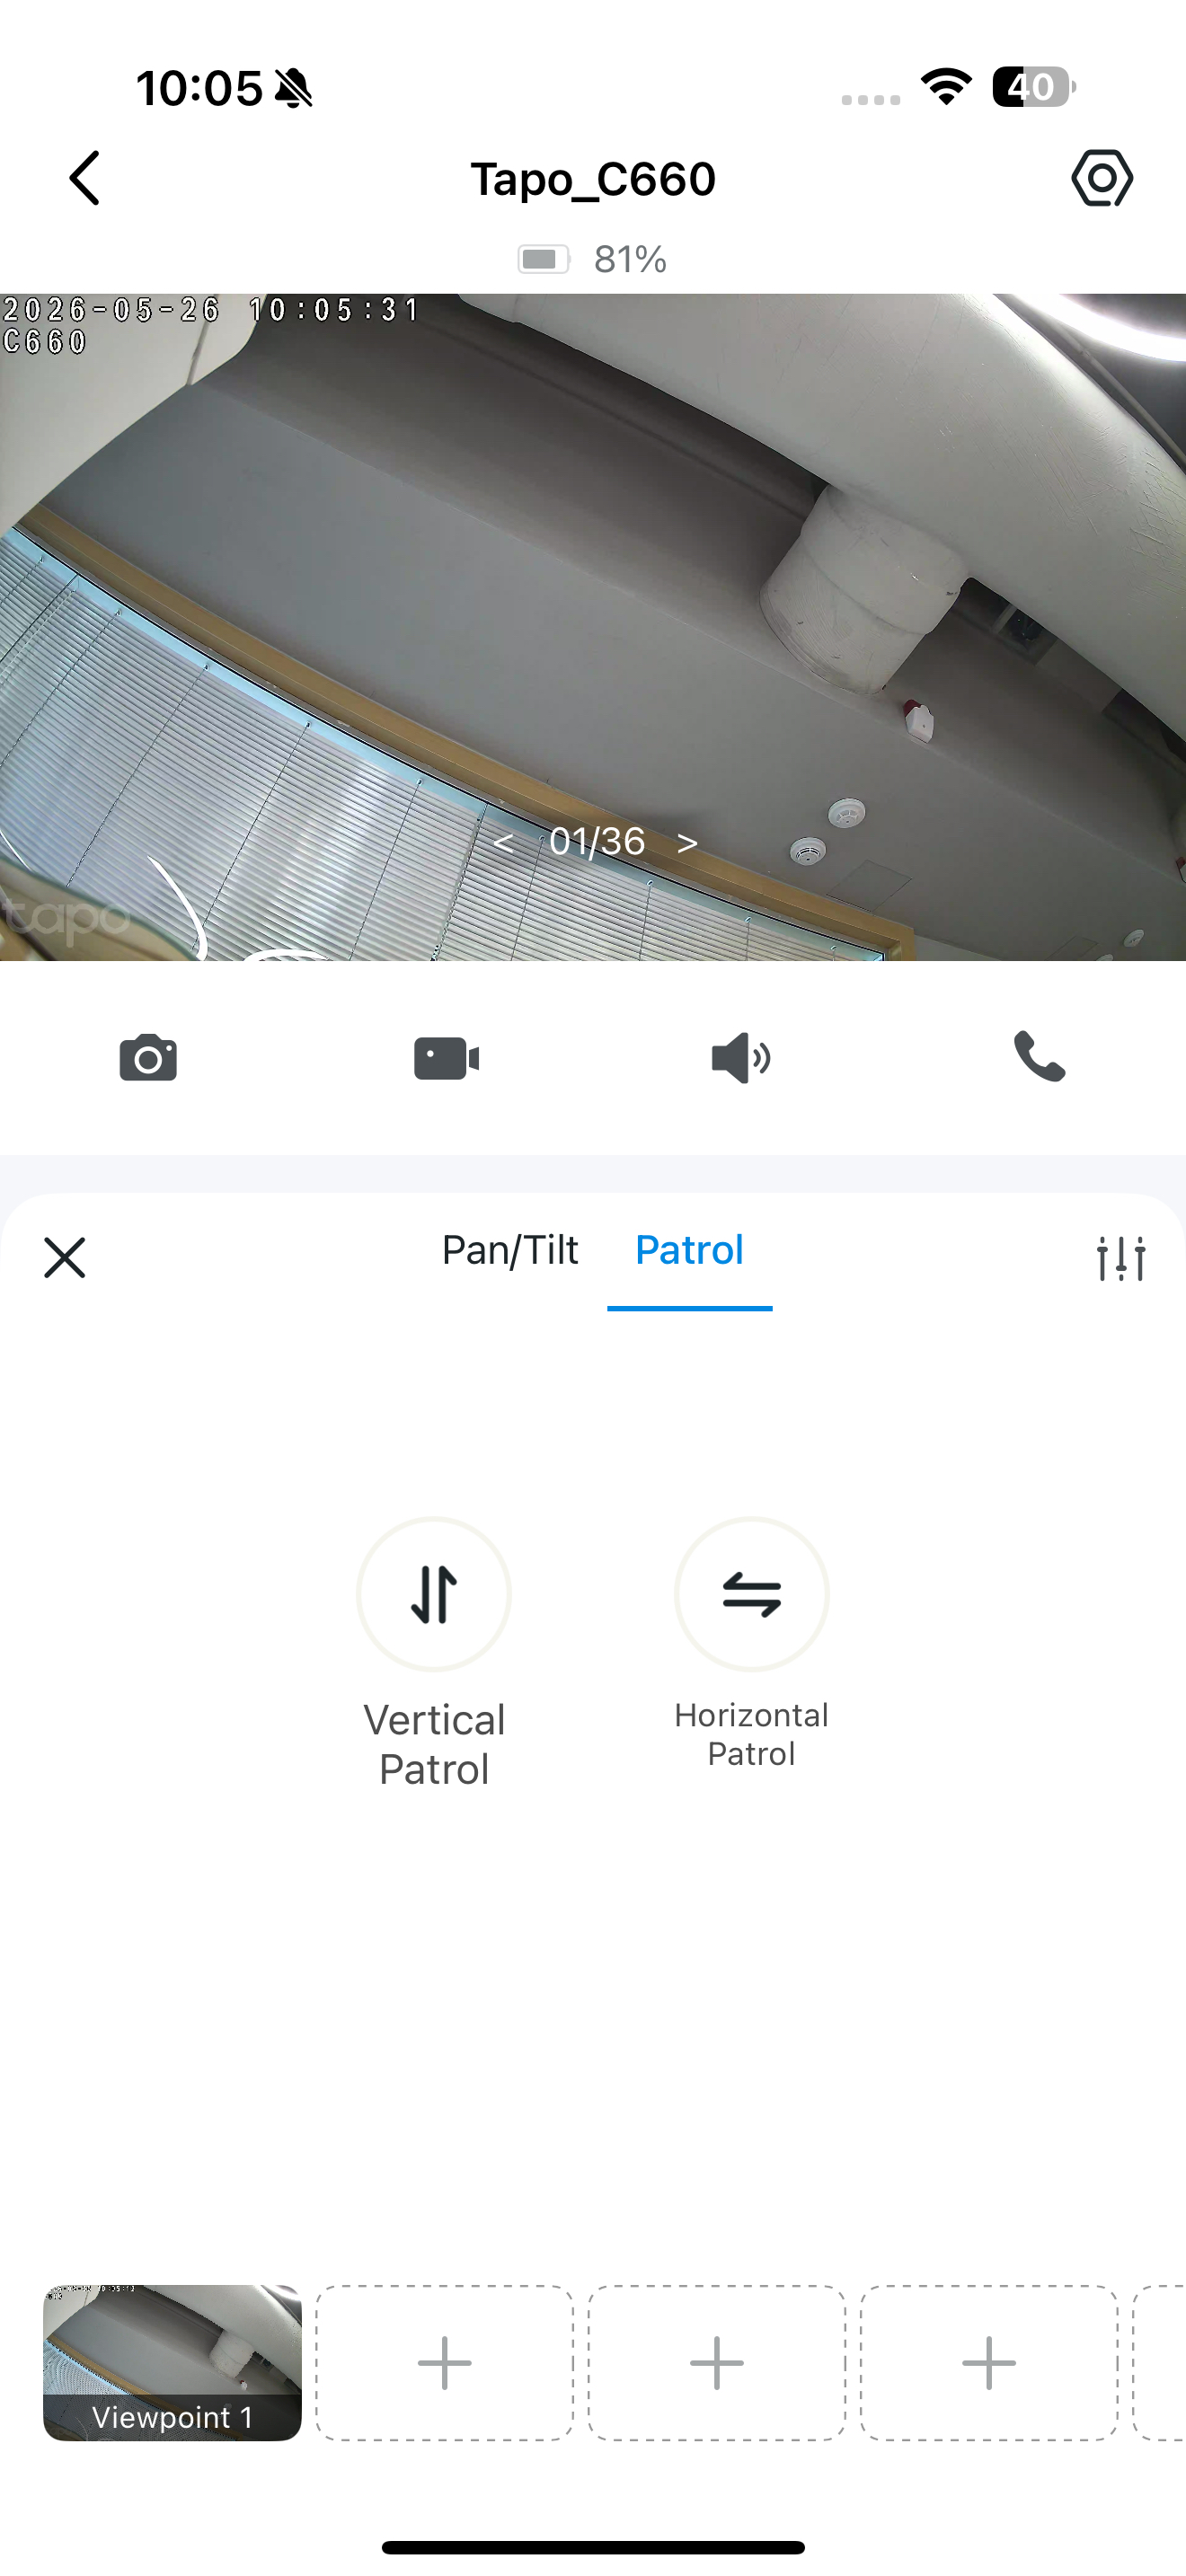
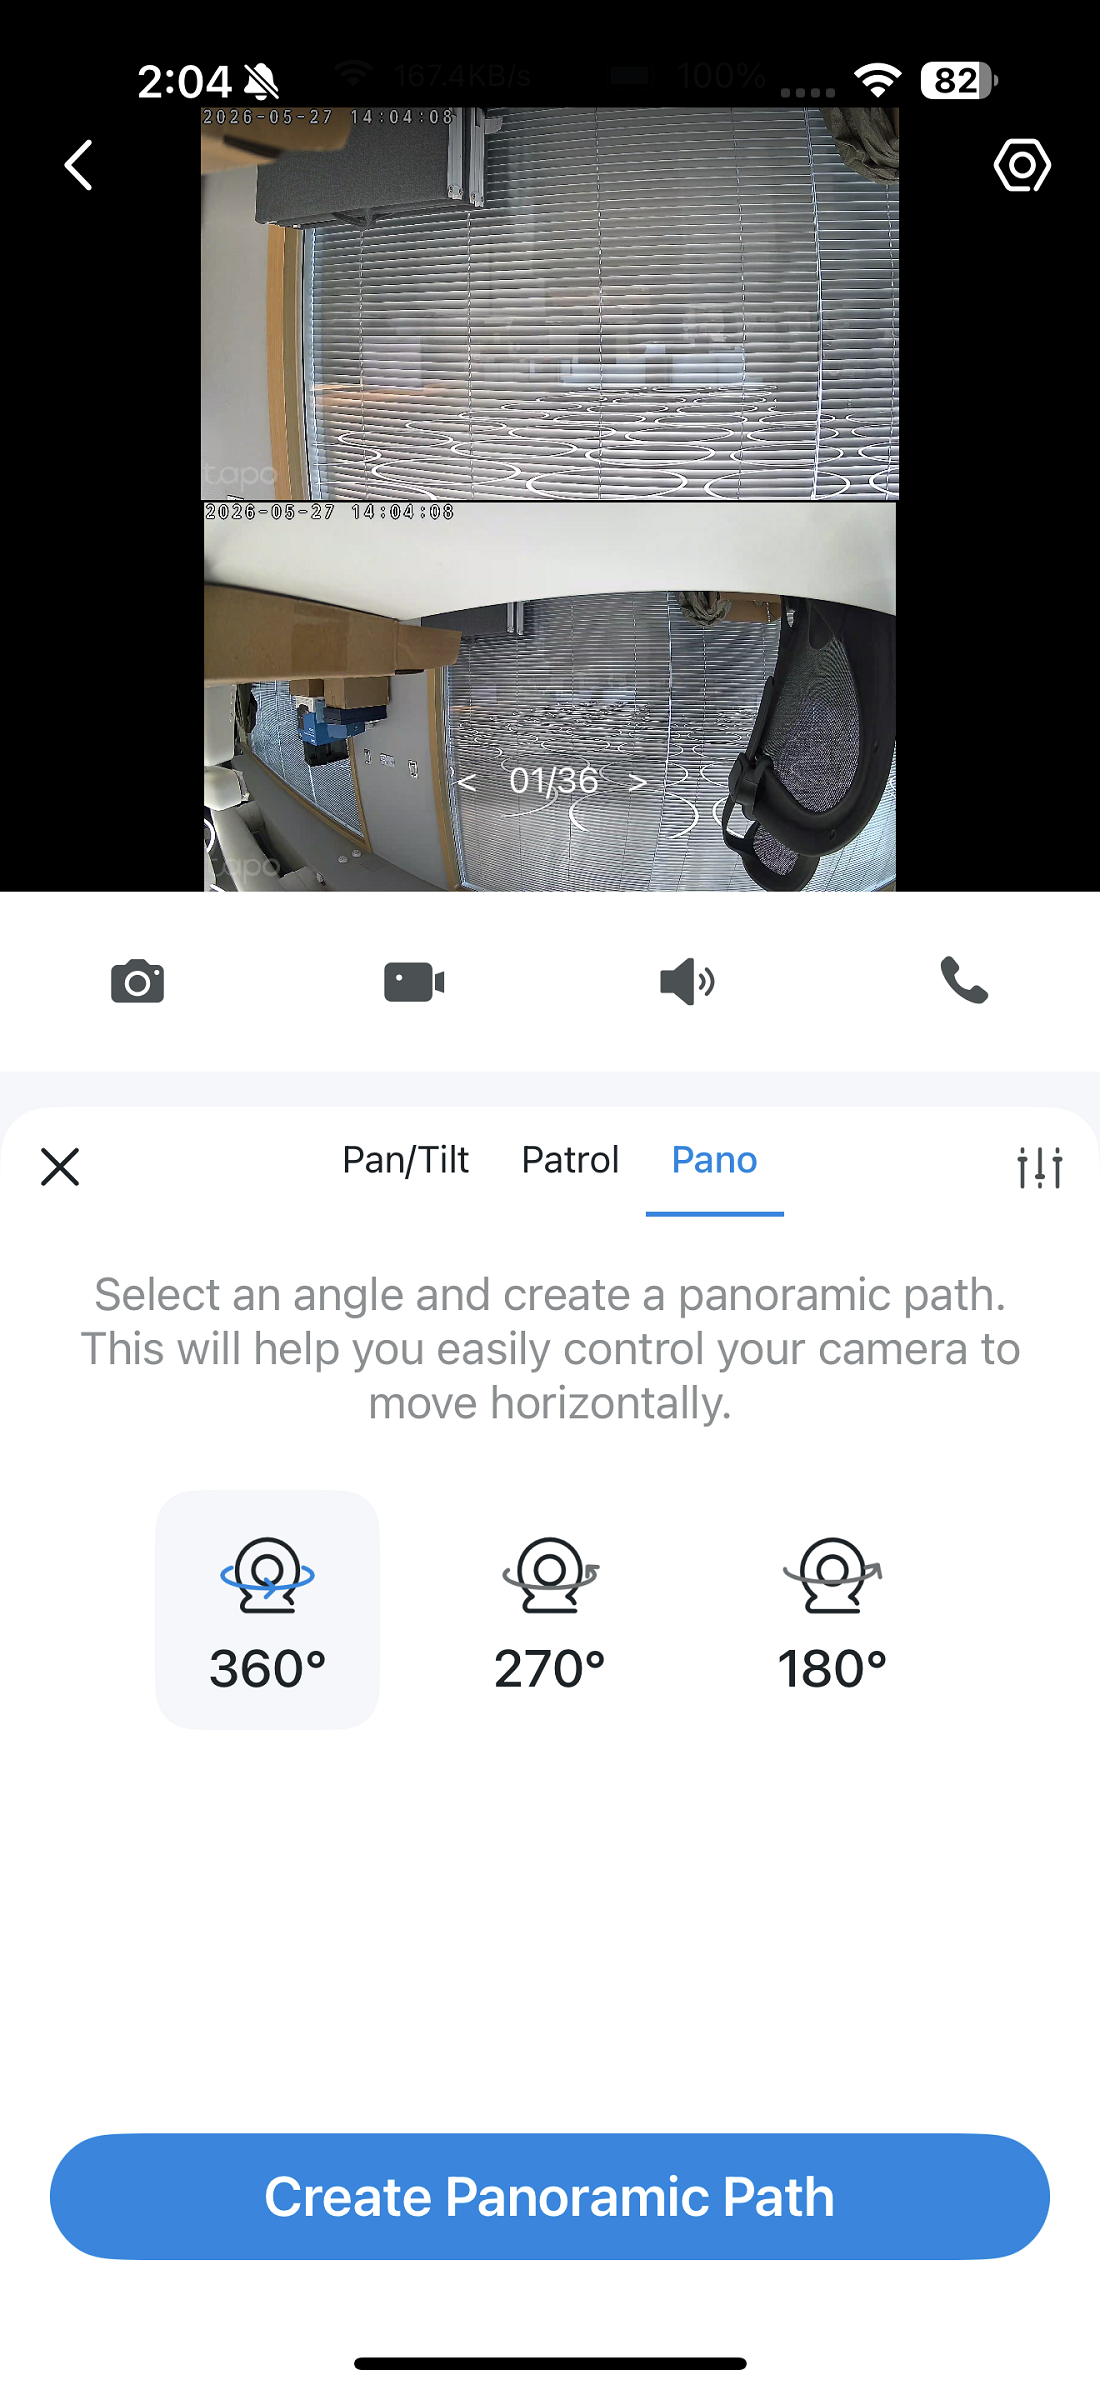
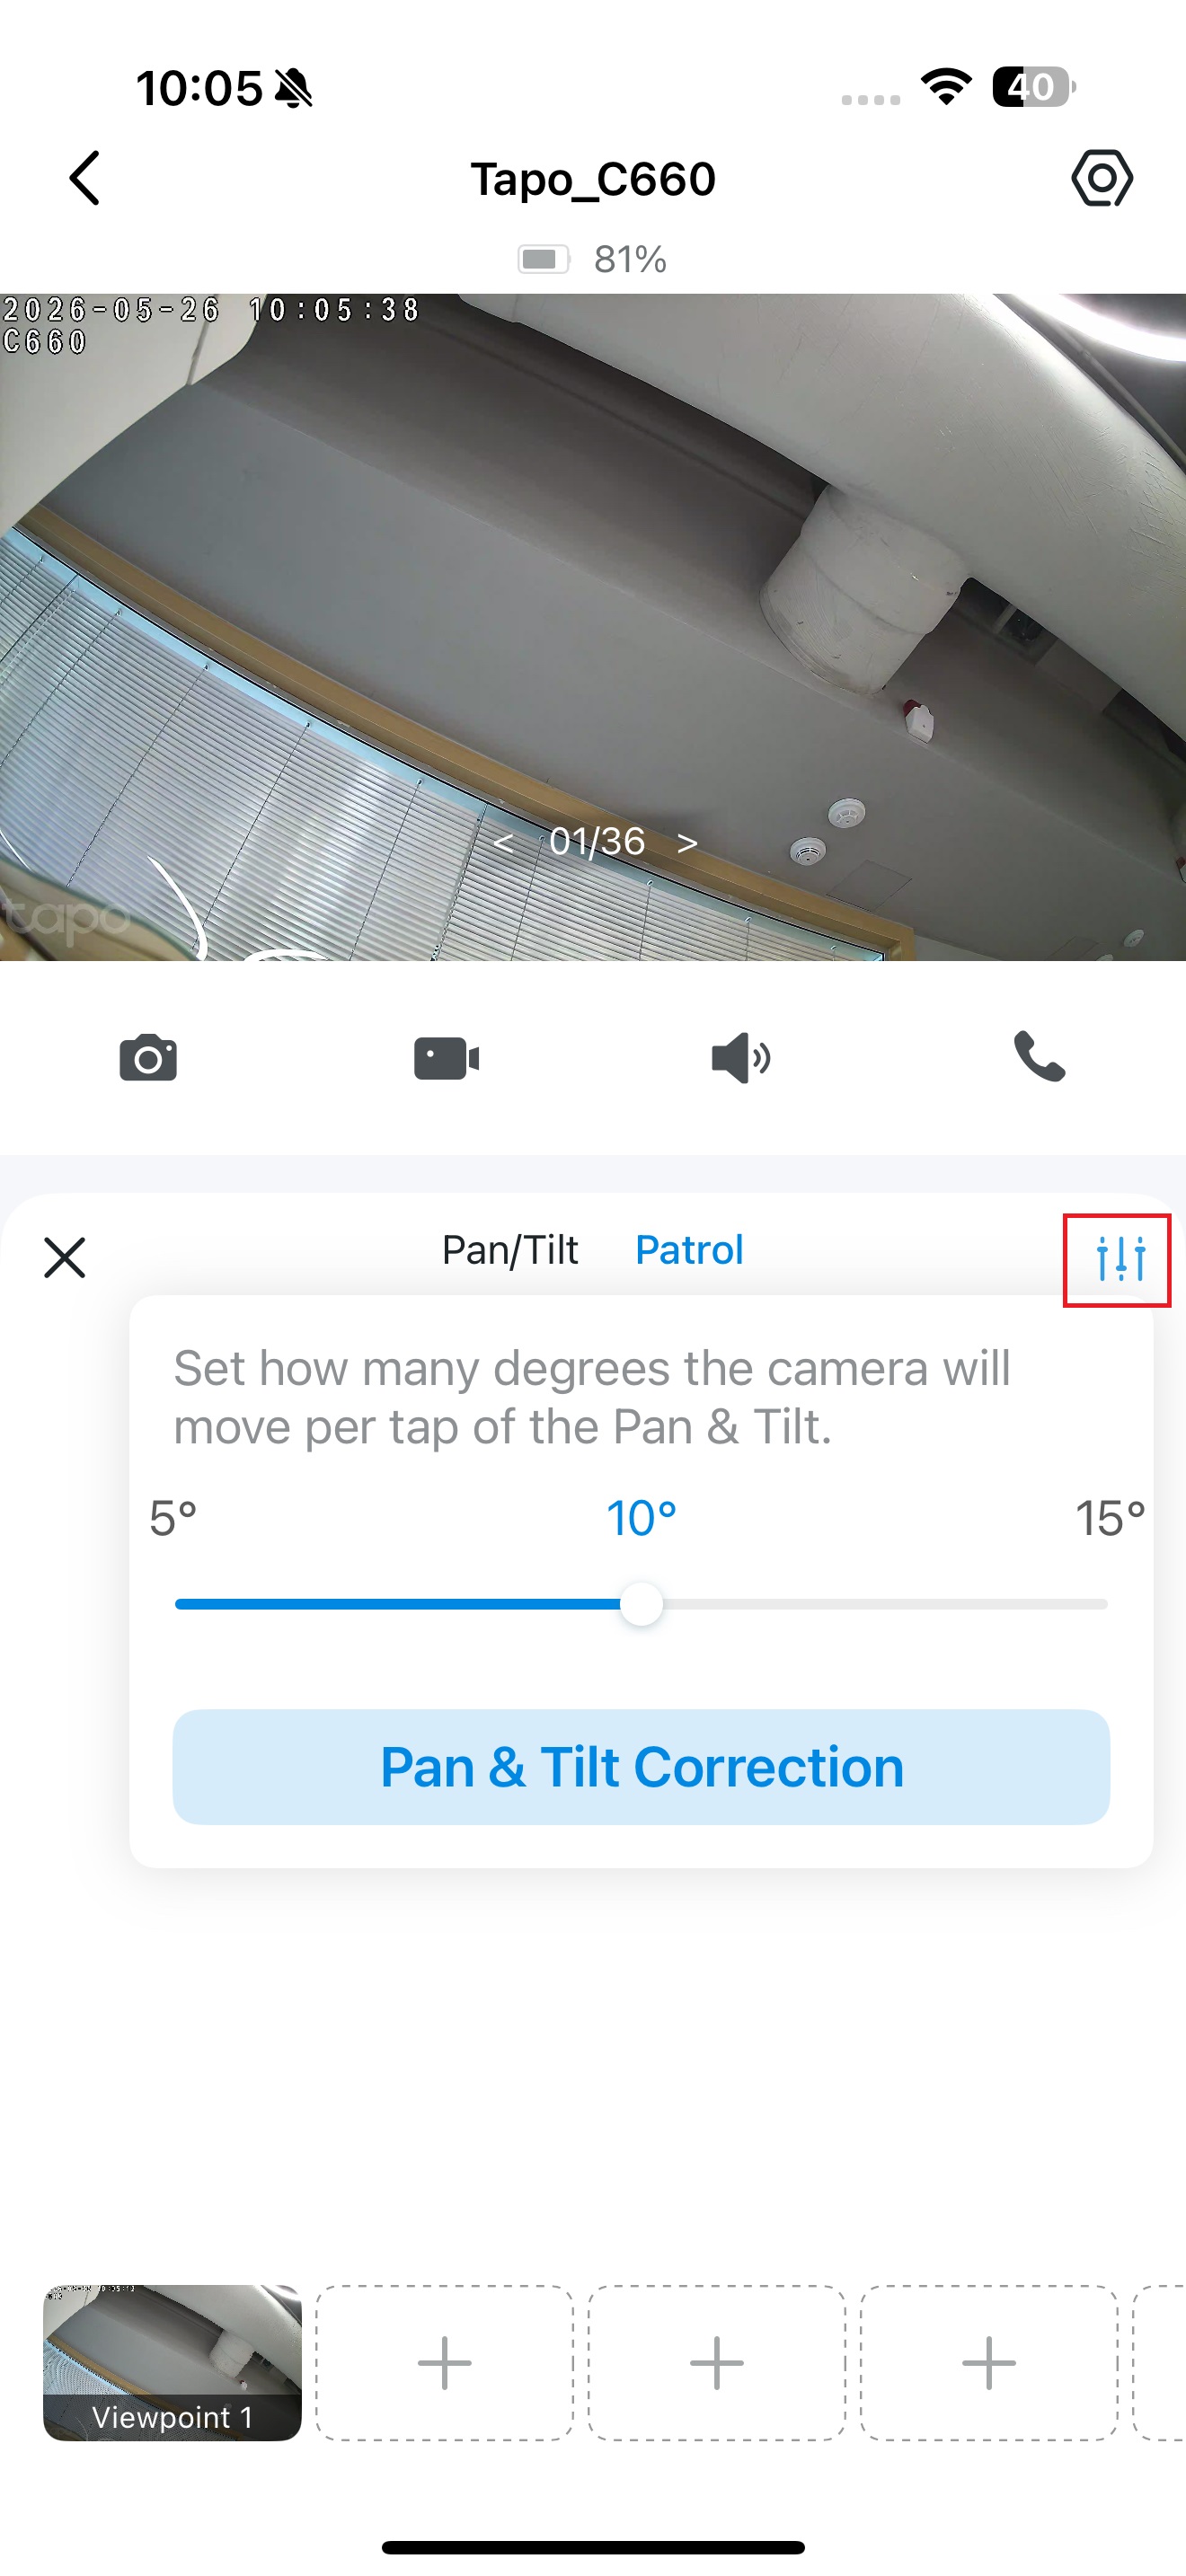
Tap the upper right button to set how many degrees the camera will move per tap of the Pan & Tilt.
Note: Only Pan/Tilt cameras have this feature. Here we take Tapo C660 as an example.
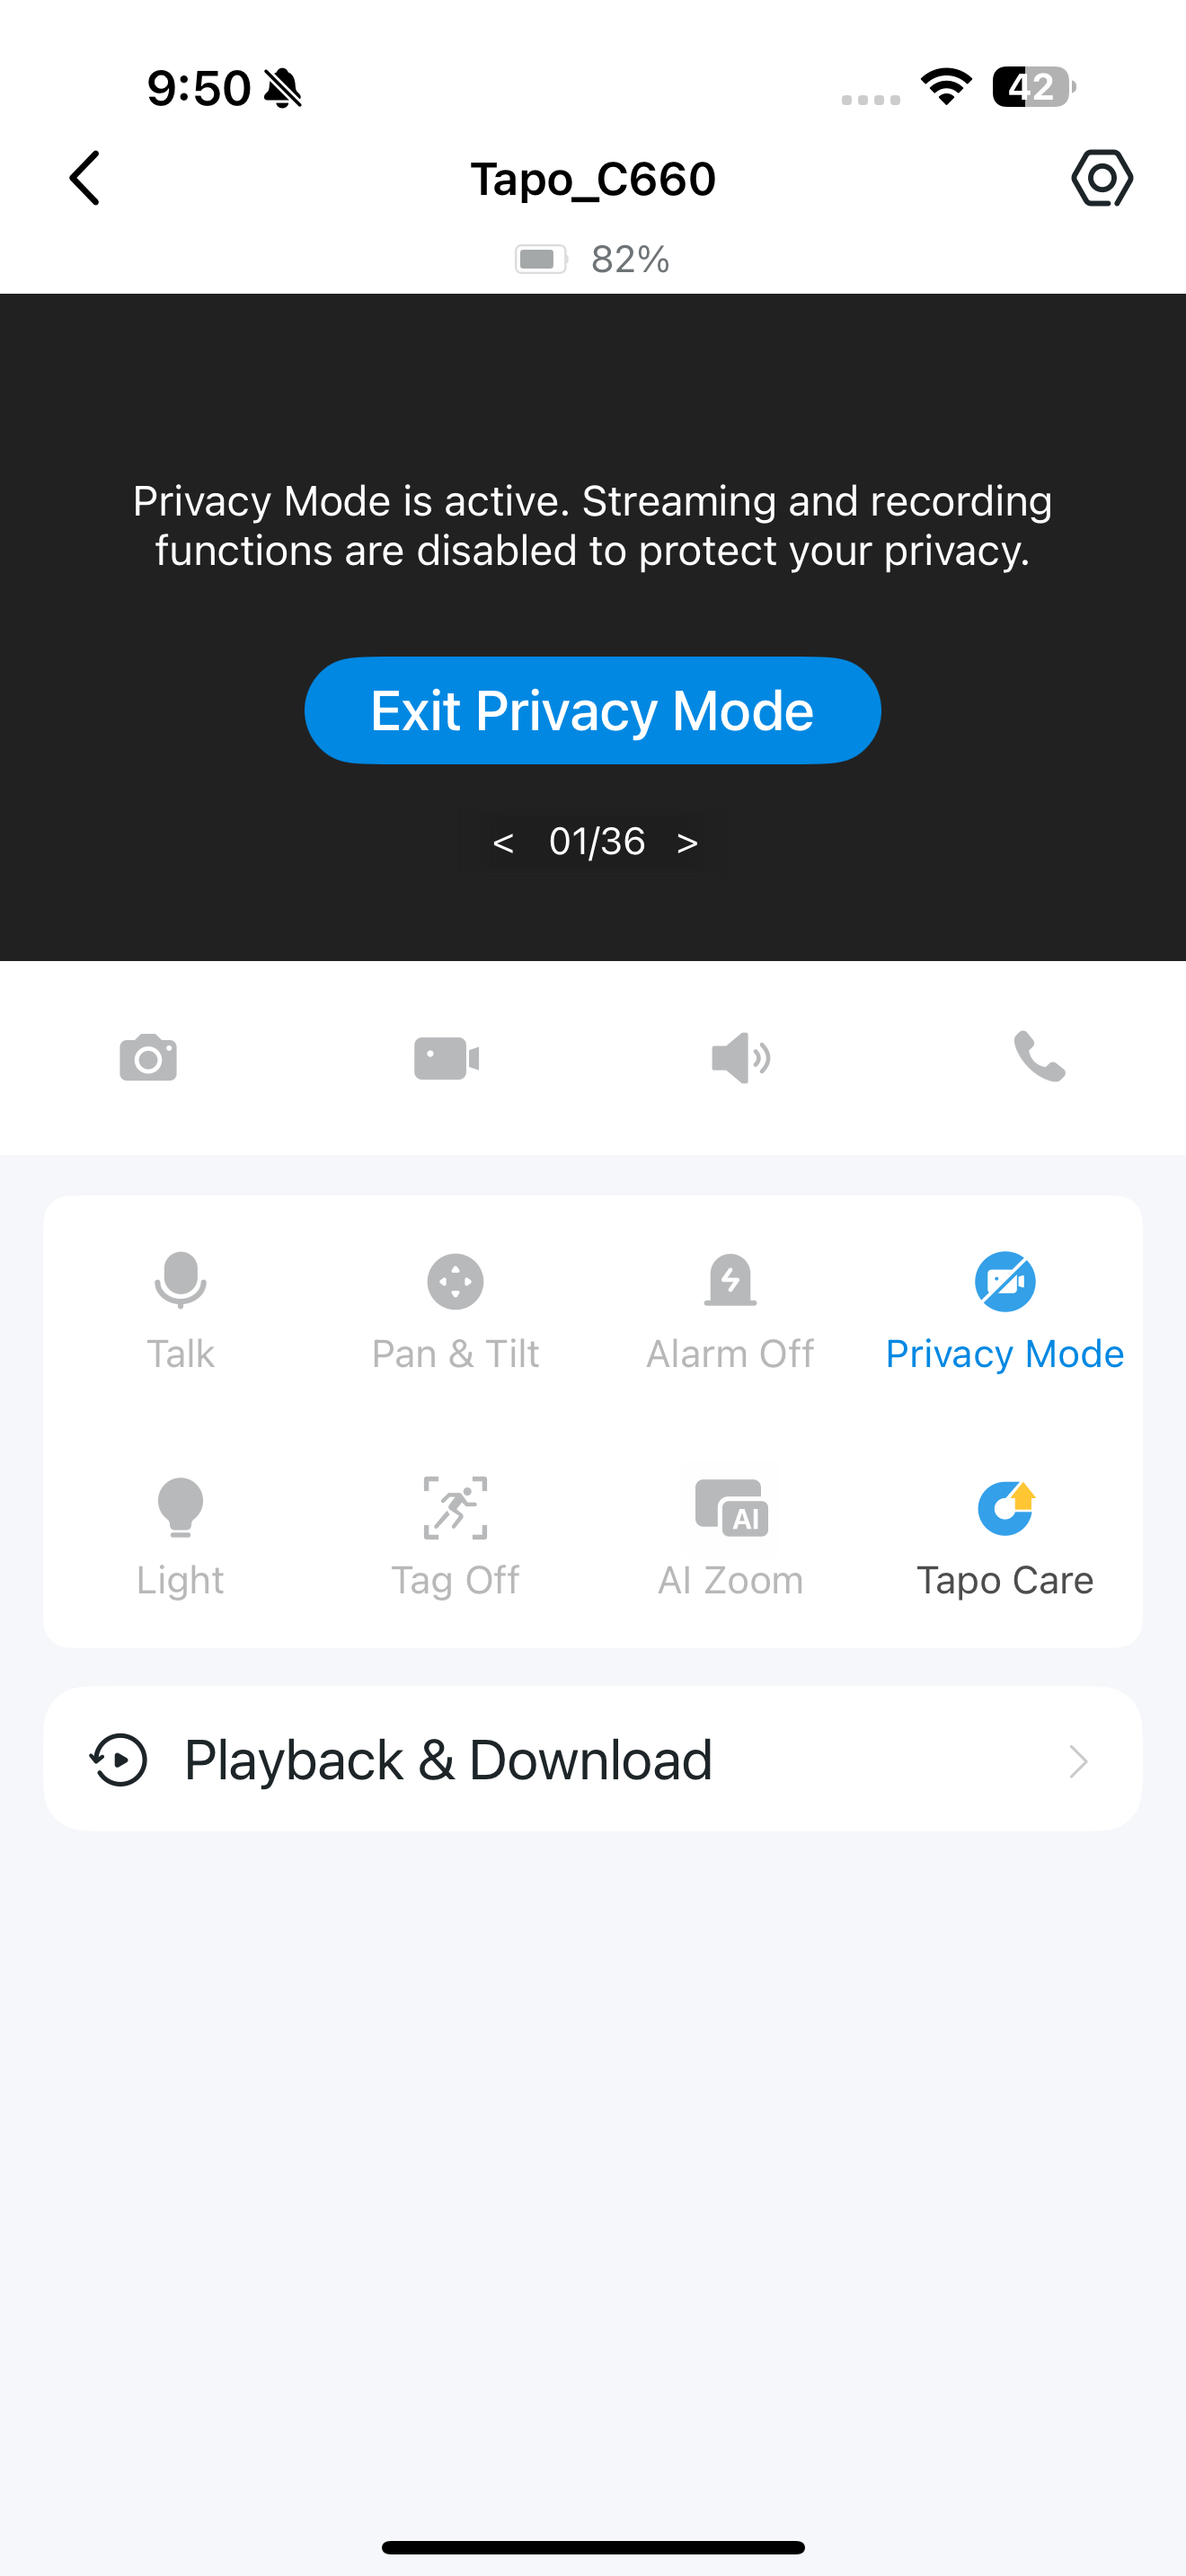
Privacy Mode
When Privacy Mode is active, streaming and recording functions will be disabled to protect your privacy.
Playback & Download
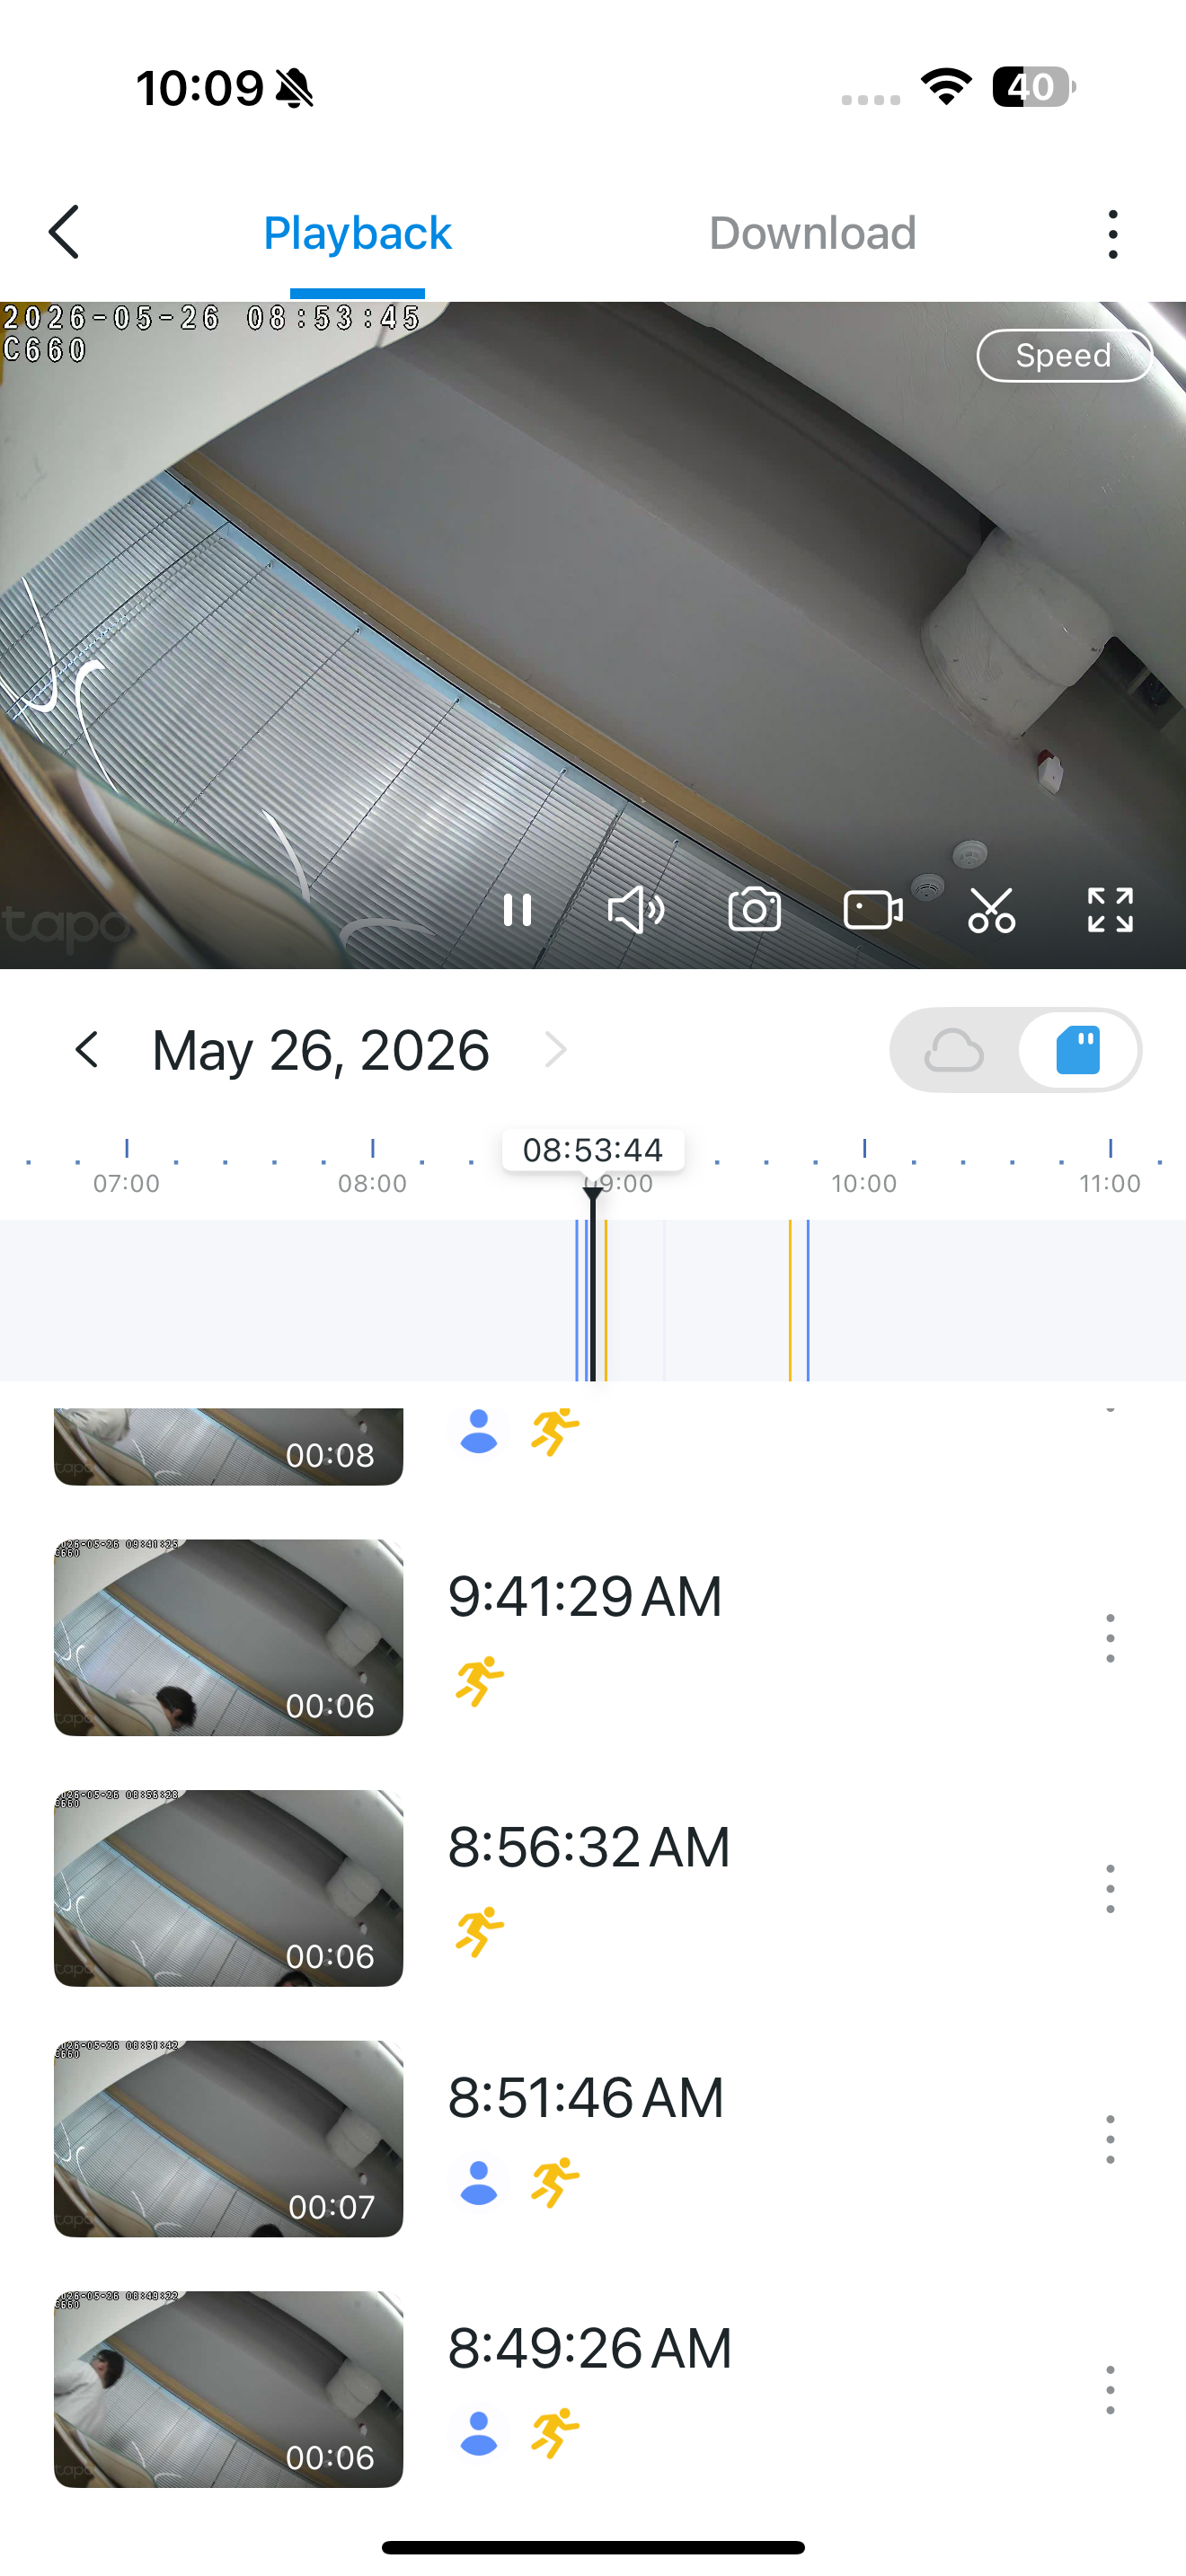
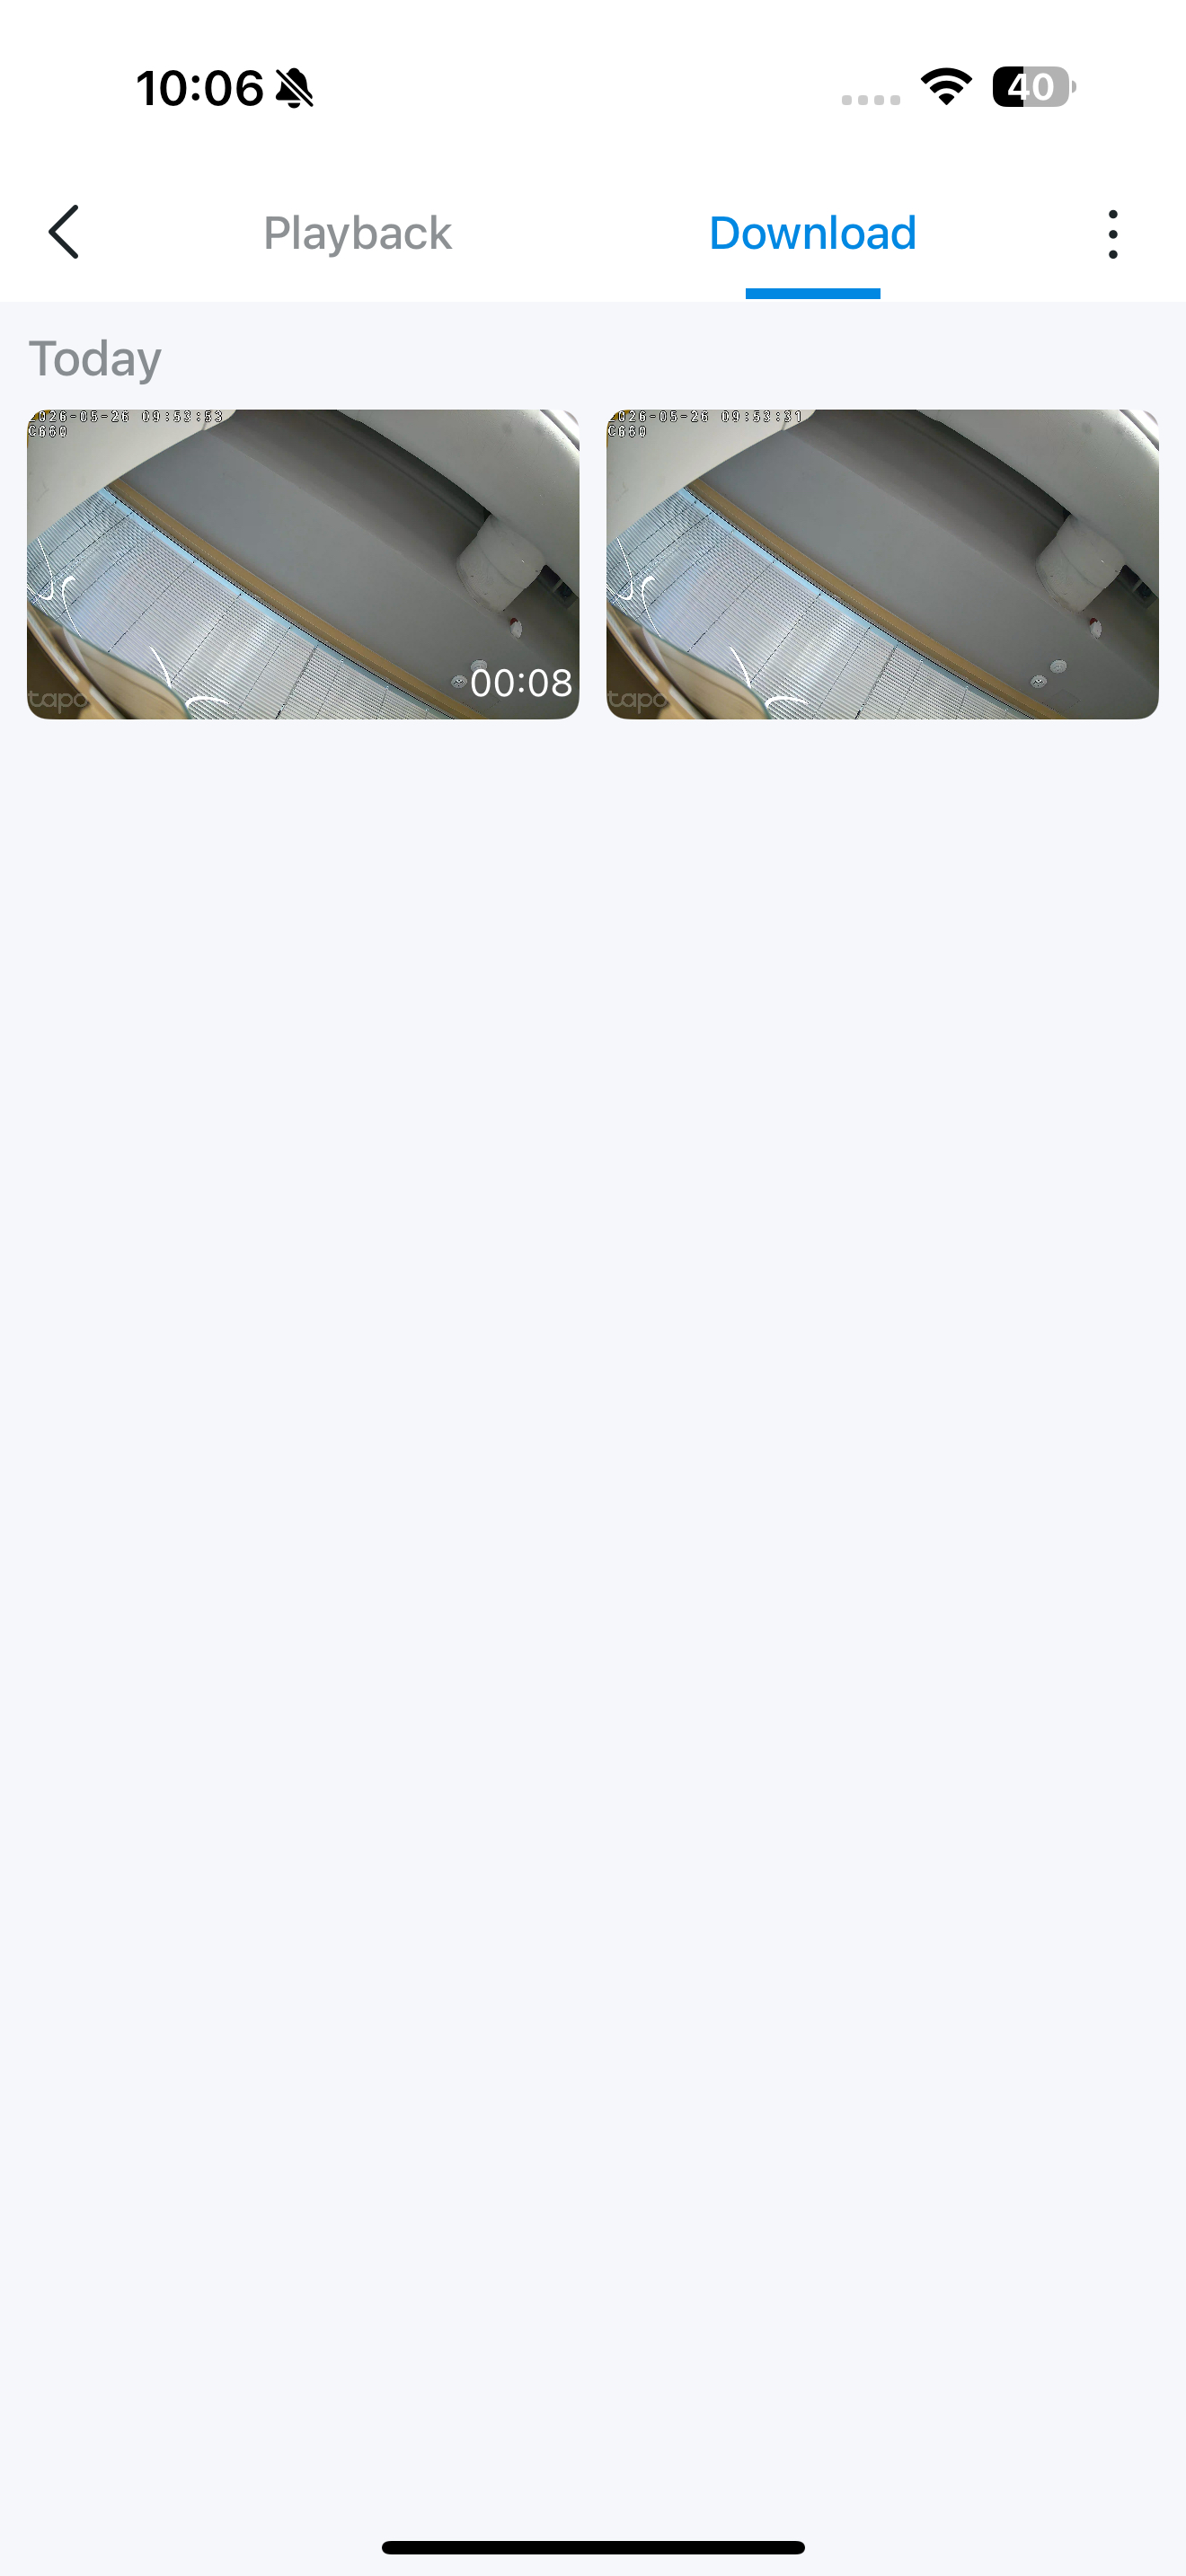
Play back recordings stored in your cloud or on a microSD card. You can also download any photos or videos you have captured.
Camera Settings
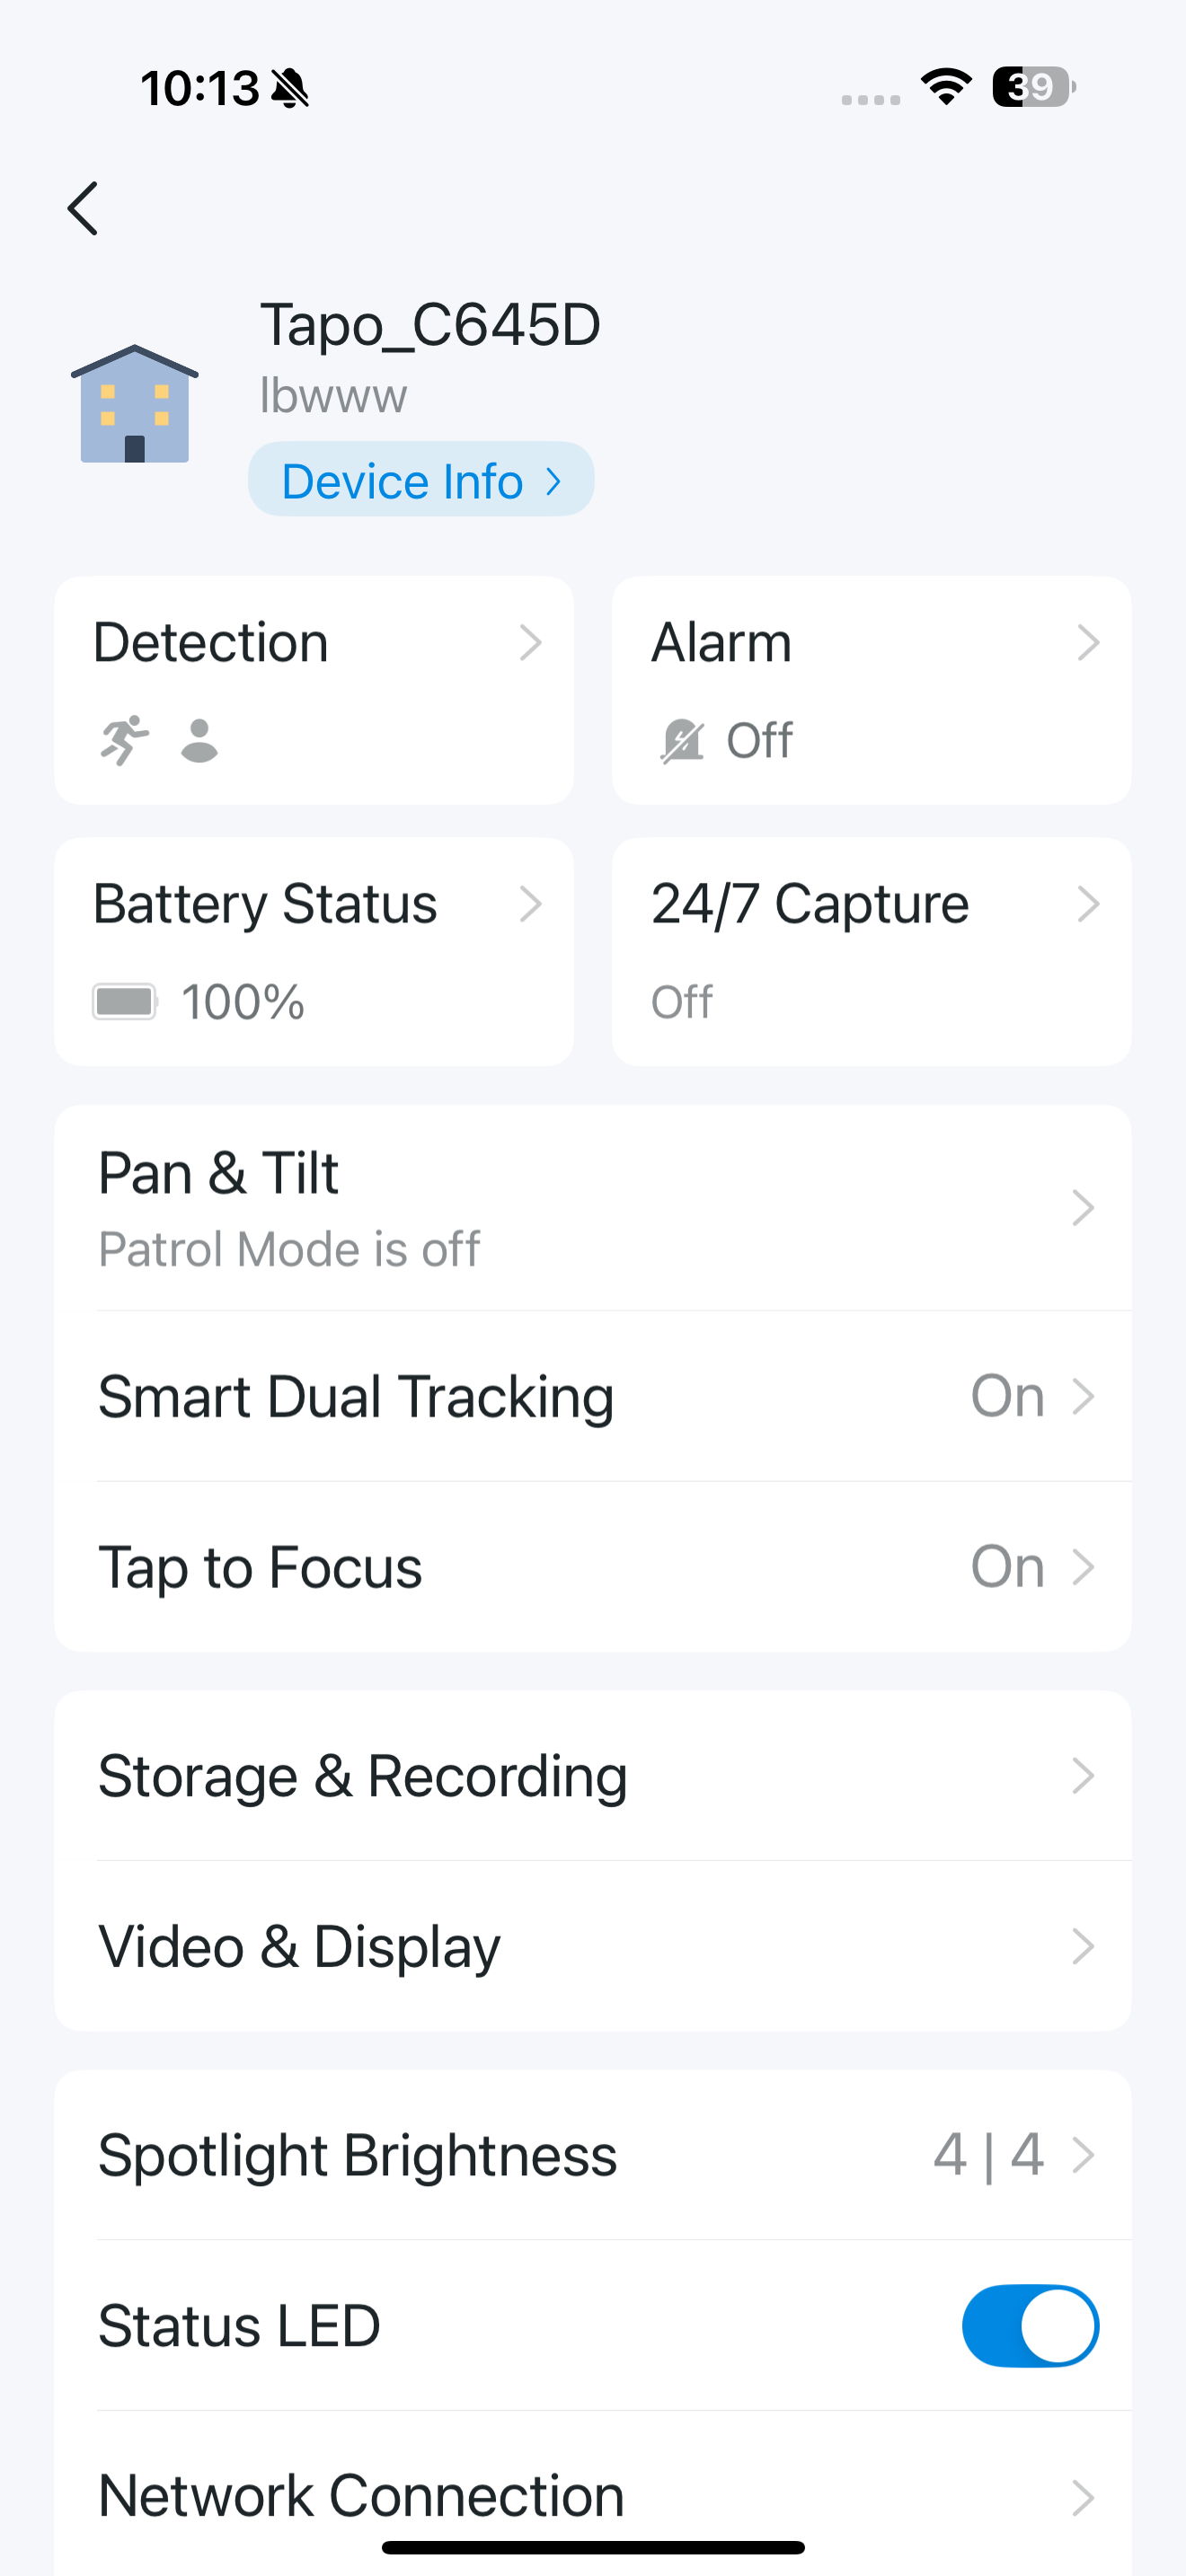
On the live view page of your Tapo camera, tap the gear icon to enter the camera settings page.
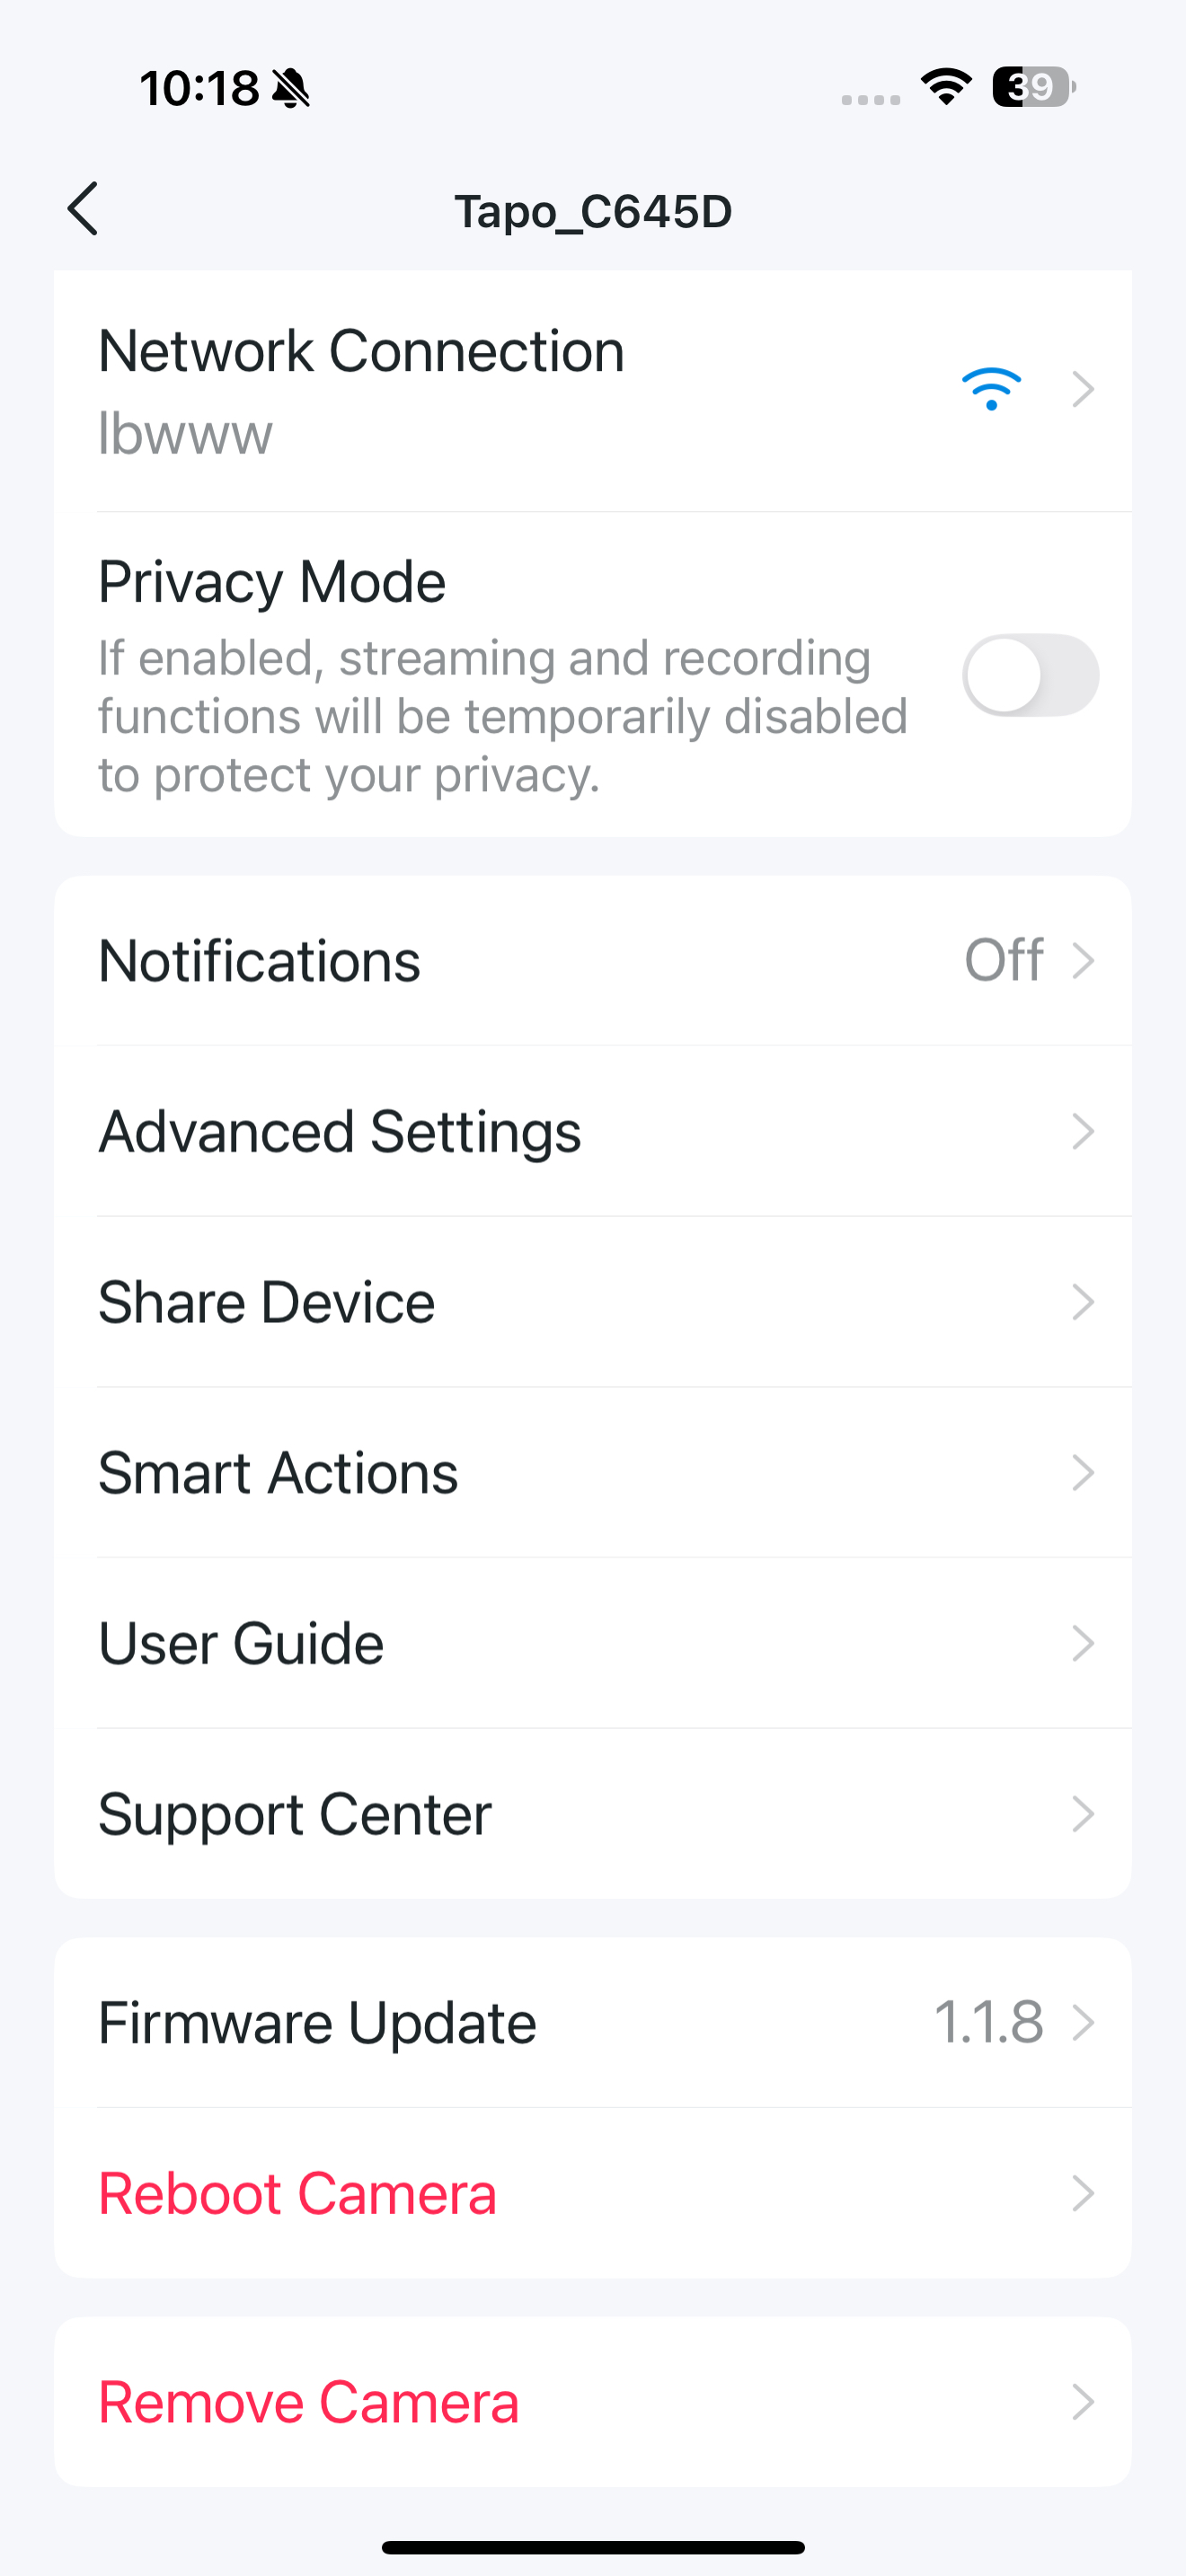
Camera Settings
You can tap any card to open and configure the settings as needed.
Note: Here we take the Tapo C645D as an example. Settings and options may vary across models.
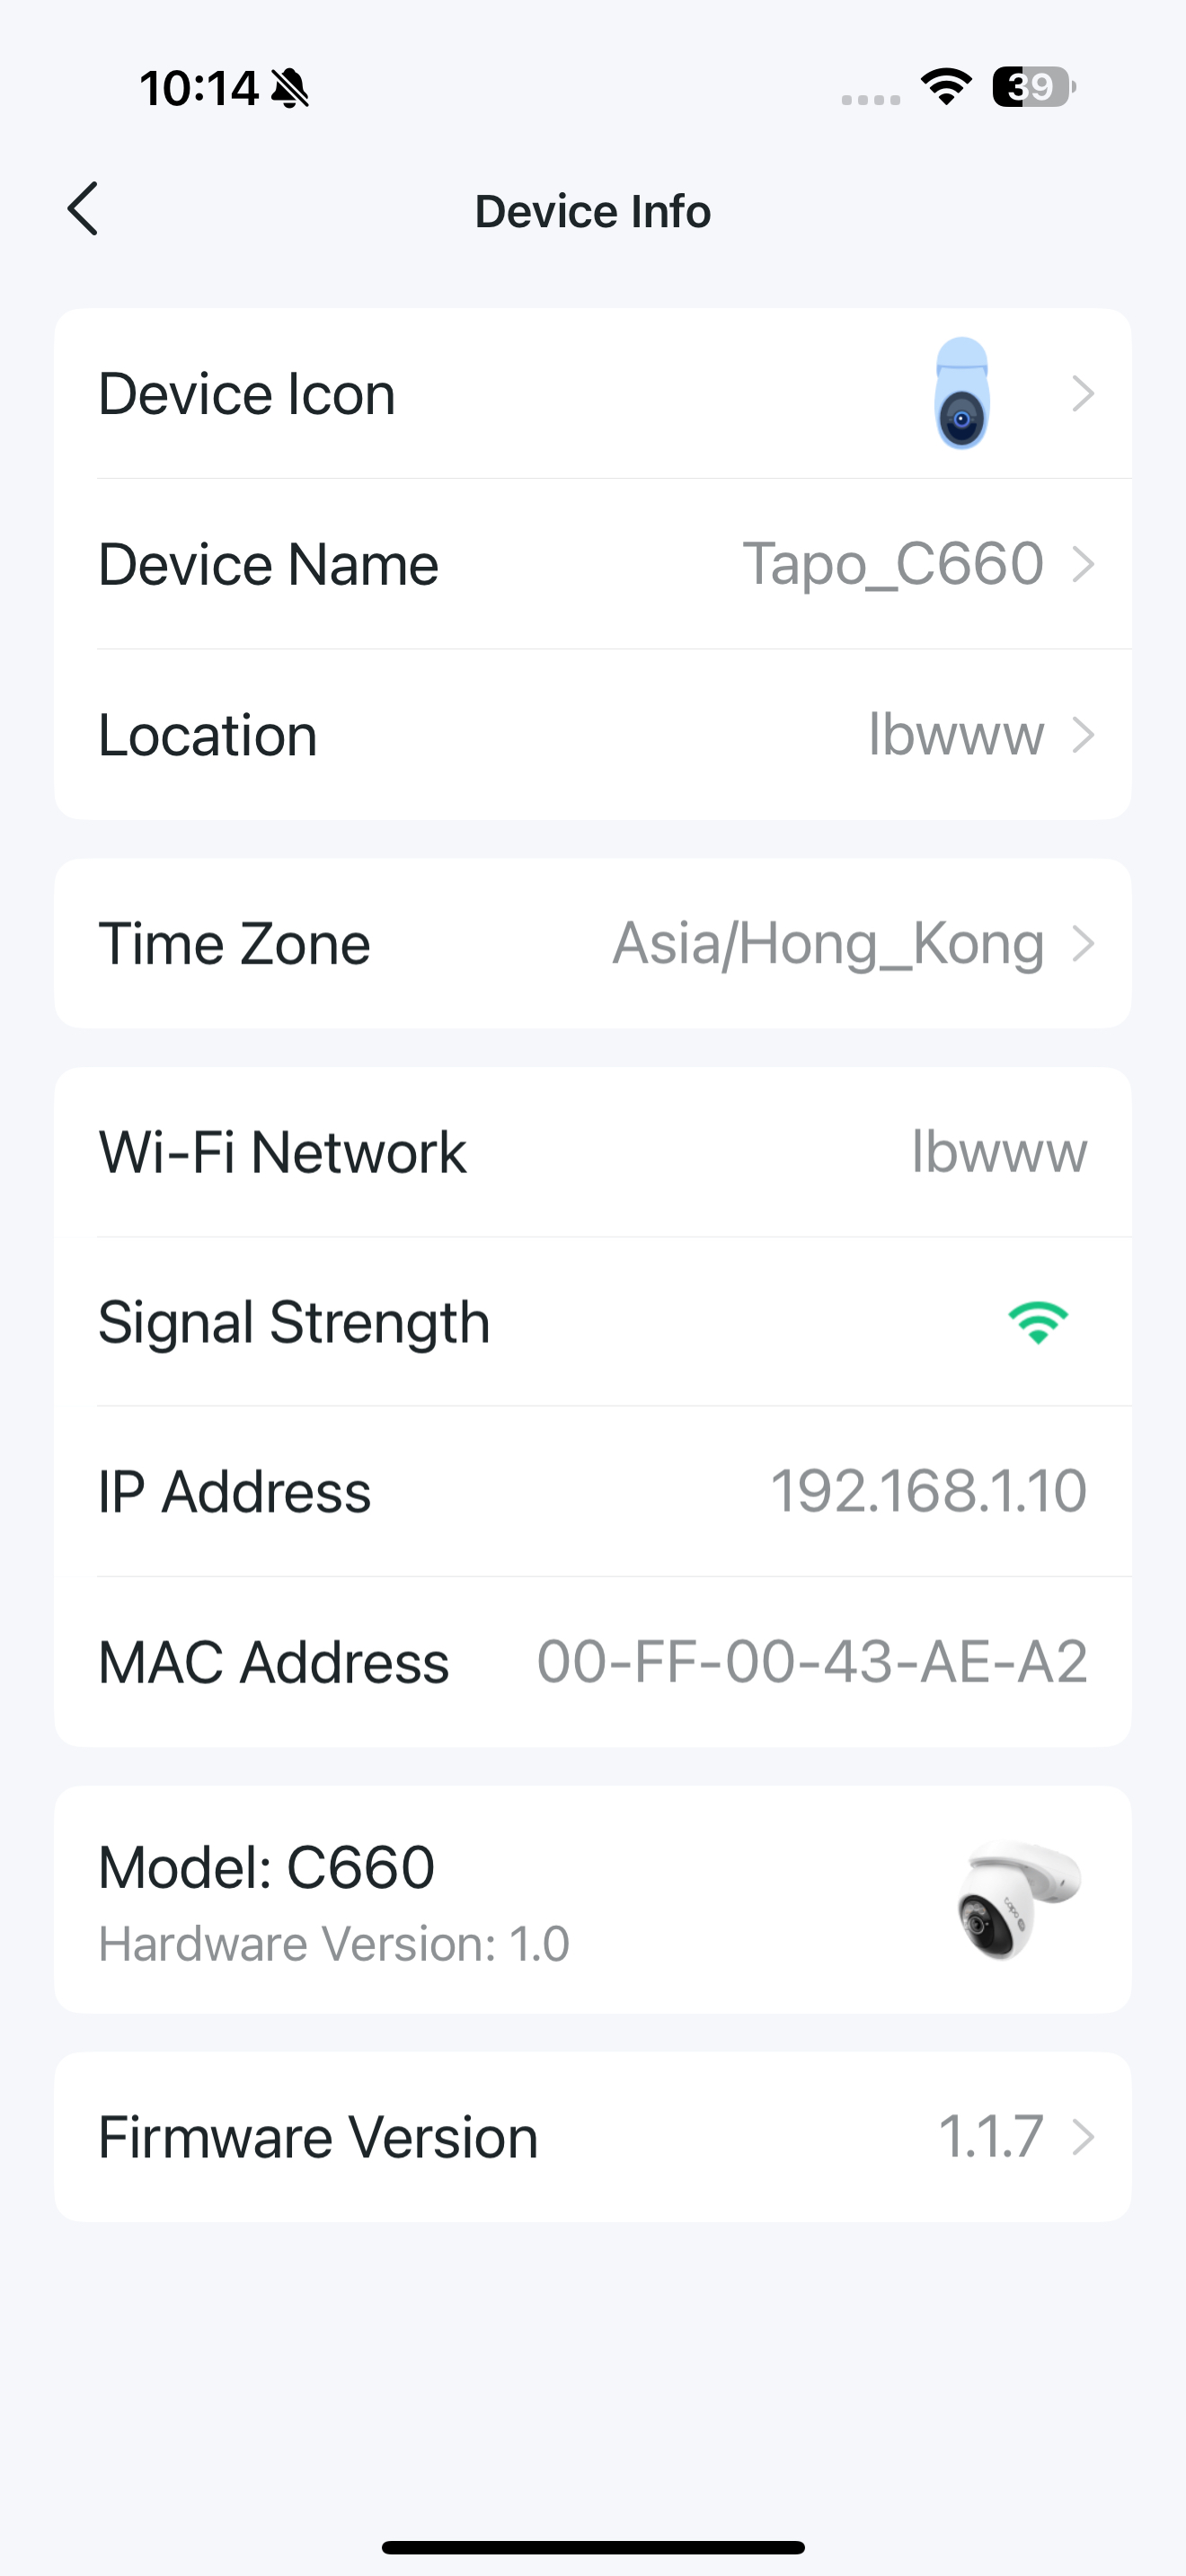
Device Info
Configure the device icon, location, and time zone, and view the camera’s basic details.
Note: Here we take the Tapo C660 as an example.
Detection
Note: Here we take the Tapo C660 as an example. Features on the detection page may vary by model.
_20260526063111c.jpg)
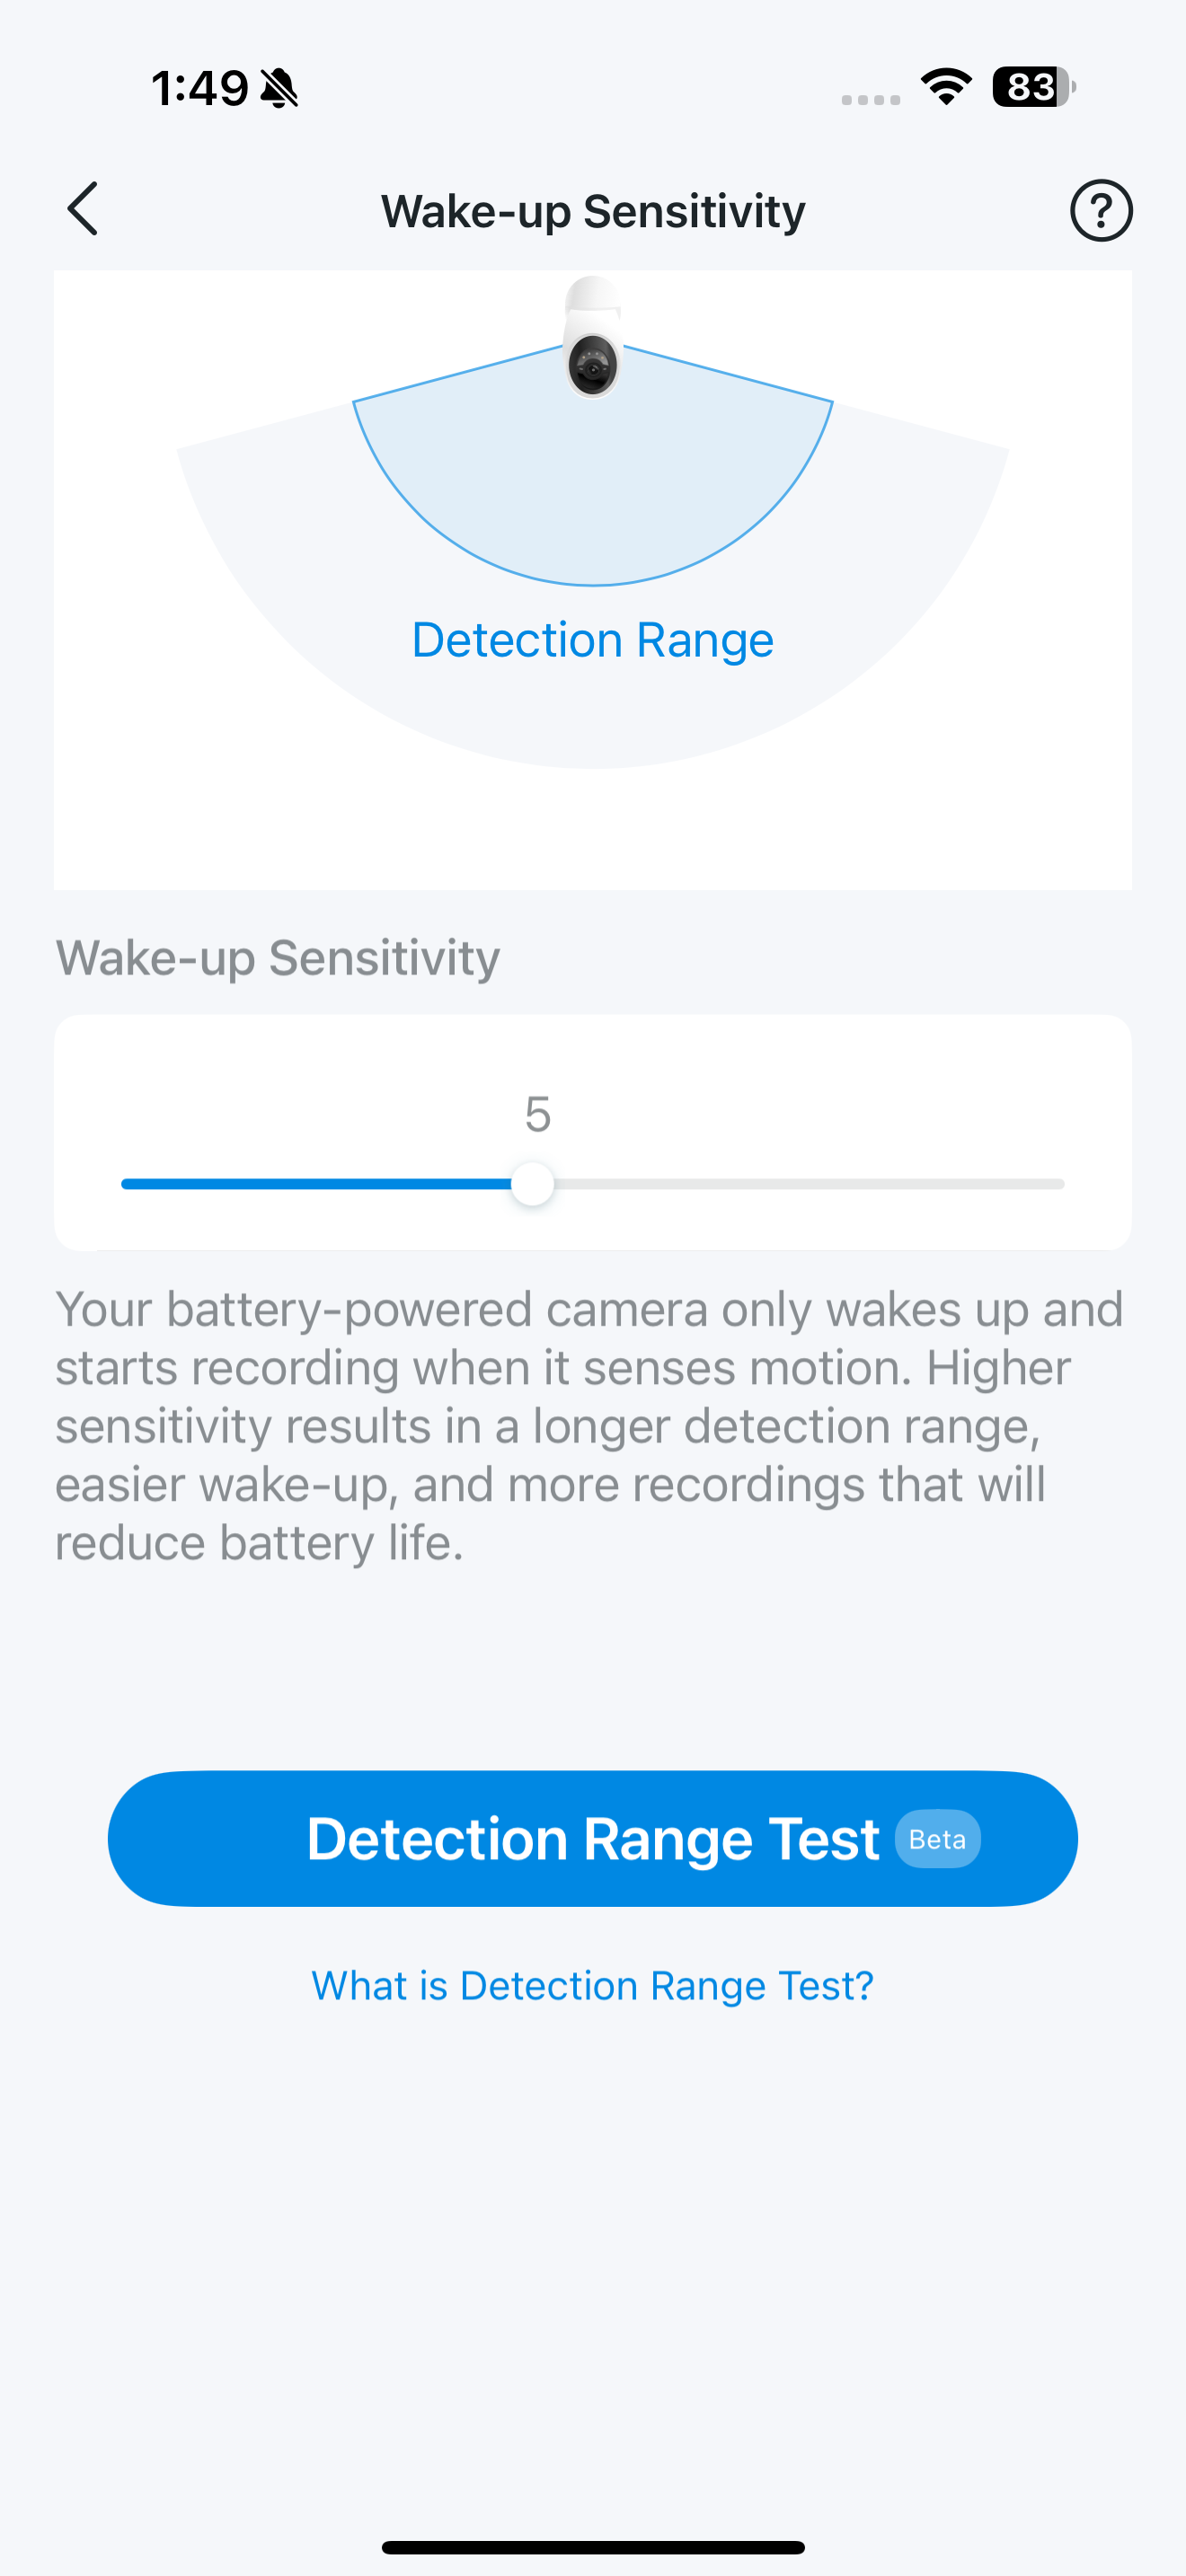
Wake-Up Sensitivity
Your battery-powered camera only wakes up and starts recording when it senses motion. Set the sensitivity as you need to reach your desired detection range.
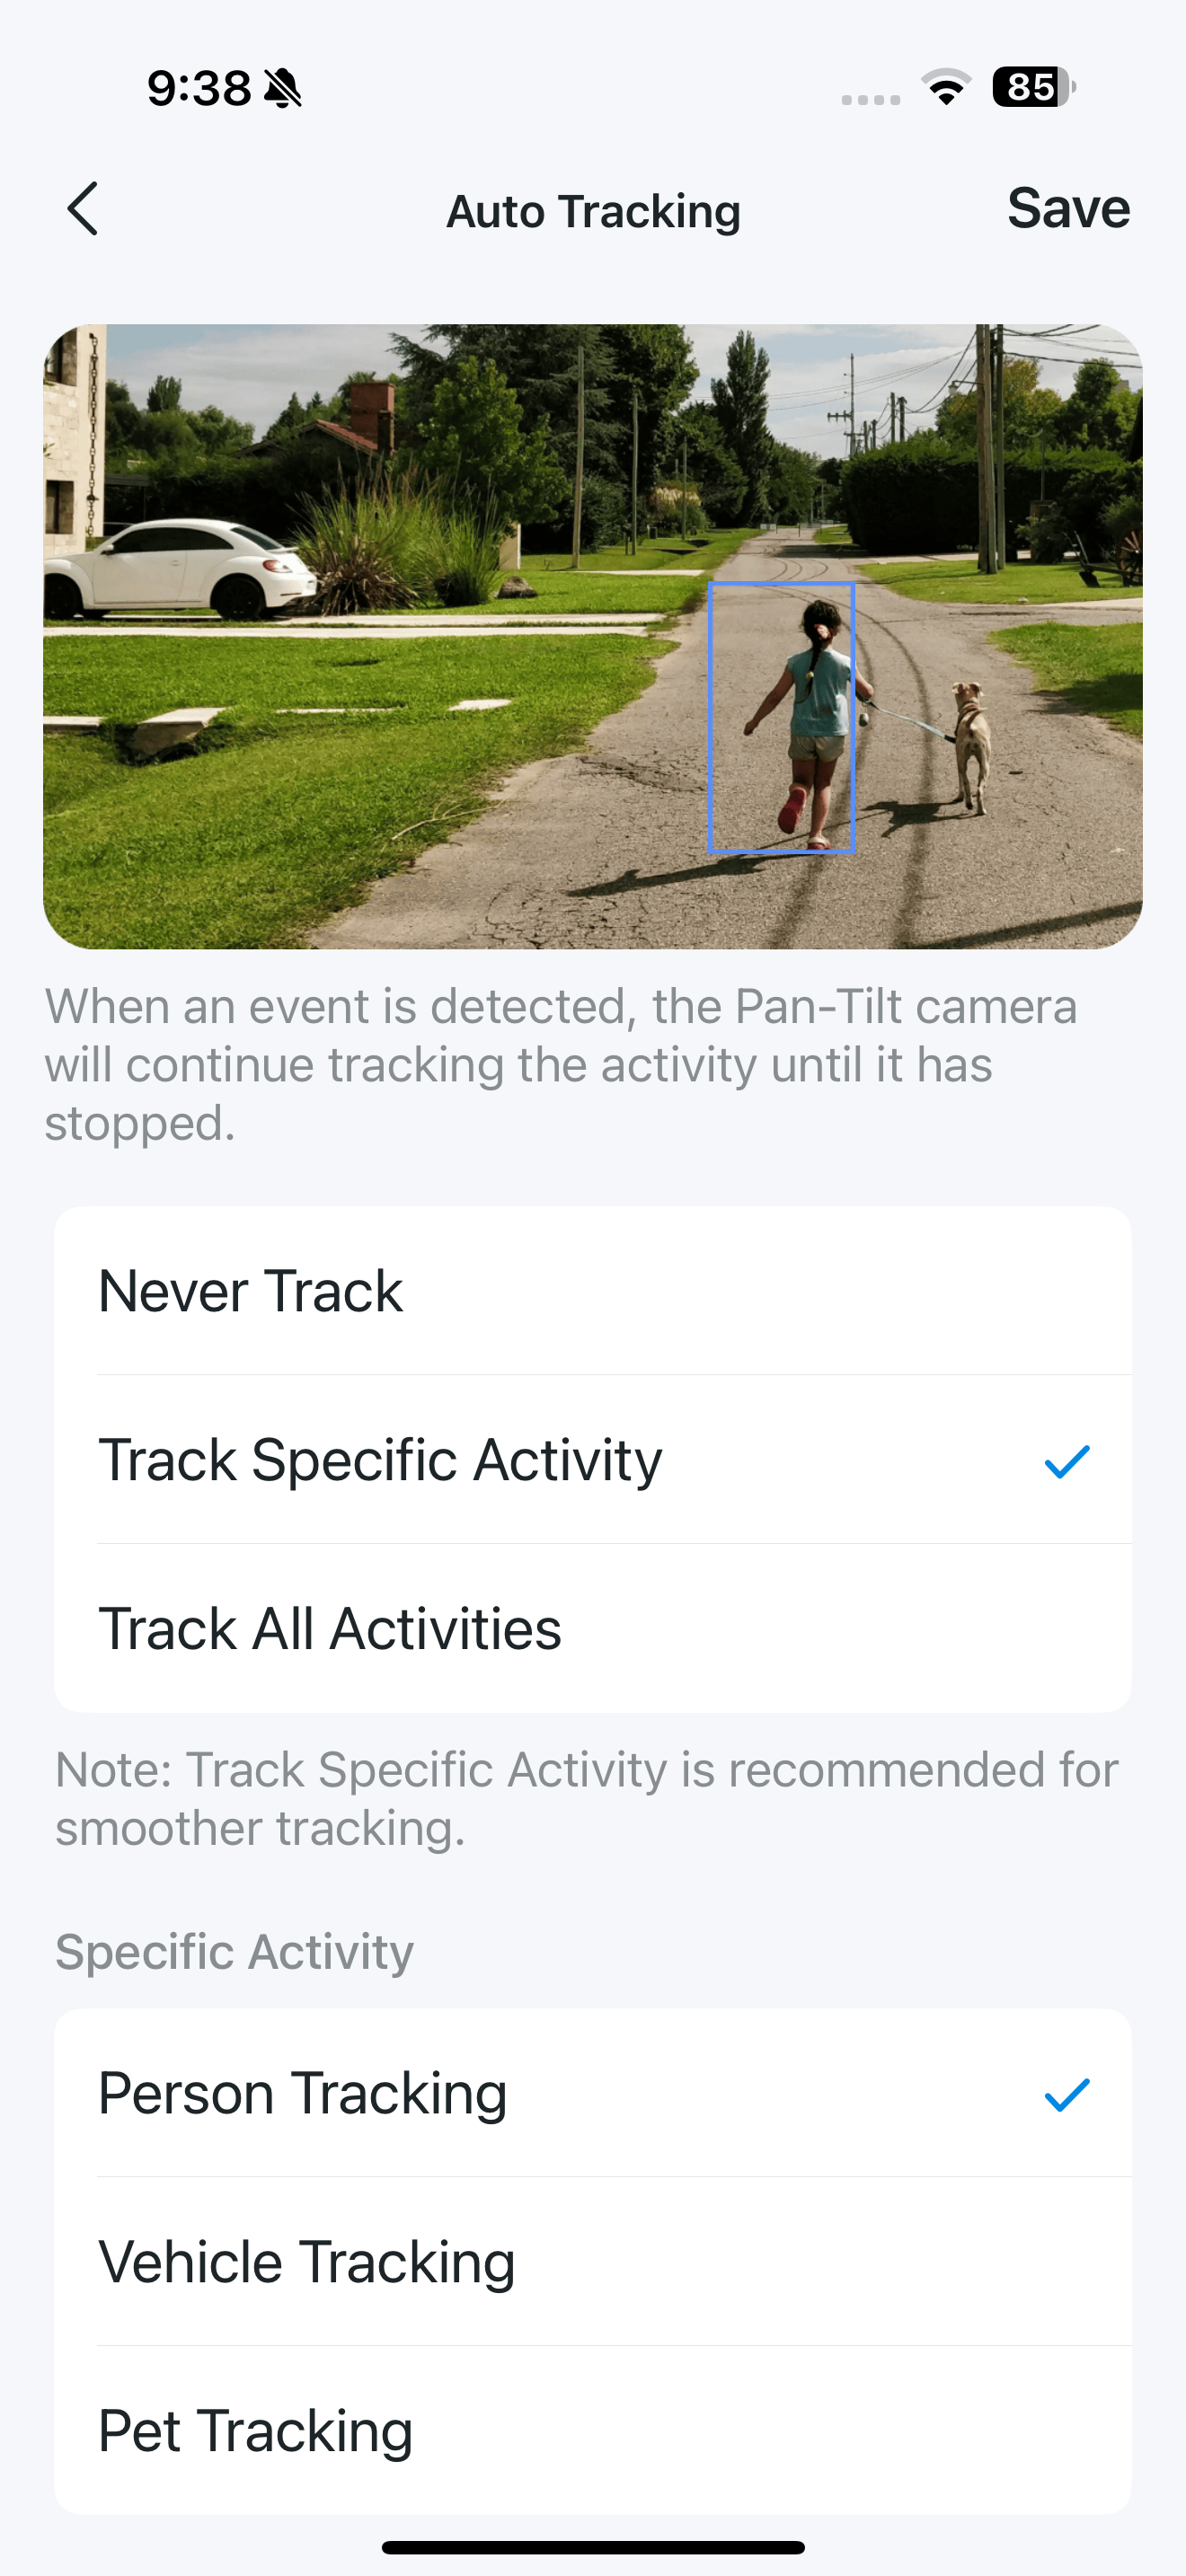
Auto Tracking
Enable it when you want your Pan/Tilt camera to track a specific activity or all activities until it stops.
Note: This feature is only applicable to certain models and actual app screens may vary.
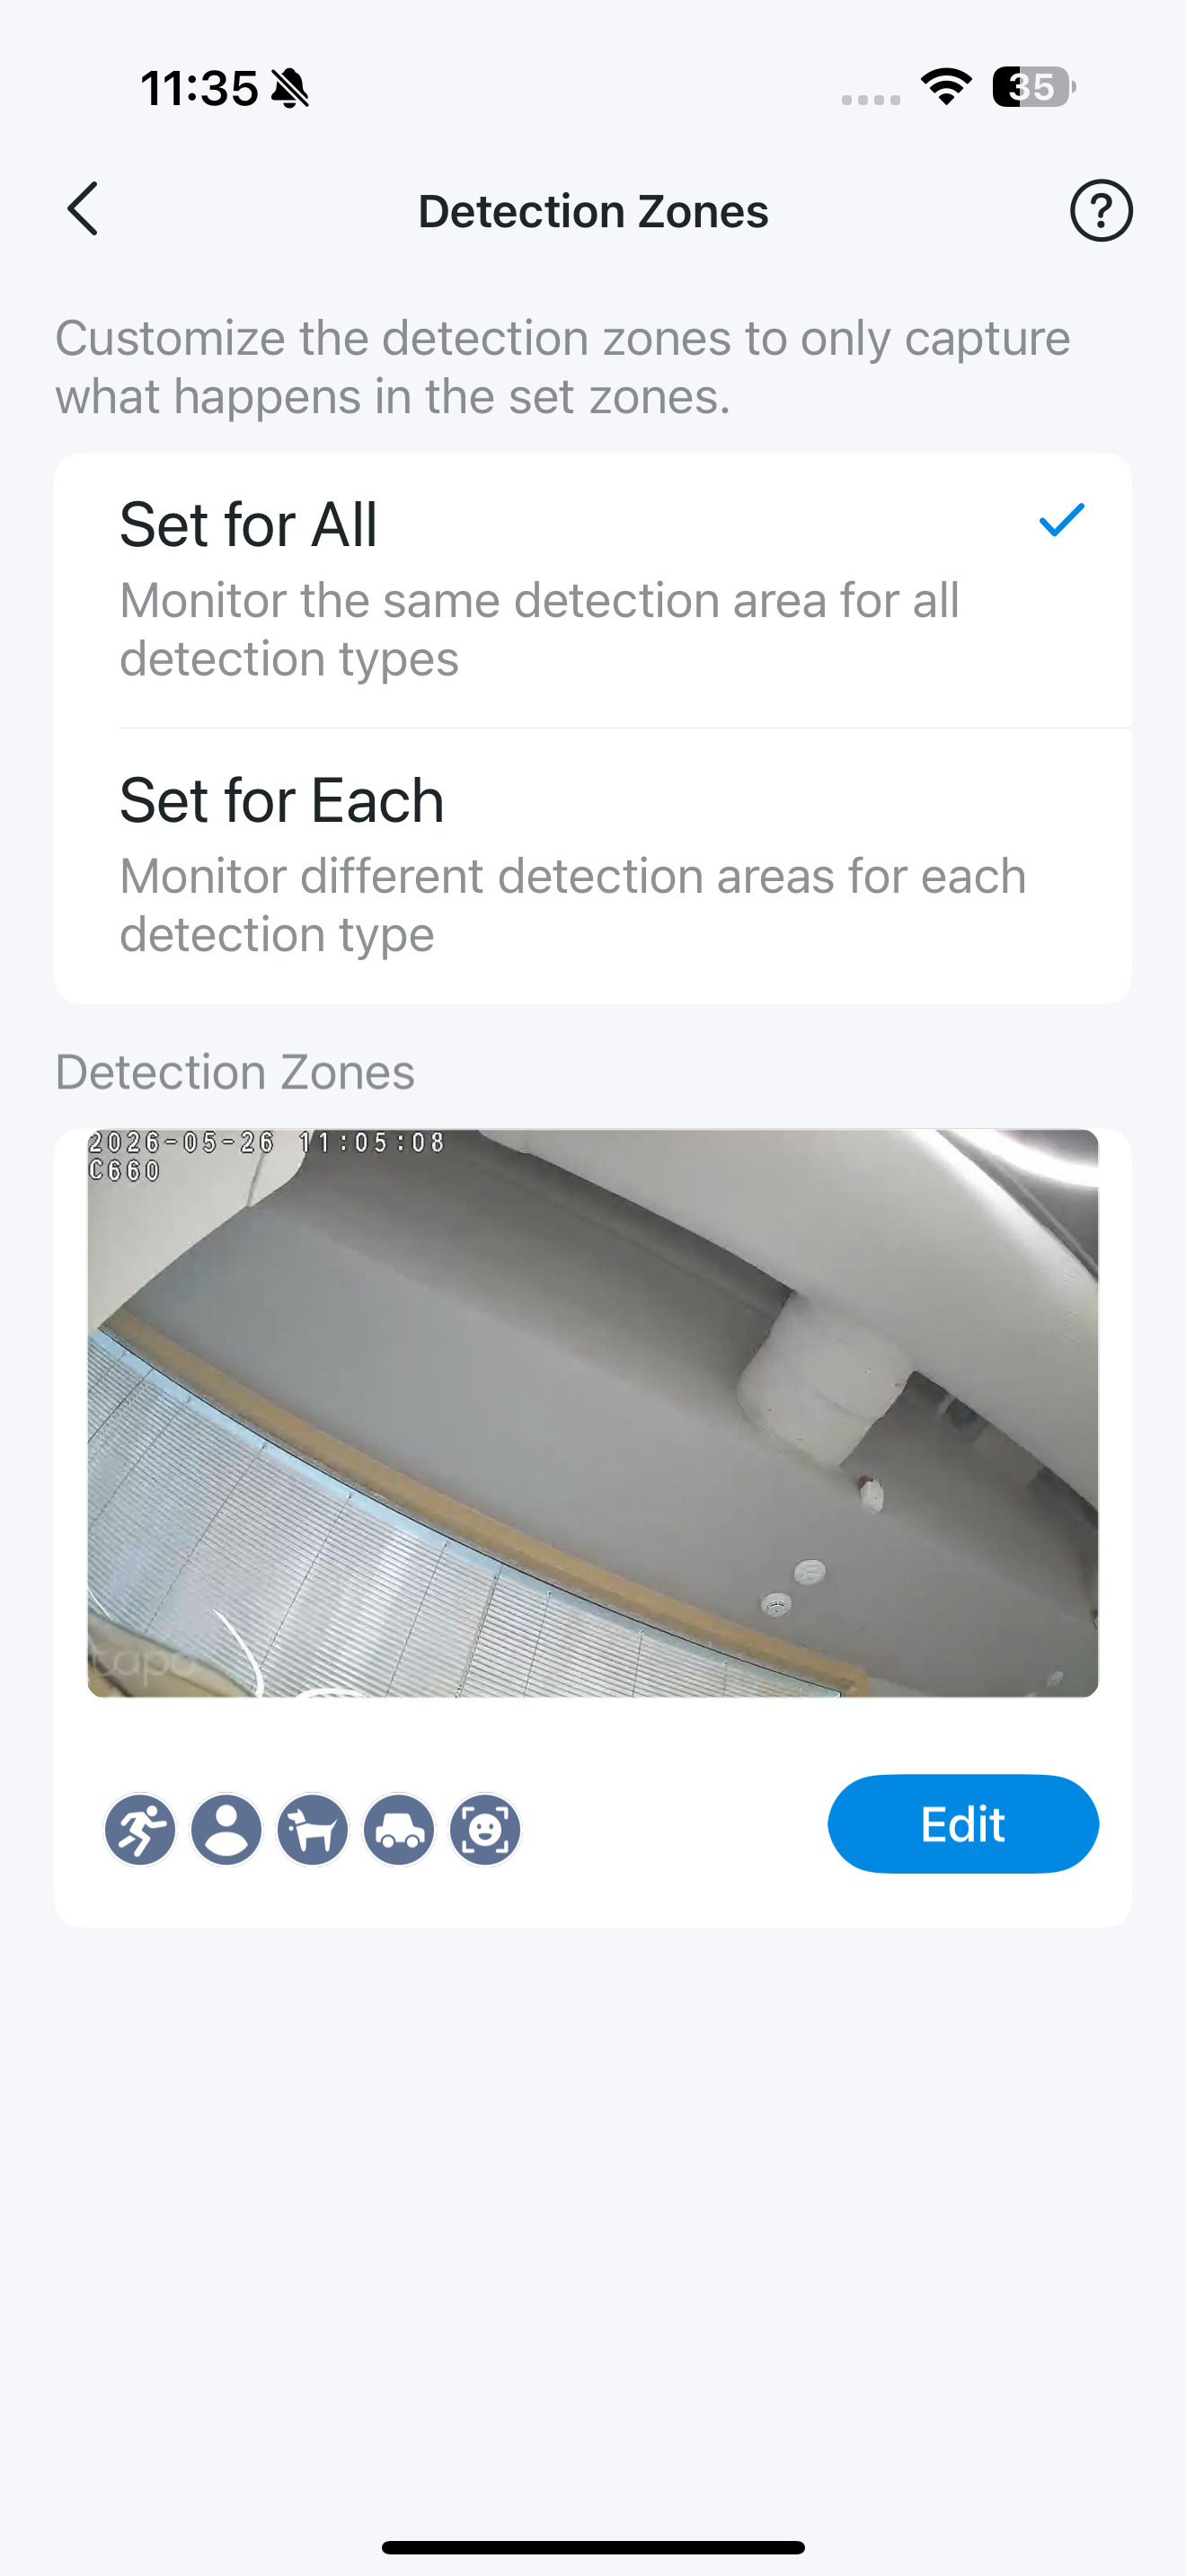
Detection Zones
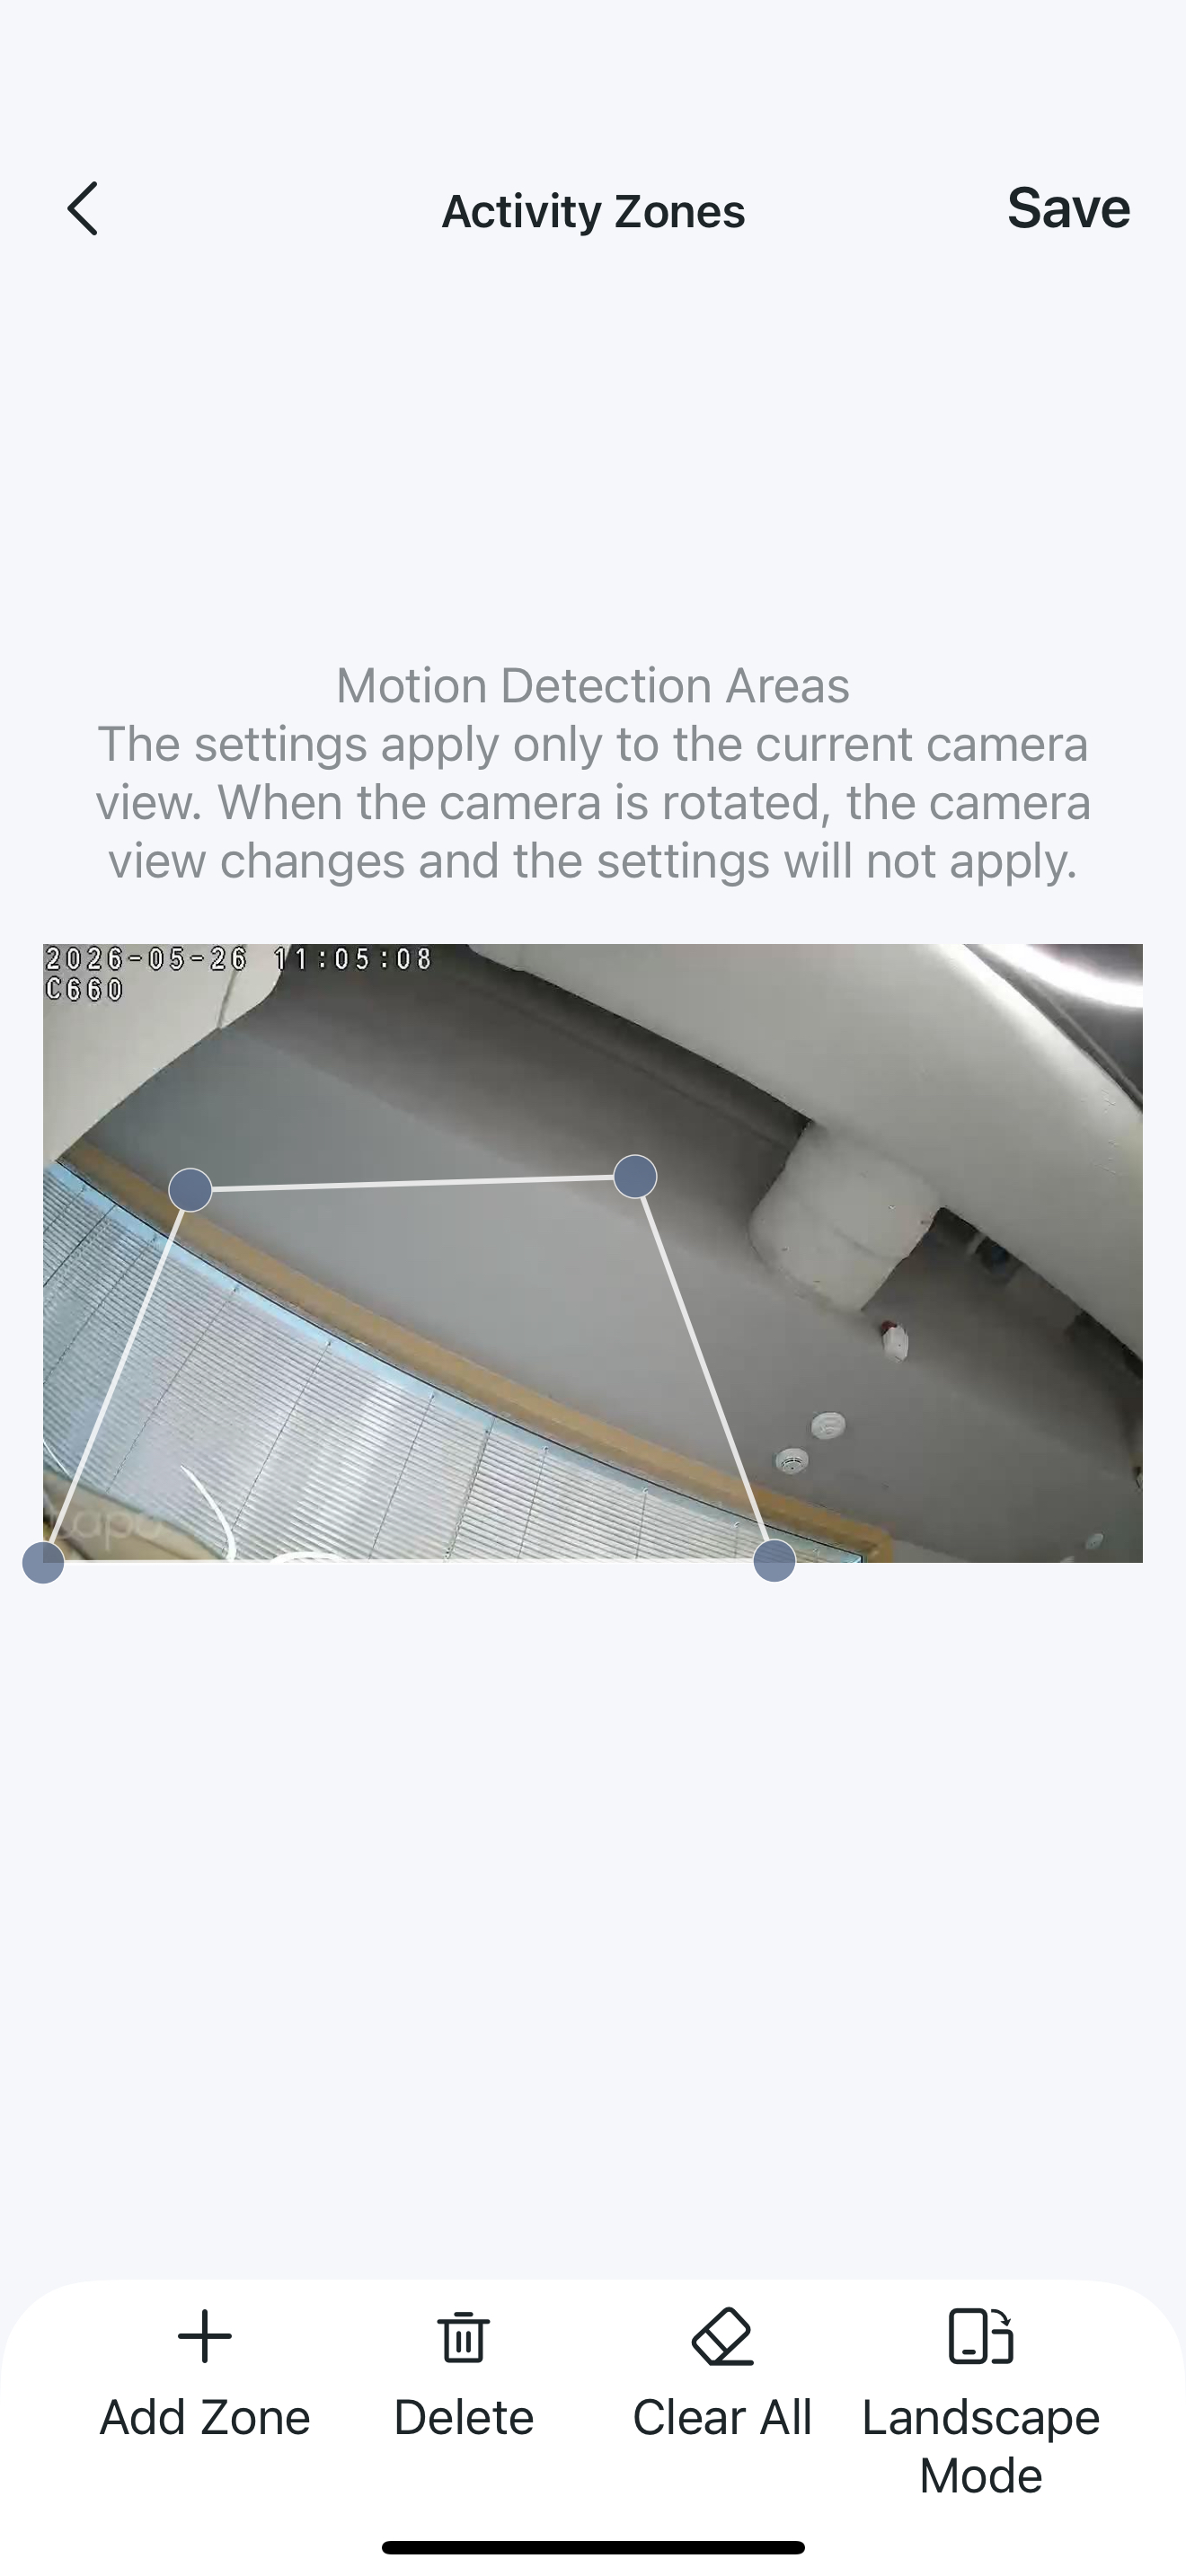
Define the detection zones to capture only what happens in the set zones. Set one zone for all detection types, or customize a different monitoring area for each type individually.
Detection Type
Motion Detection
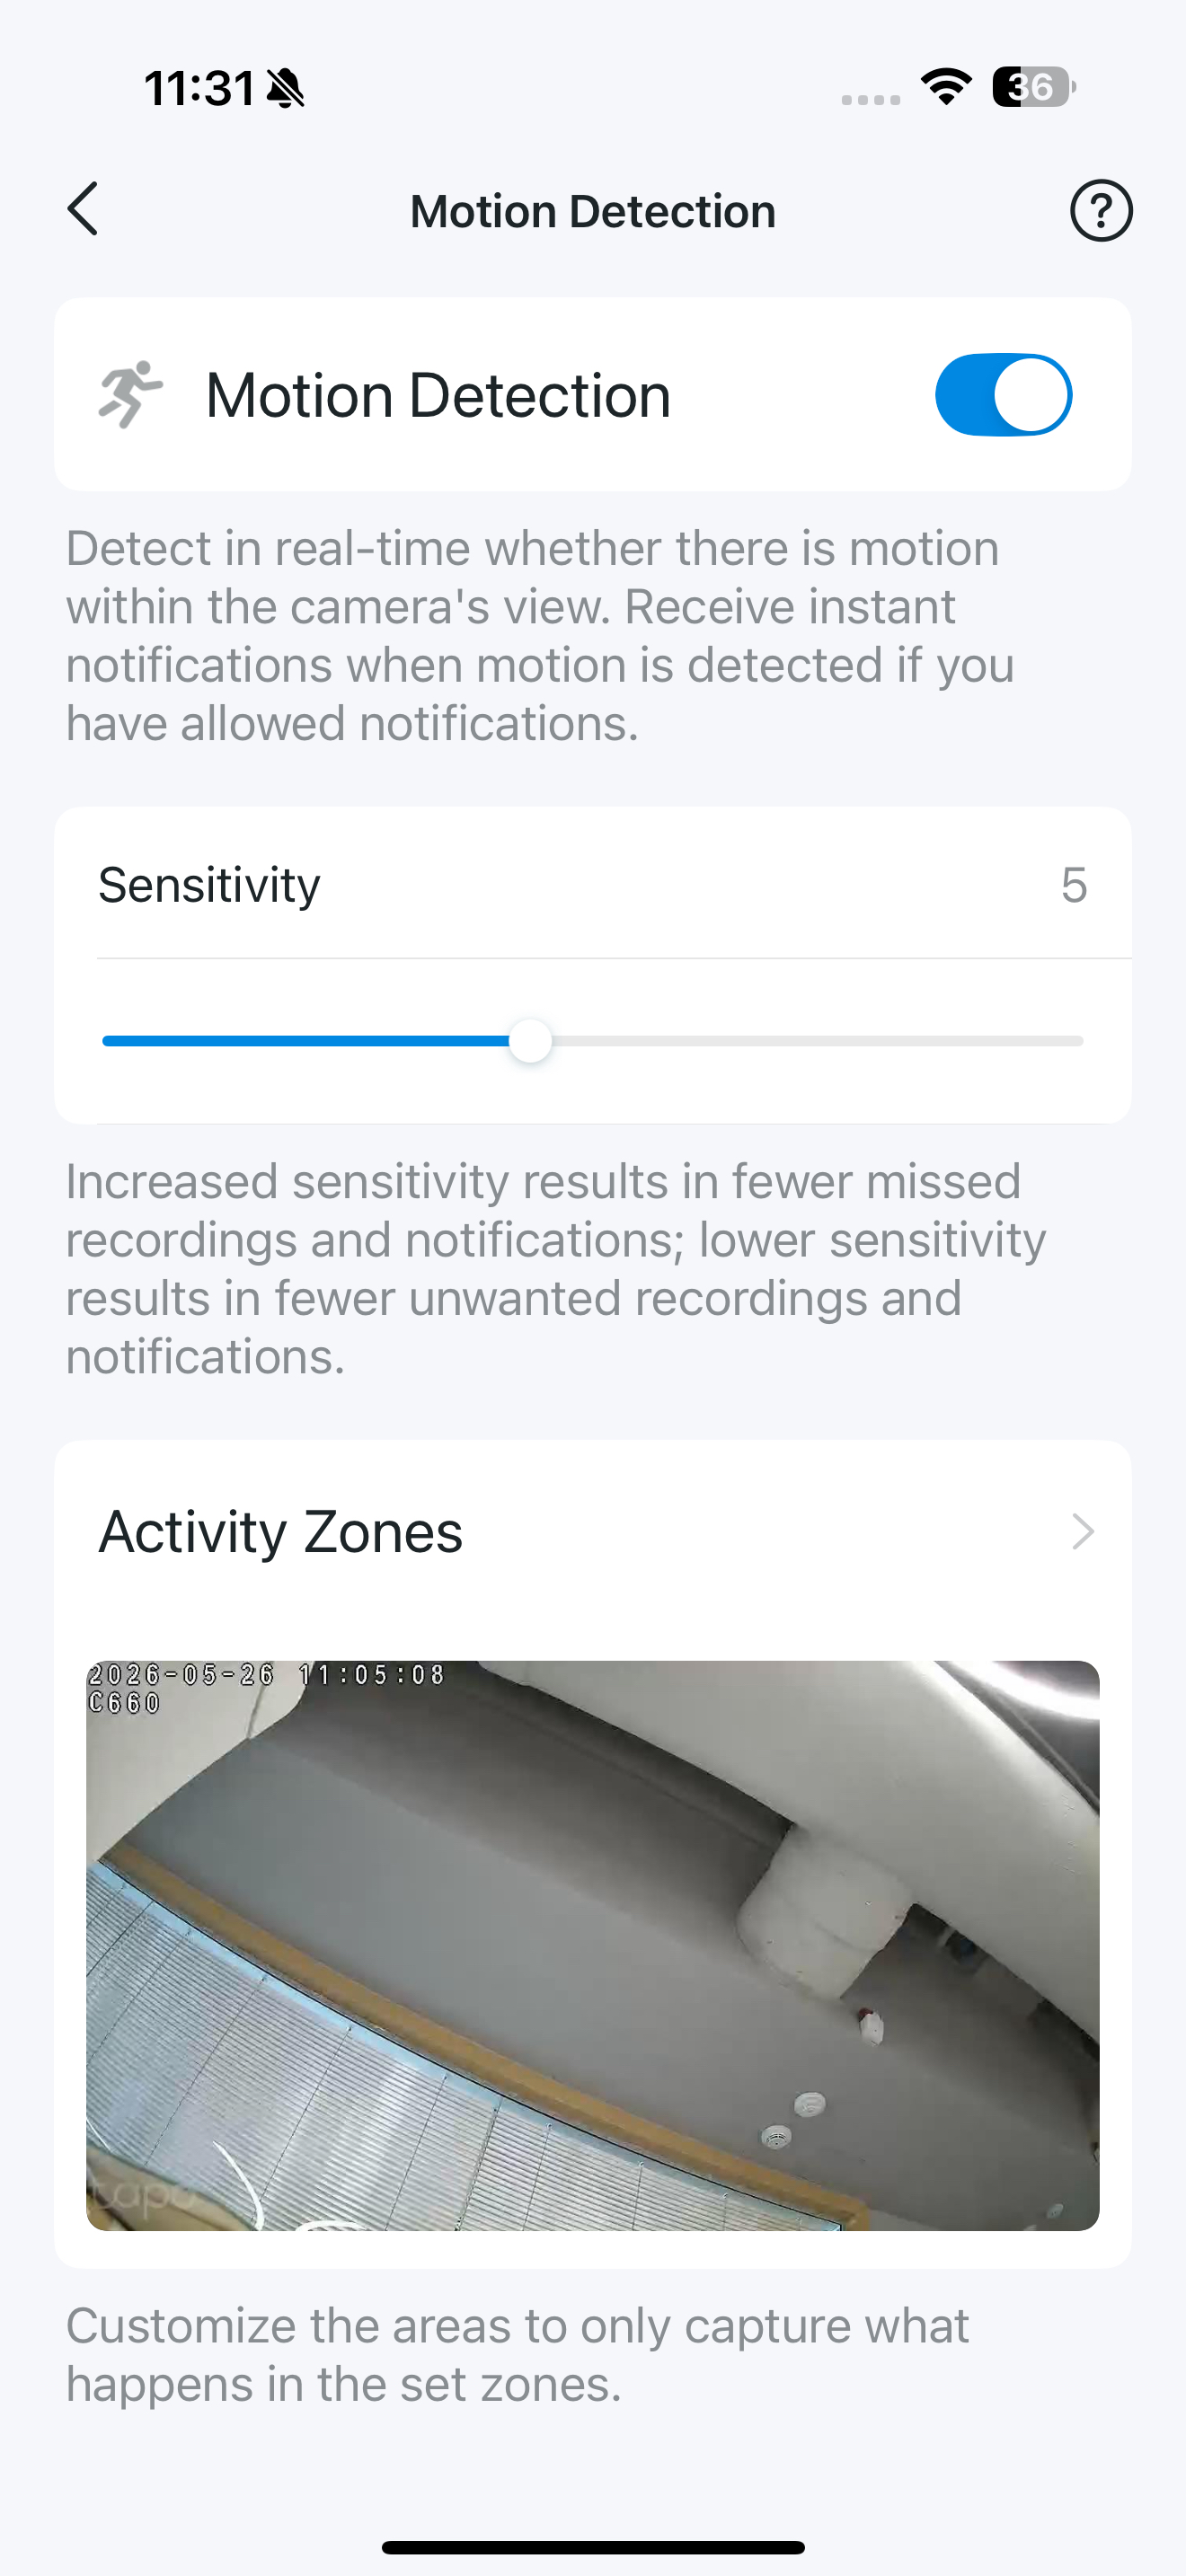
When enabled, the camera will detect in real-time whether there is motion within the camera's view, notifying you with Notifications on. You can adjust Sensitivity and add Activity Zones.
Person / Pet /Vehicle Detection
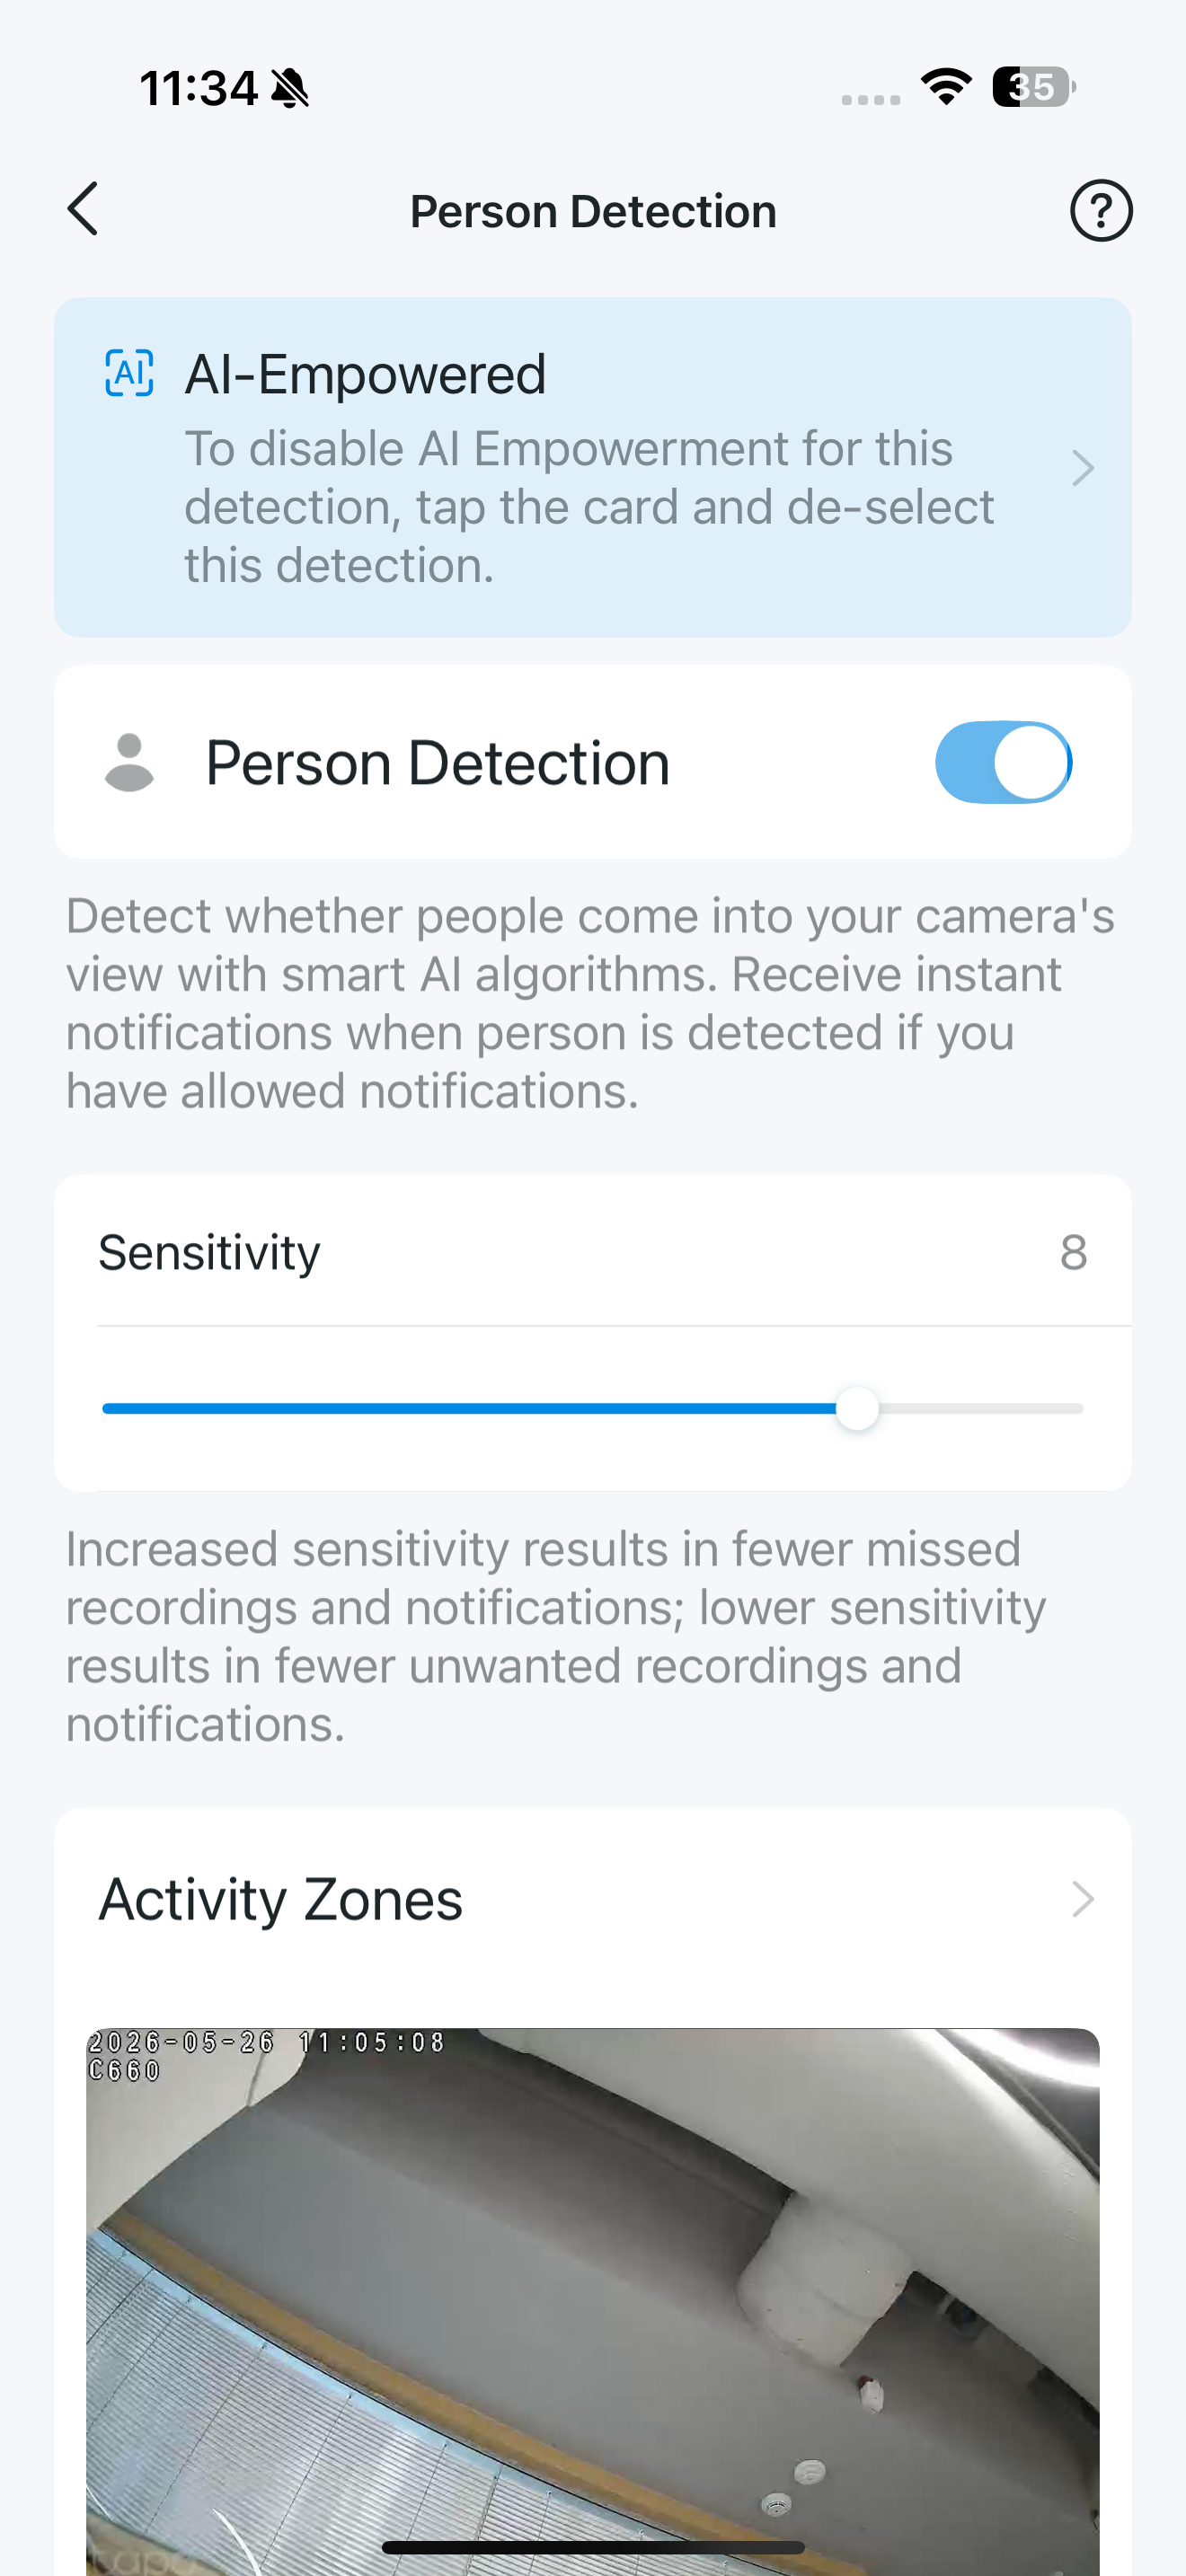
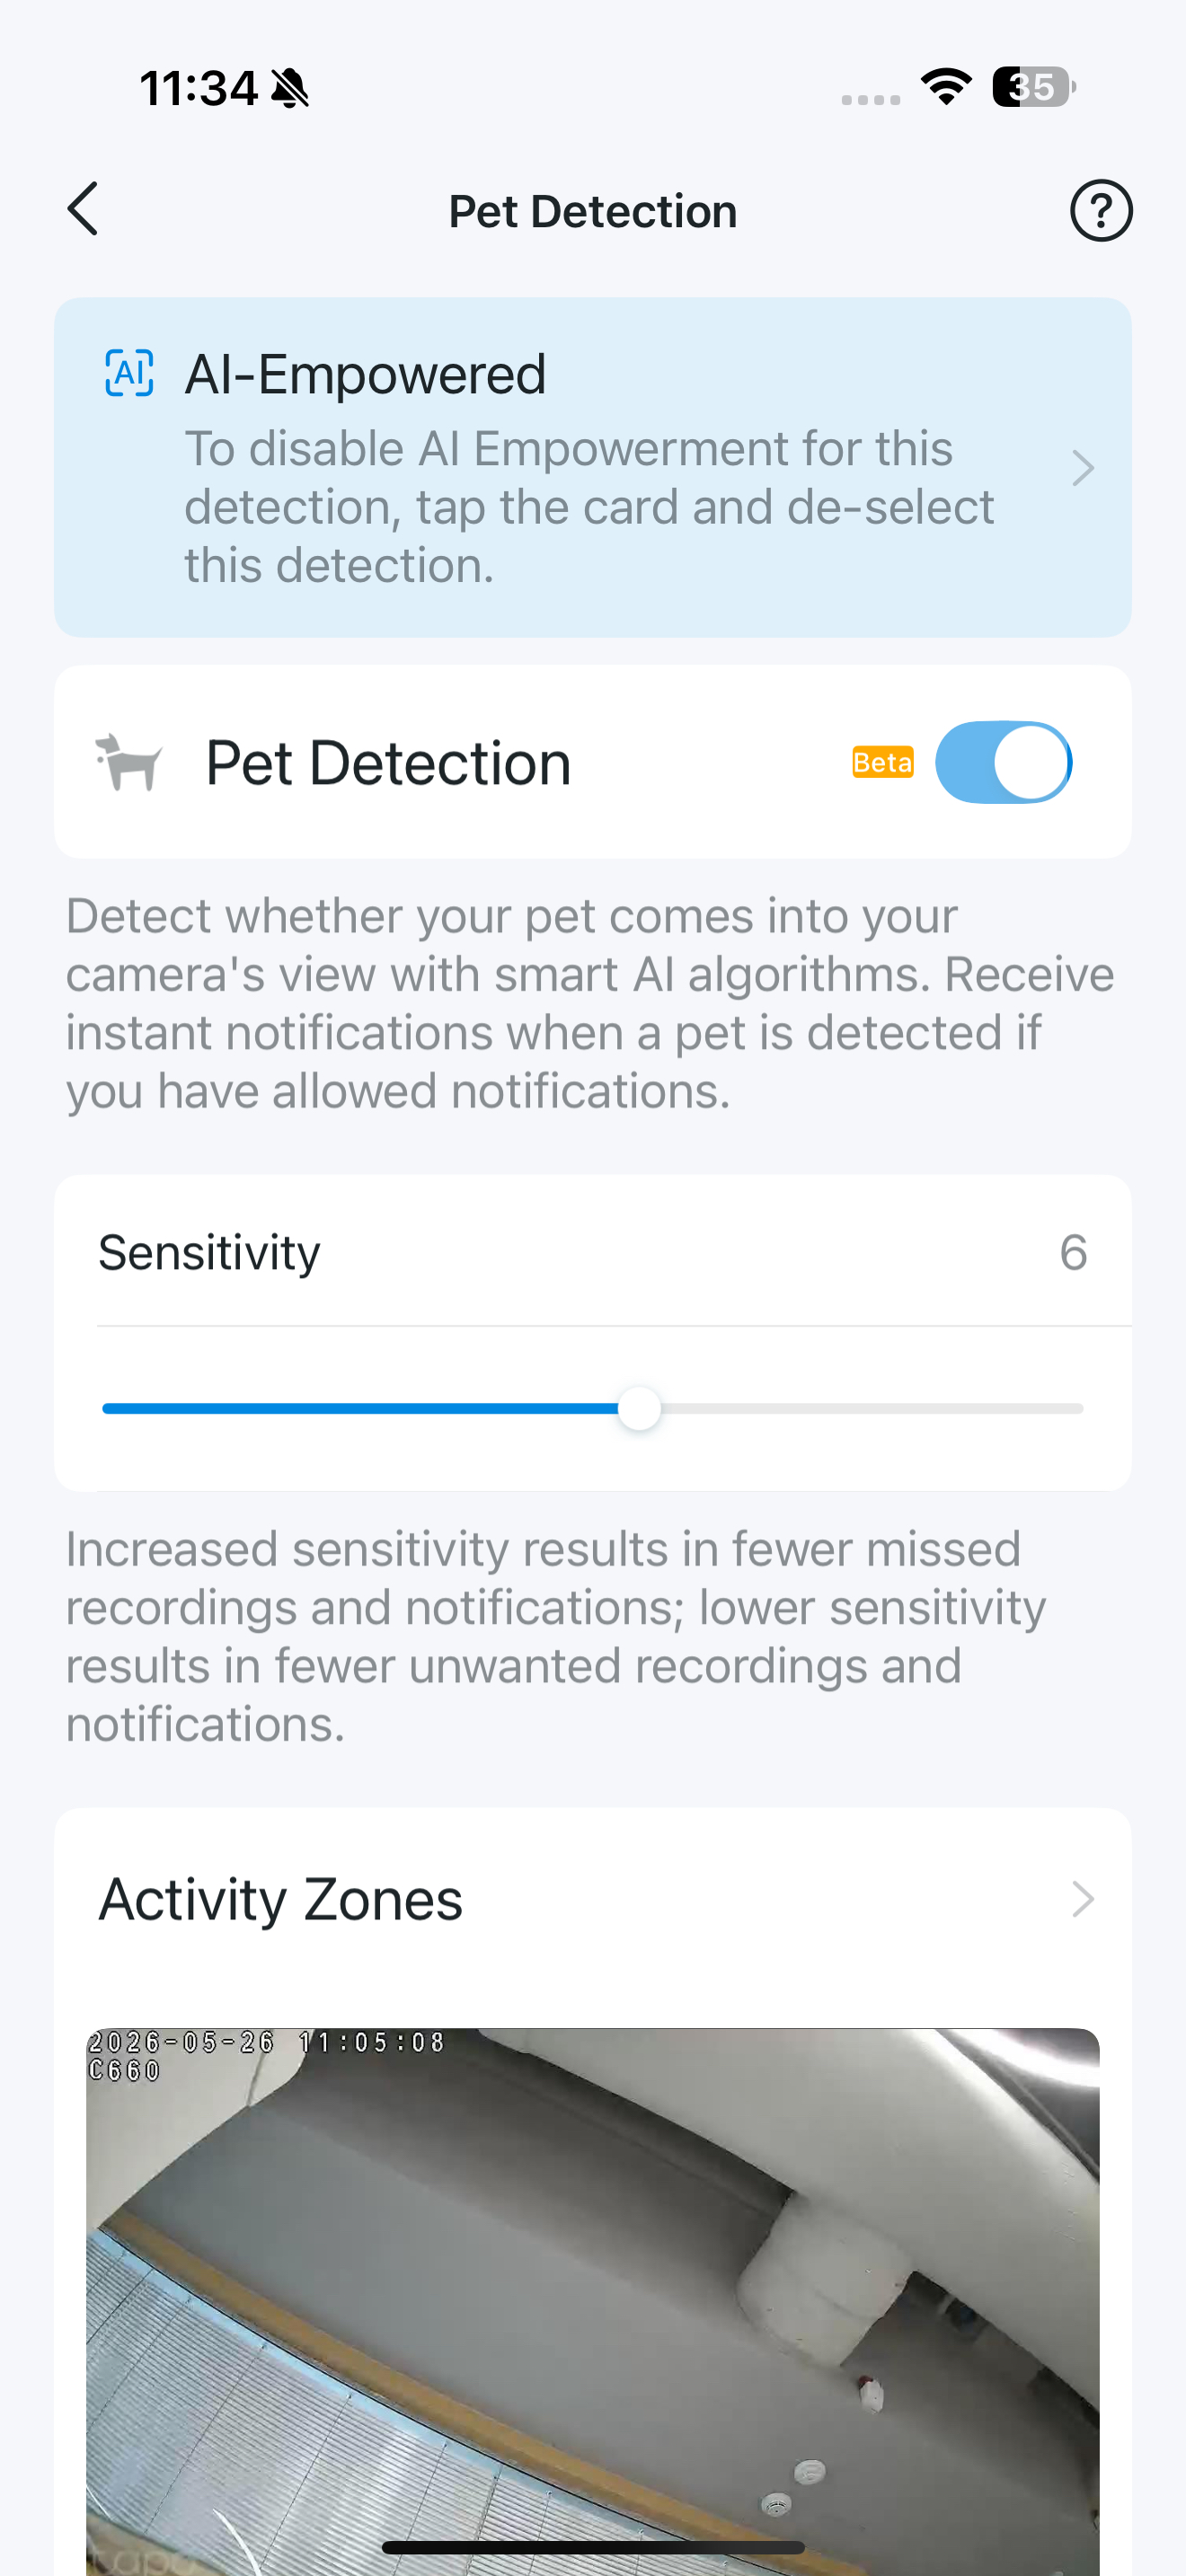
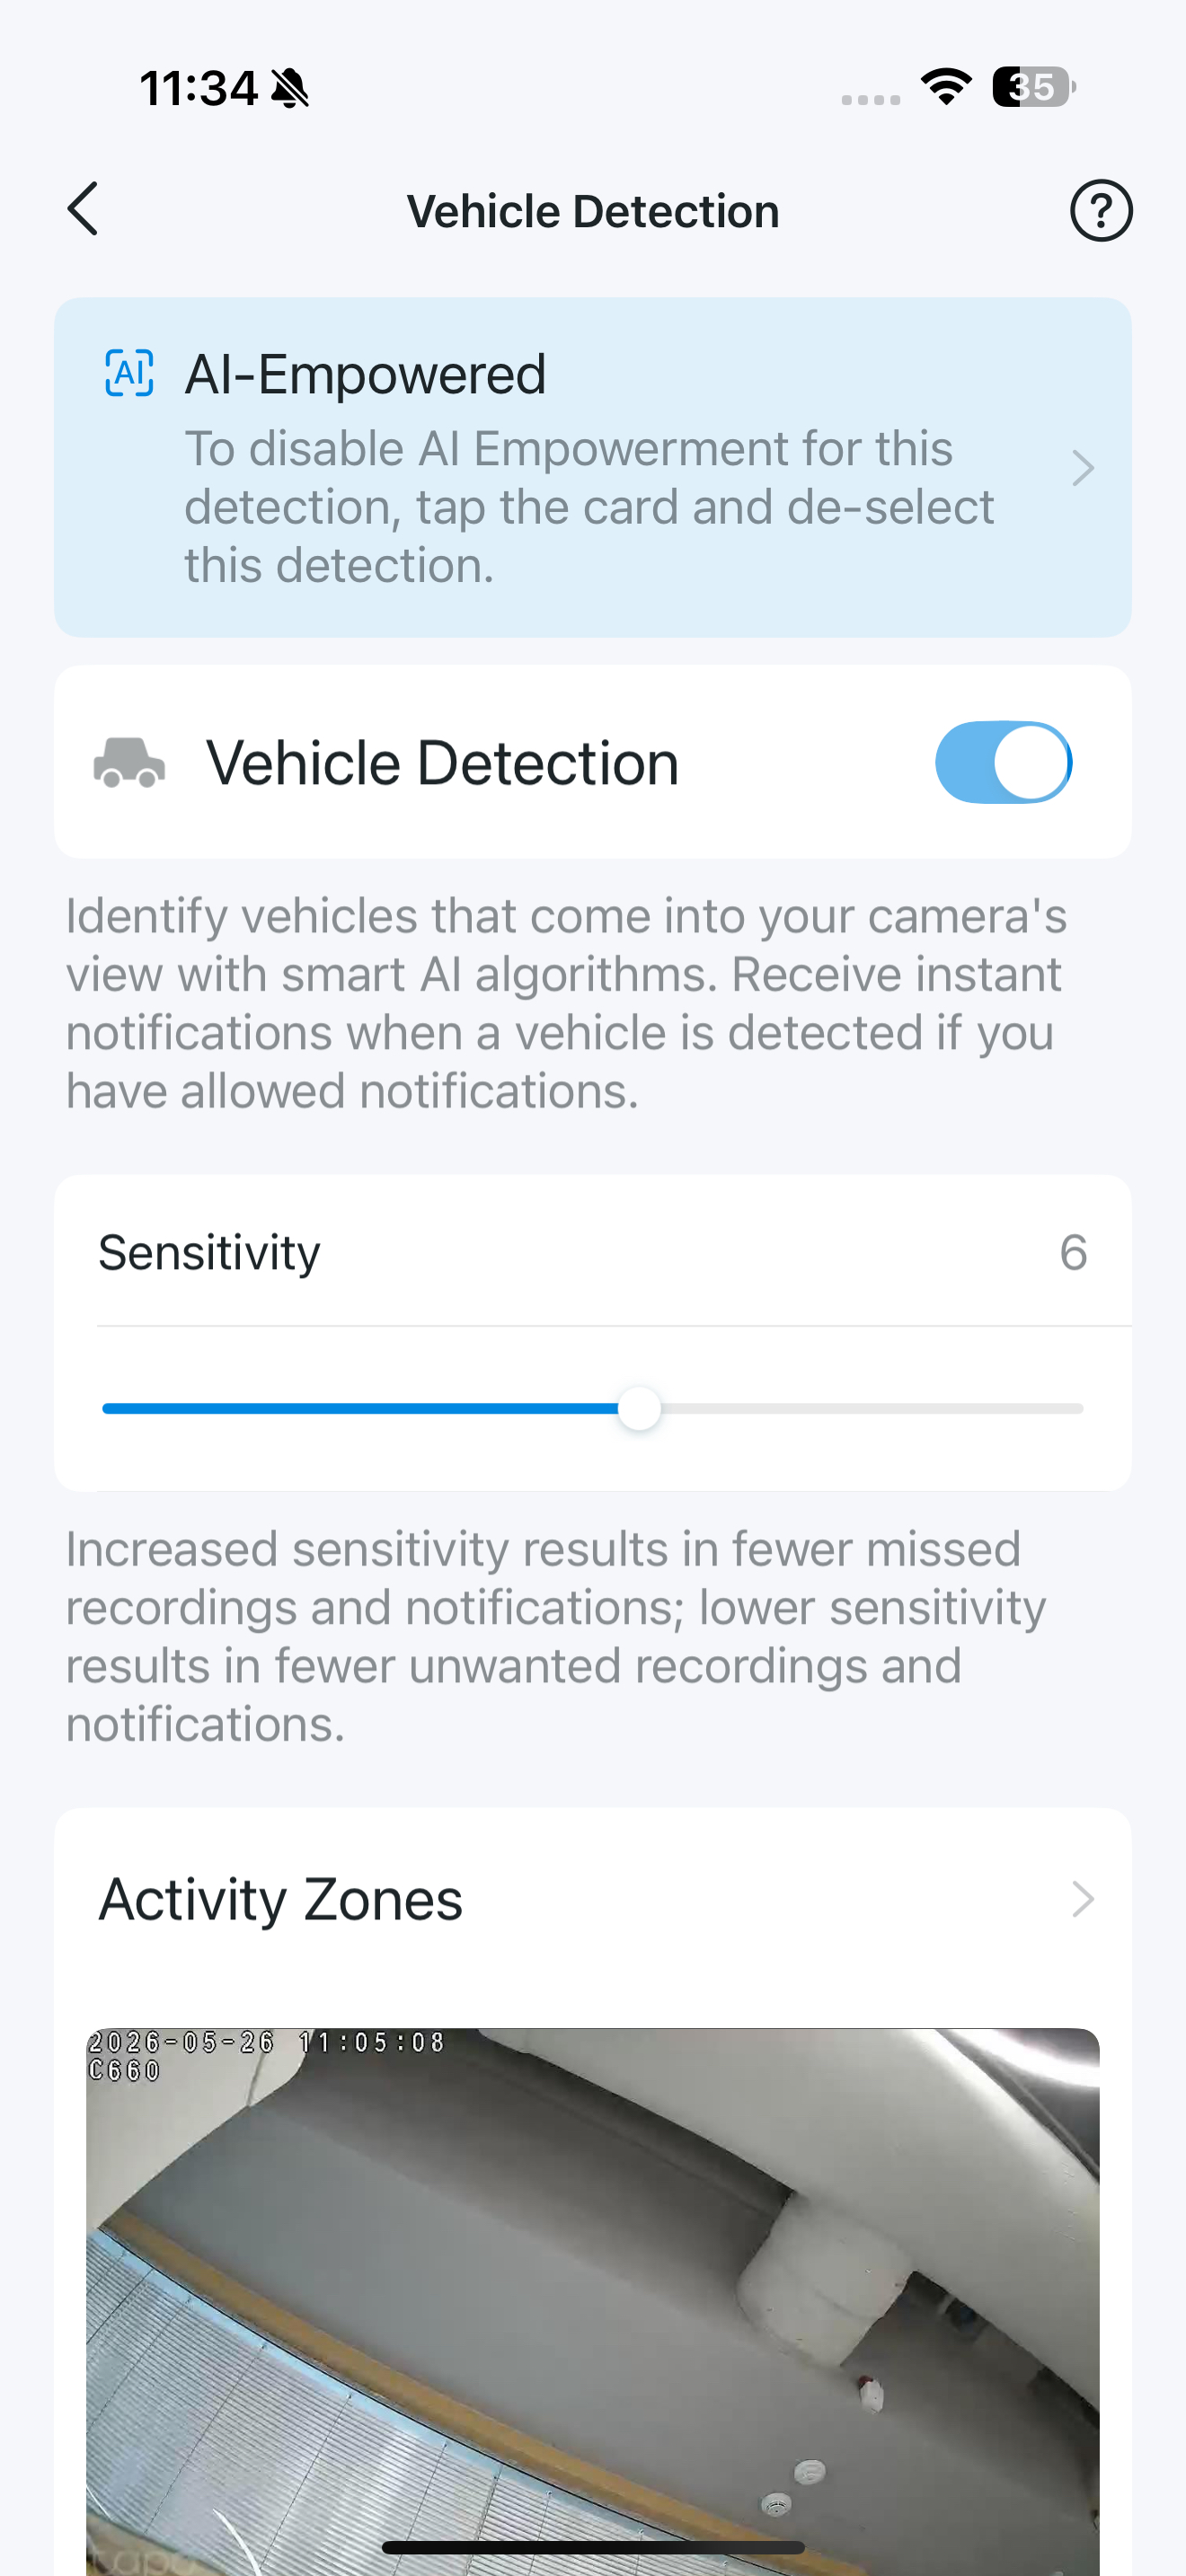
When enabled, the camera will detect in real-time whether people/pets/vehicles come into your camera's view, notifying you with Notifications on. You can adjust Sensitivity and add Activity Zones.
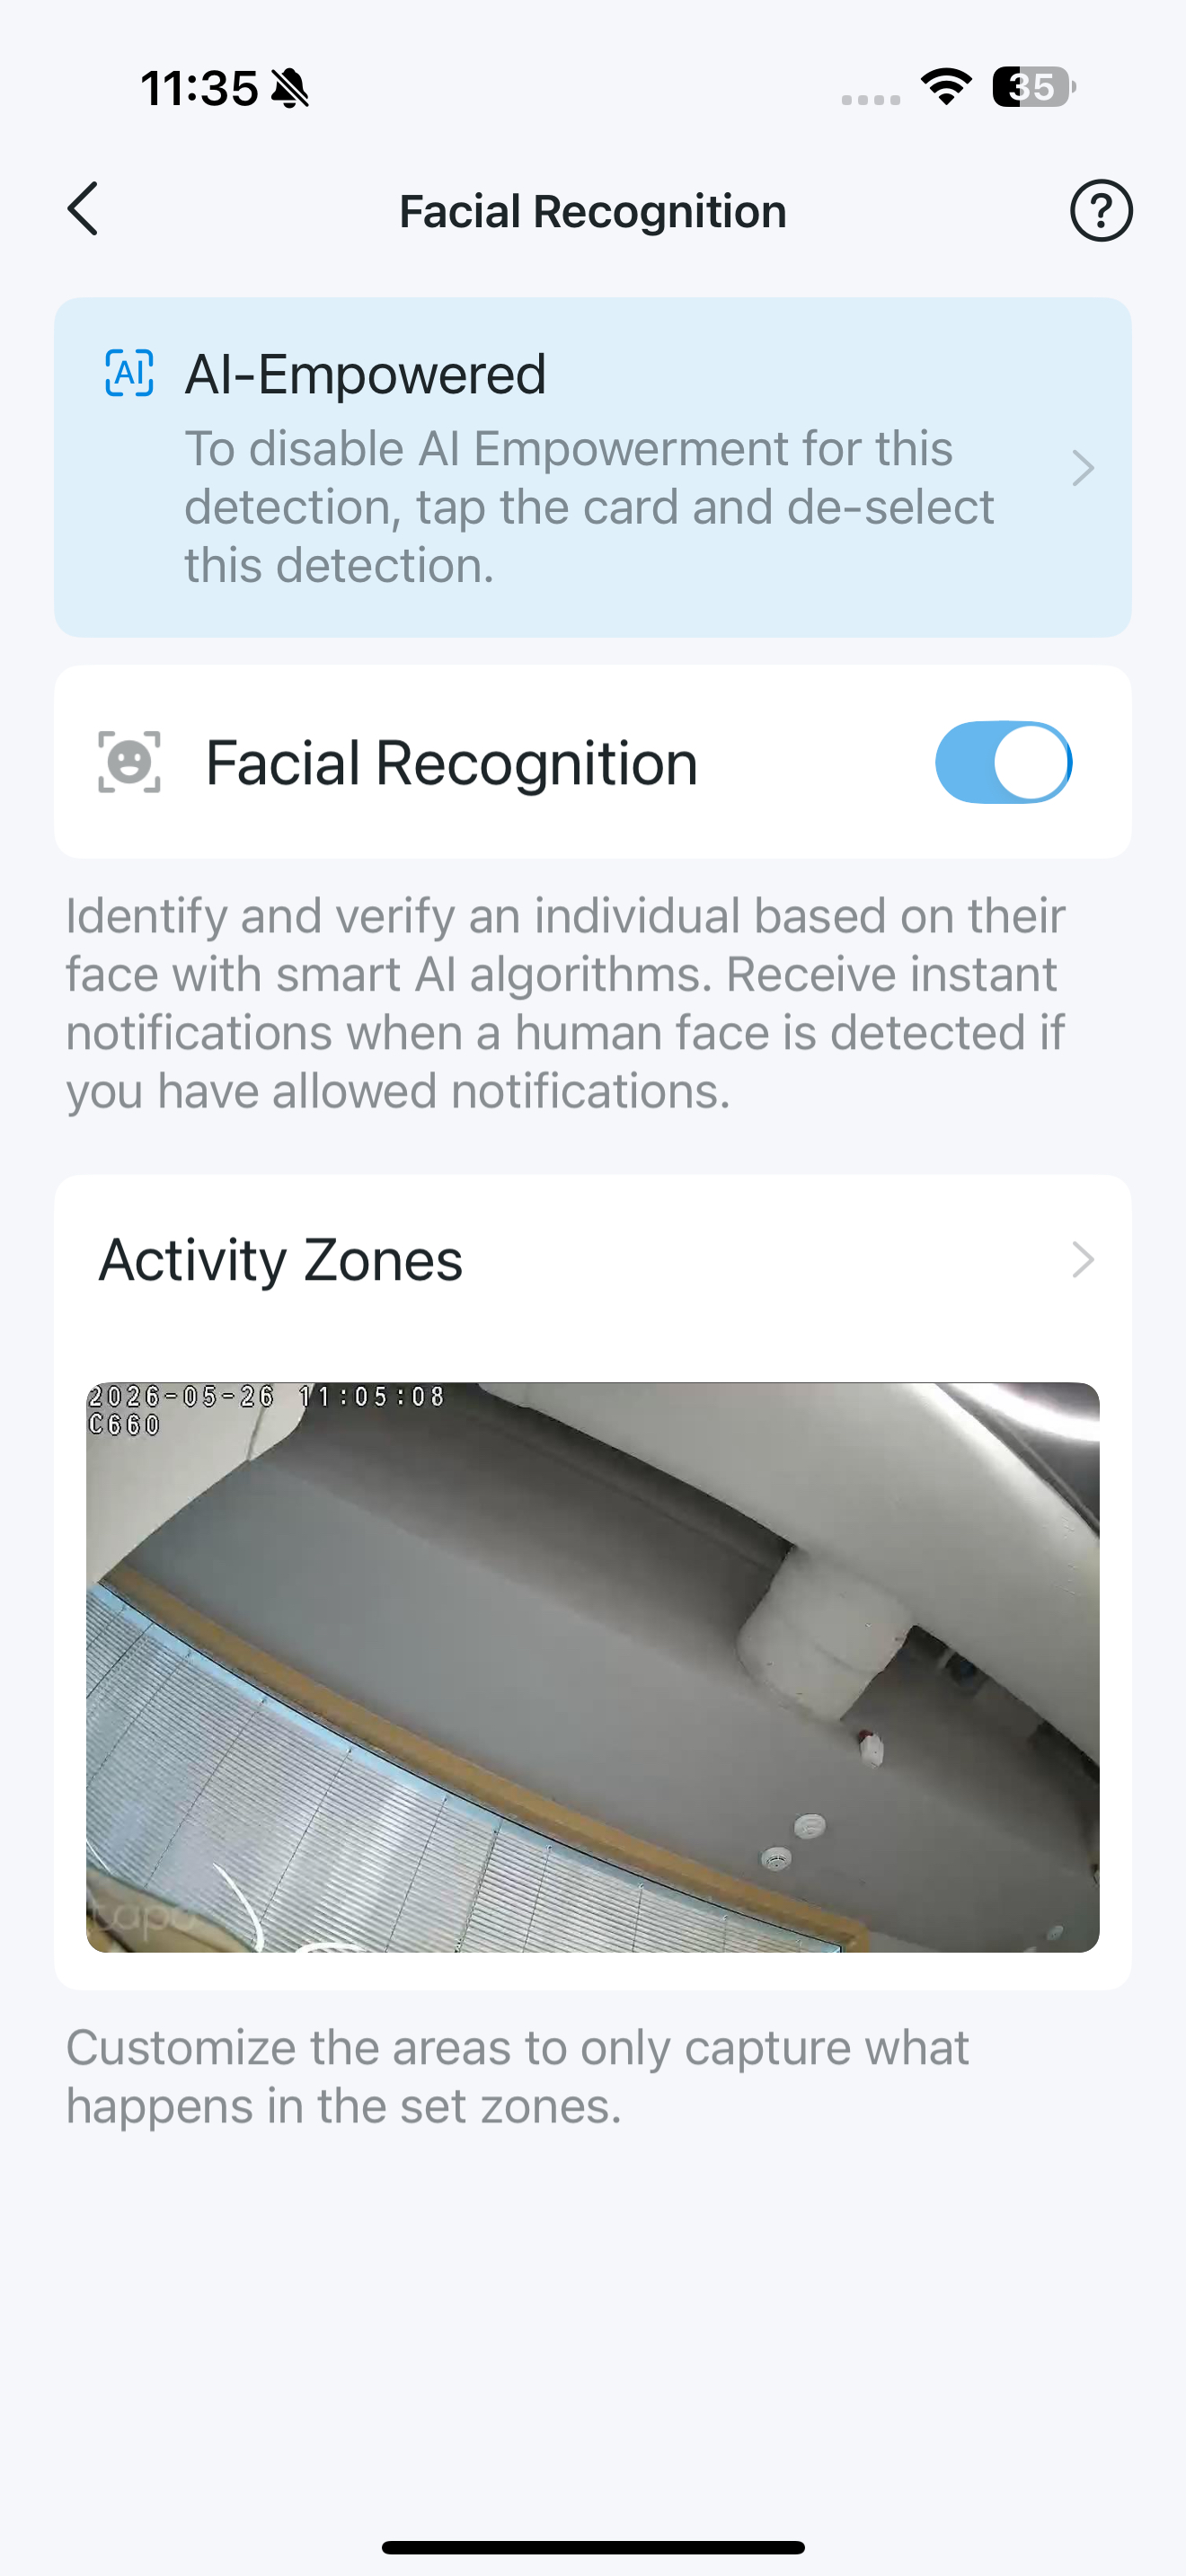
Facial Recognition
When your camera supports connecting to CentralHubTM, you can enjoy the AI-empowered detection and the added Facial Recognition that identifies and verifies an individual based on their faces with smart AI algorithms.
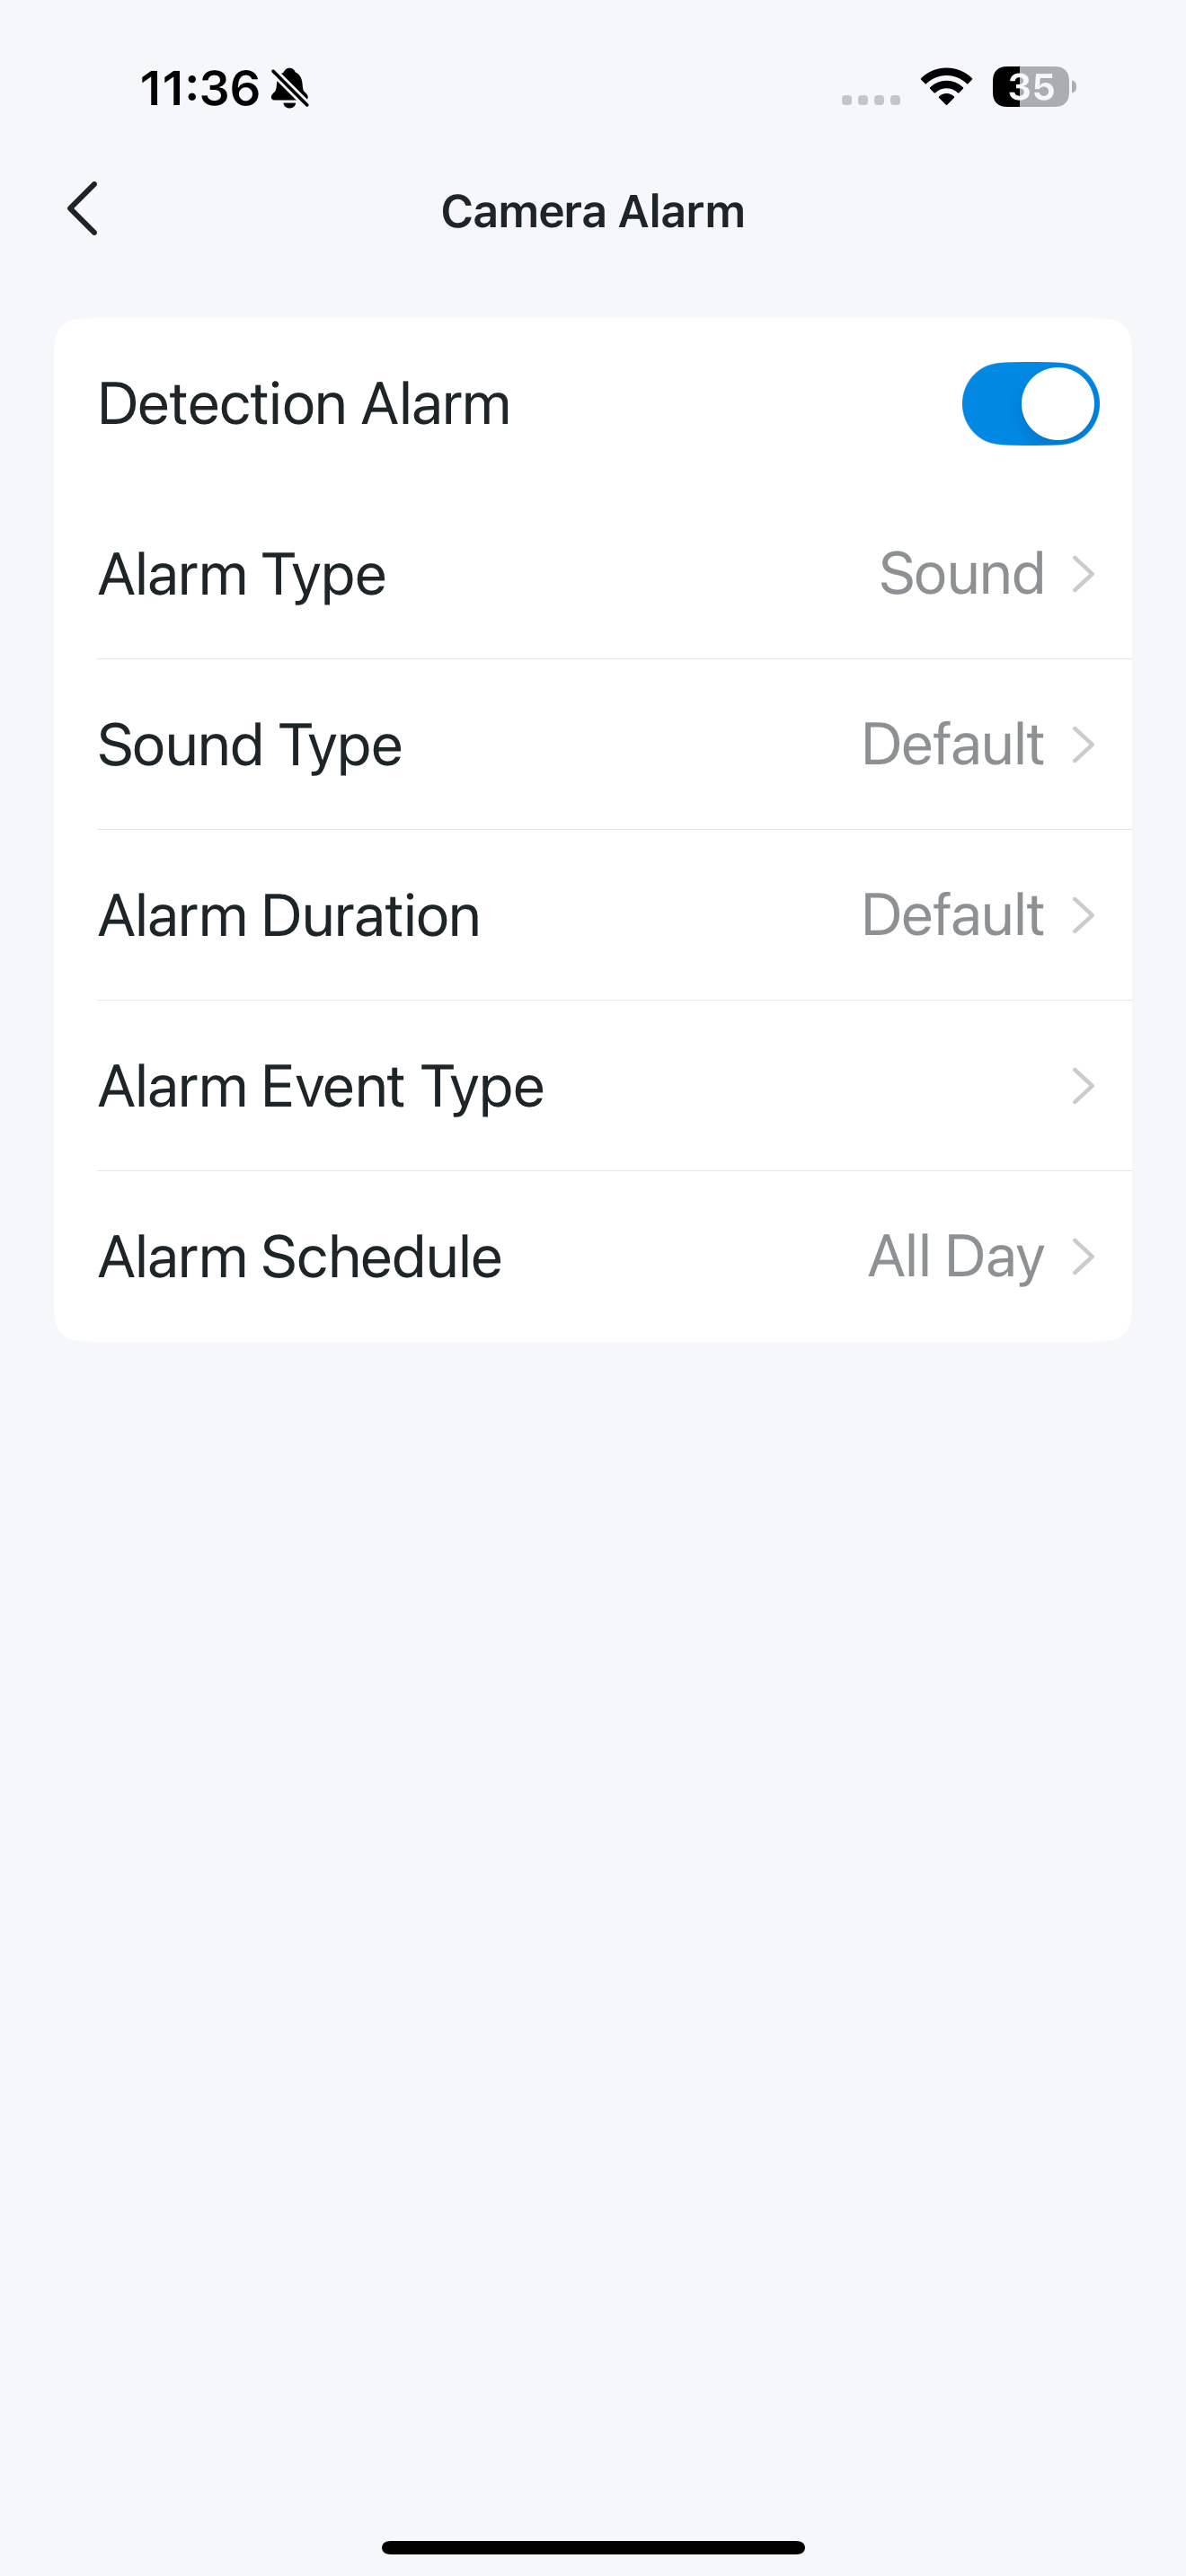
Alarm
When enabled, you can change Alarm Type/Sound Type/Alarm Duration, select Alarm Event Type, and choose Alarm Schedule.
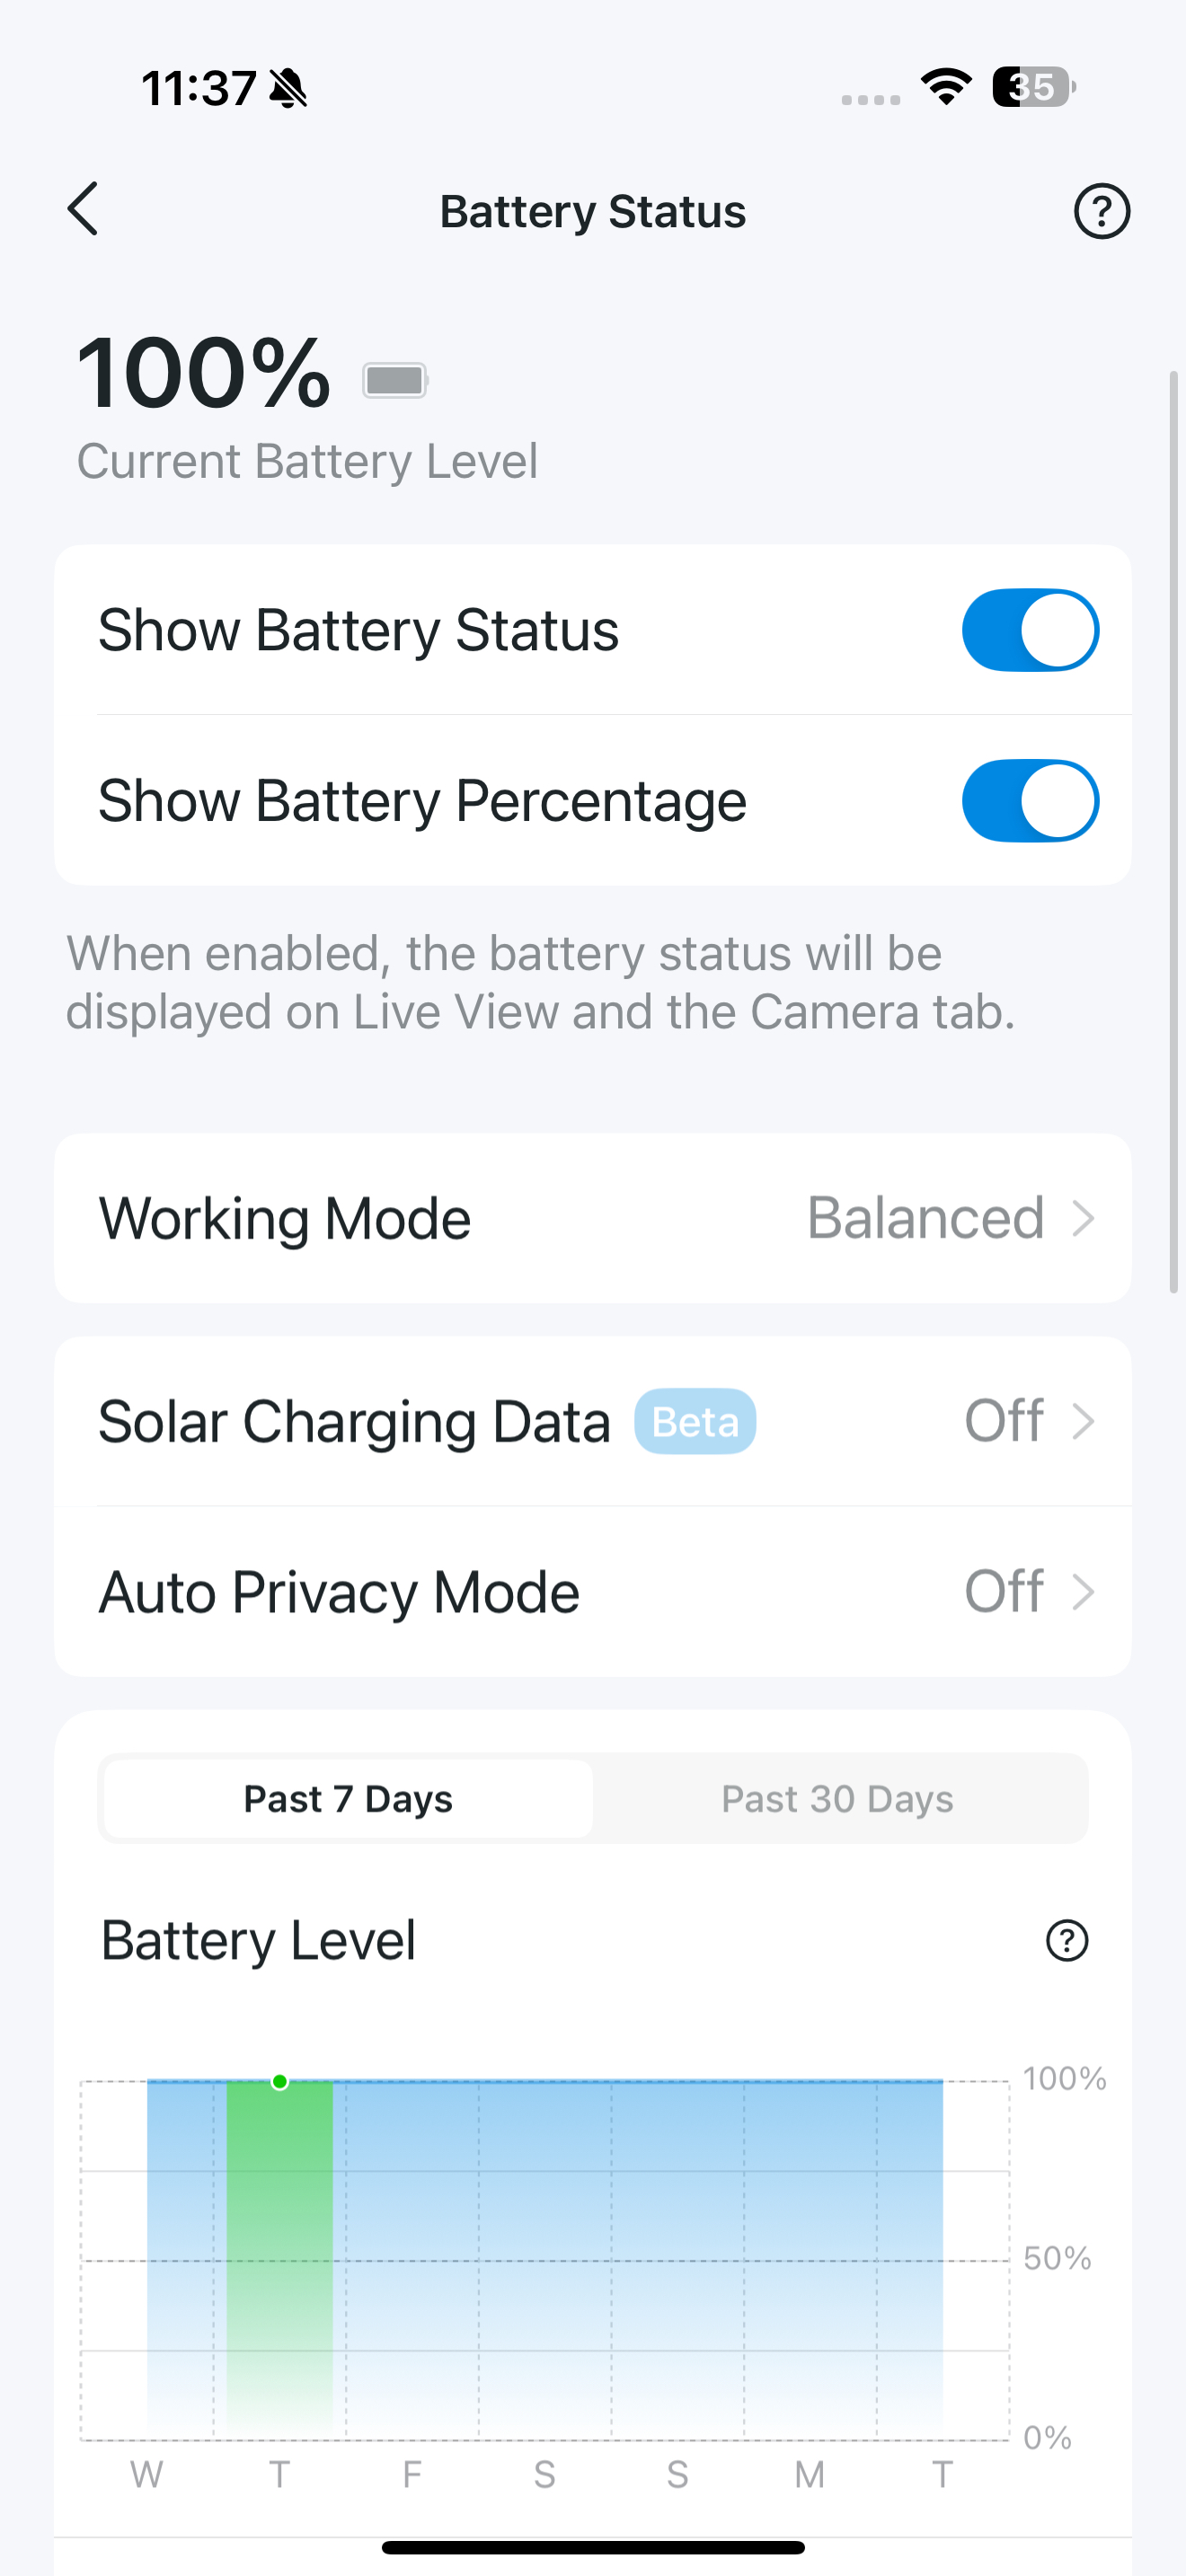
Battery Status
On the Battery Status page, you can monitor your camera's power. View the current battery percentage, select a power mode to balance recording and battery life, check solar energy intake if a panel is connected, and review detailed statistics on usage, operating time, and wake-up events.
Working Mode
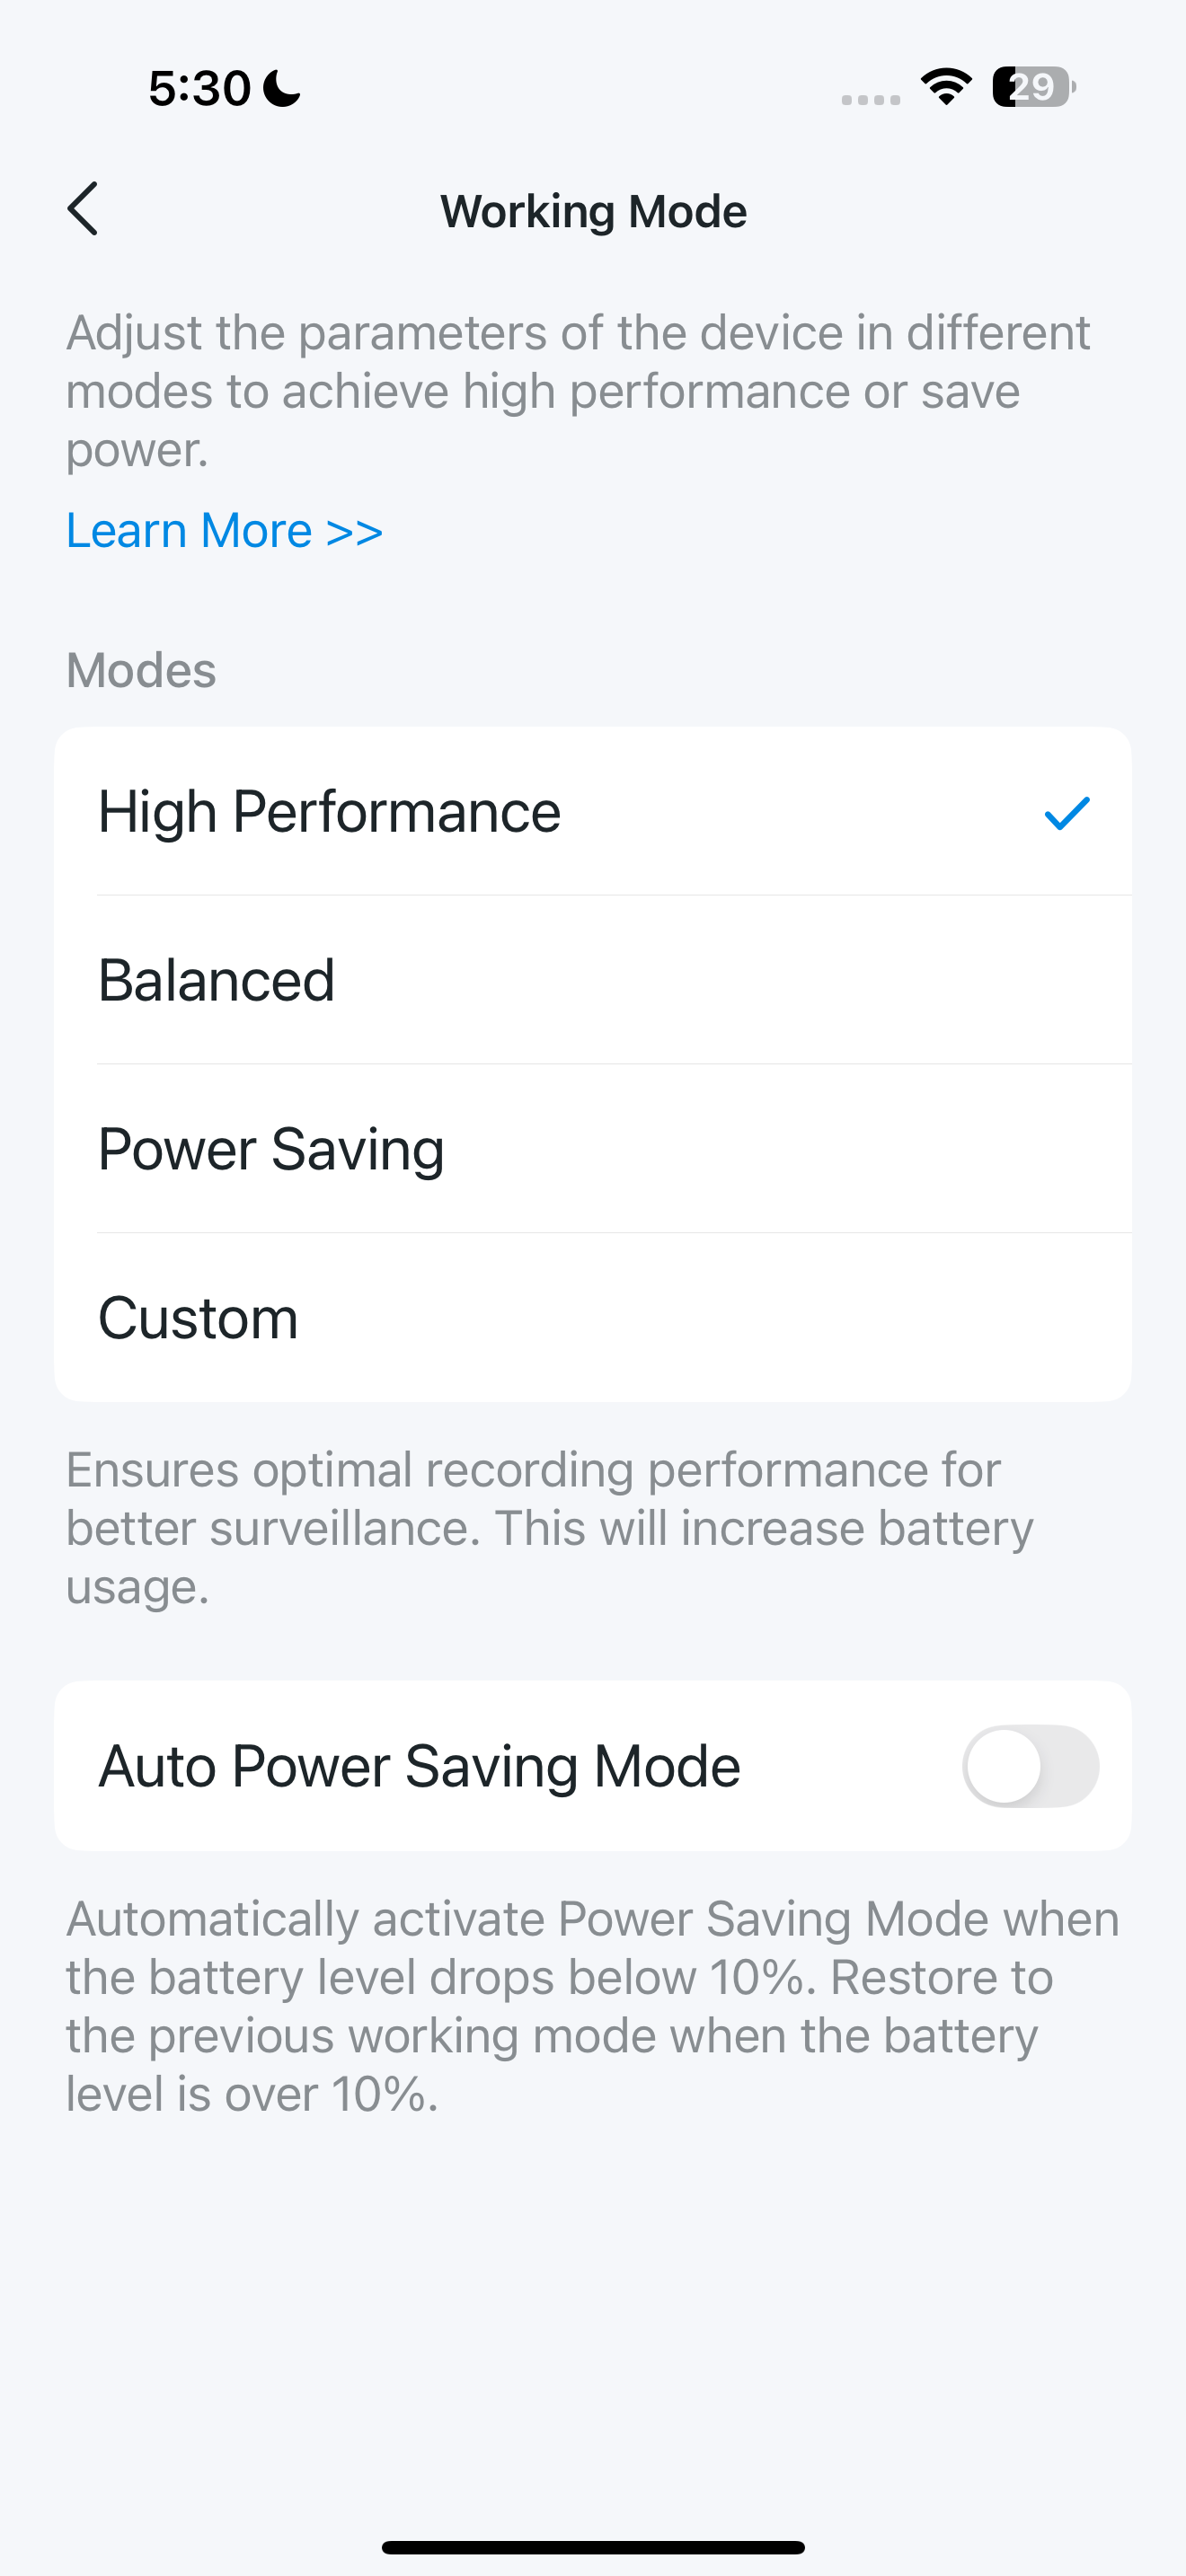
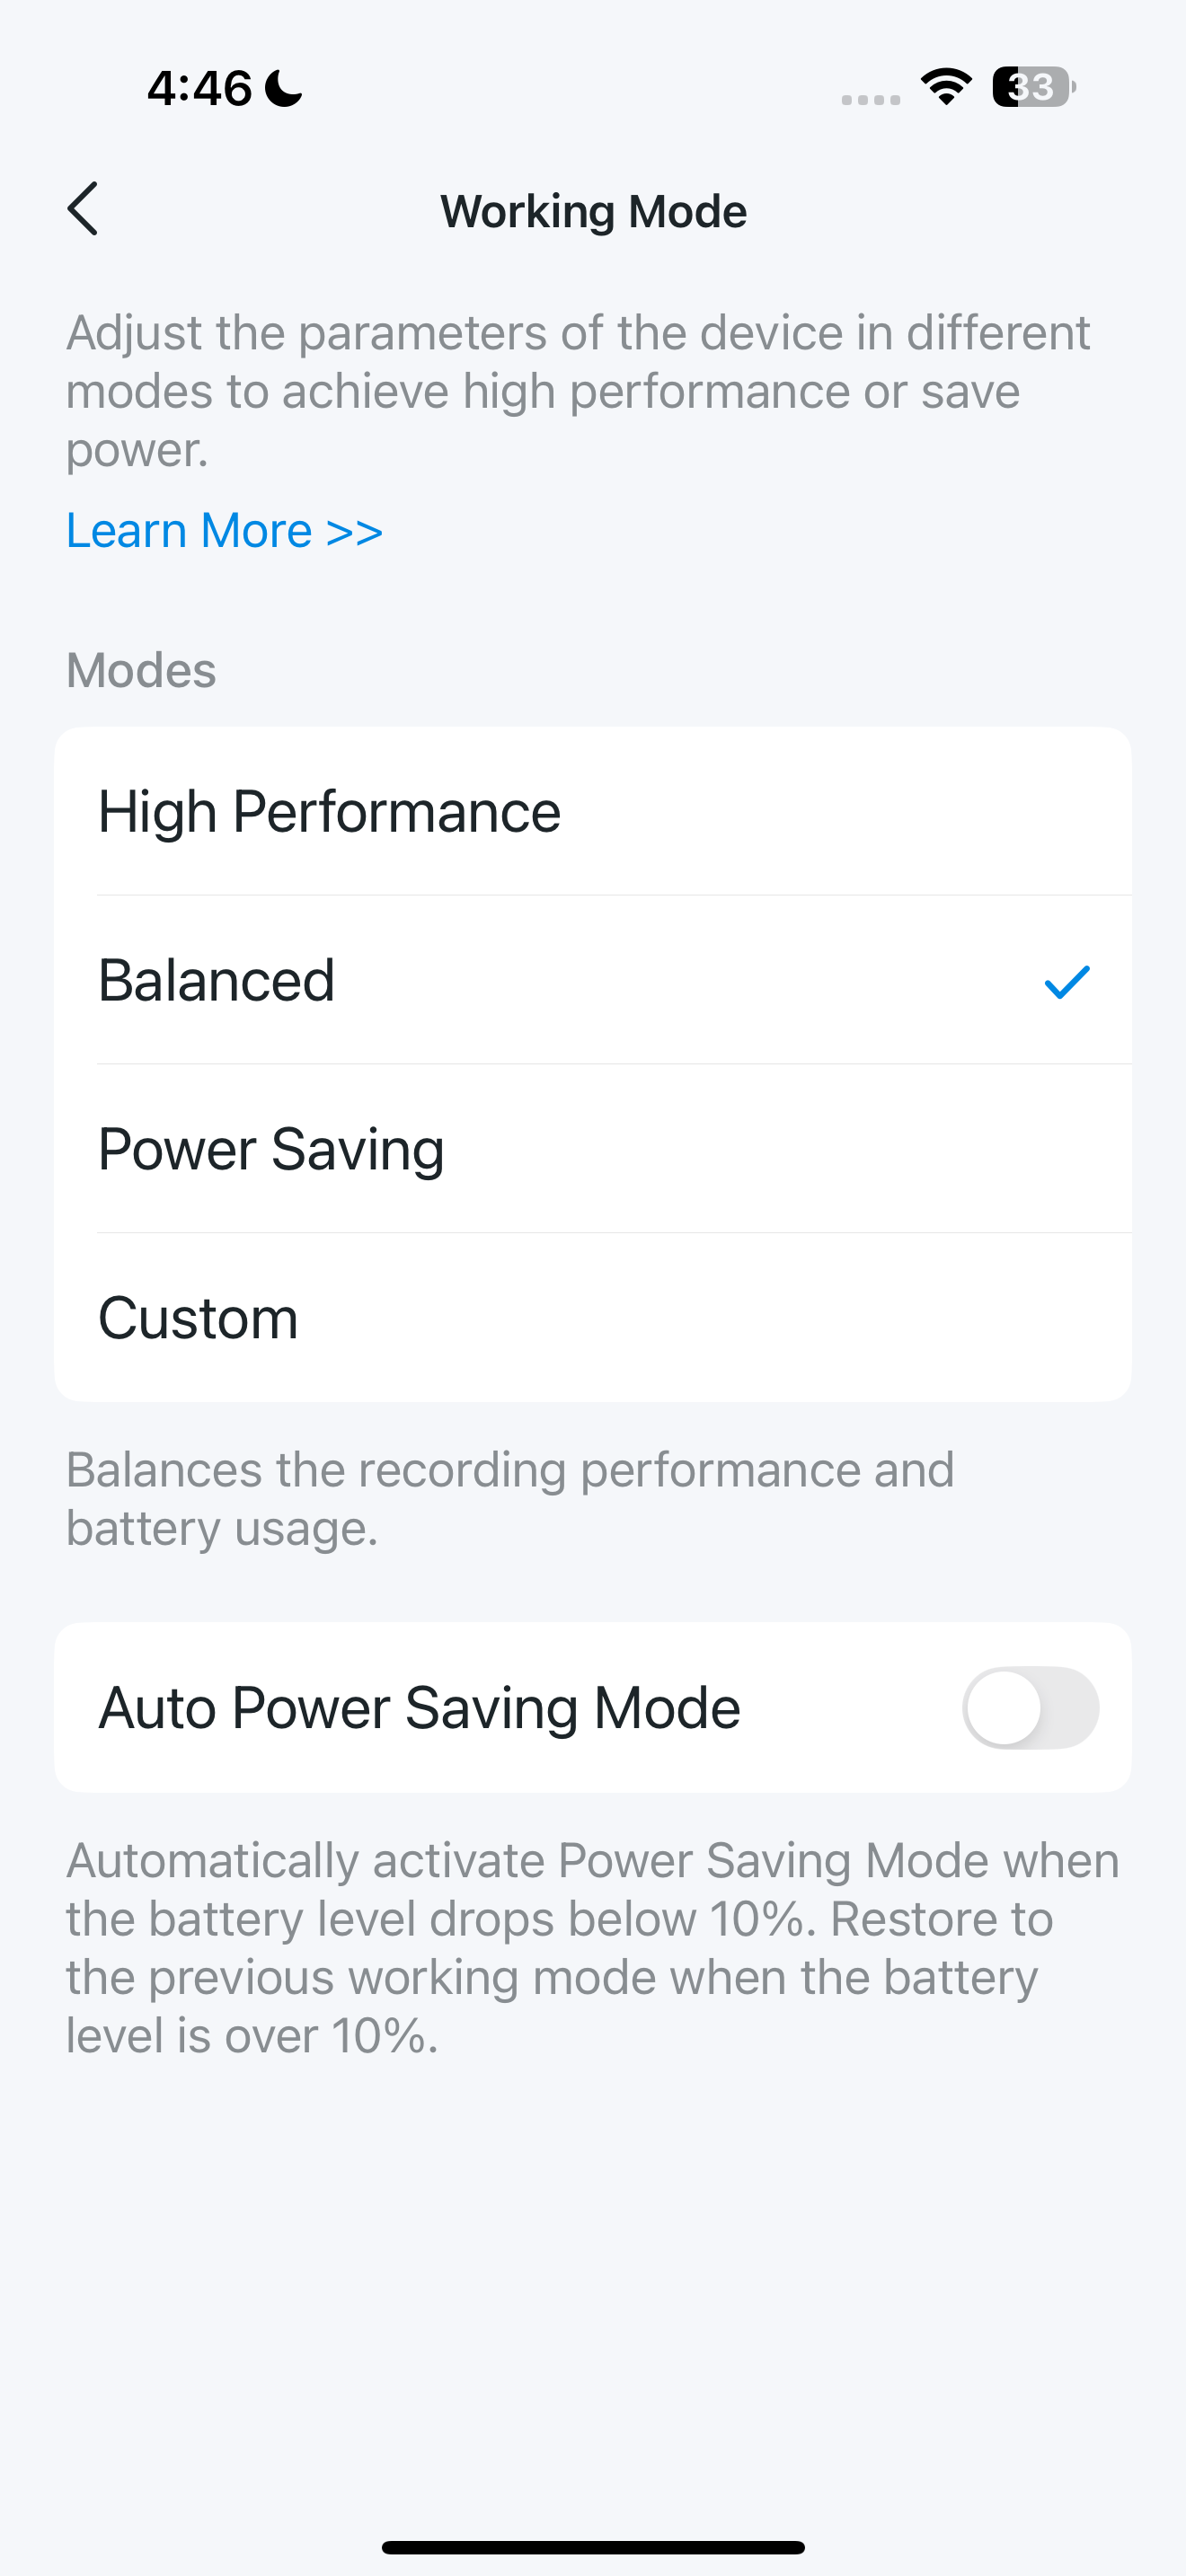
Choose one of several modes to adjust the device parameters for high performance or power saving.
The battery may drain faster in High Performance mode; please pay attention to your device's battery level.
In the Balanced and High Performance modes, you can enable Auto Power Saving Mode to prevent the camera from draining the battery.
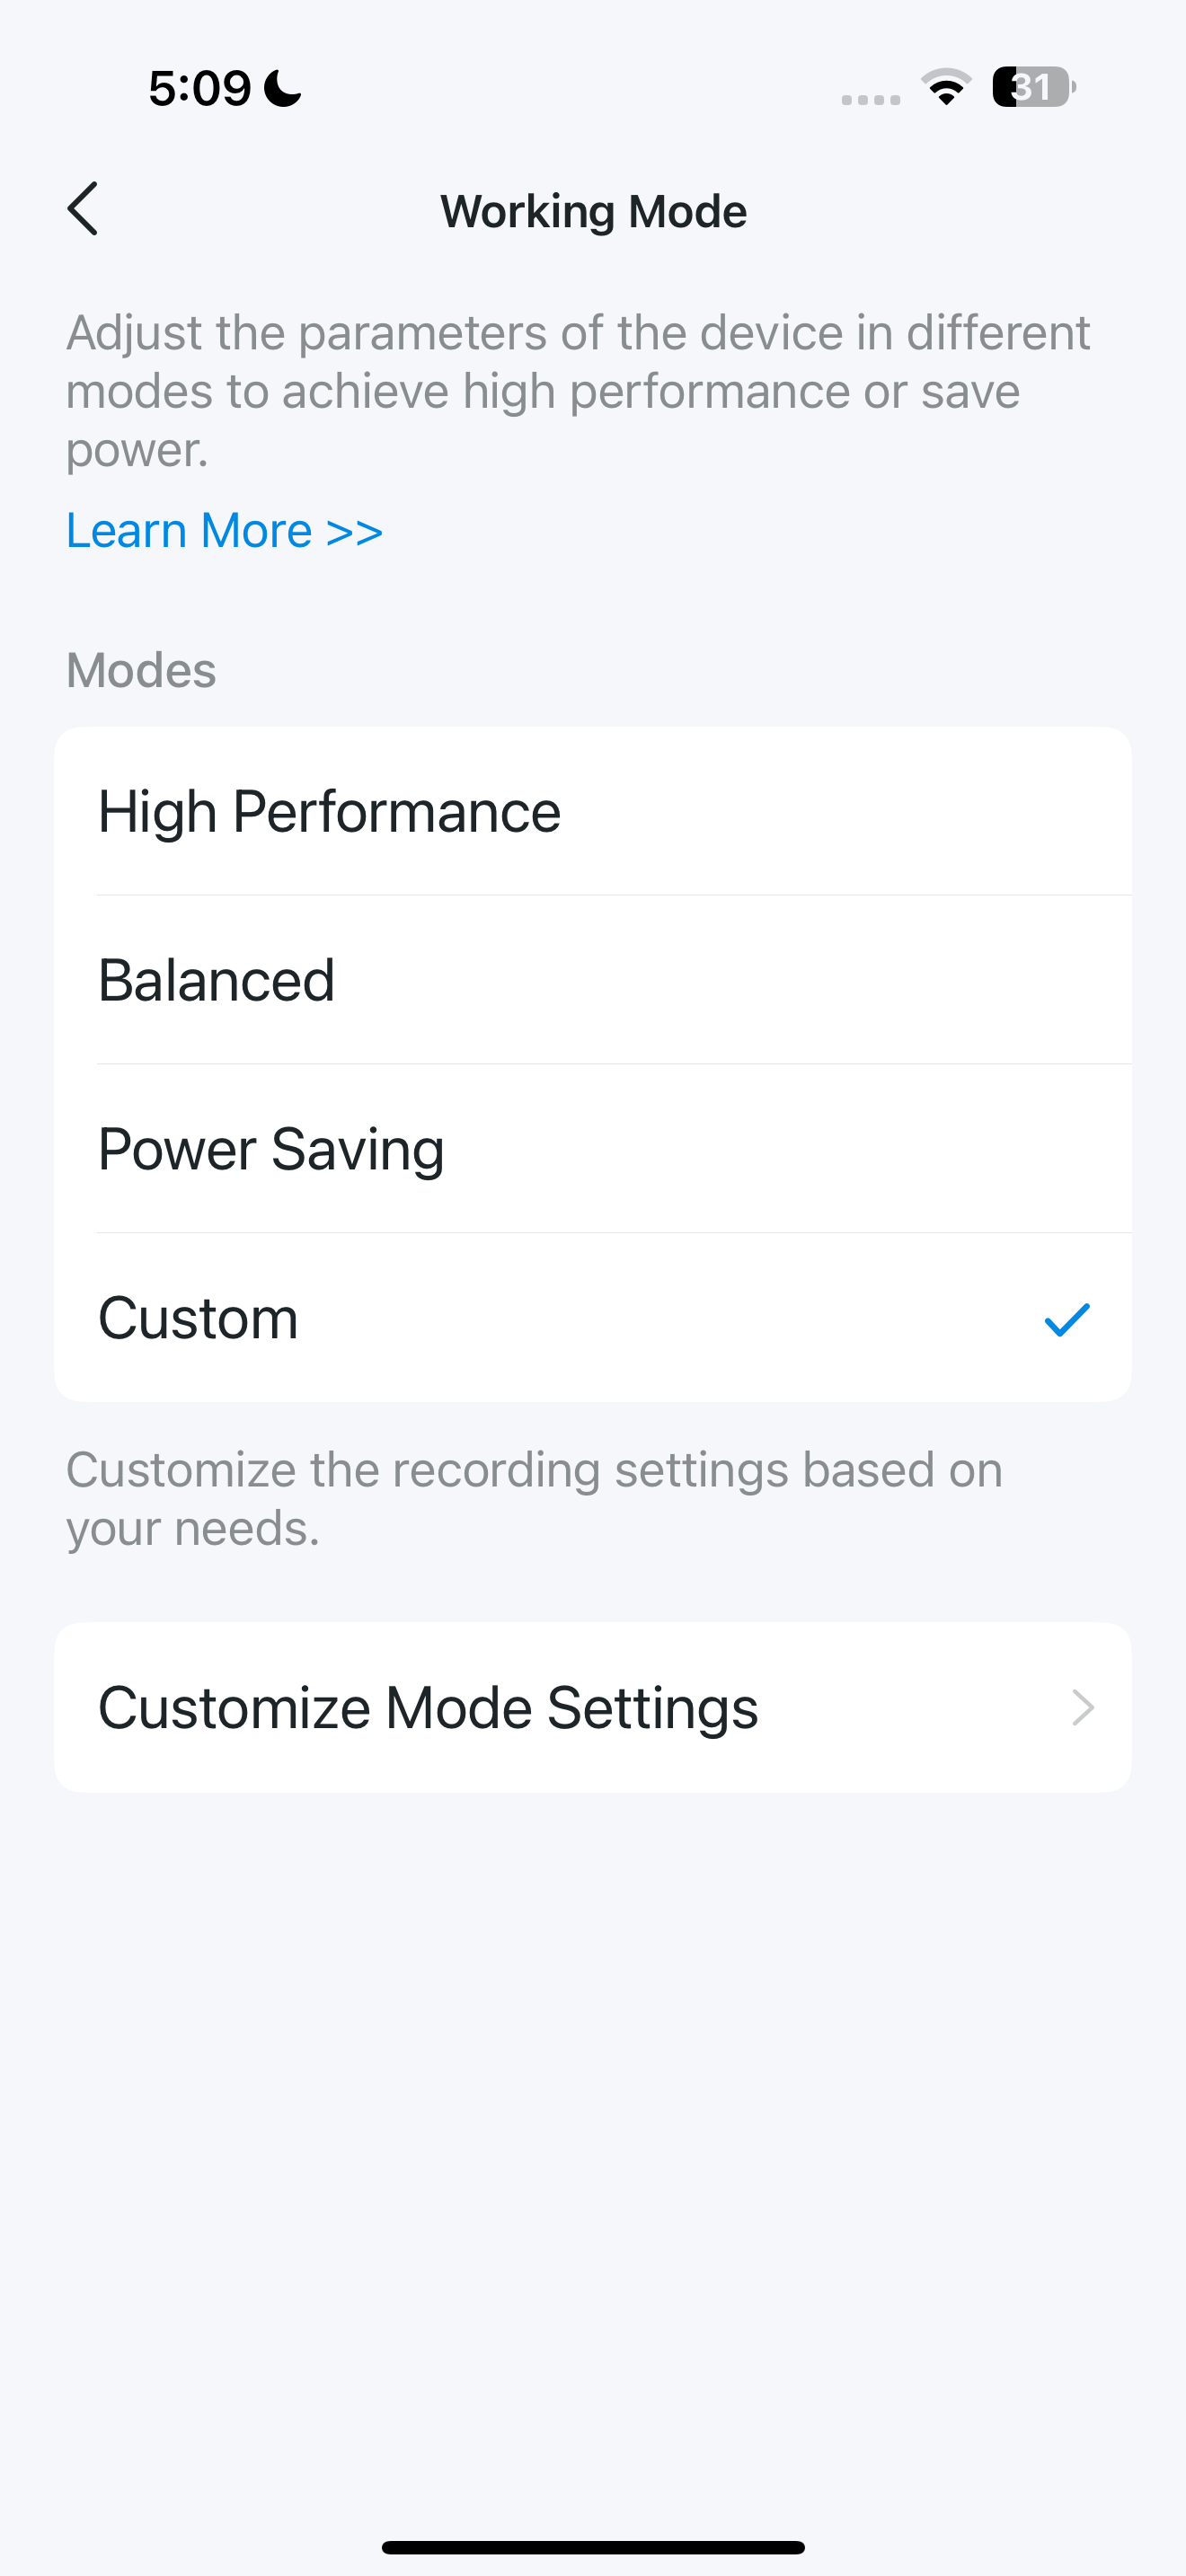
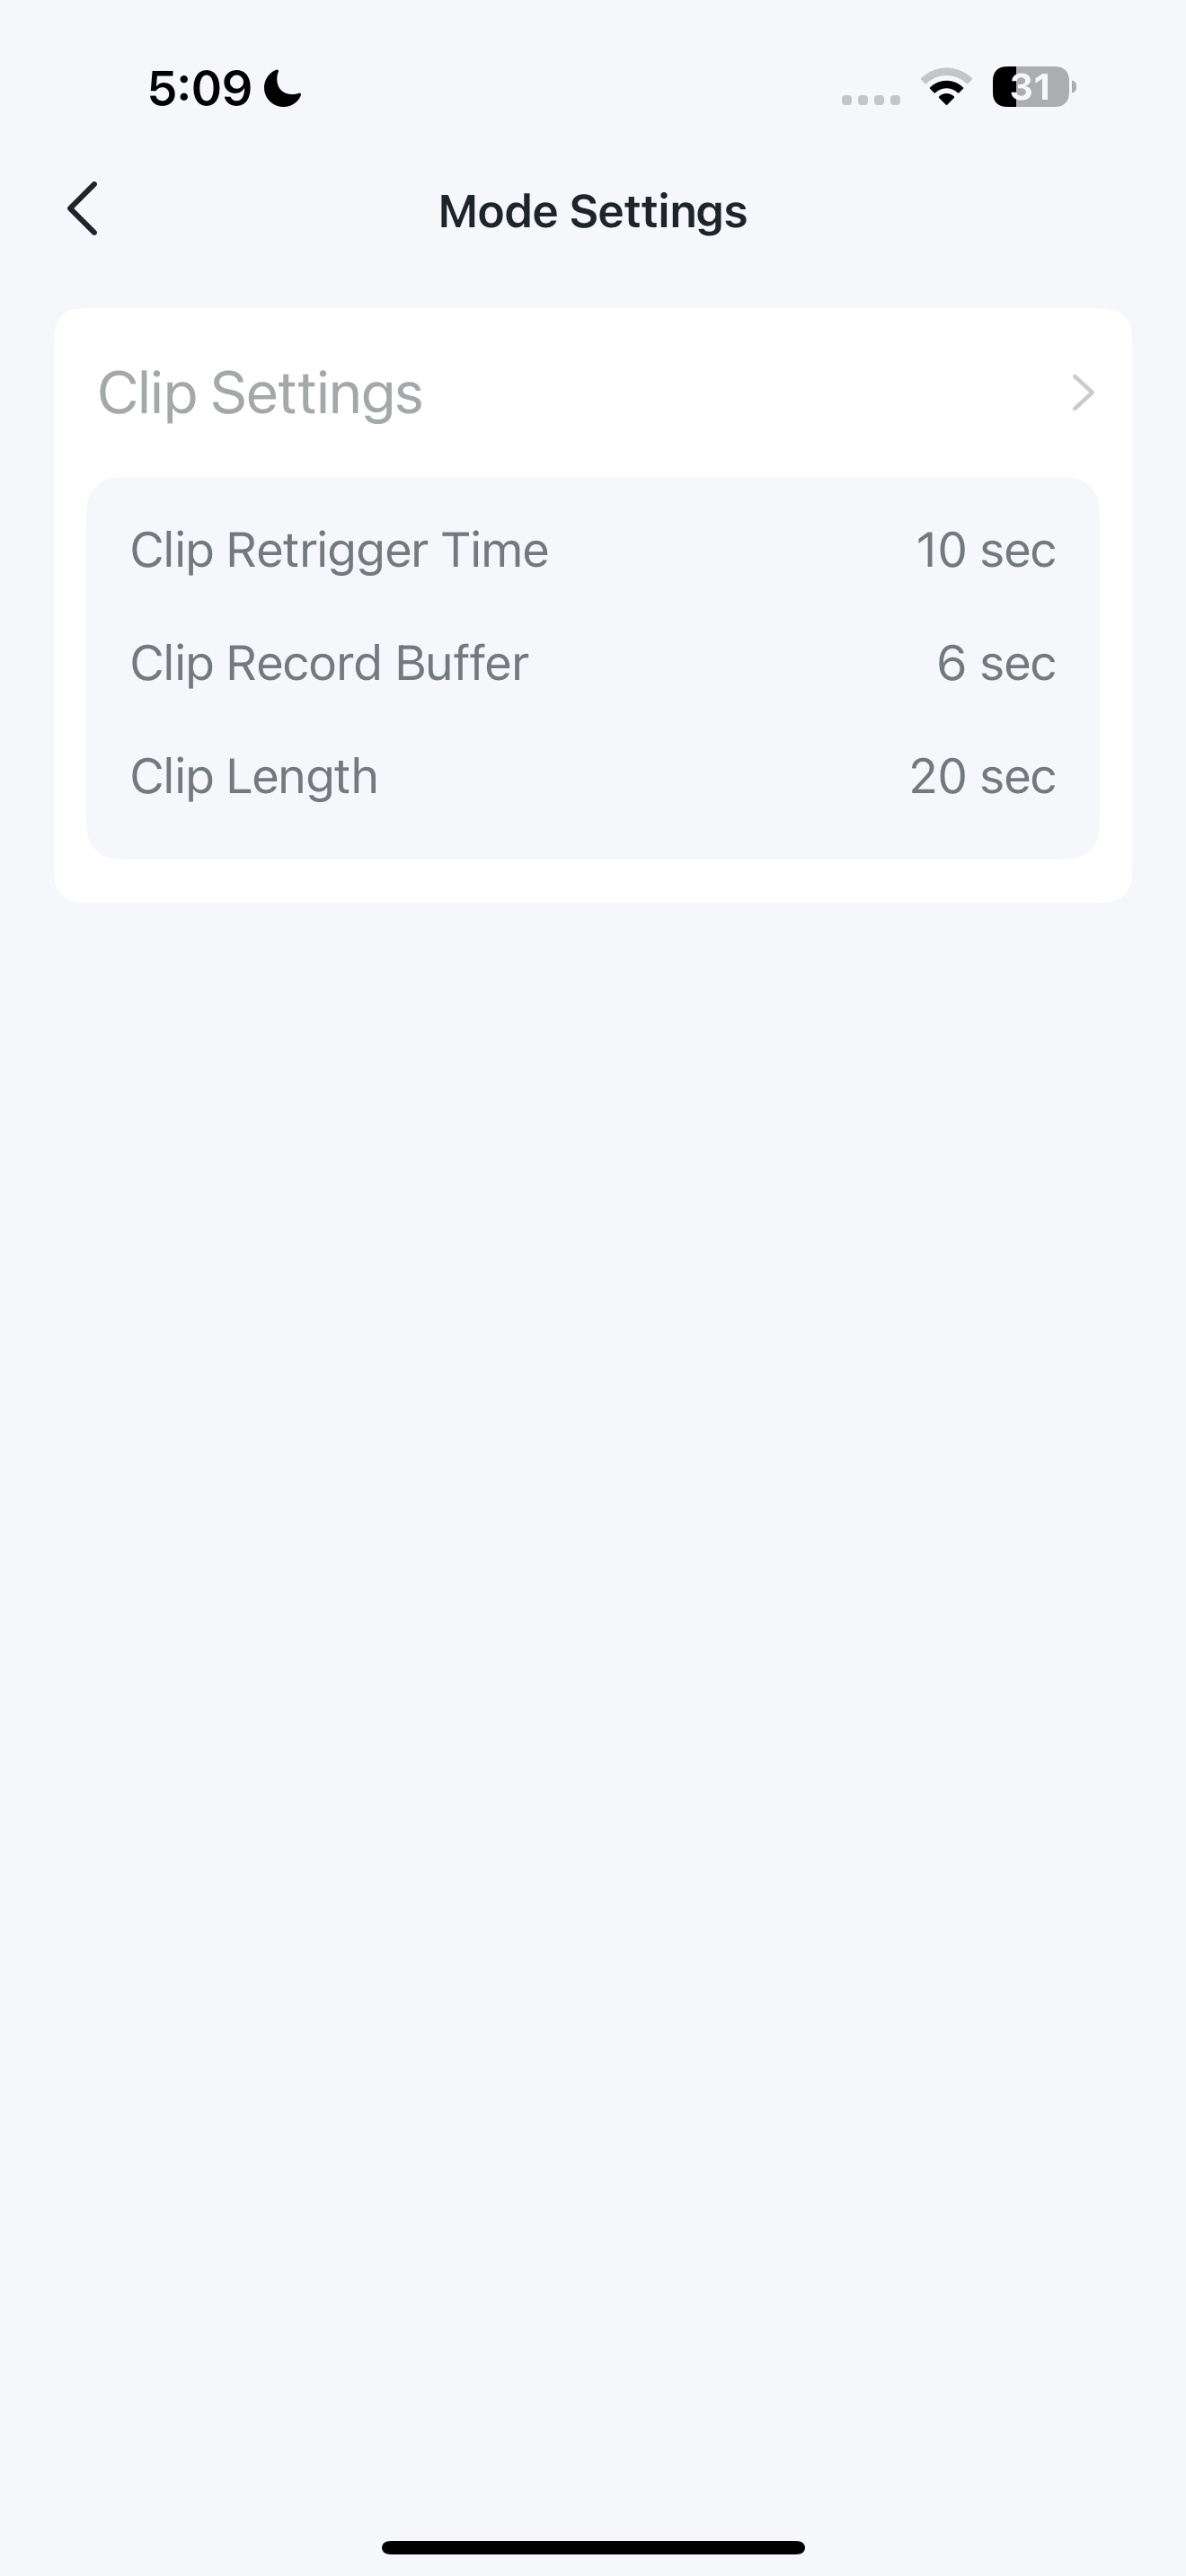
You can also customize the recording settings based on your needs.
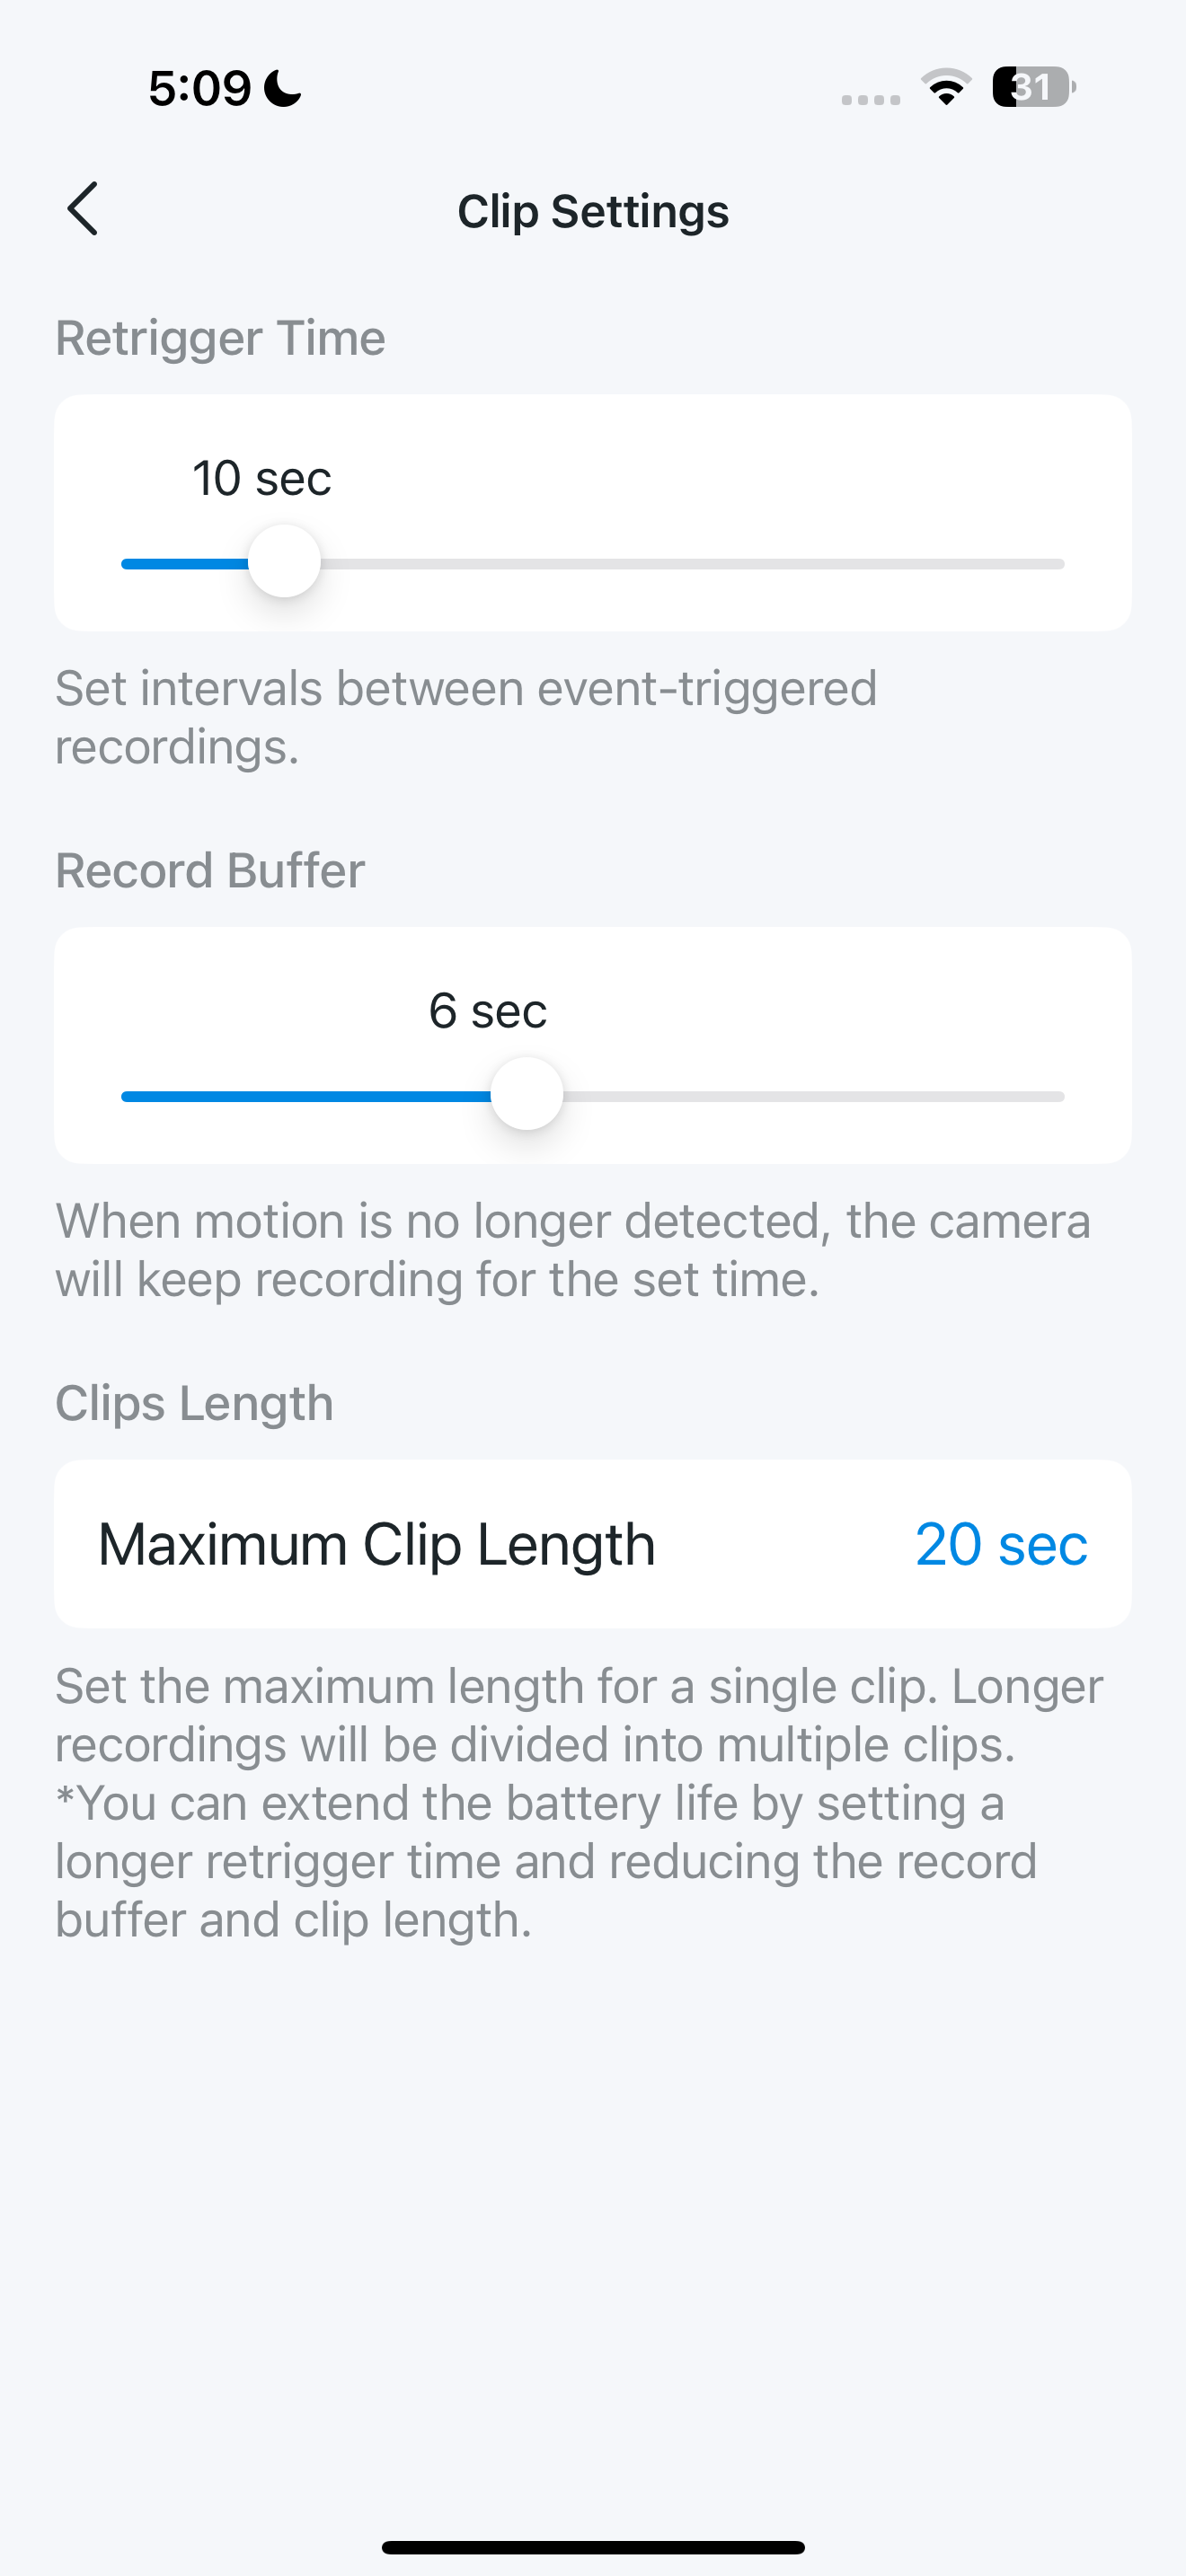
Solar Charging Data
When enabled, Tapo can record the solar energy usage.
Note: Beta feature. Data for reference only.
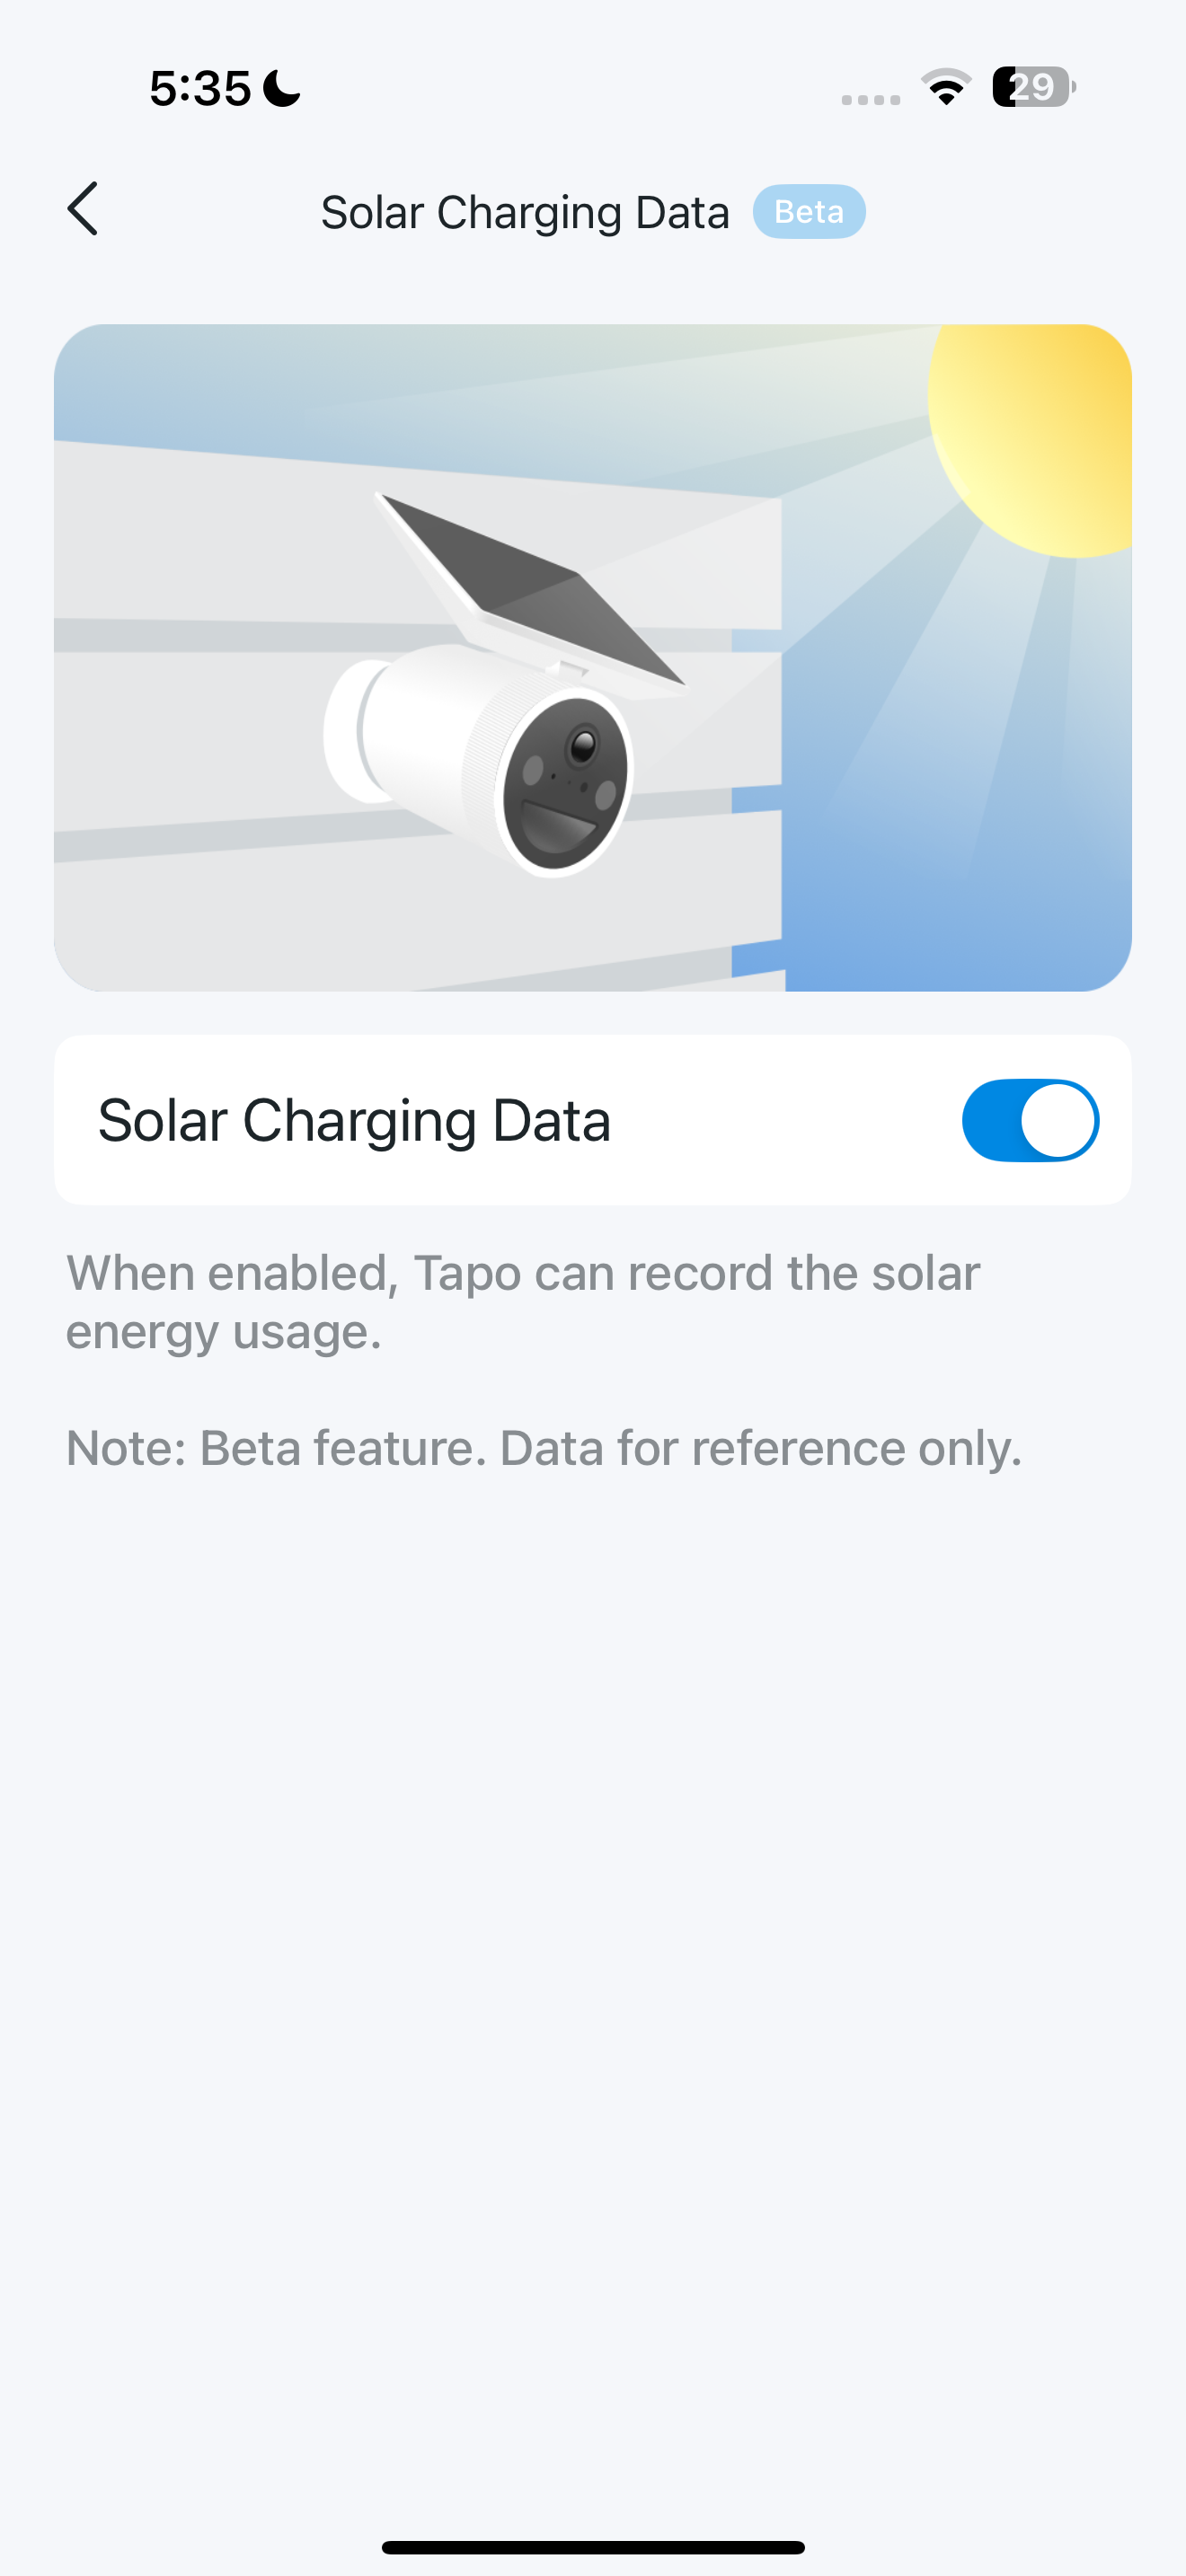
Auto Privacy Mode
Turn on to automatically enable Privacy Mode every time you charge the camera. You can exit Privacy Mode on Live View.
Note: DO NOT turn on this feature when using the solar panel for power supply.
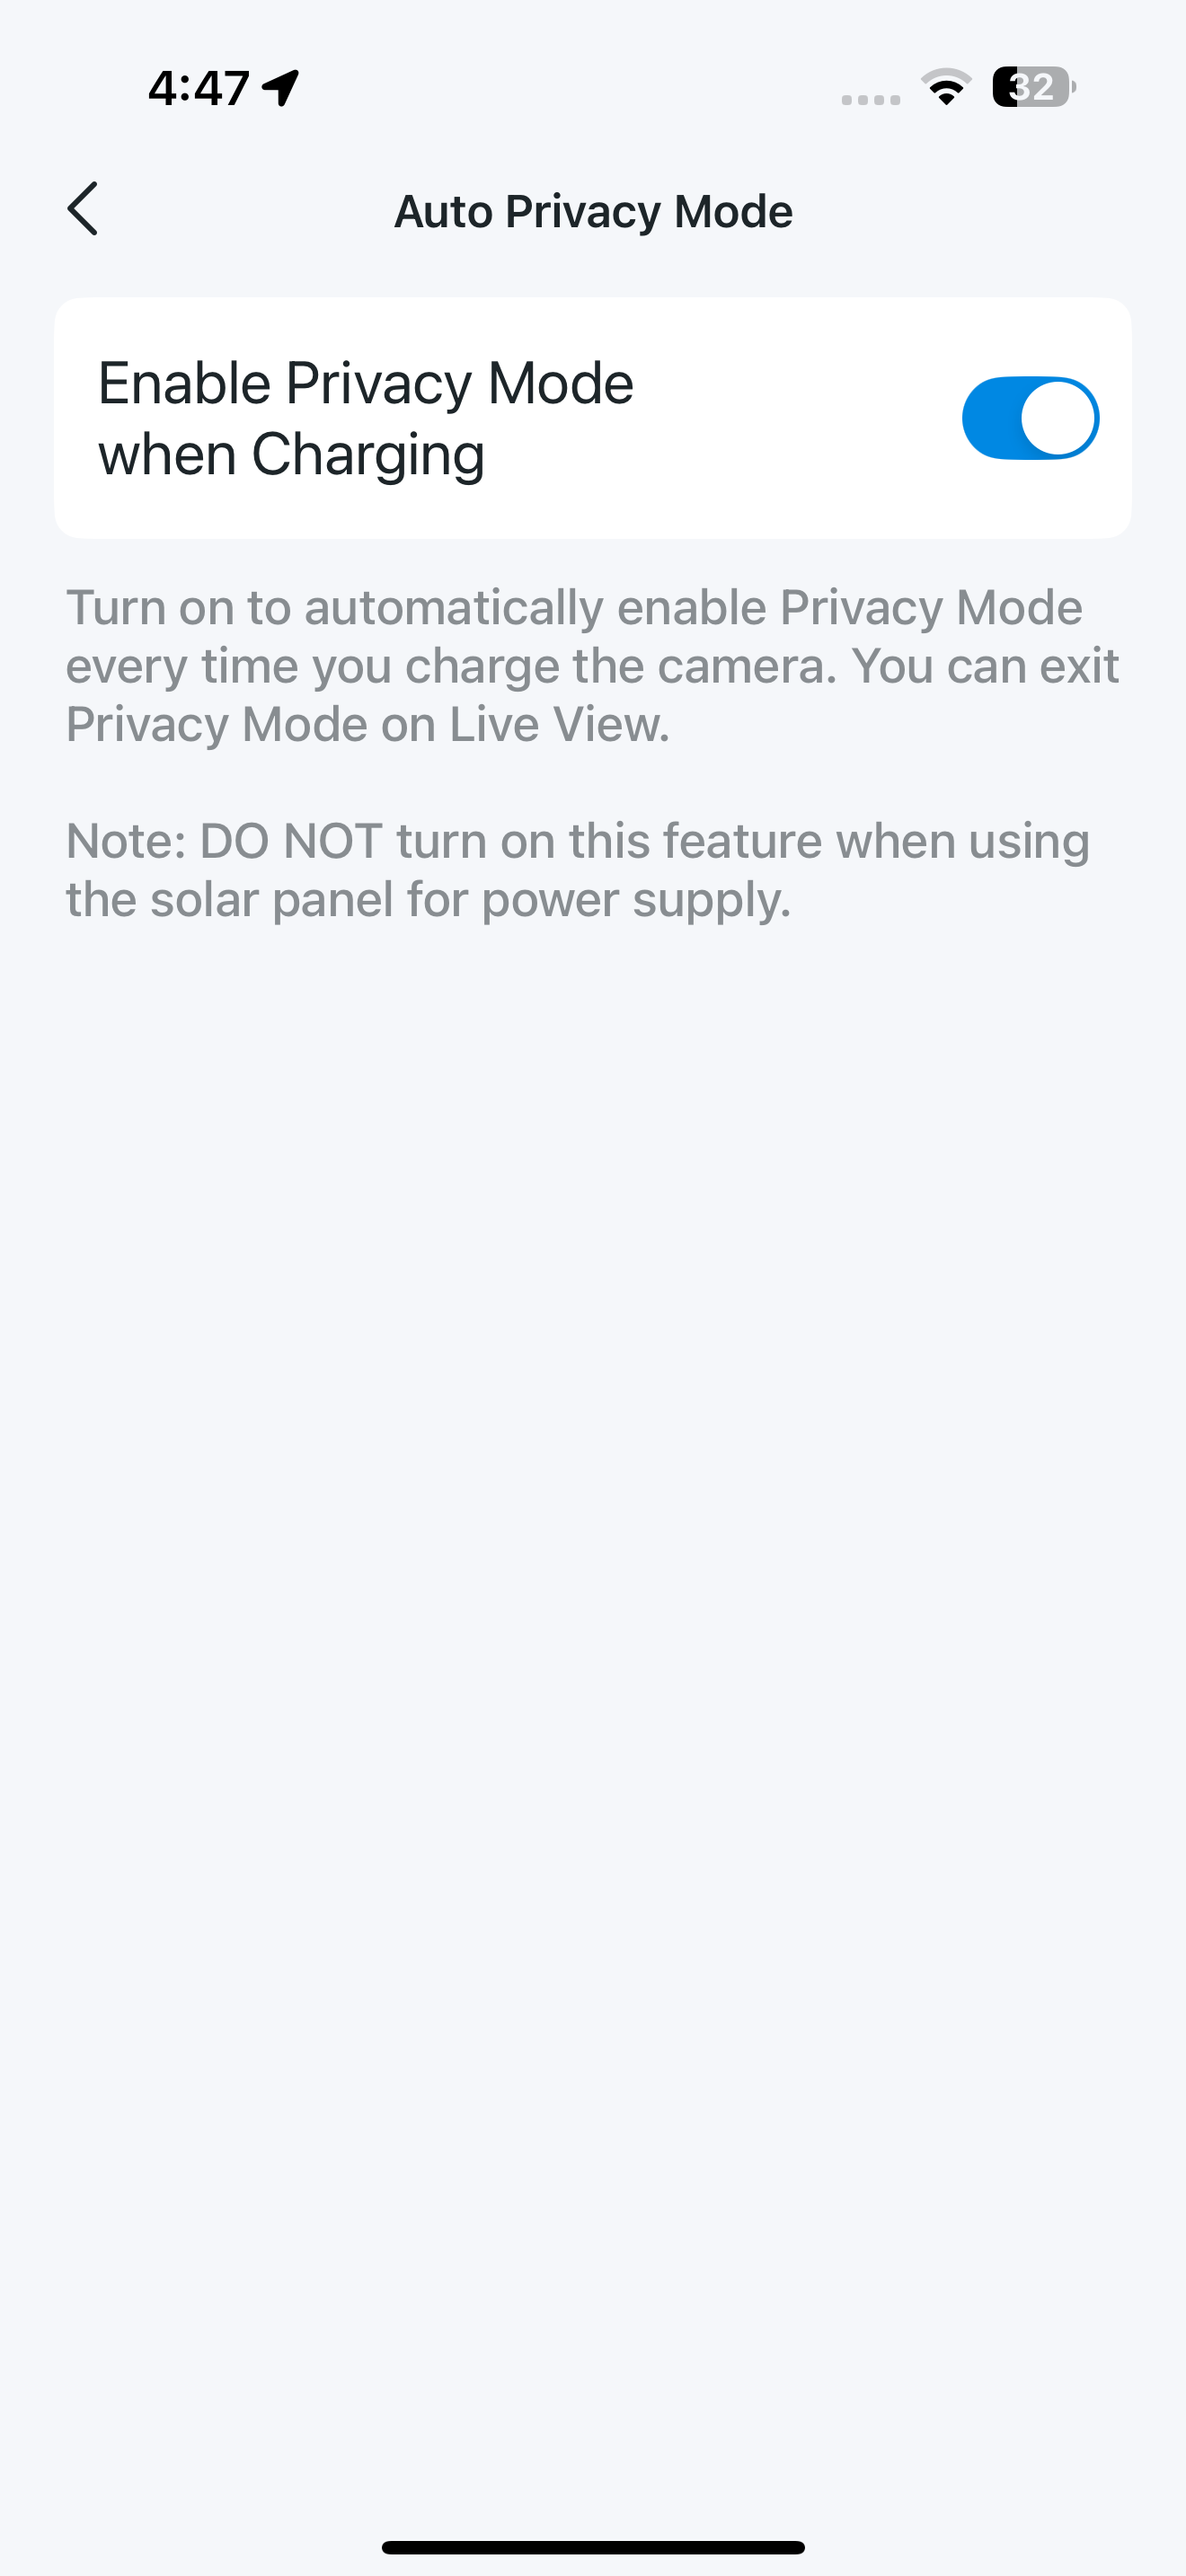
Pan & Tilt
Note: Only Pan/Tilt cameras have this feature. Here we take Tapo C660 as an example.
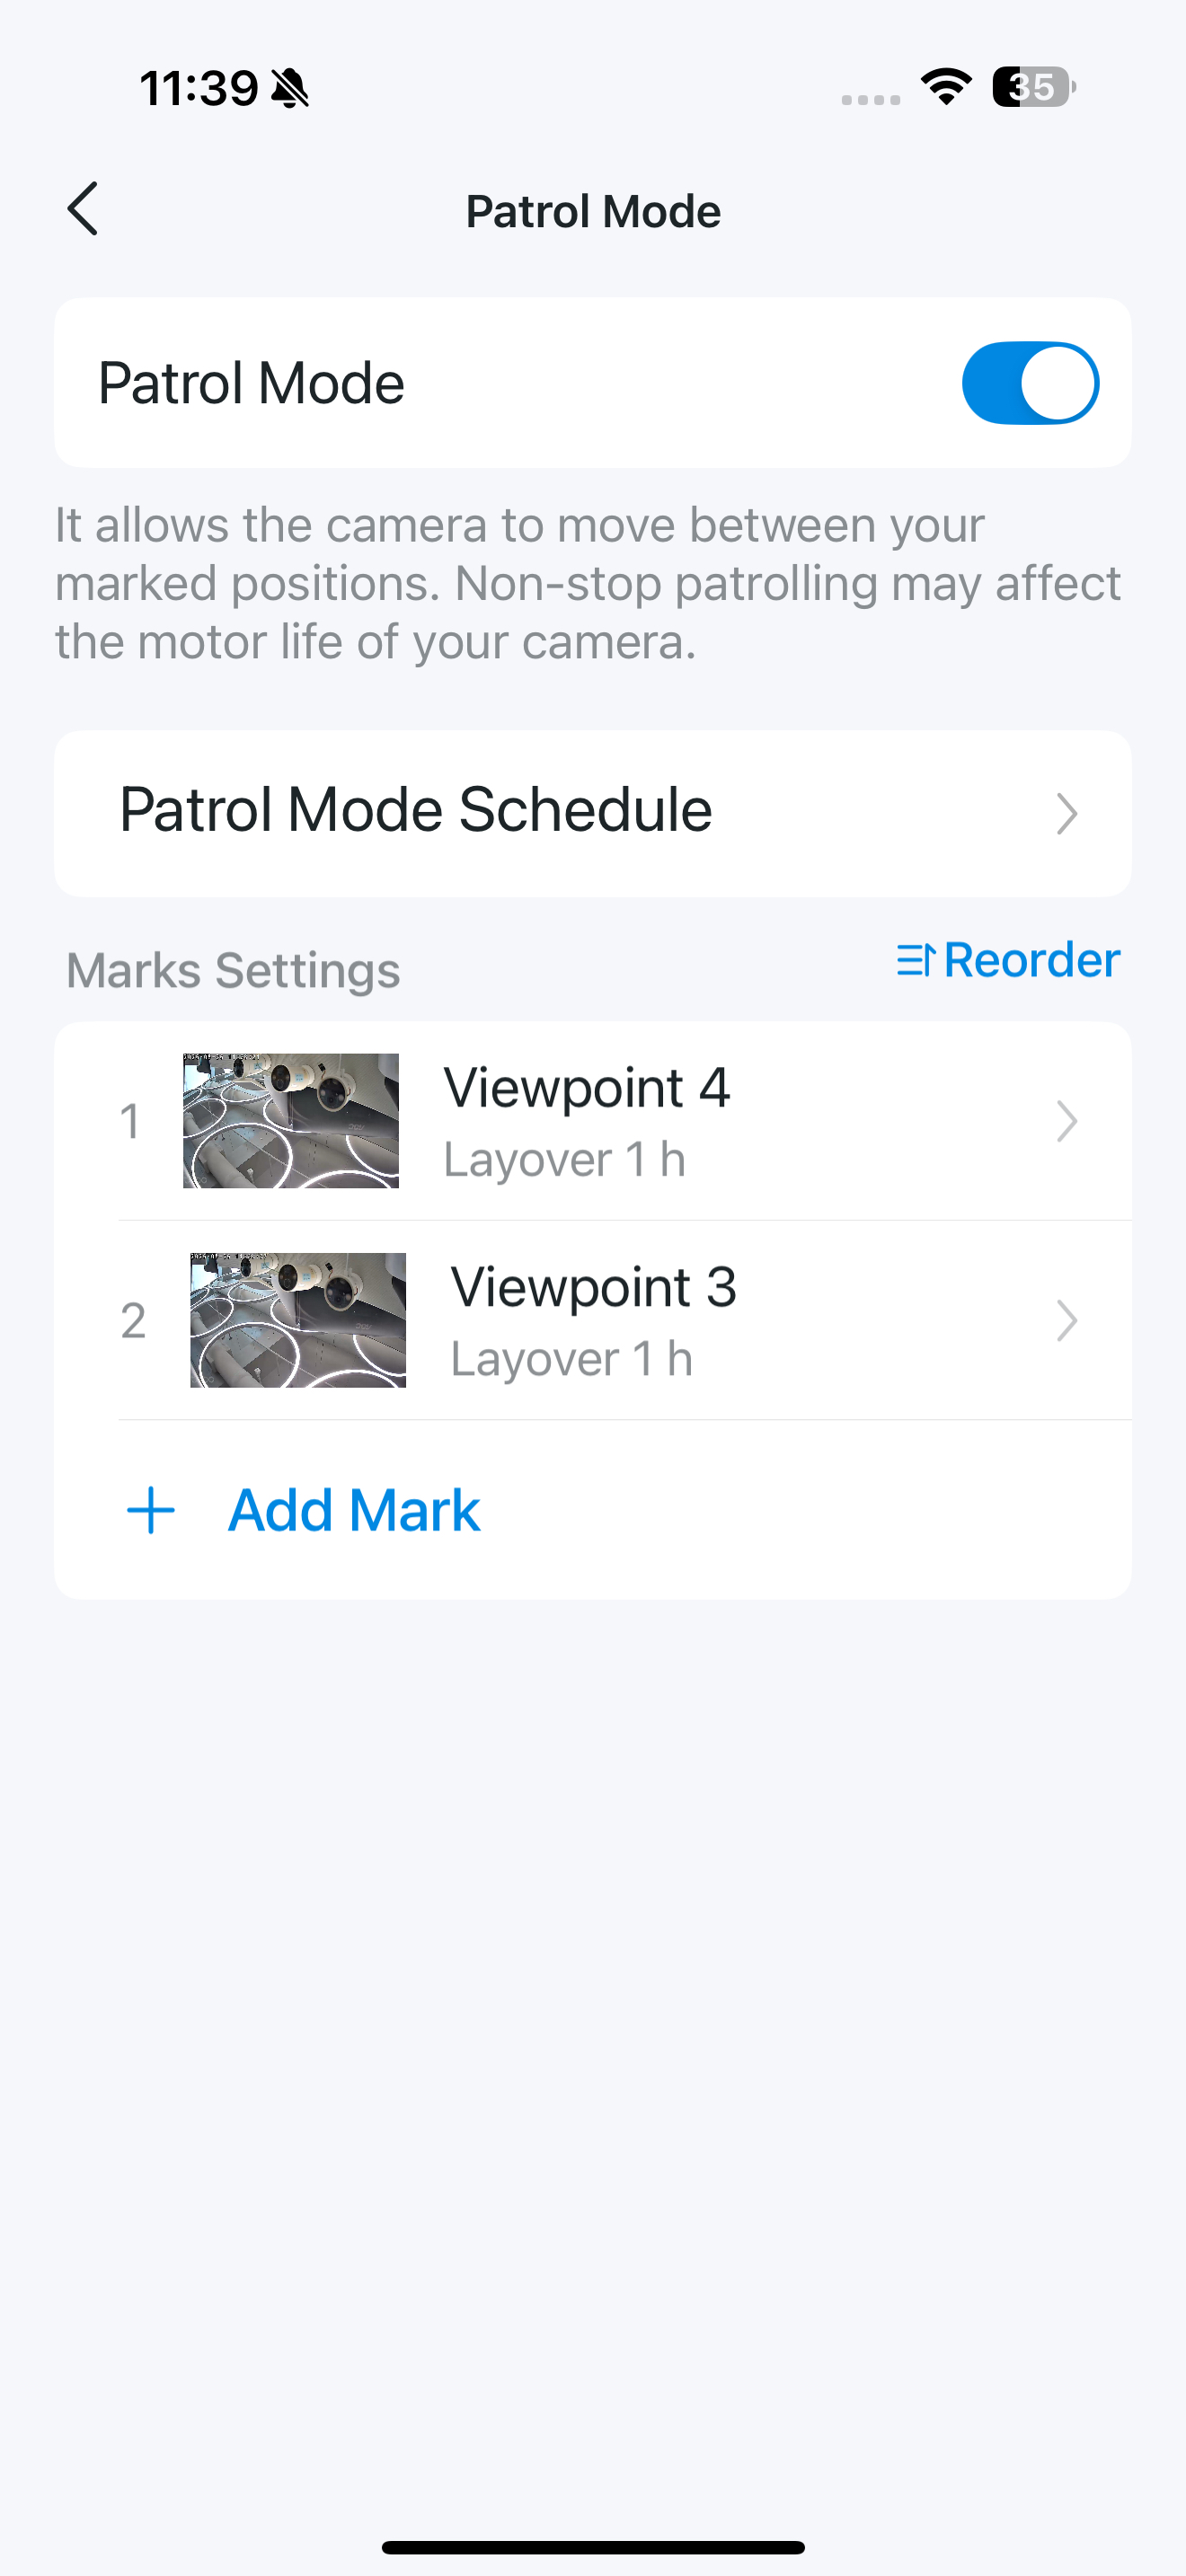
Patrol Mode
It allows the camera to move between your marked positions. Follow the guide How to set up Patrol Mode on Tapo cameras.
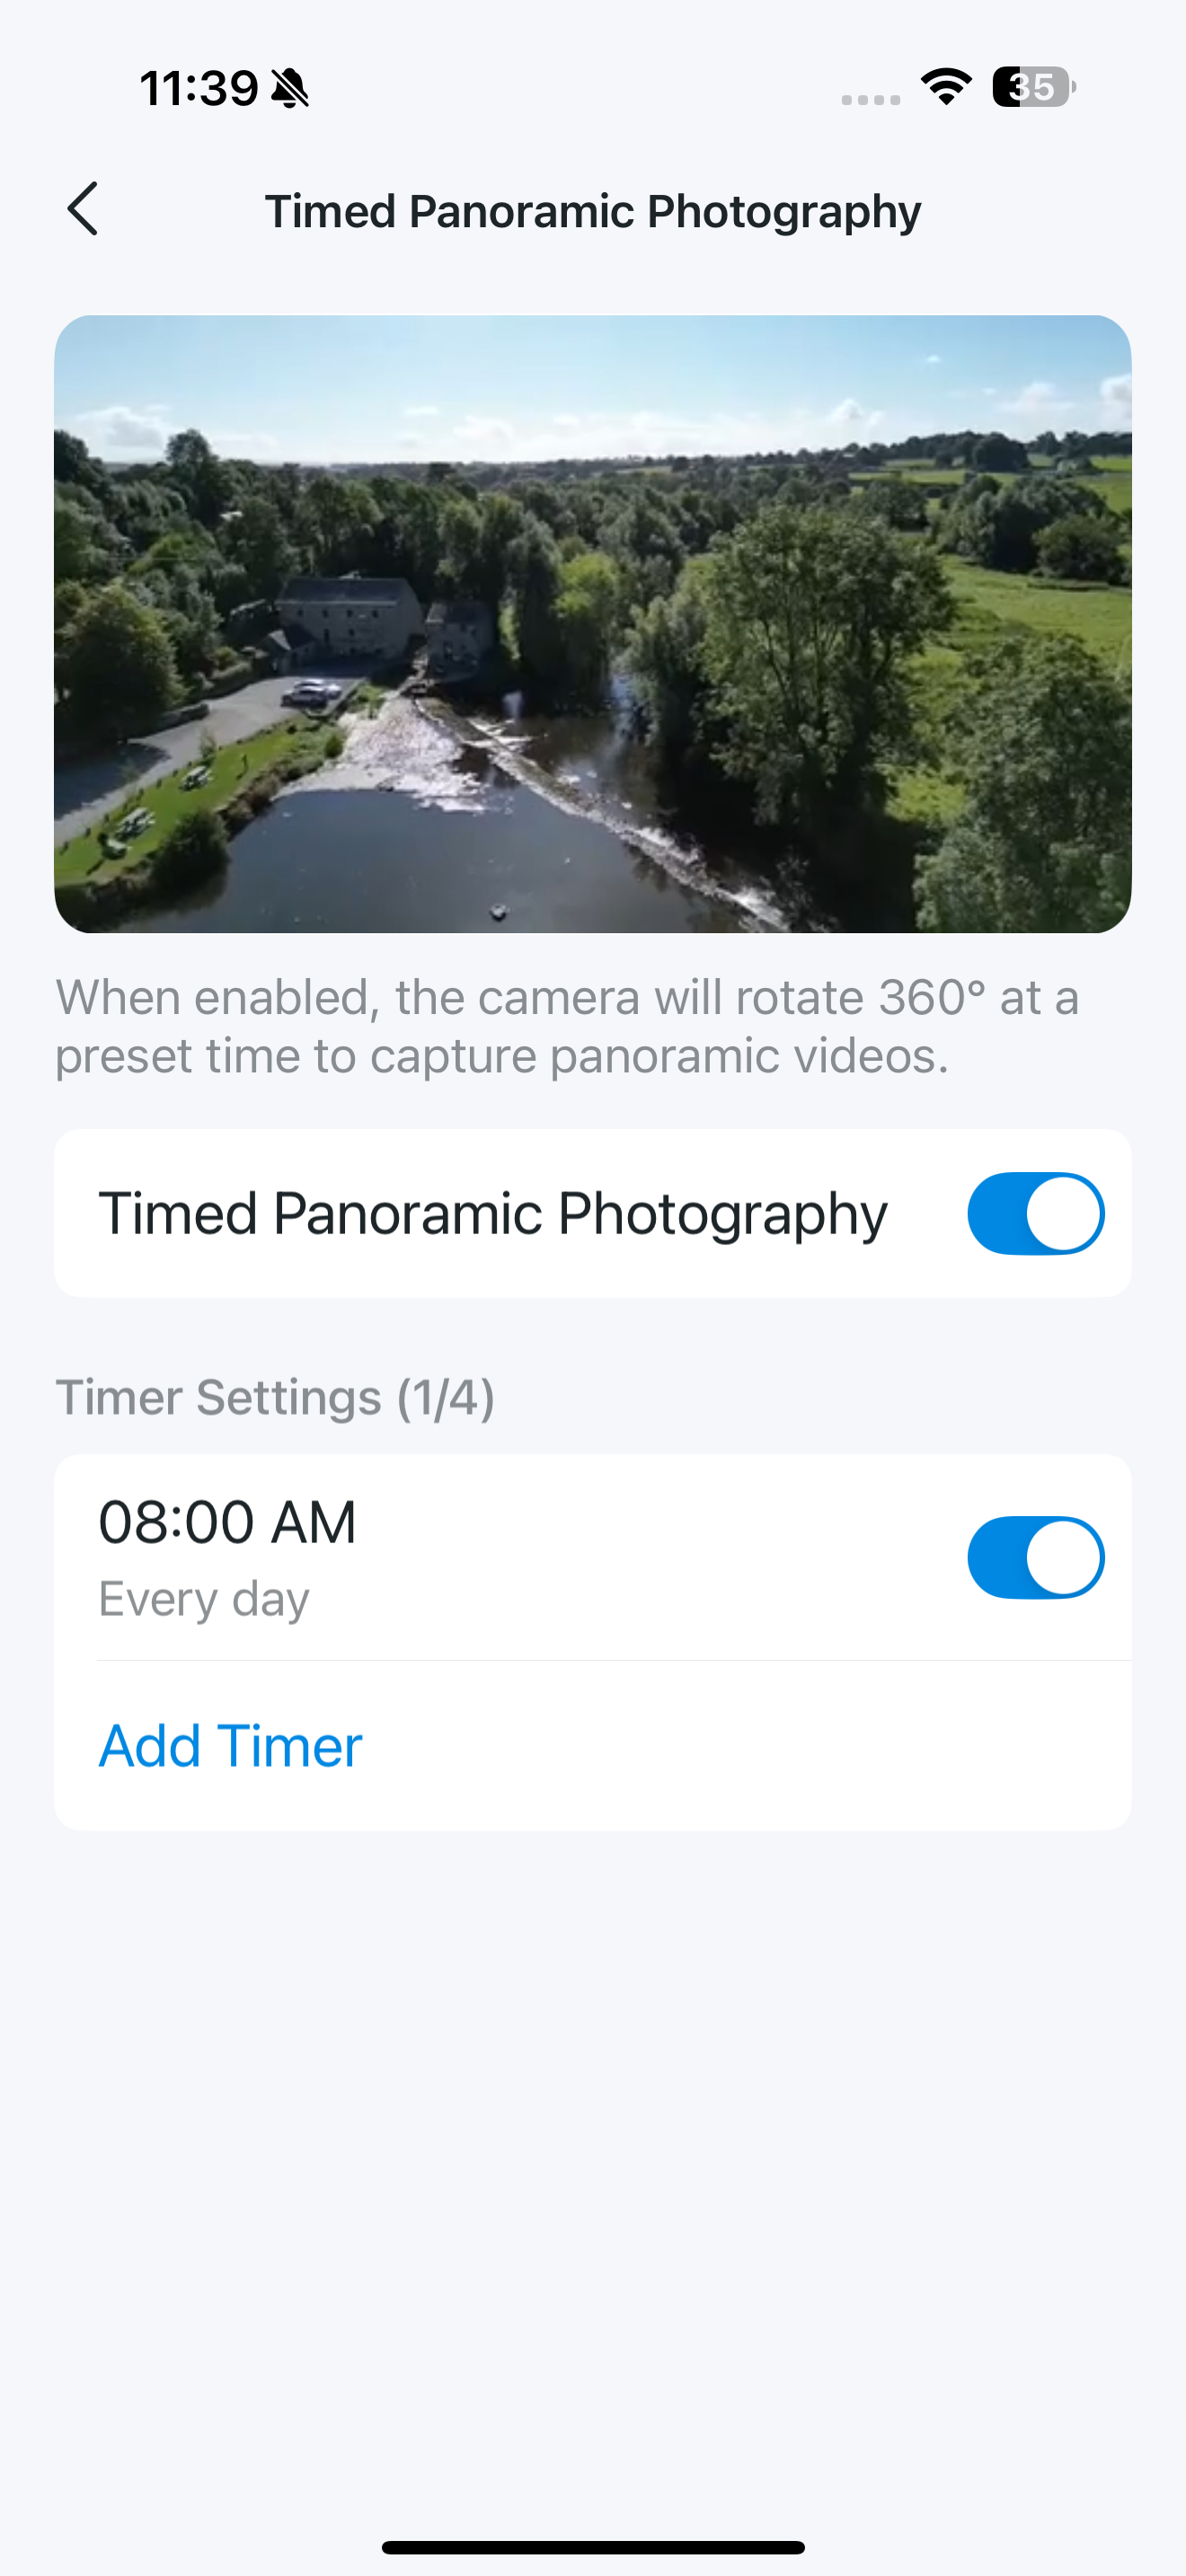
Timed Panoramic
When enabled, the camera will rotate 360° at a preset time to capture panoramic videos.
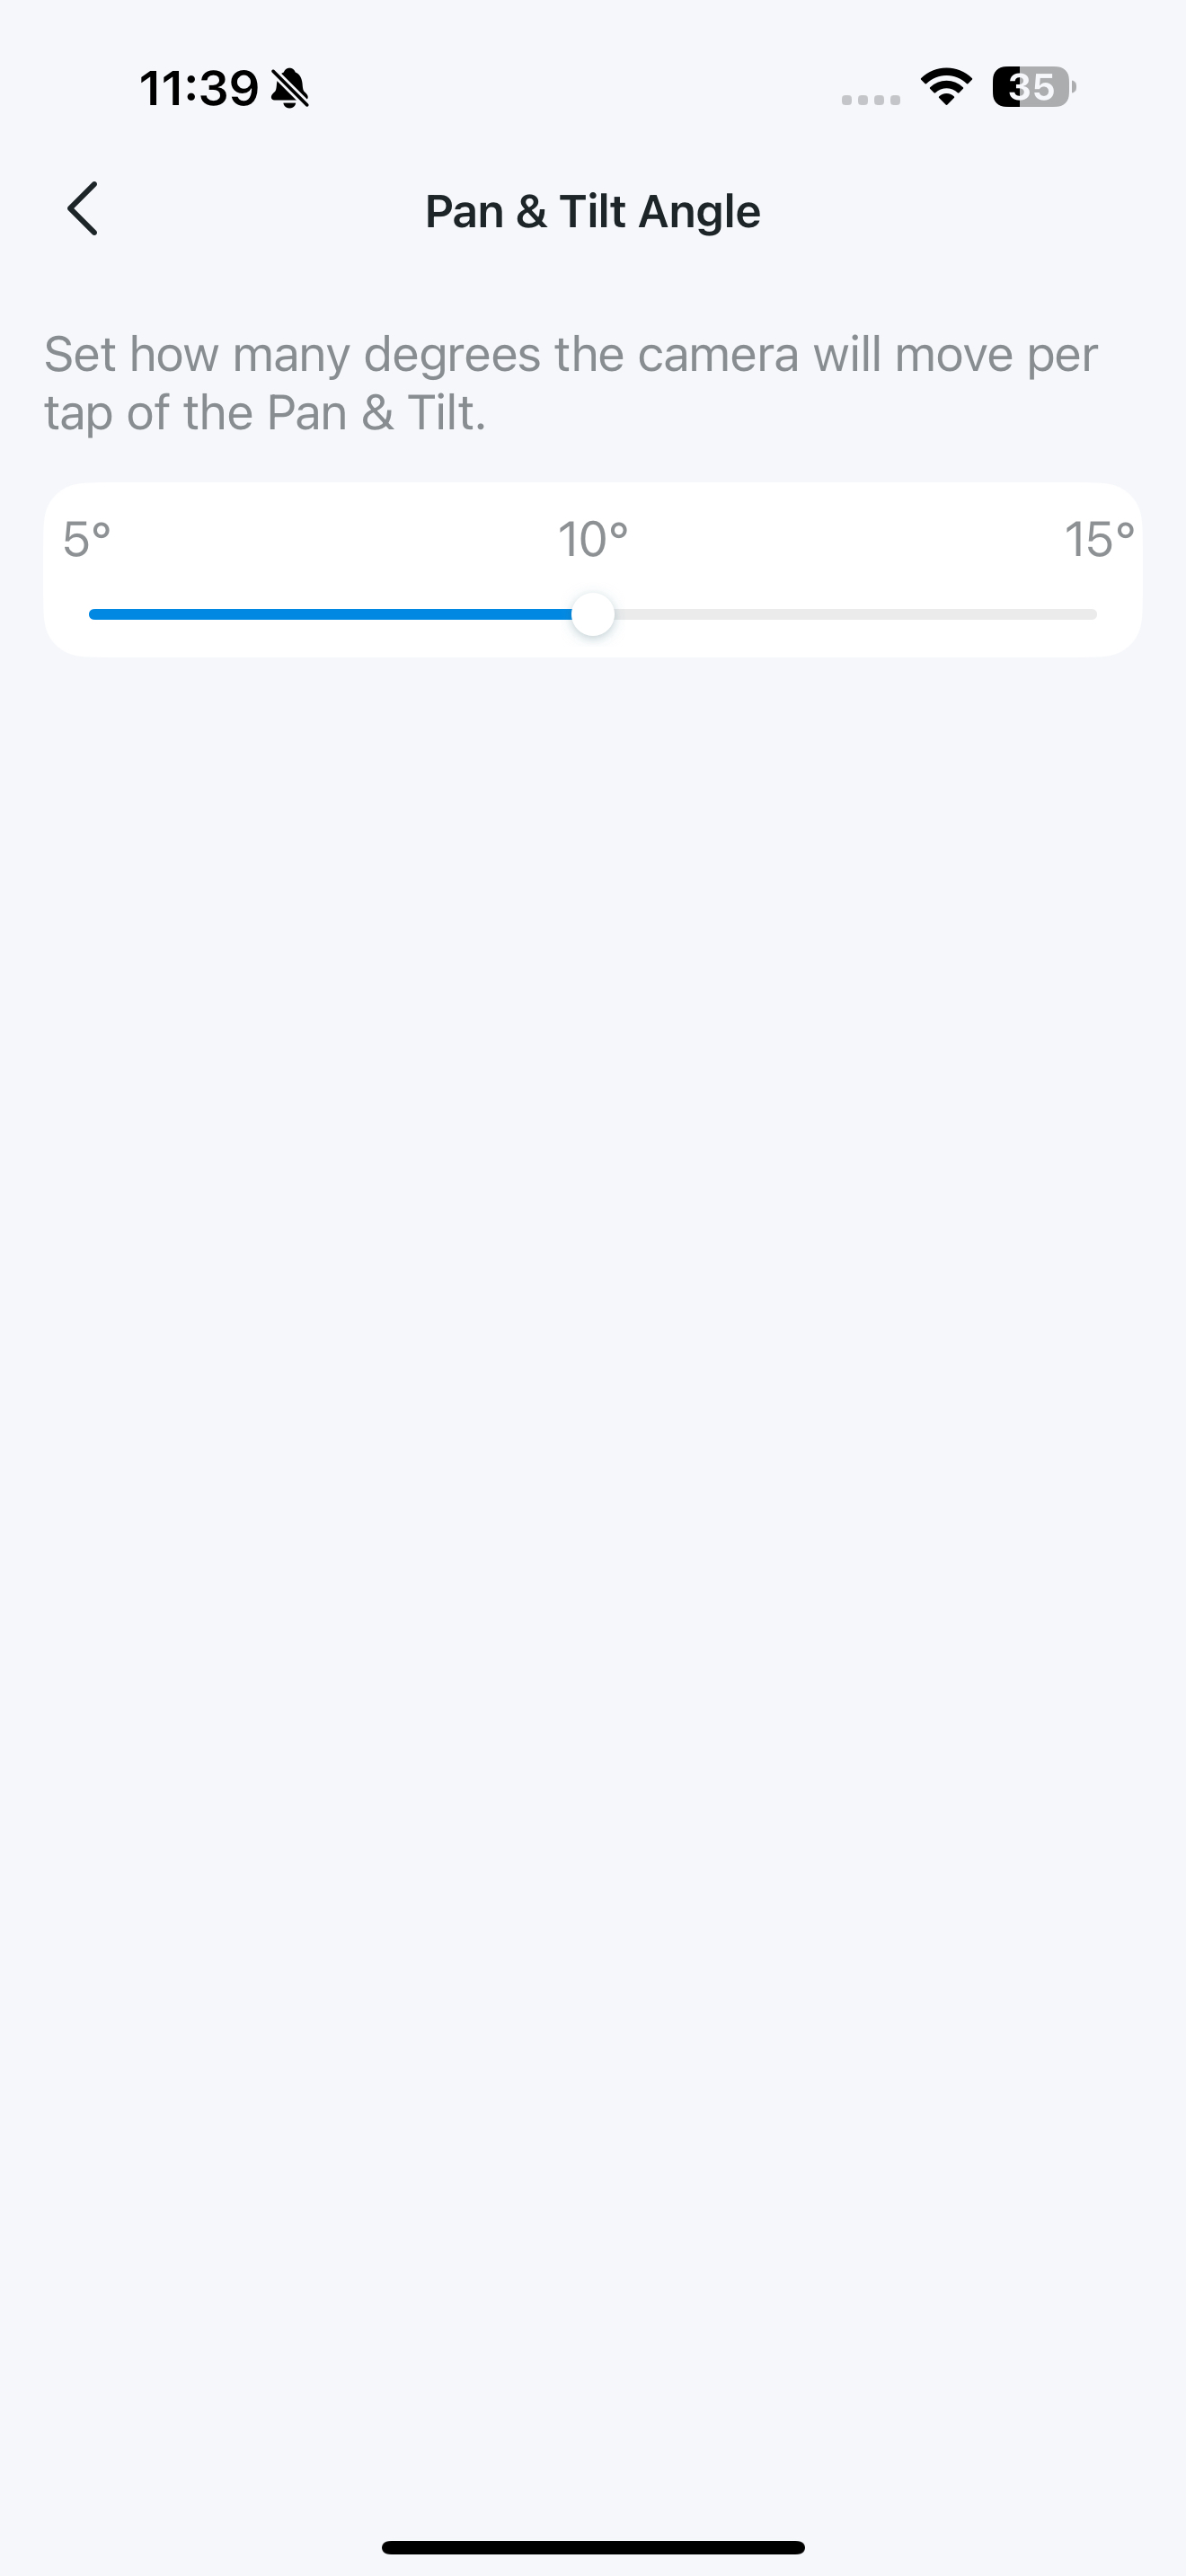
Pan & Tilt Angle
Set how many degrees the camera will move per tap of the Pan & Tilt.
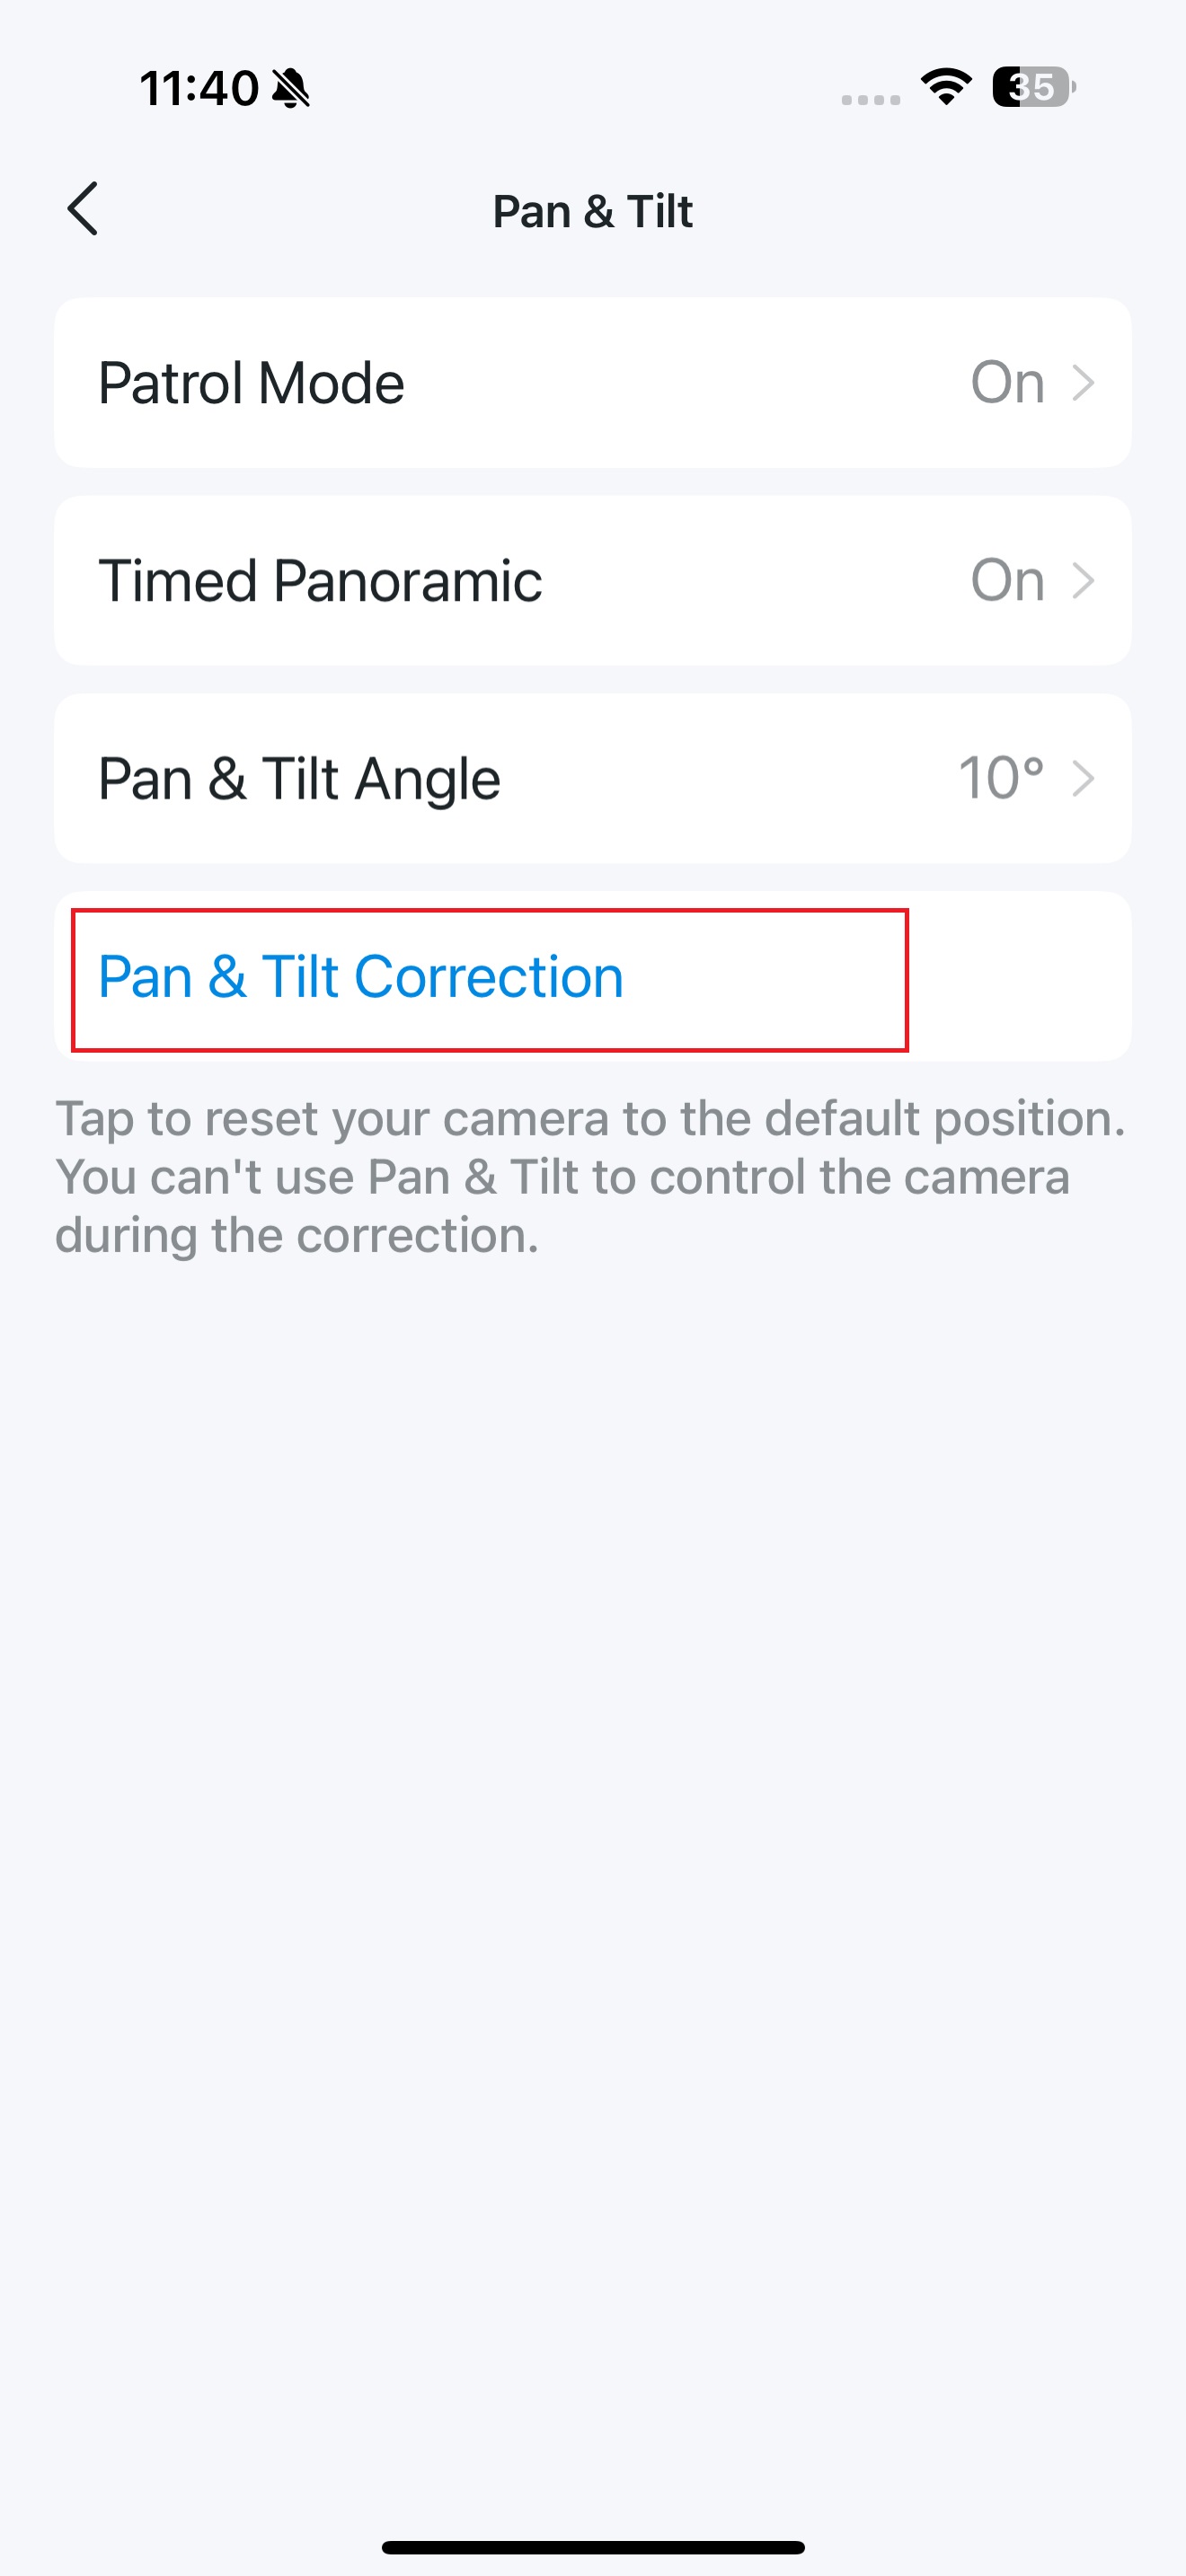
Pan & Tilt Correction
Tap to reset your camera to the default position.
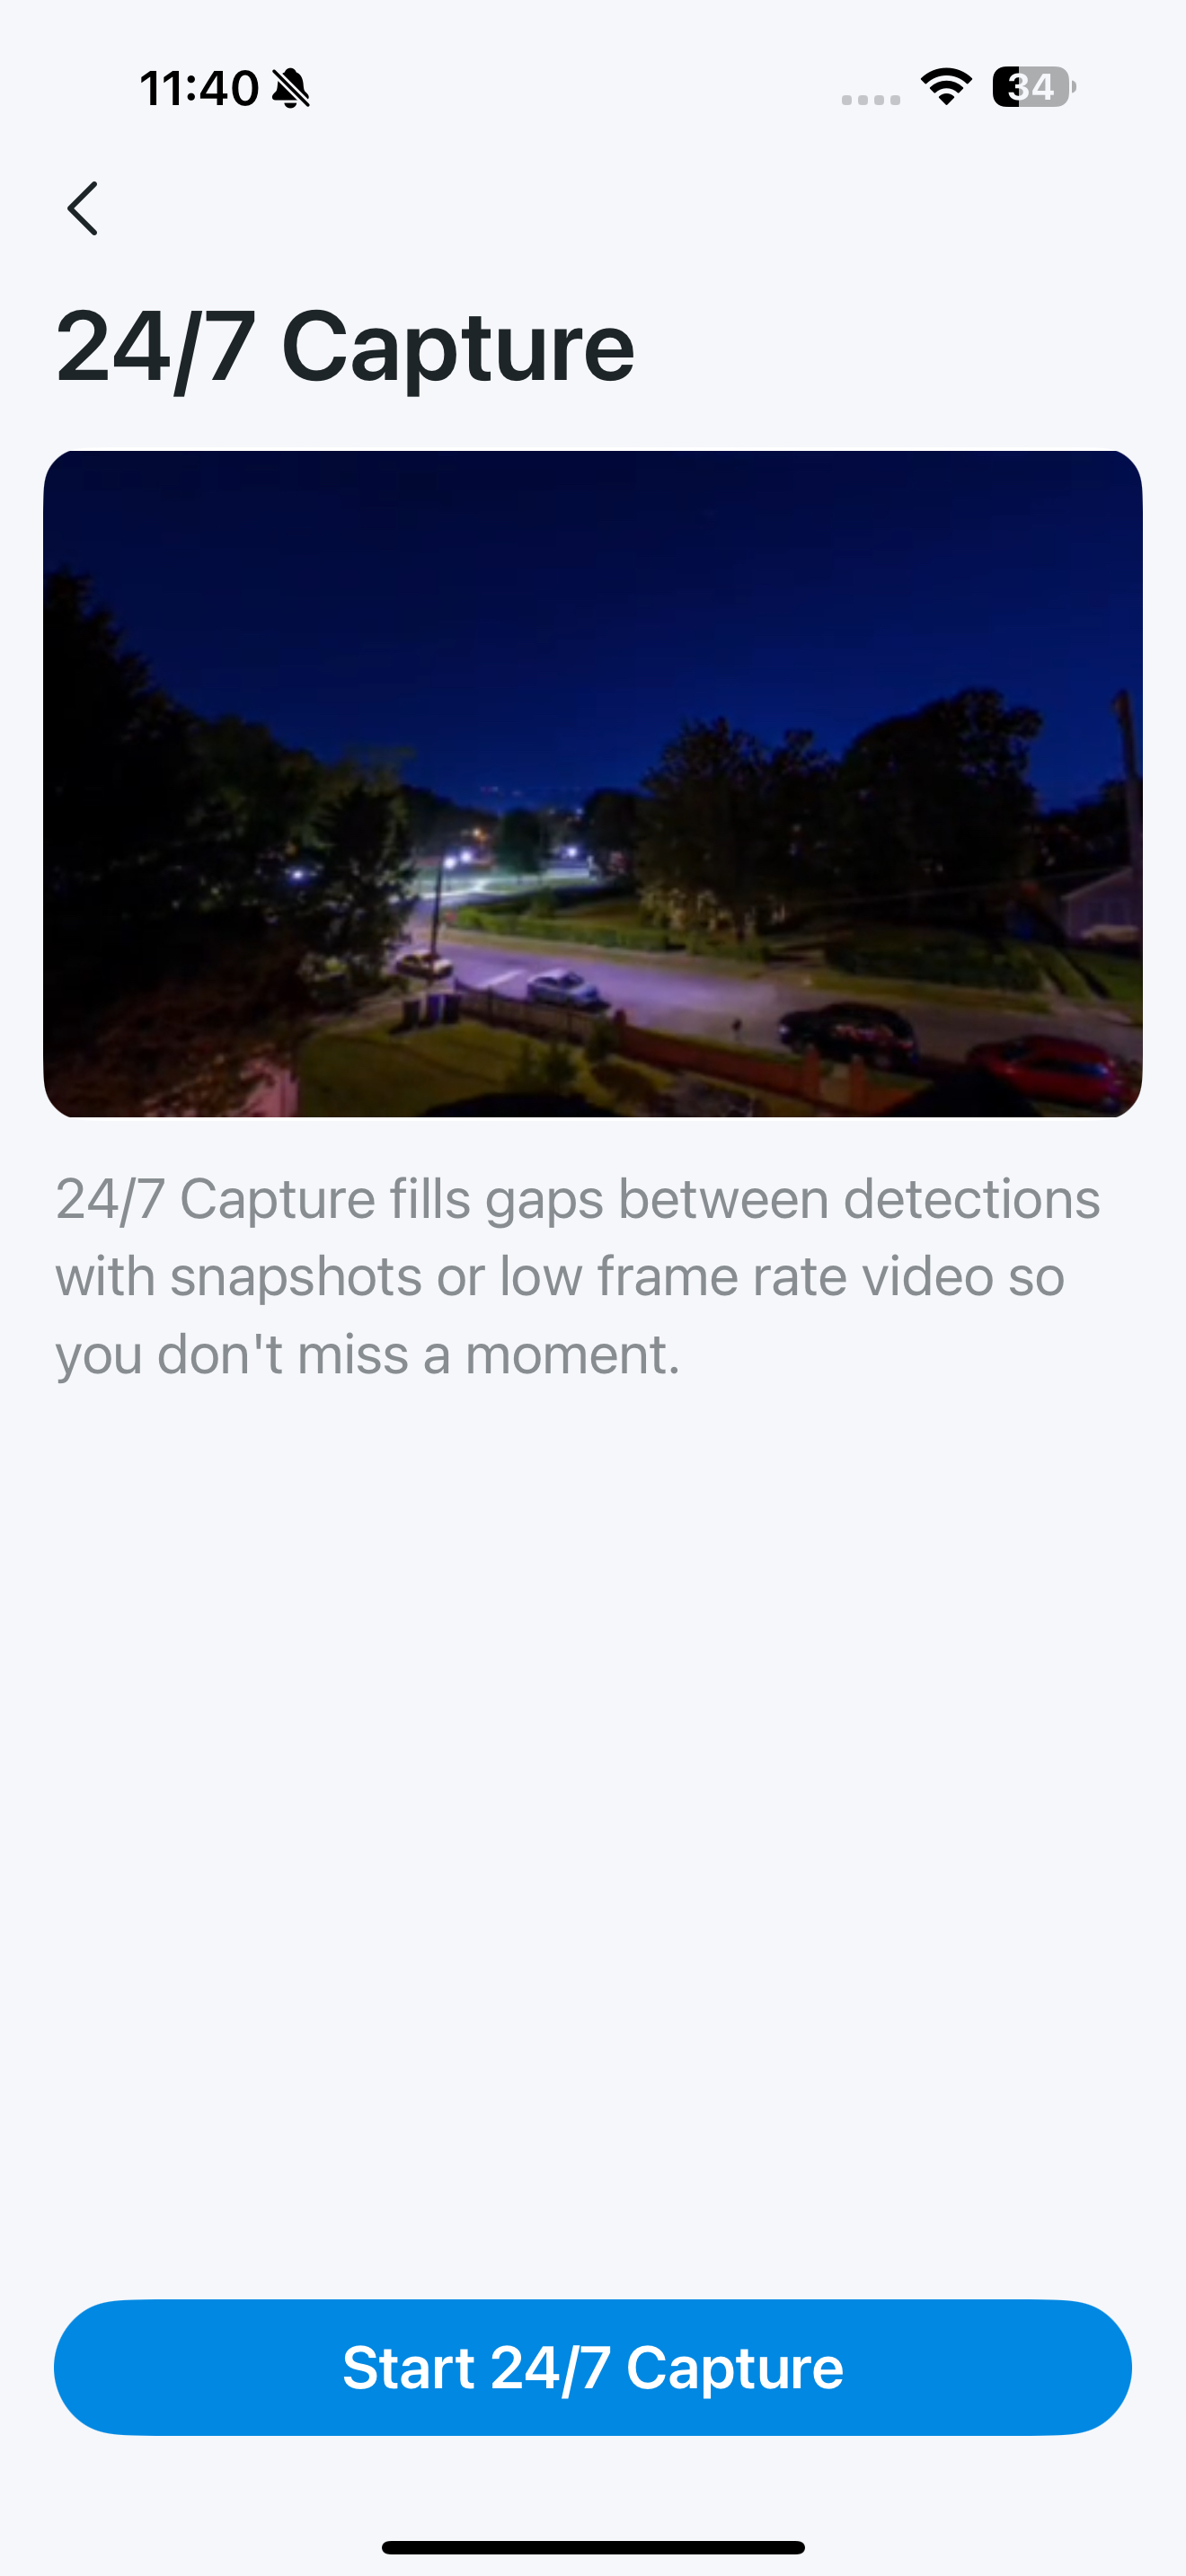
24/7 Capture
When enabled, your camera will capture all activities day and night, not just when motion is detected. 24/7 Capture enables battery-powered cameras to take images at customizable intervals (such as every 1s, 5s, 10s, or up to 60s) even when no objects are detected, ensuring round-the-clock surveillance while conserving power. When an object is detected, the camera automatically switches to a standard recording mode, reducing missed events and false alerts.
Note: This feature is only applicable to certain models.
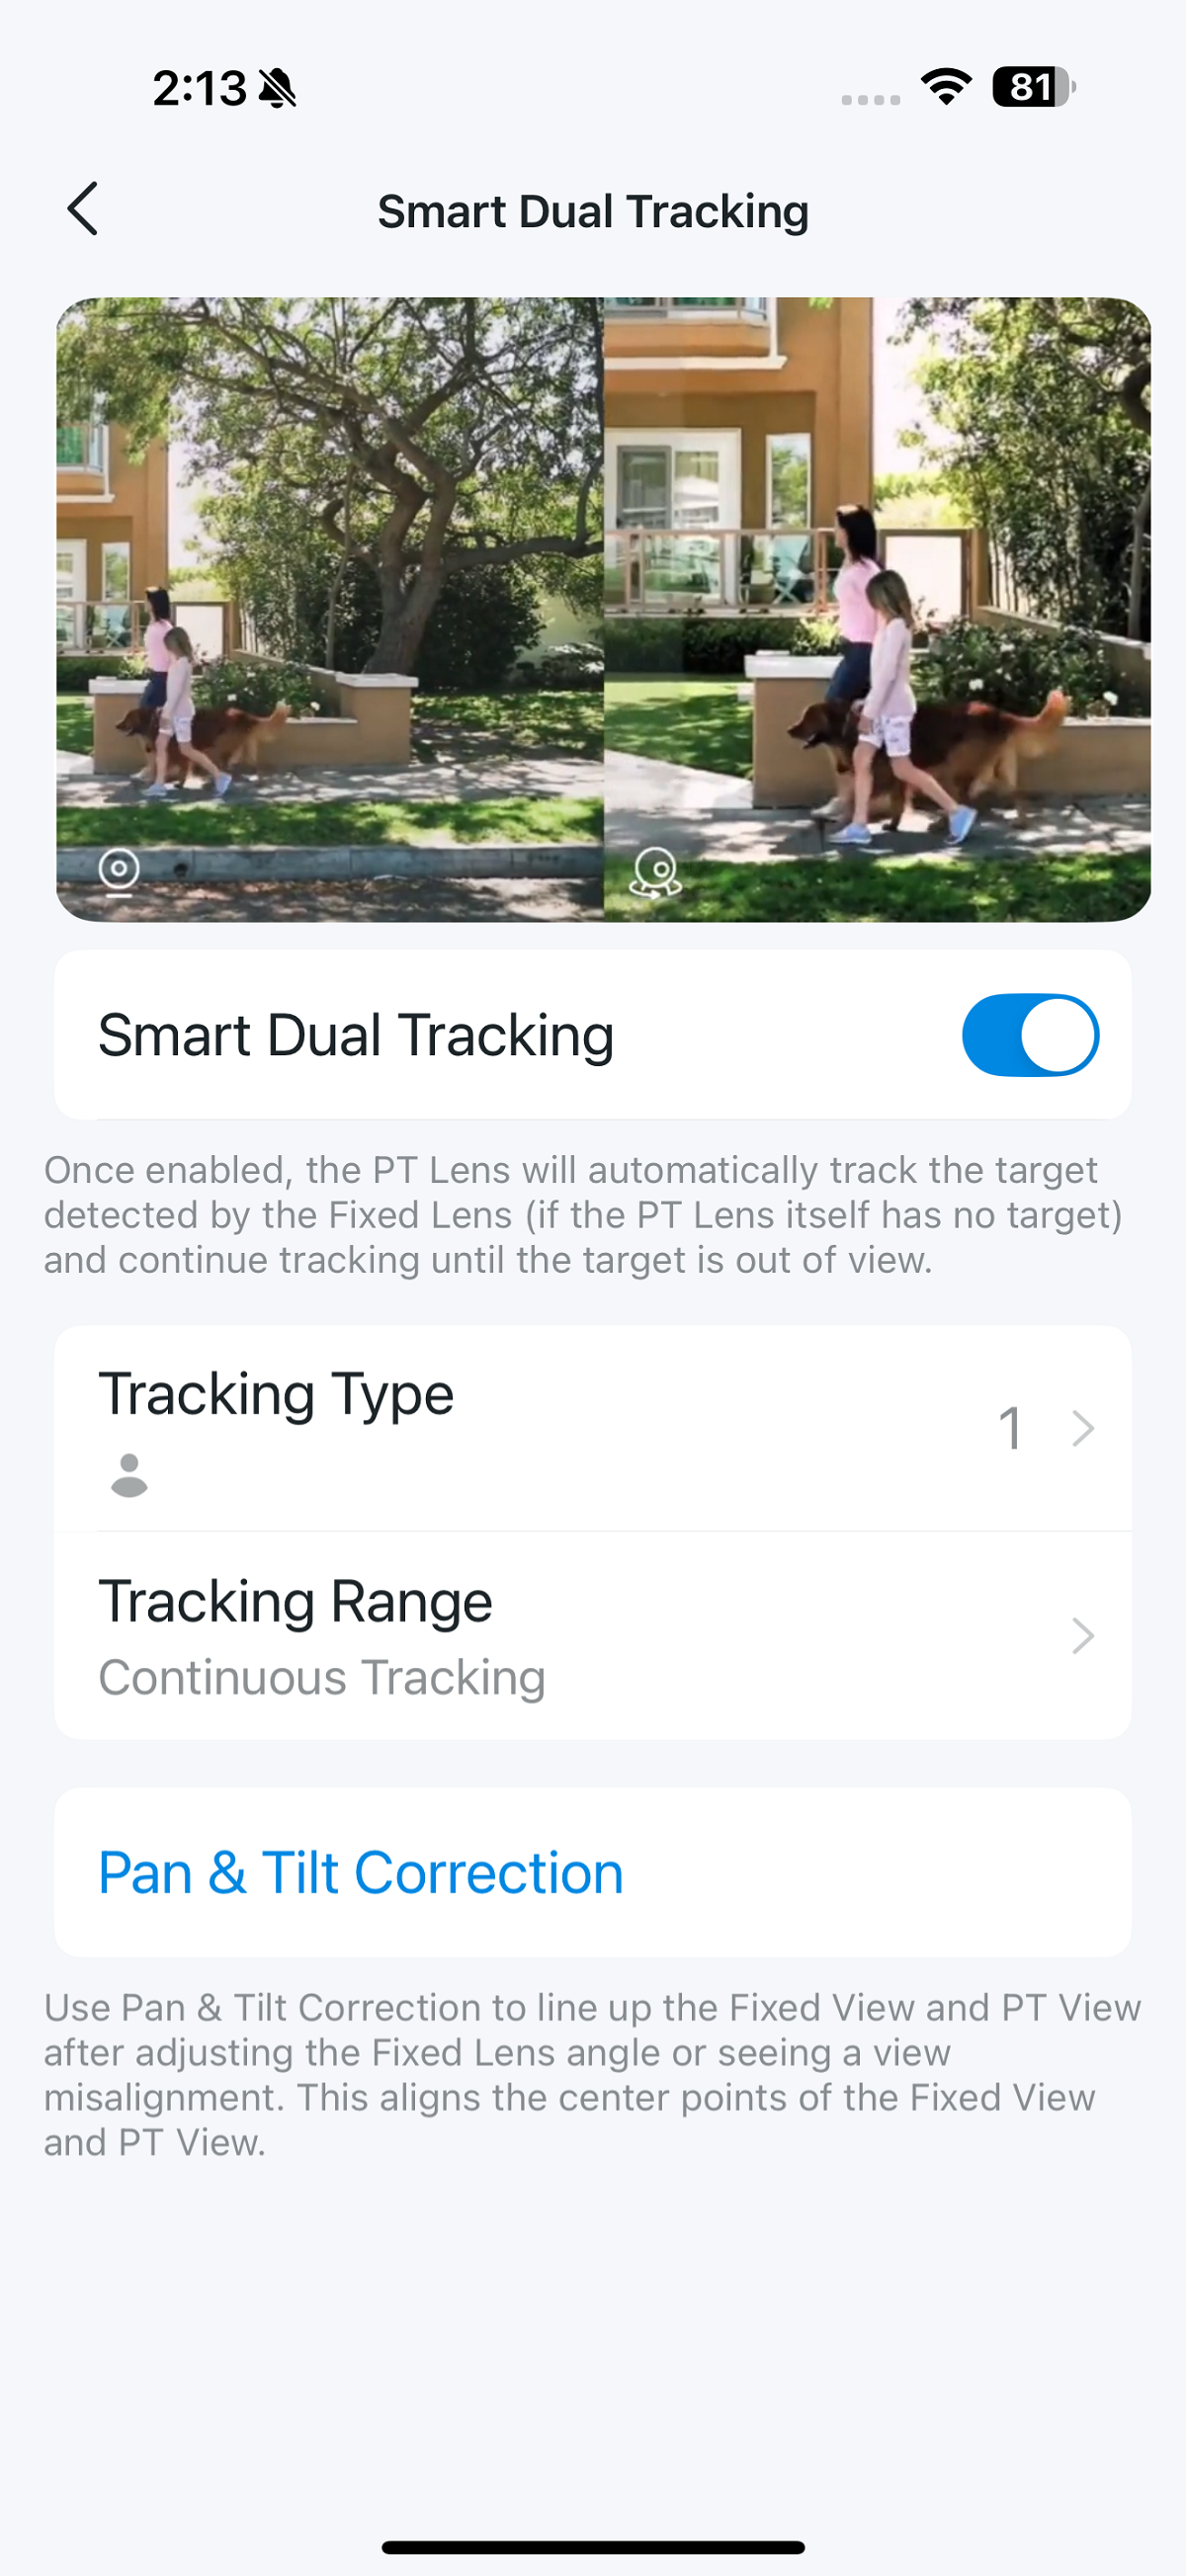
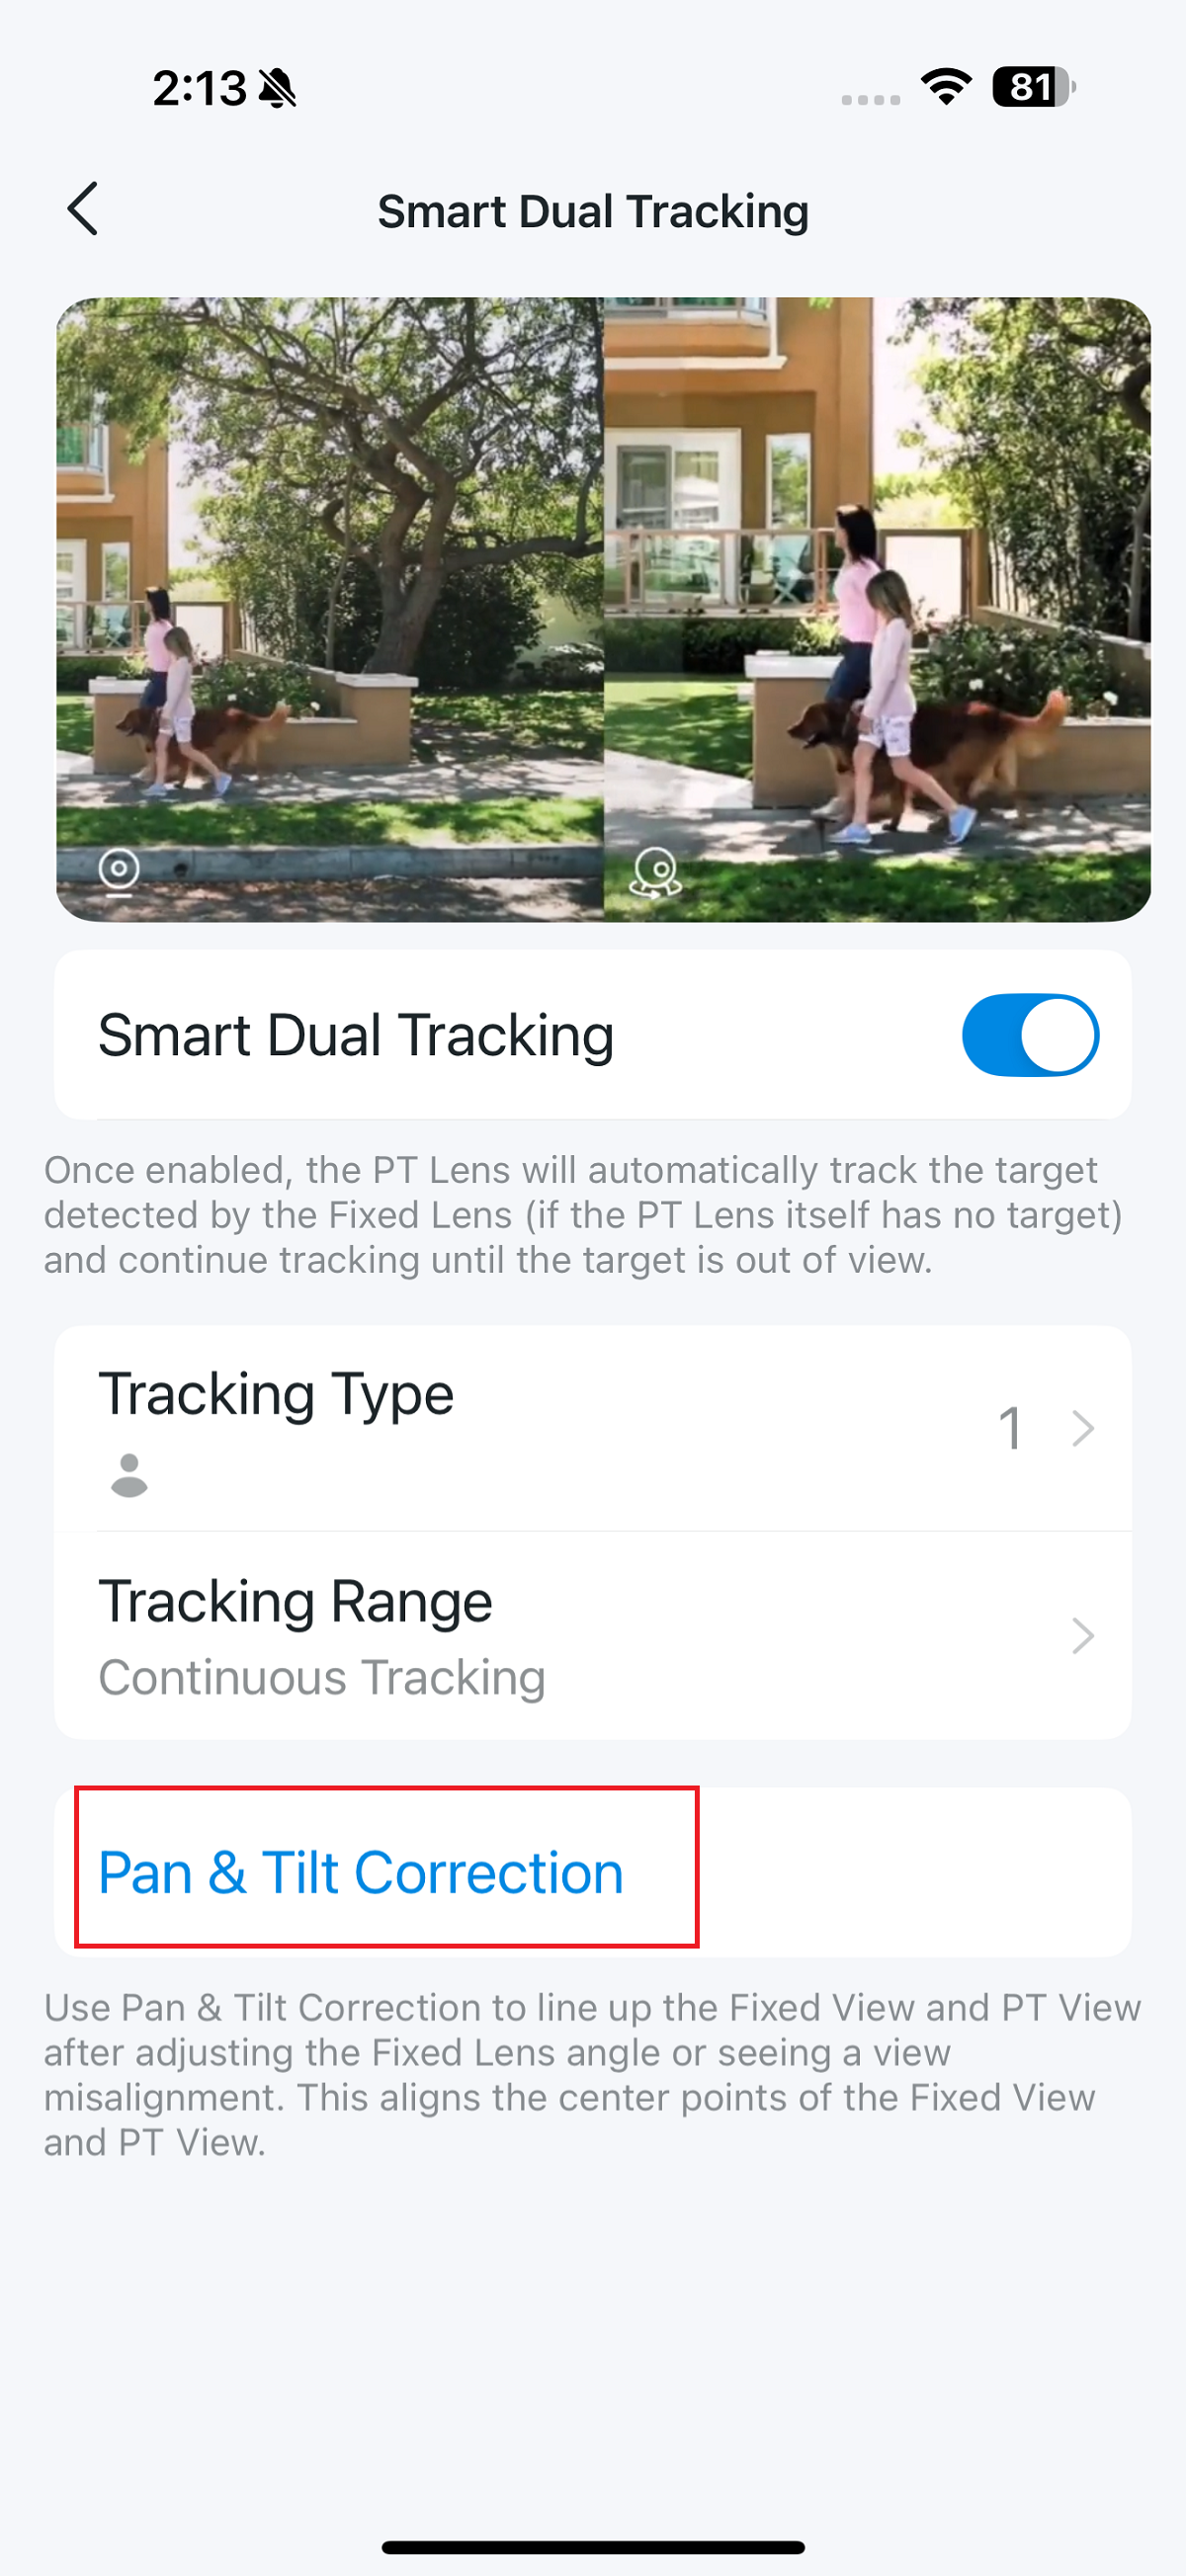
Smart Dual Tracking
Once enabled, the PT lens will automatically track the target detected by the Fixed Lens (if the PT Lens itself has no target) and continue tracking until the target is out of view.
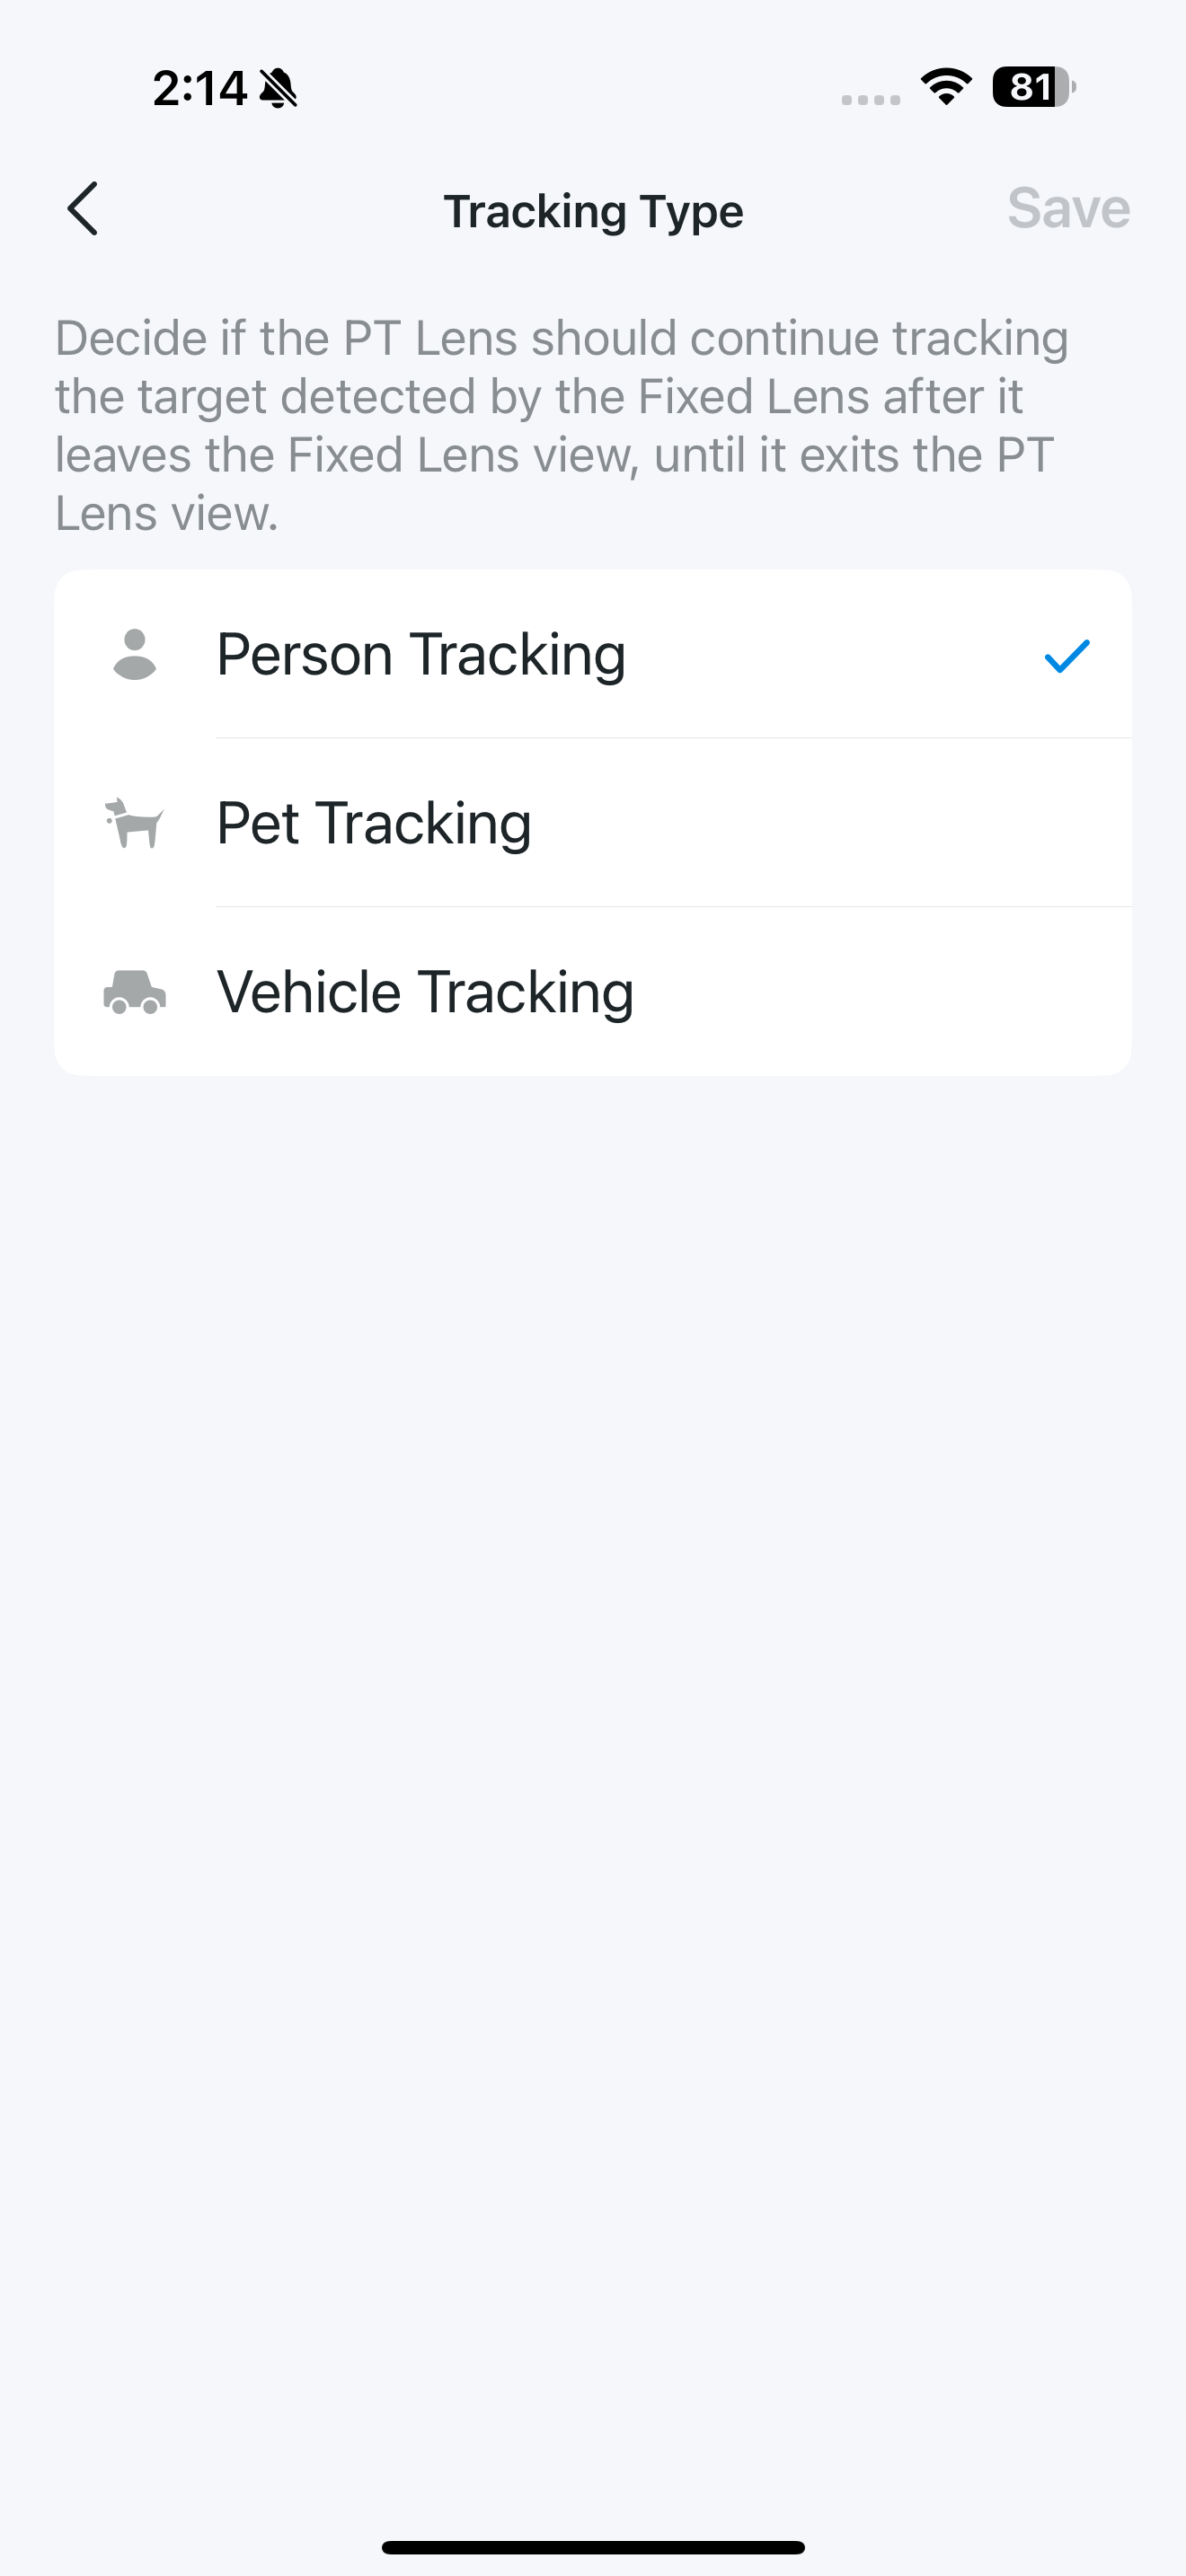
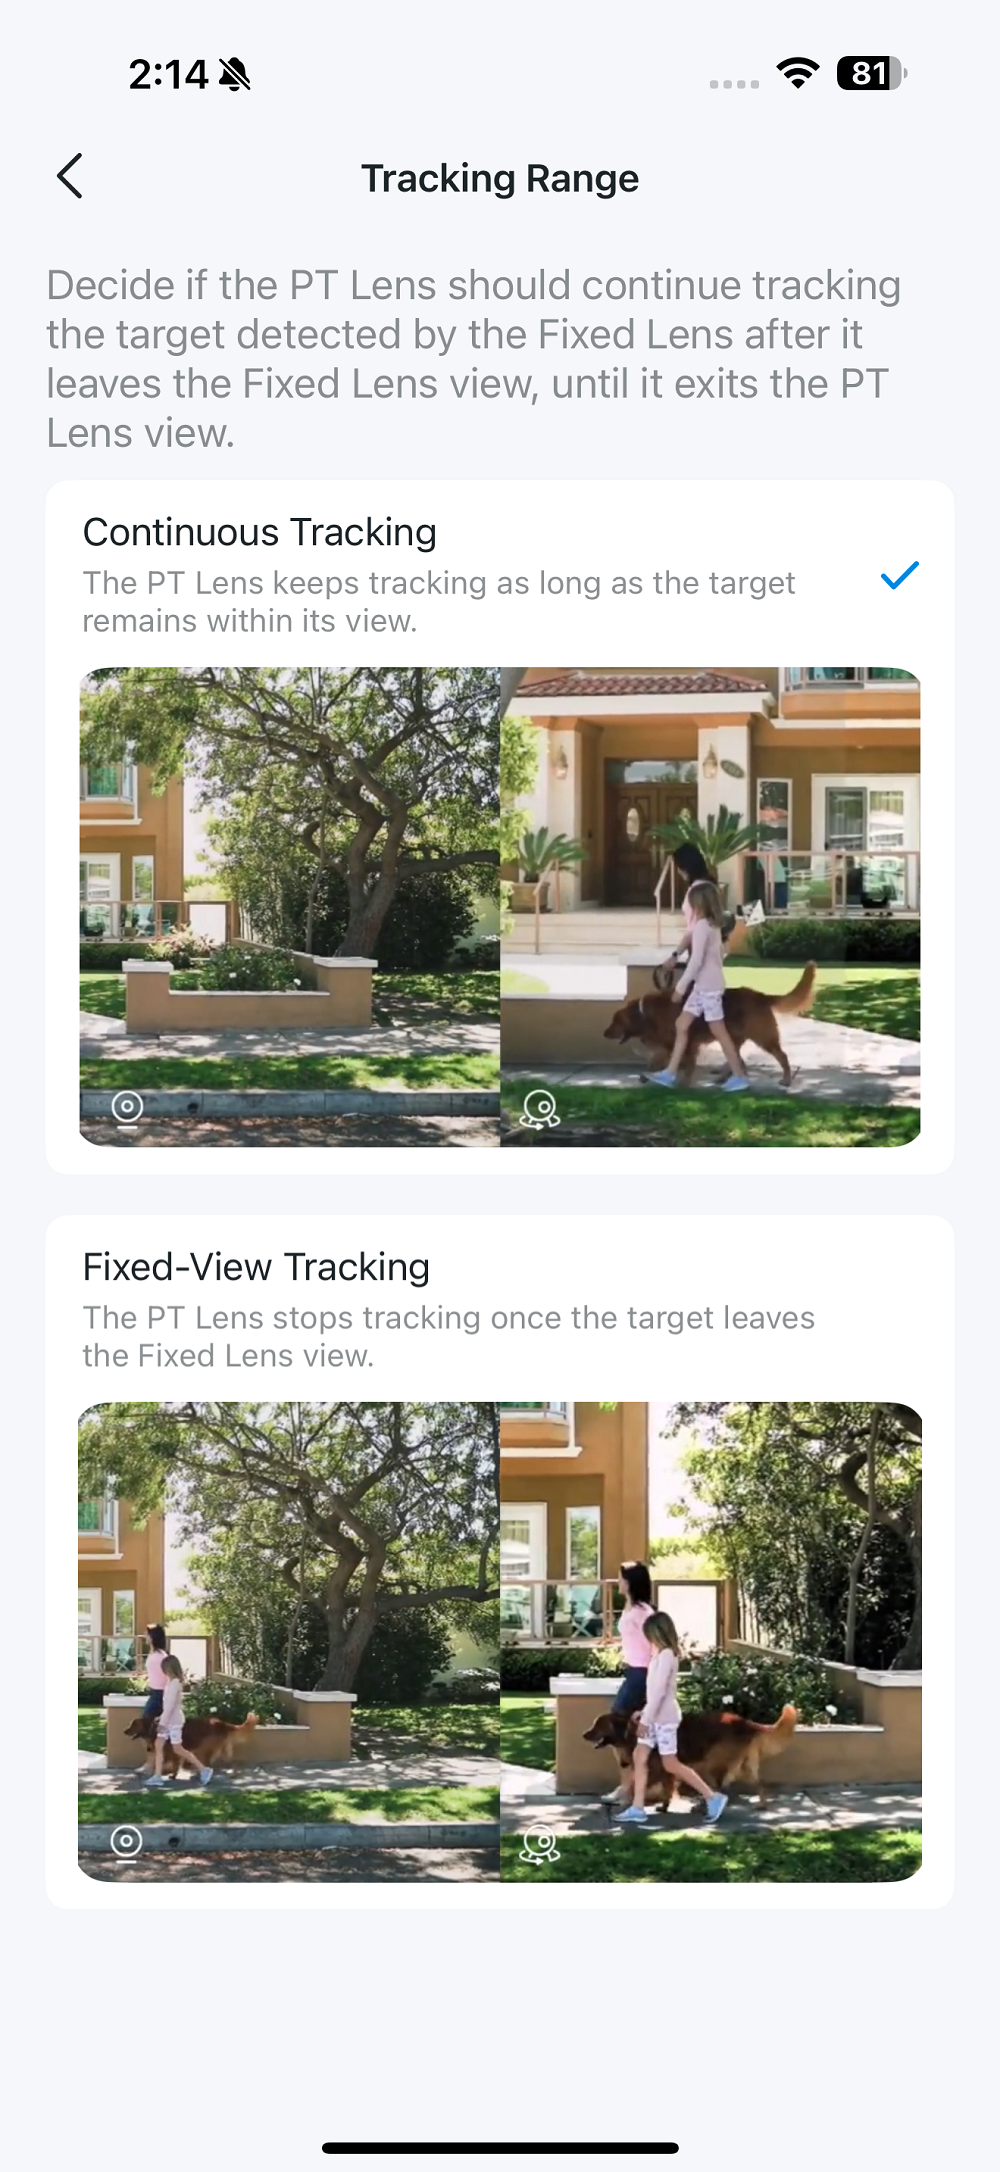
You can select Tracking Type from Person/Pet/Vehicle and set Tracking Range as Continuous Tracking or Fixed-View Tracking as needed.
If you ever see a view misalignment or just adjust the Fixed Lens, you can use Pan & Tilt Correction to line up the Fixed View and PT view.
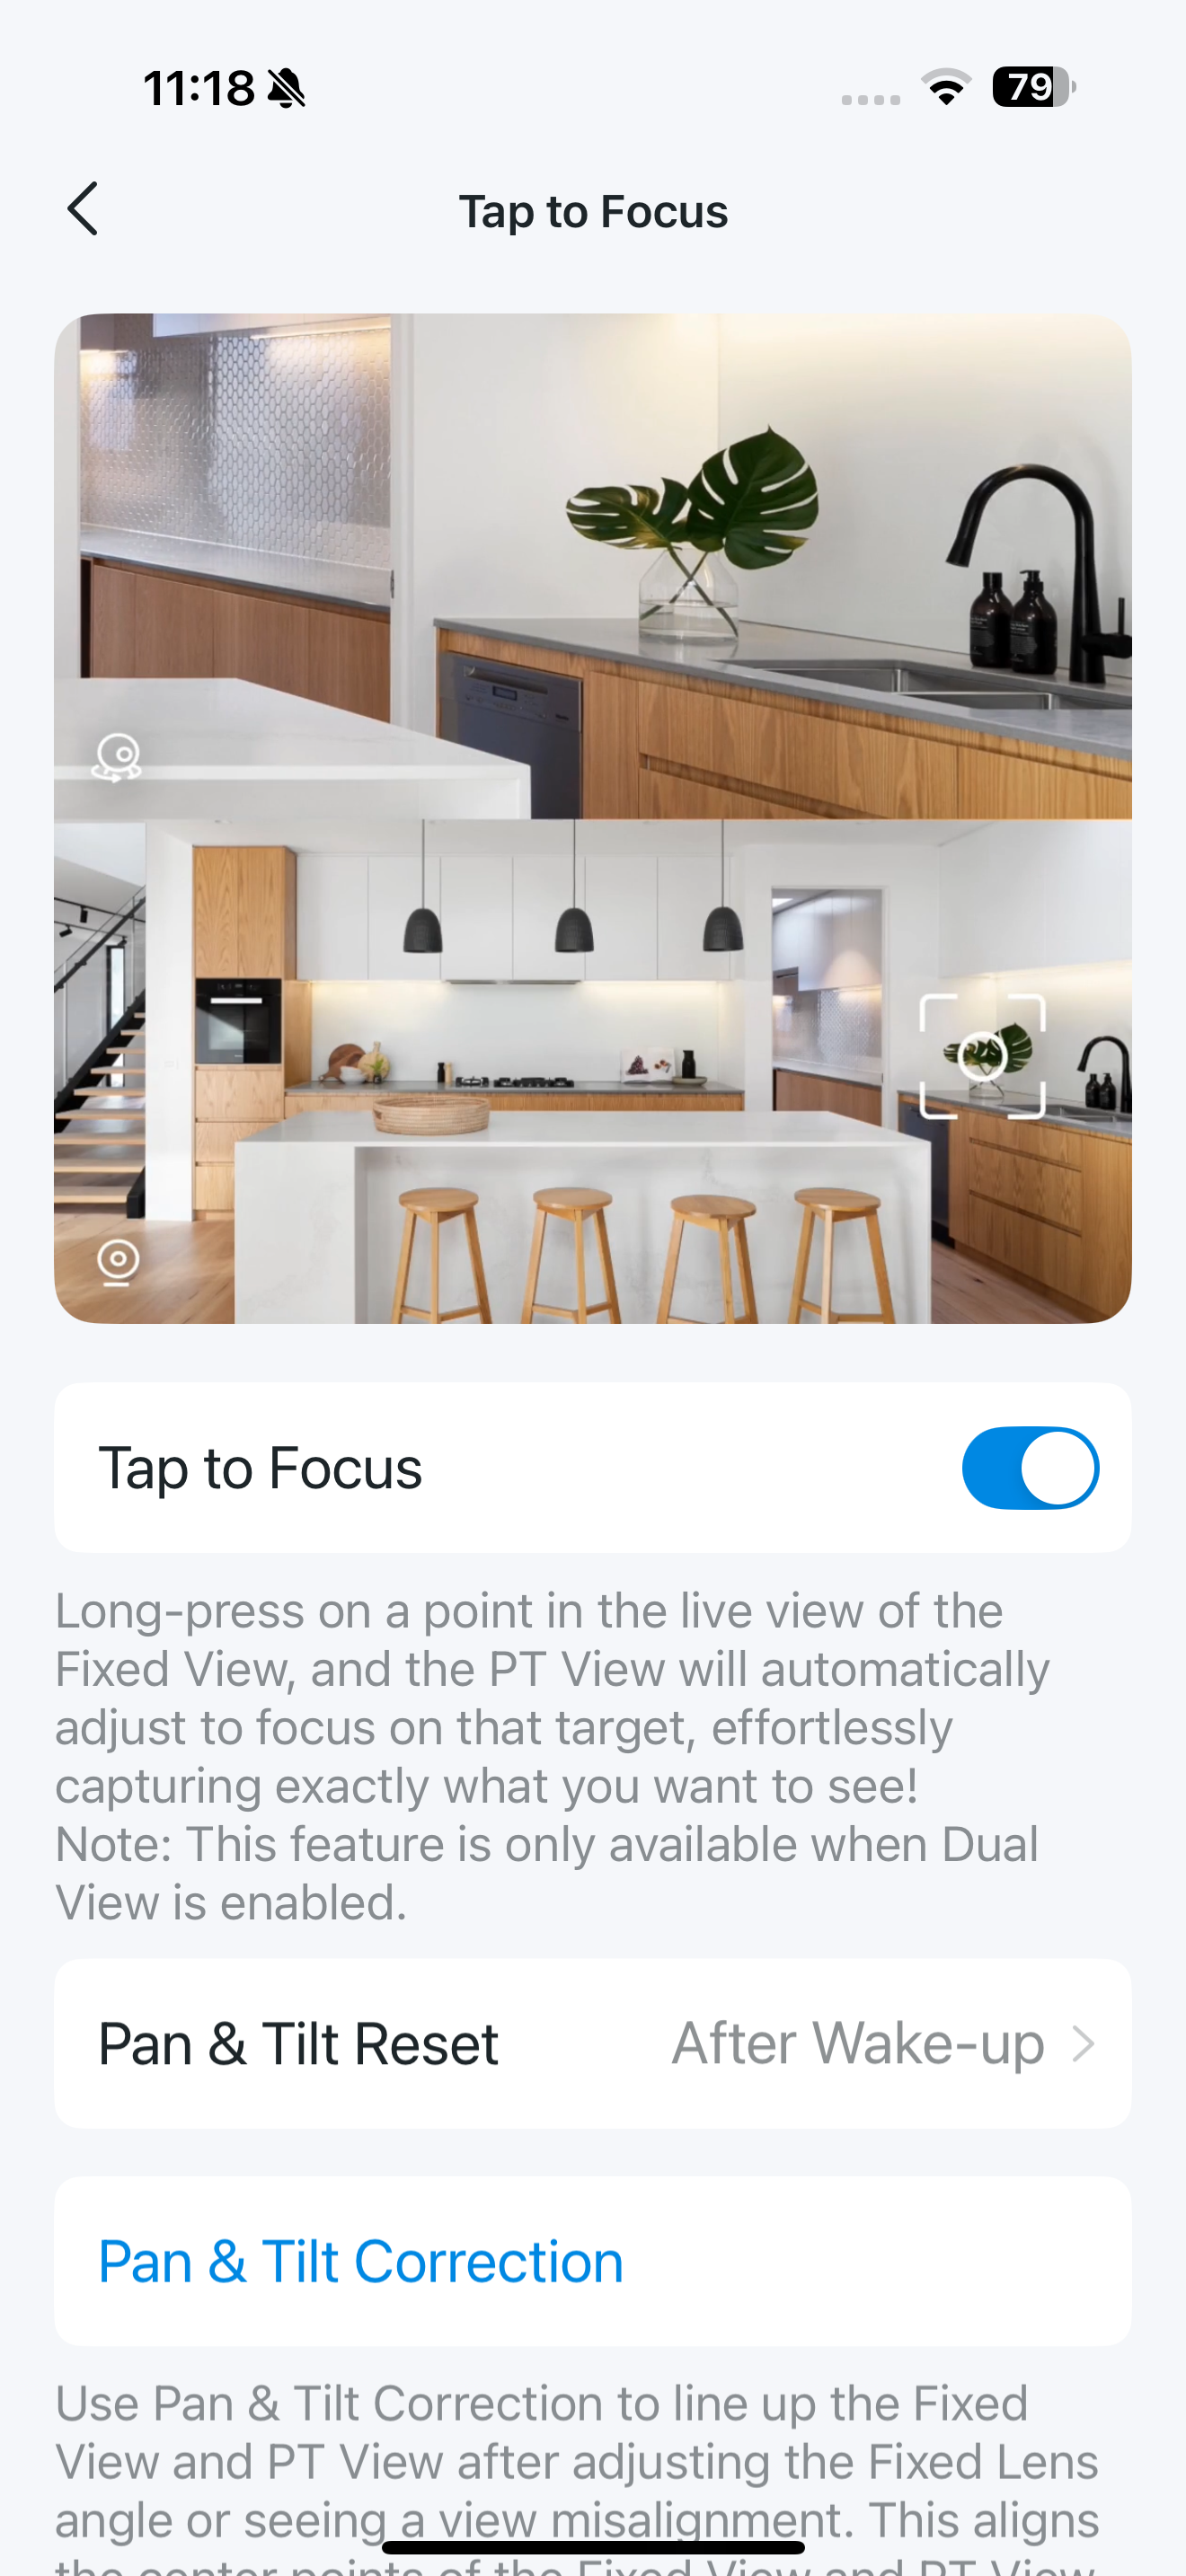
Tap to Focus
Tap within the live view of the Fixed Lens, and the PT lens will automatically adjust to focus on that target effortlessly capturing exactly what you want to see.
Note: This feature is only available when Dual View is enabled.
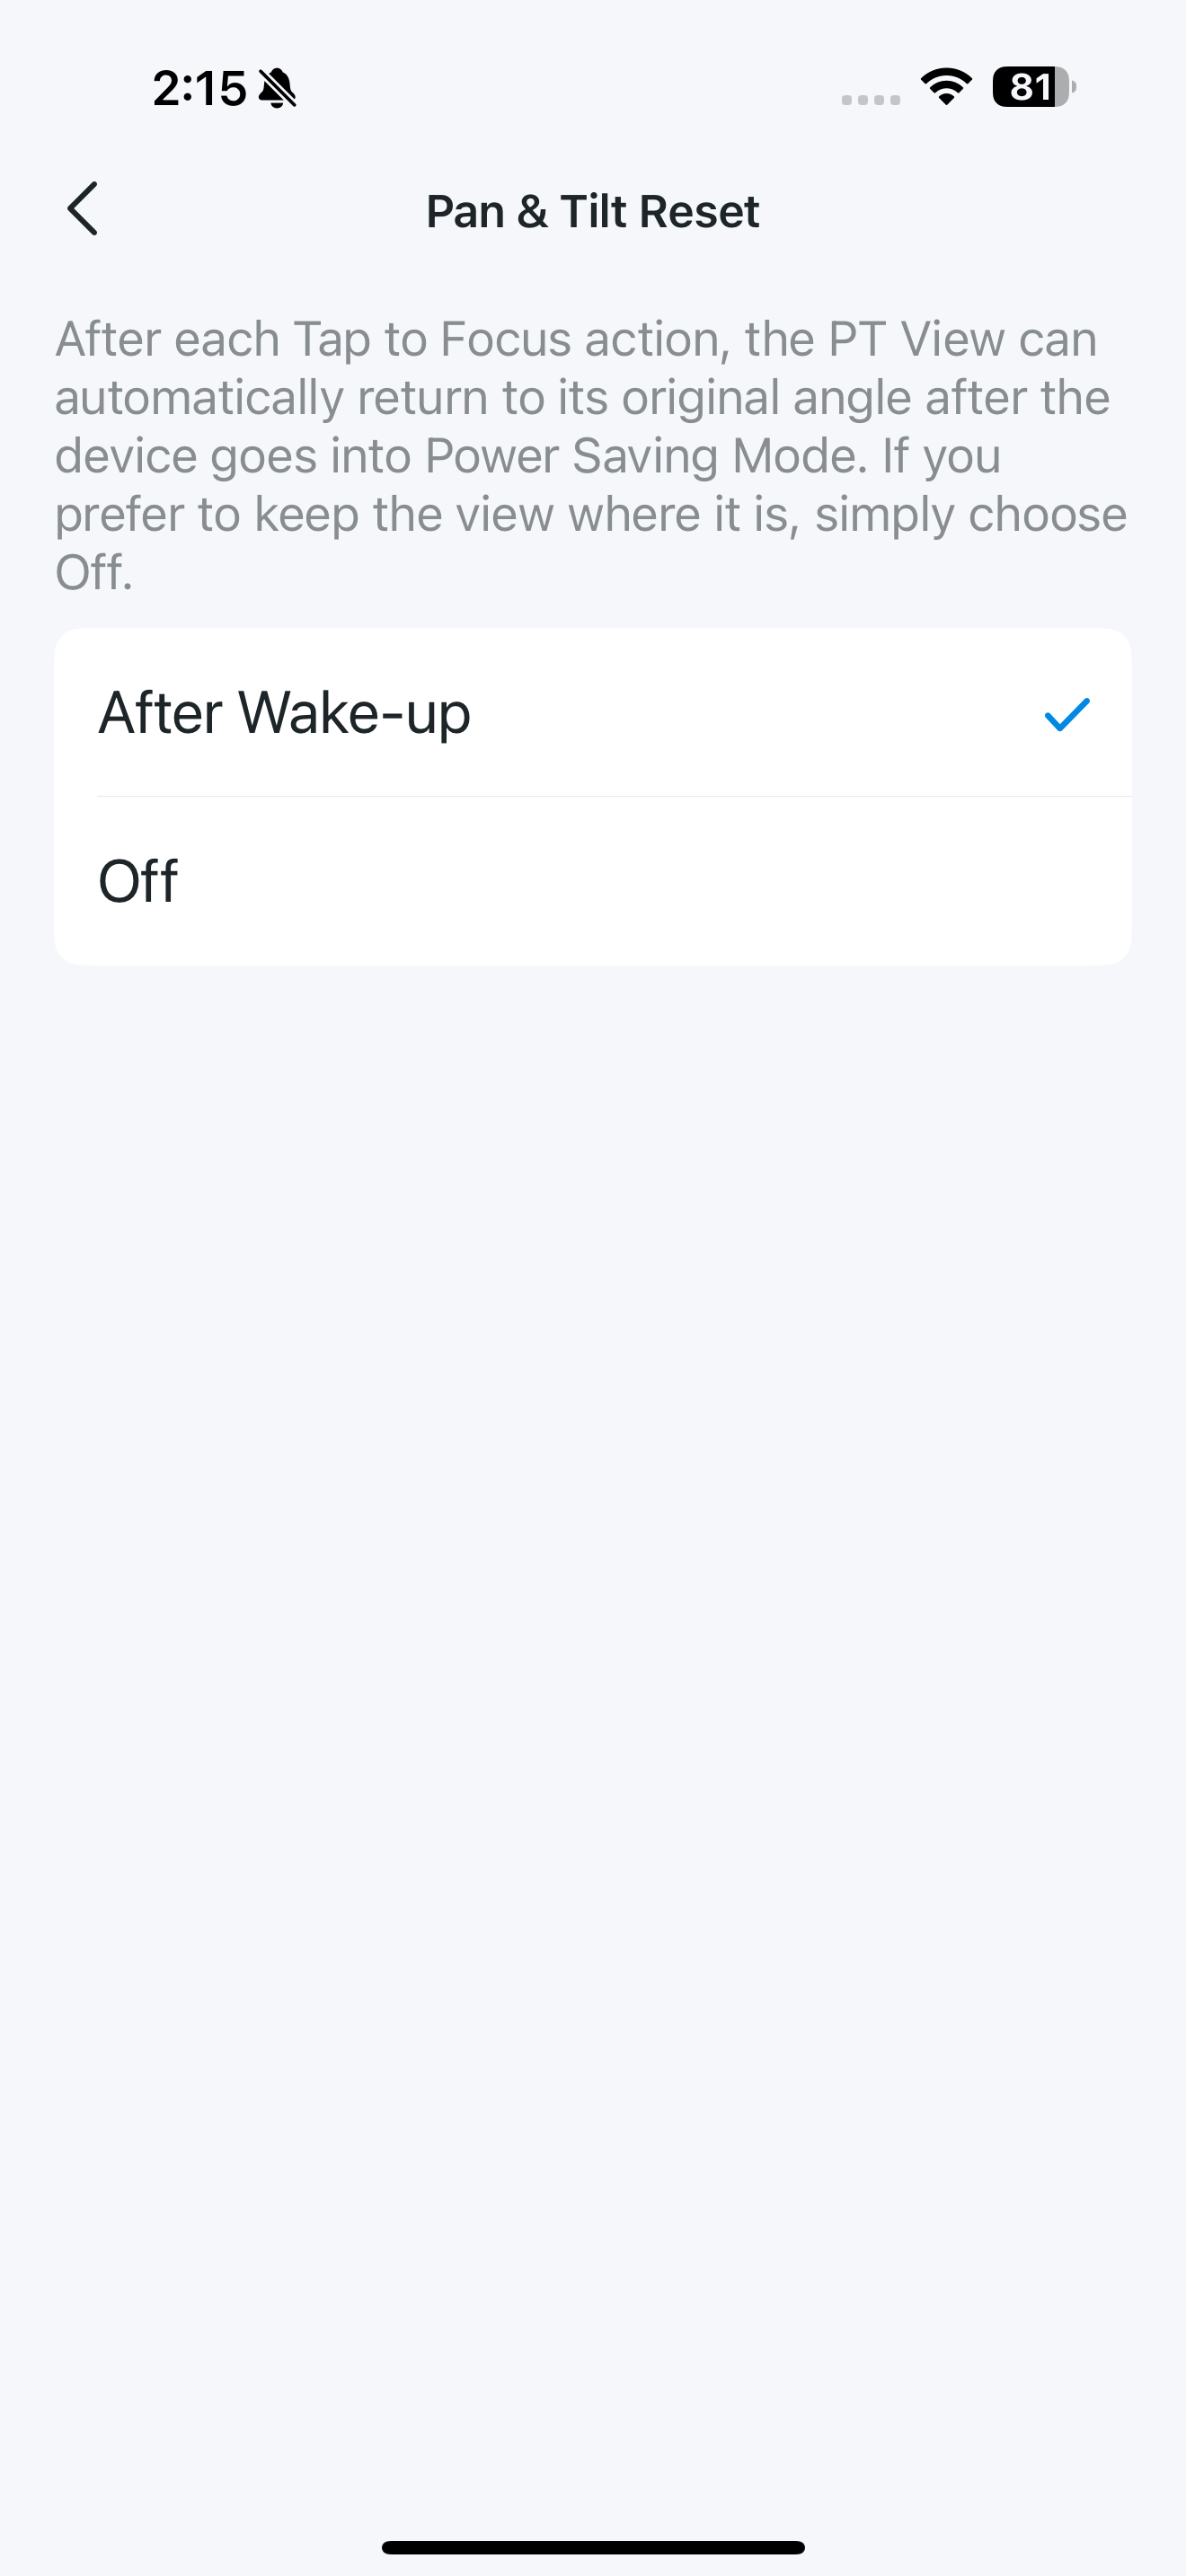
After each Tap to Focus action, you can set Pan & Tilt Reset to After Wake-Up, allowing the PT View to automatically return to its original angle after the device goes into Power Saving Mode.
If you prefer to keep the view where it is, simply choose Off.
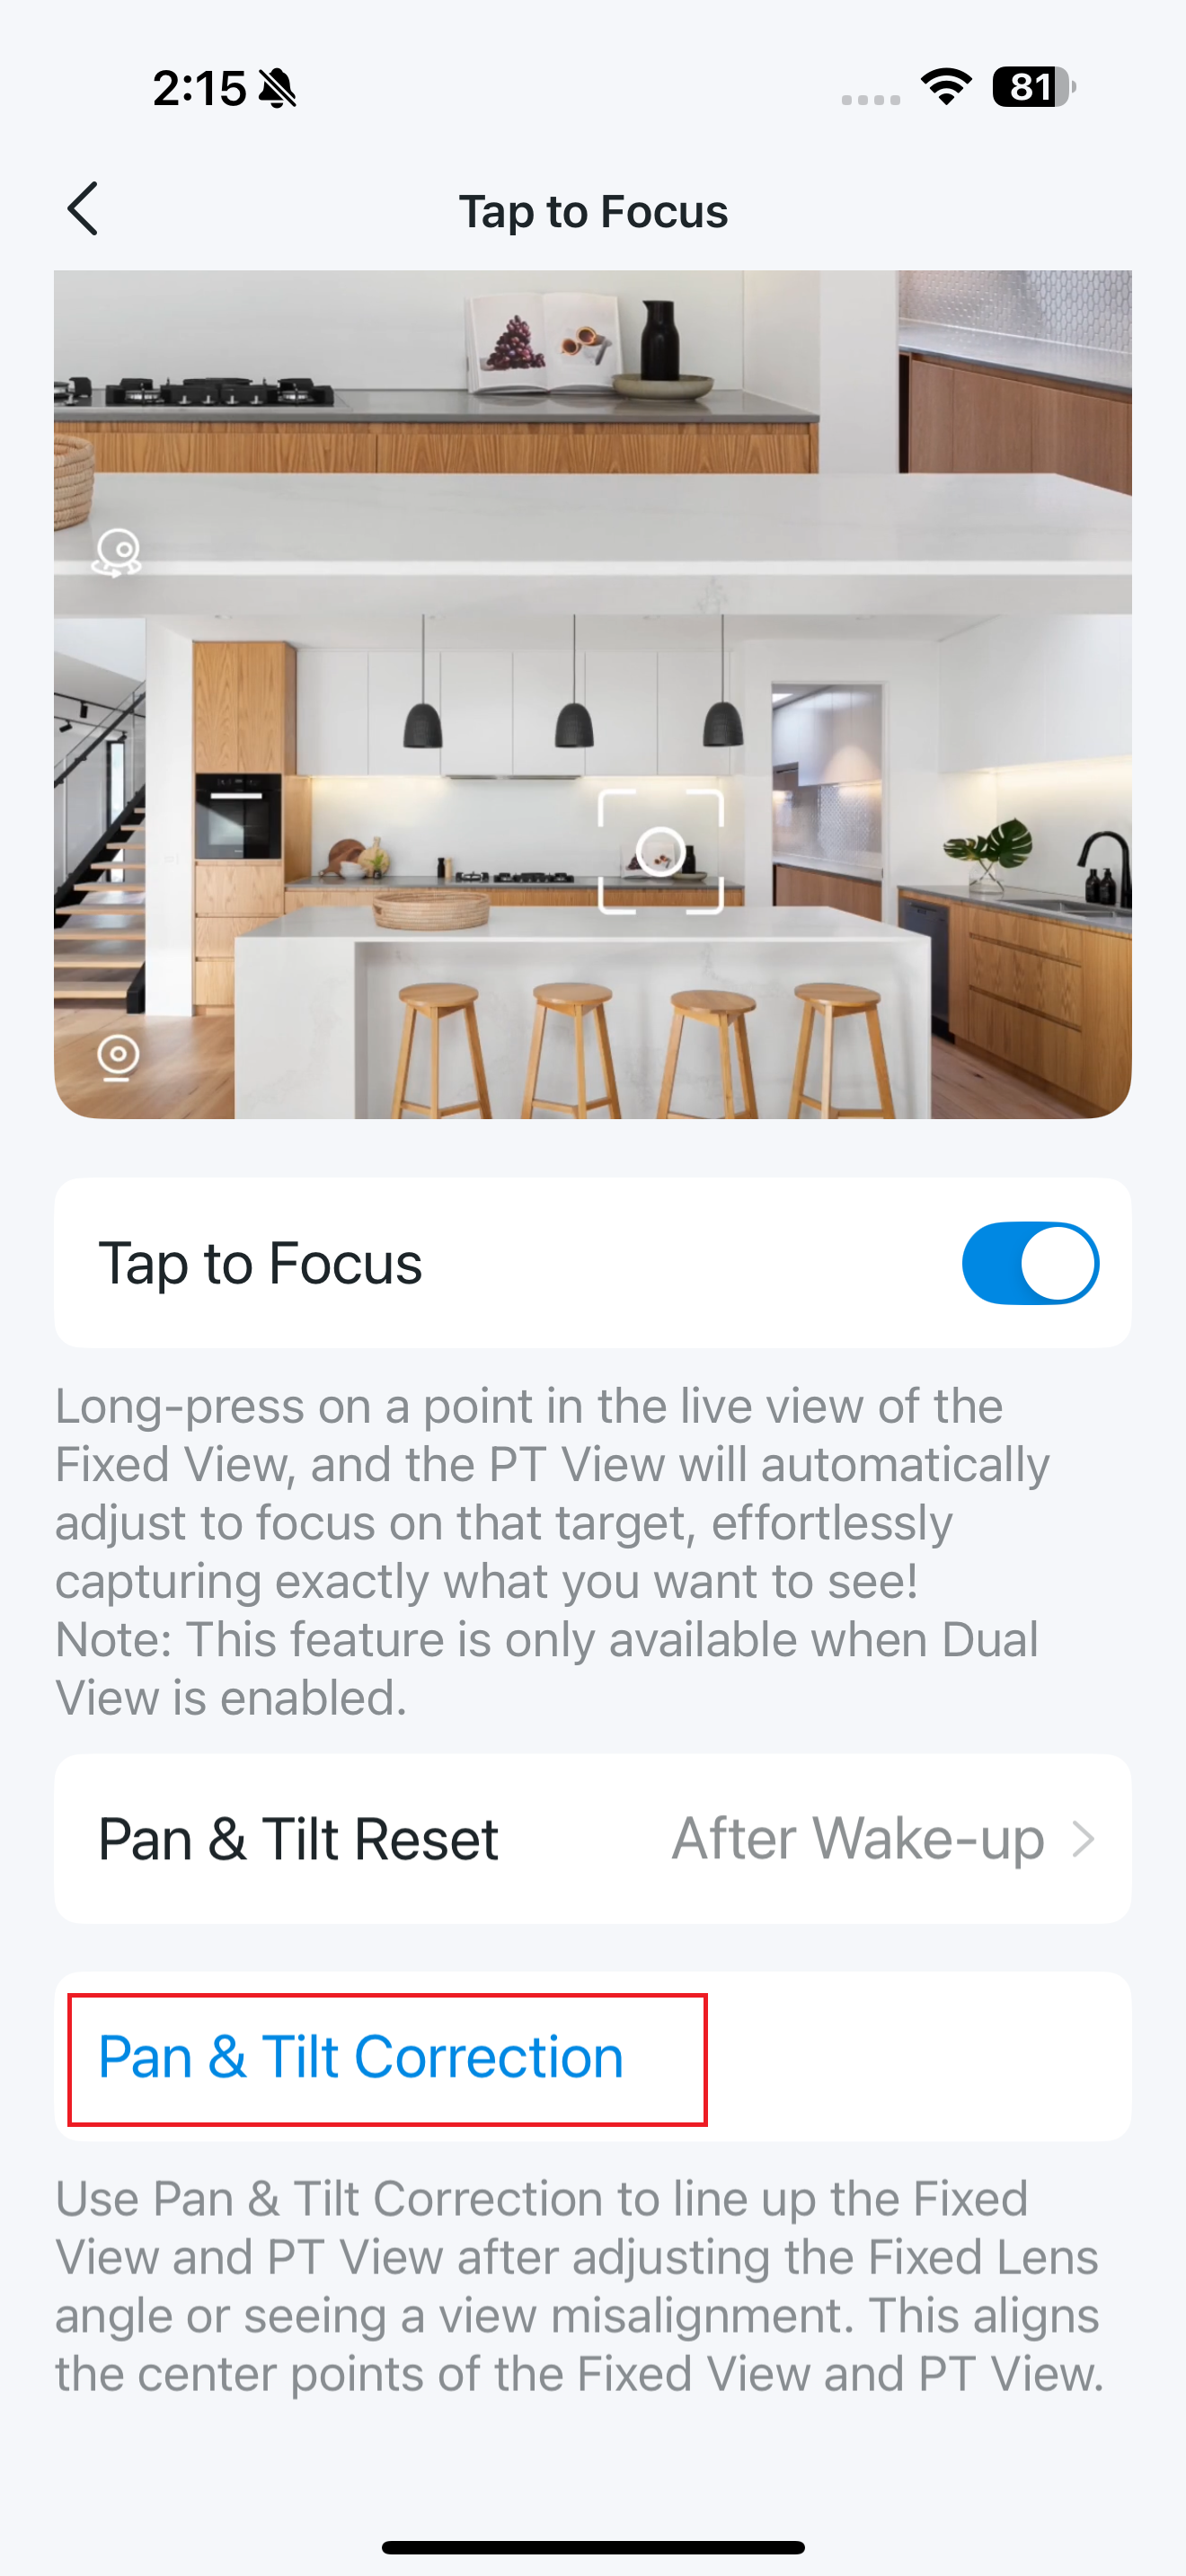
If you ever see a view misalignment or just adjust the Fixed Lens angle, you can use Pan & Tilt Correction to line up the Fixed View and PT view.
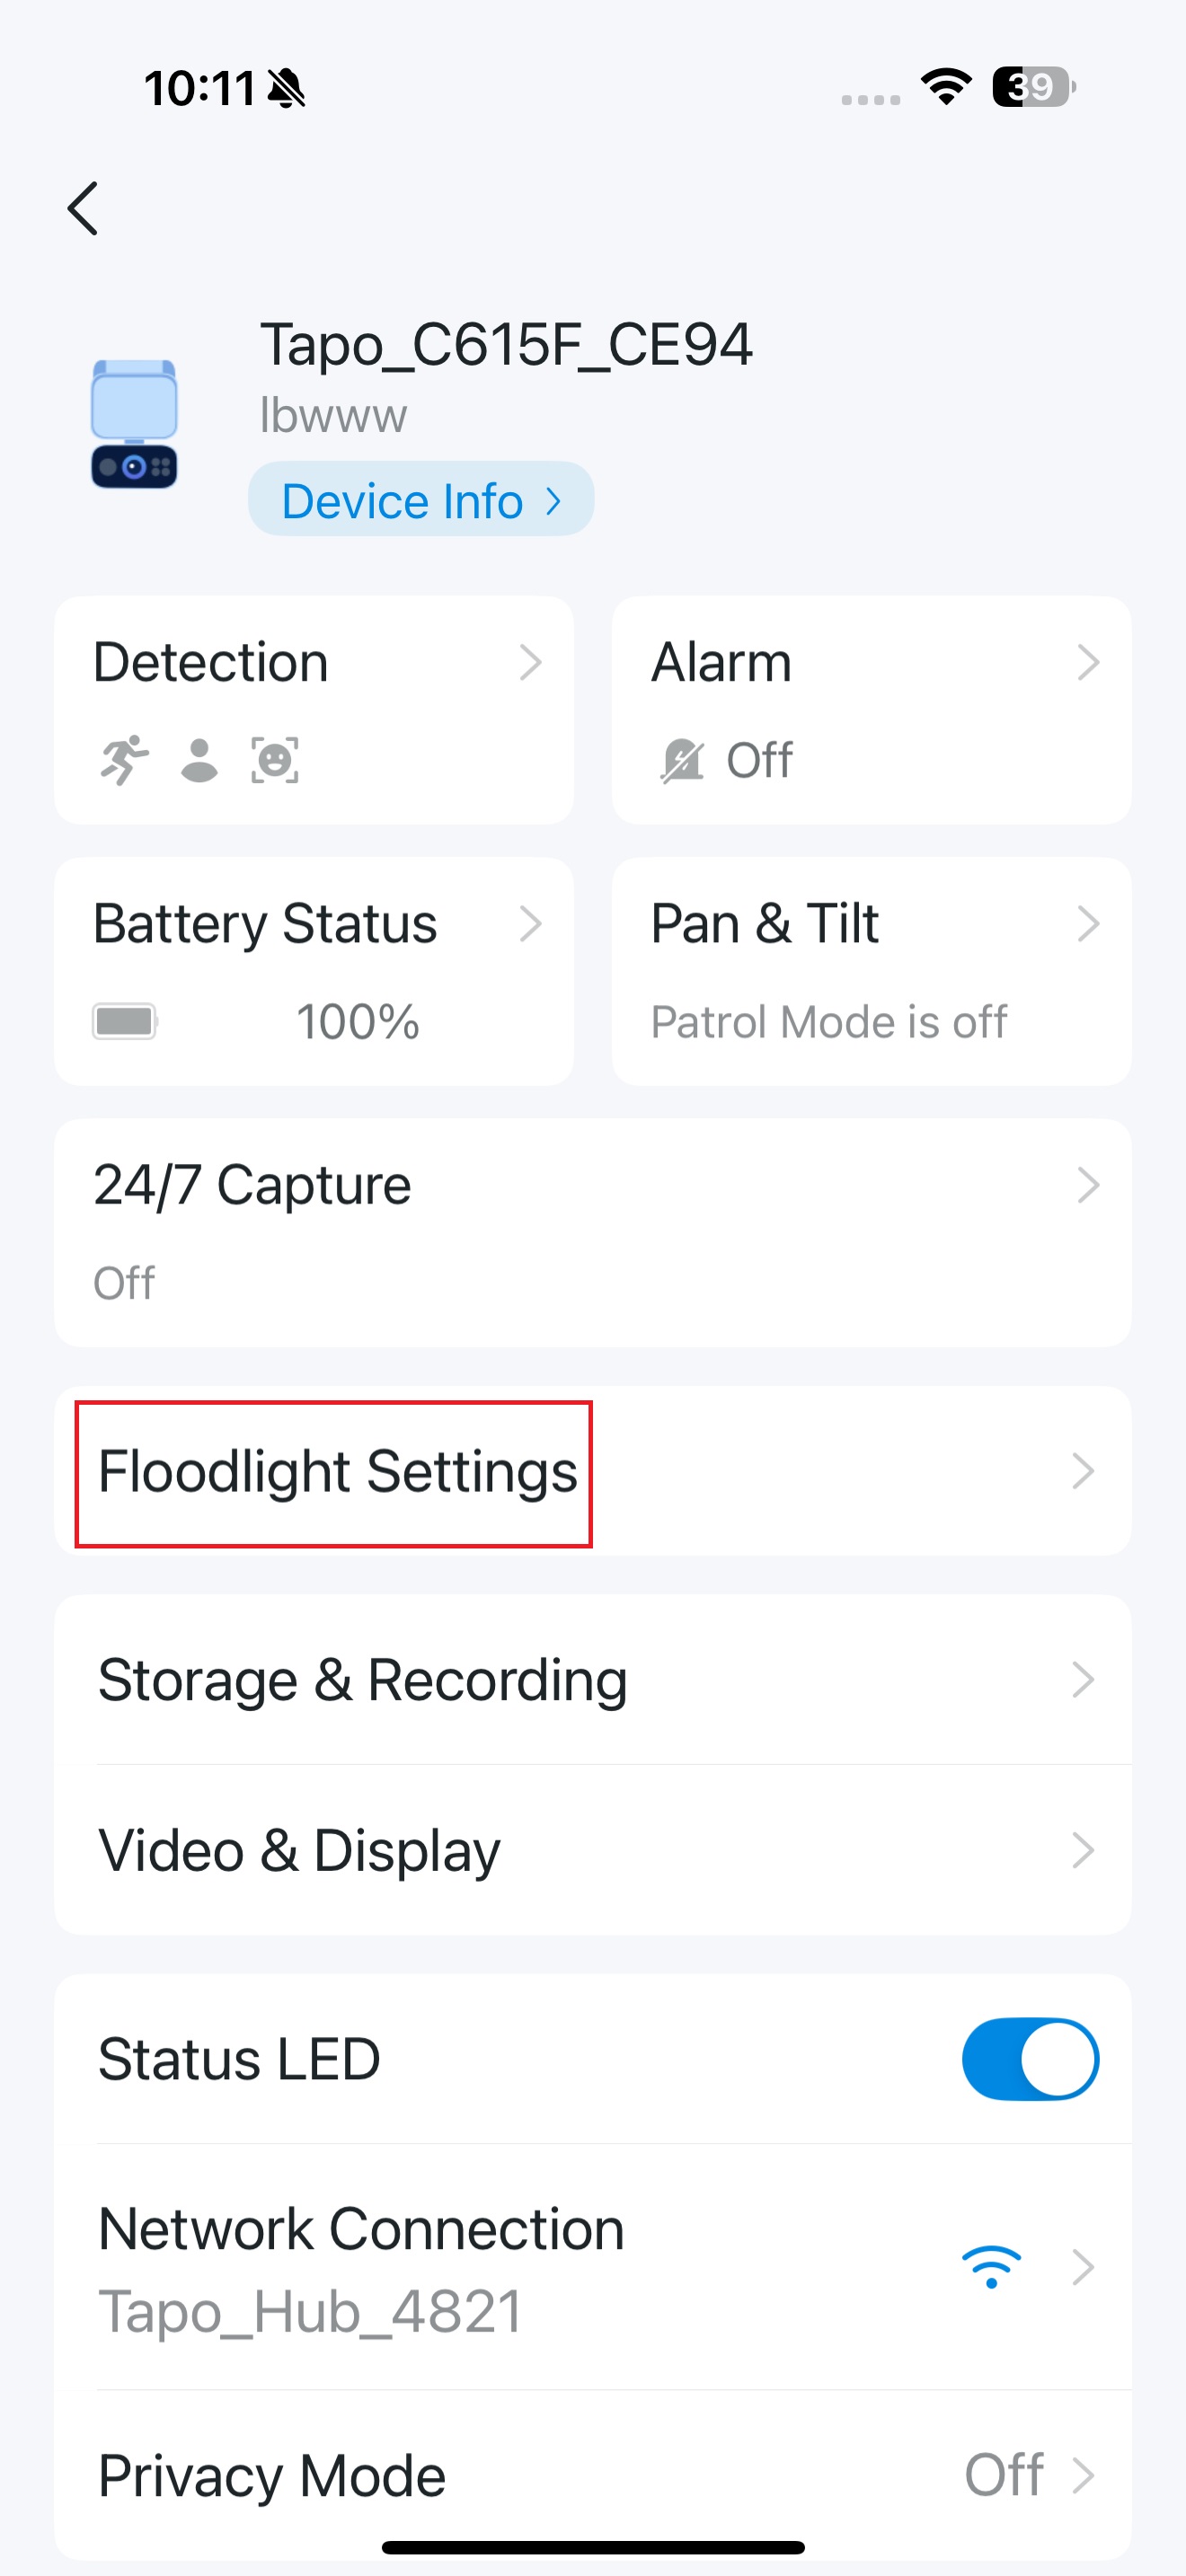
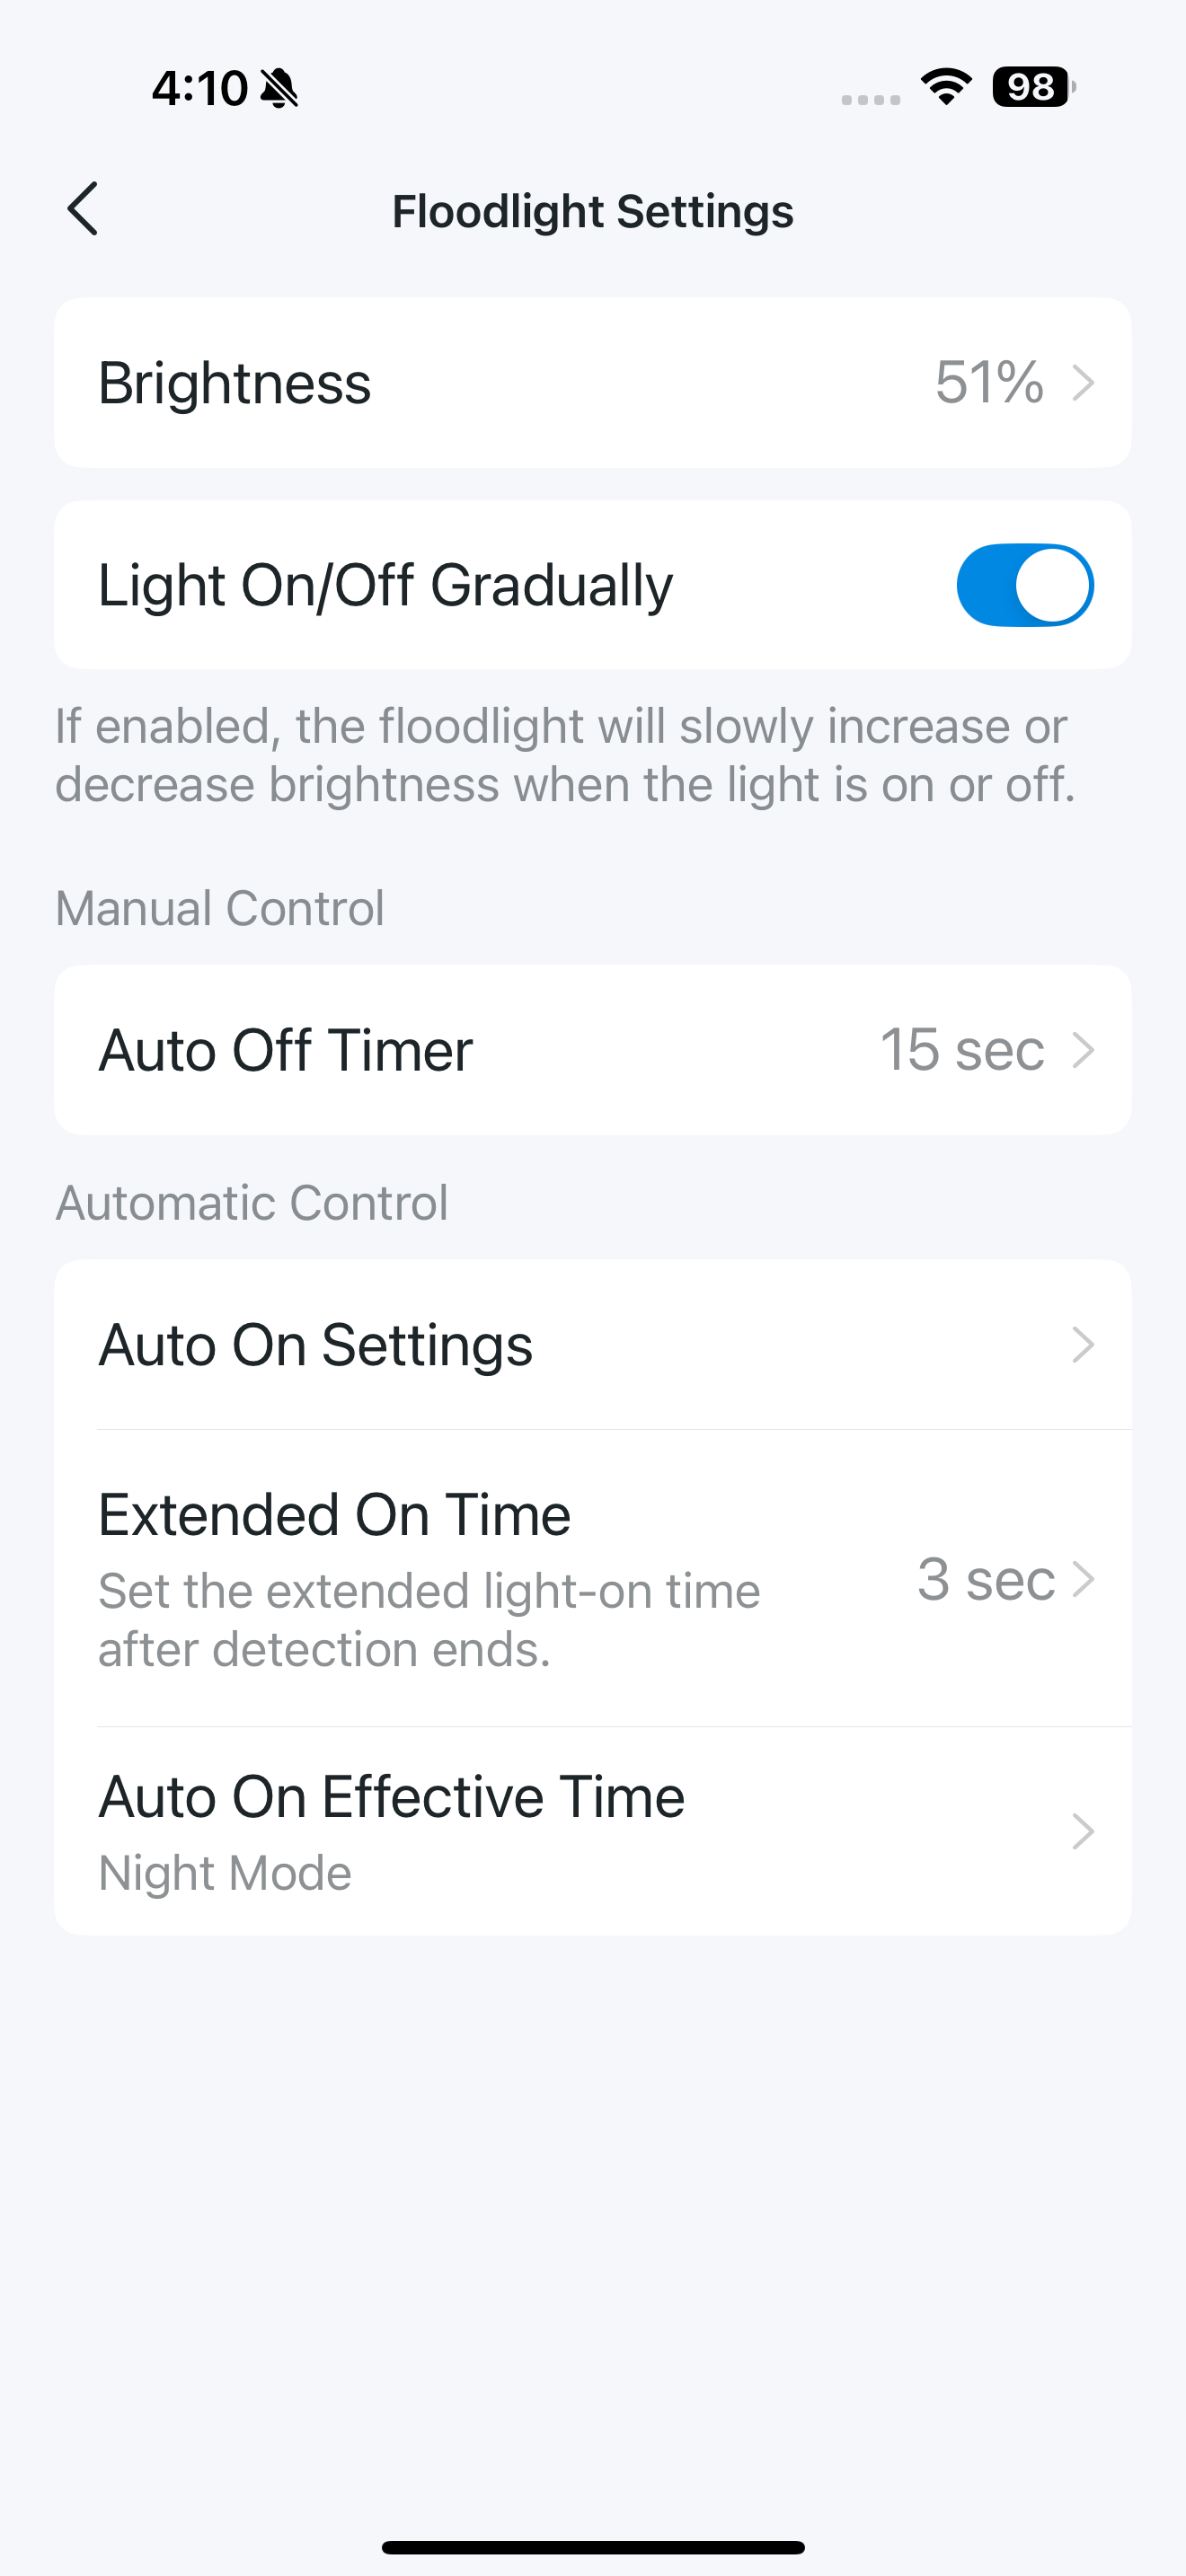
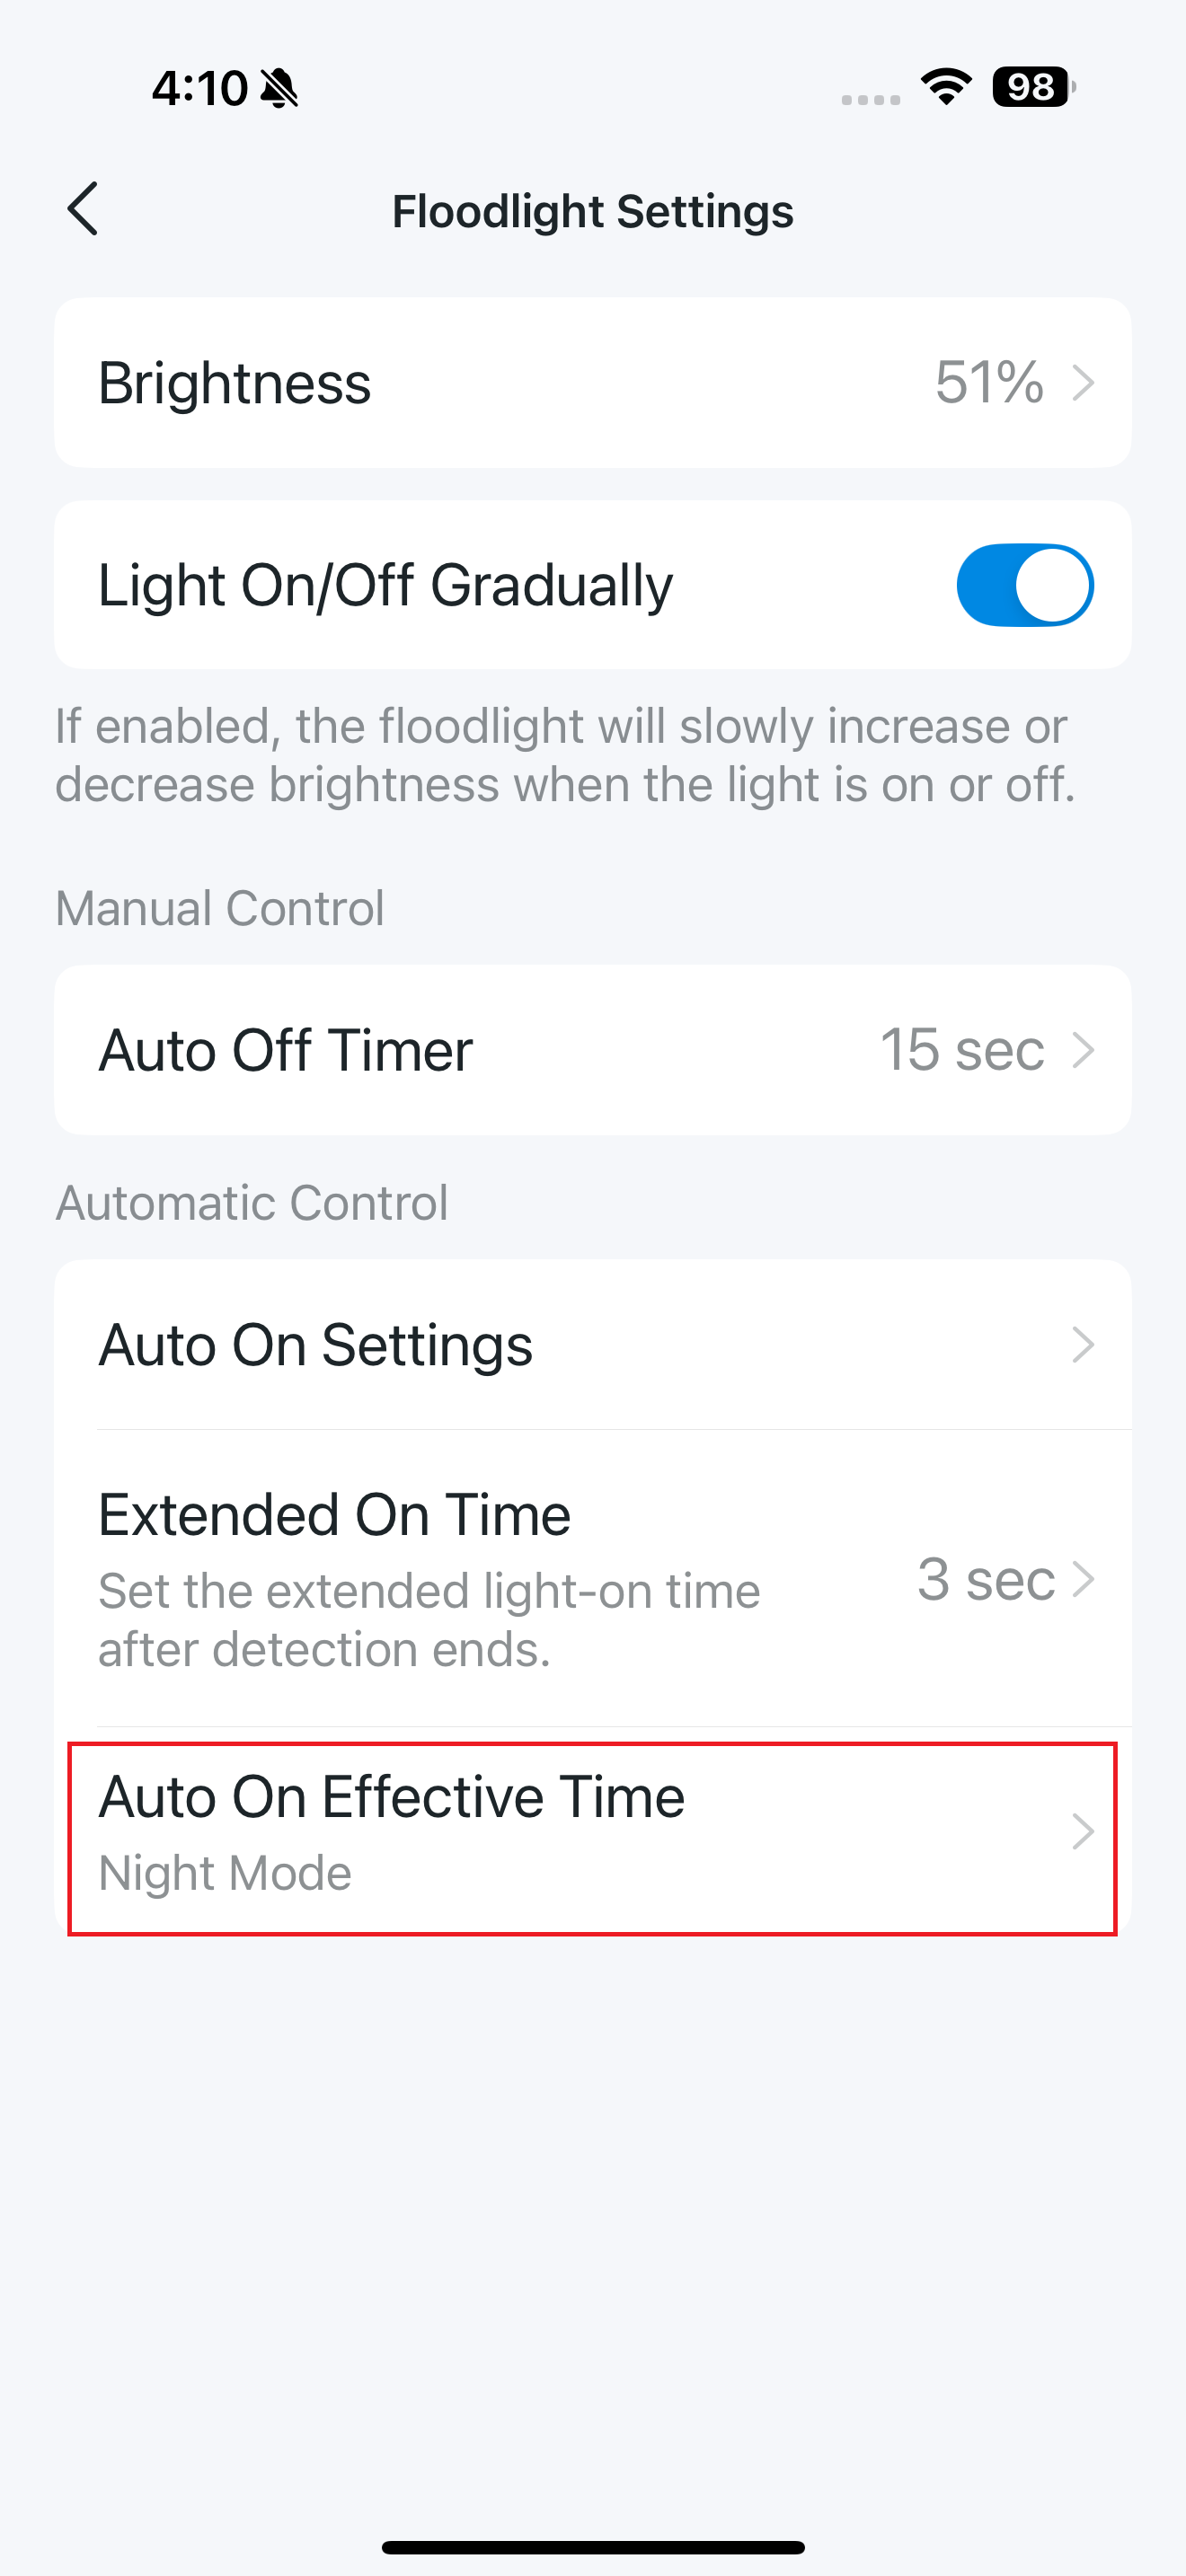
Floodlight Settings
Note: Only Floodlight cameras have this feature. Here we take Tapo C615F as an example.
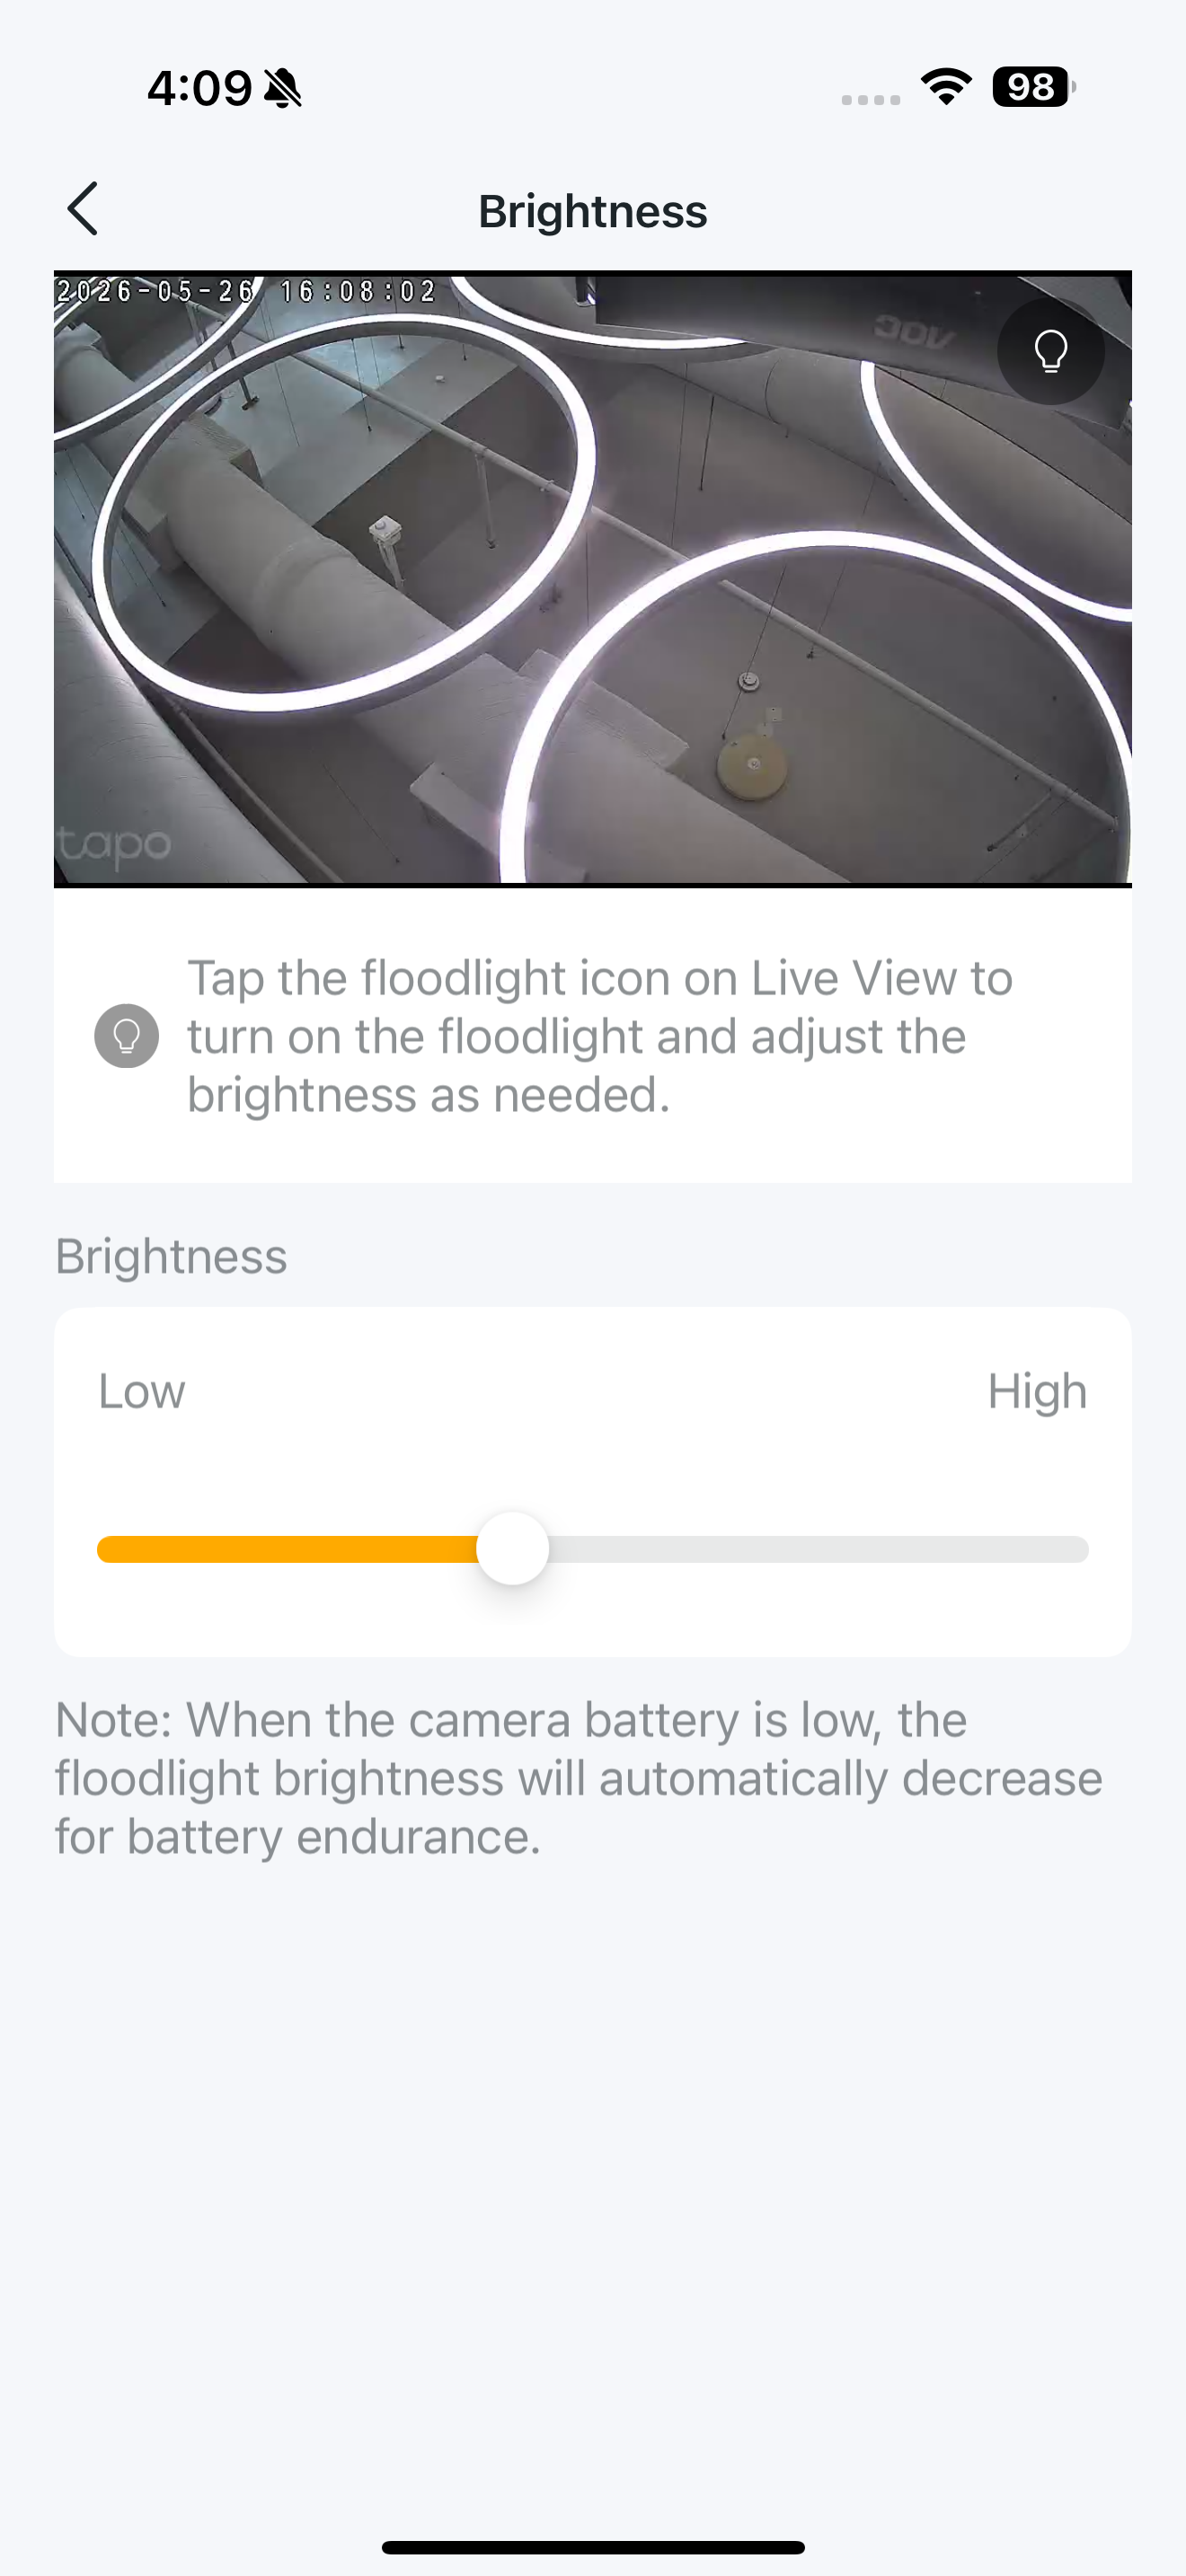
Brightness
You can tap the floodlight icon on Live View to turn on the floodlight and adjust the brightness as needed.
Note: When the camera battery is low, the floodlight brightness will automatically decrease for battery endurance.
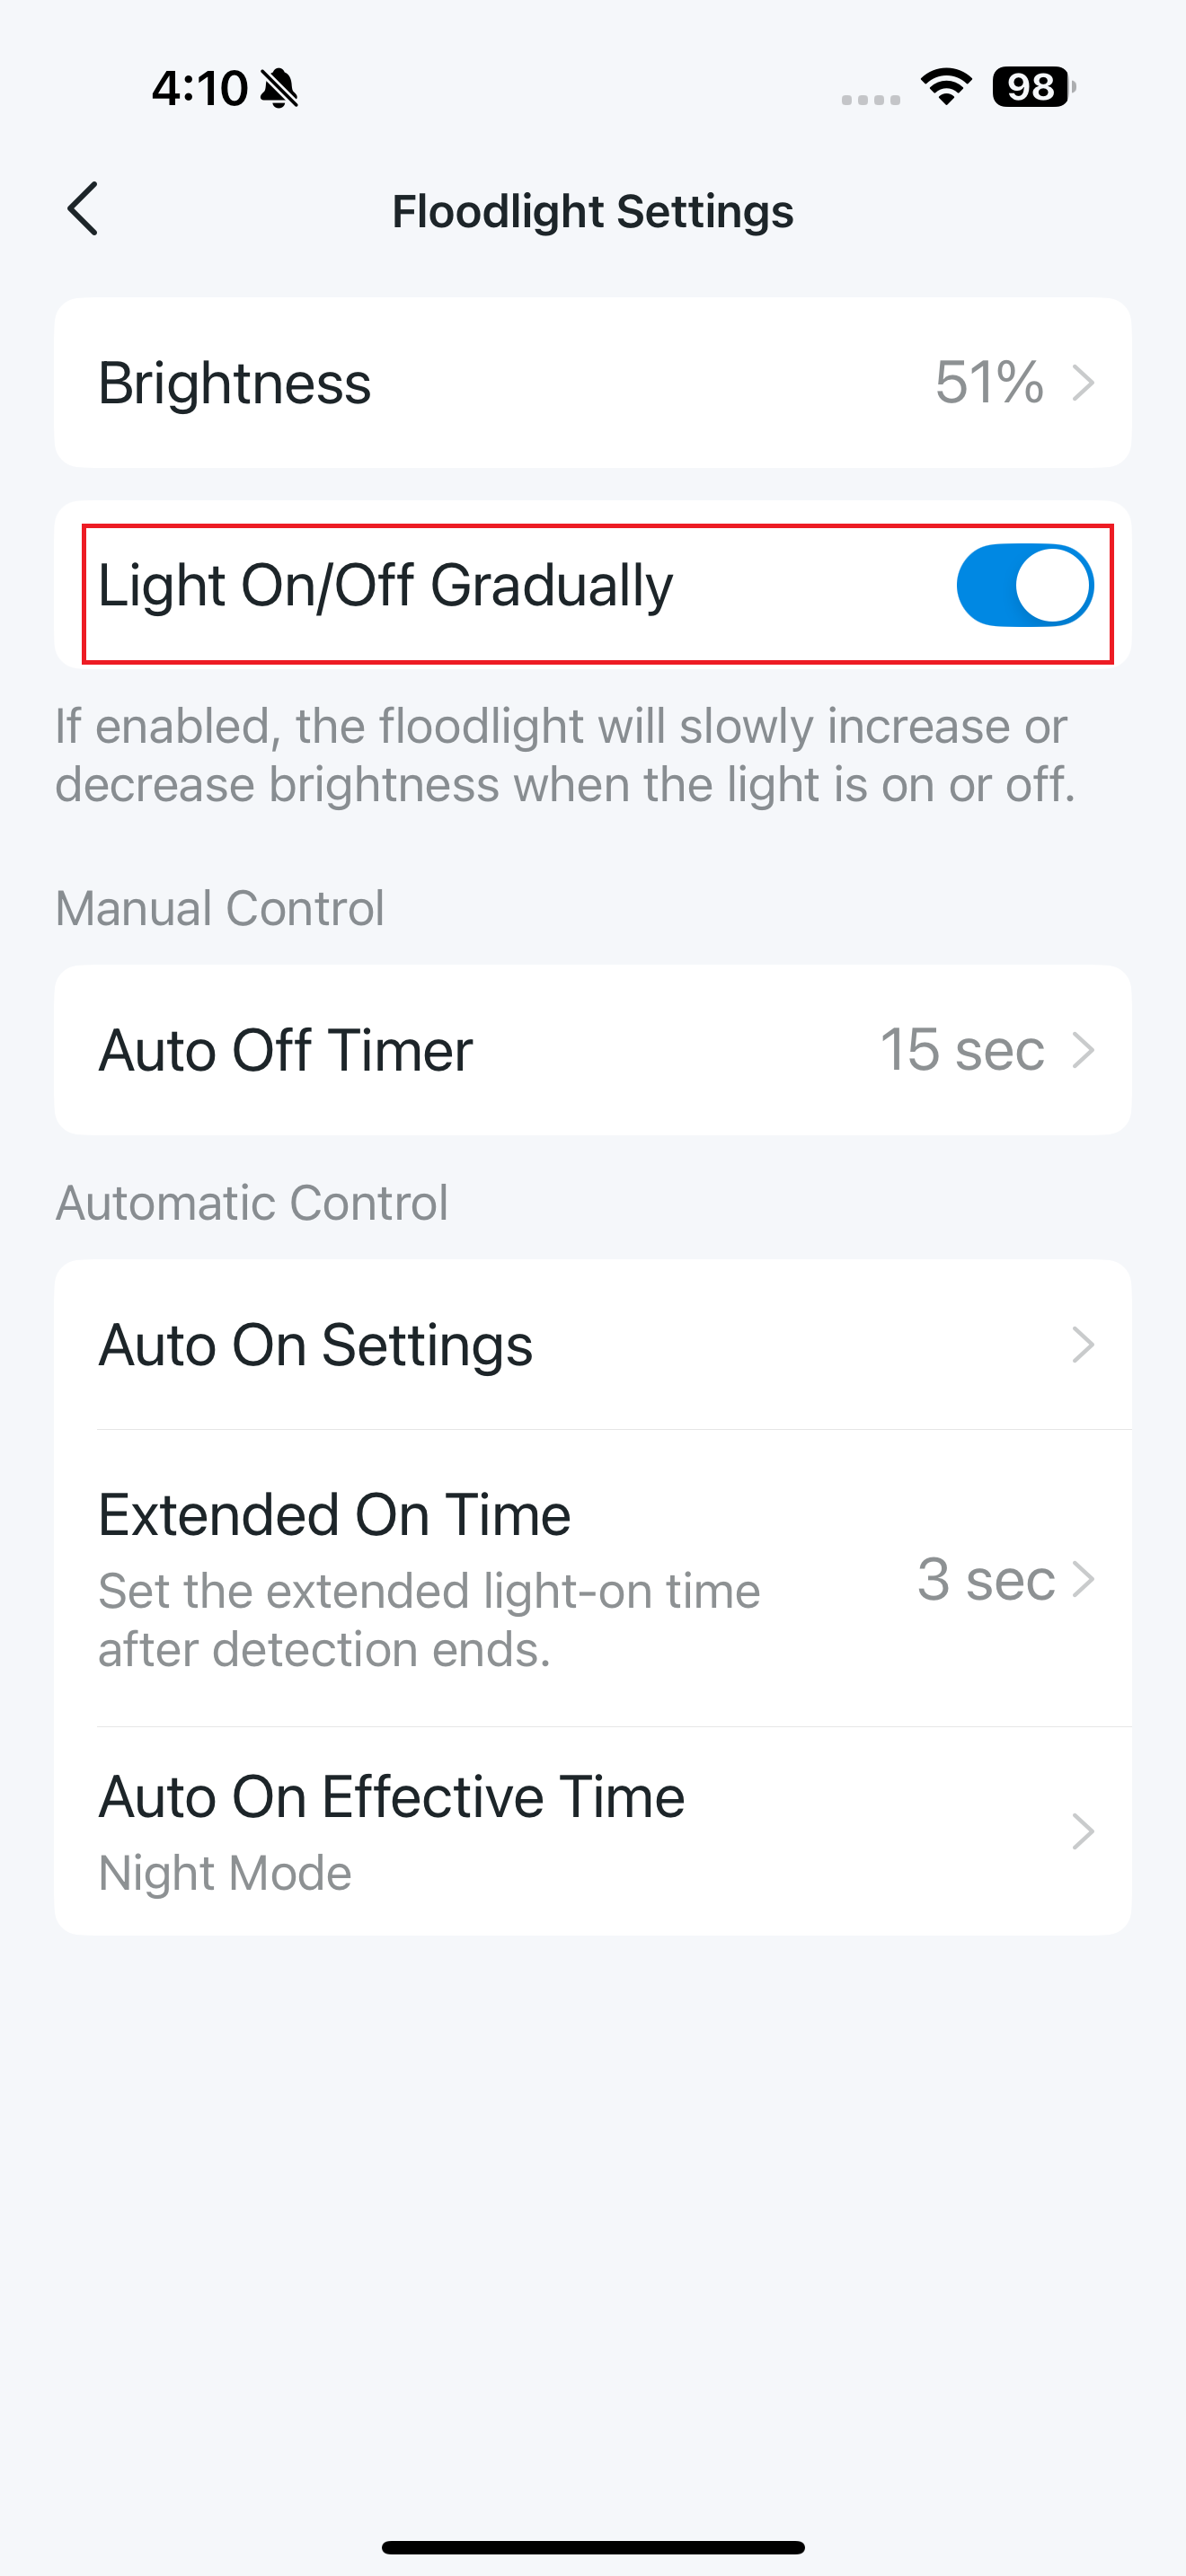
Light On/Off Gradually
When enabled, the floodlight will slowly increase or decrease brightness when the light is on or off.
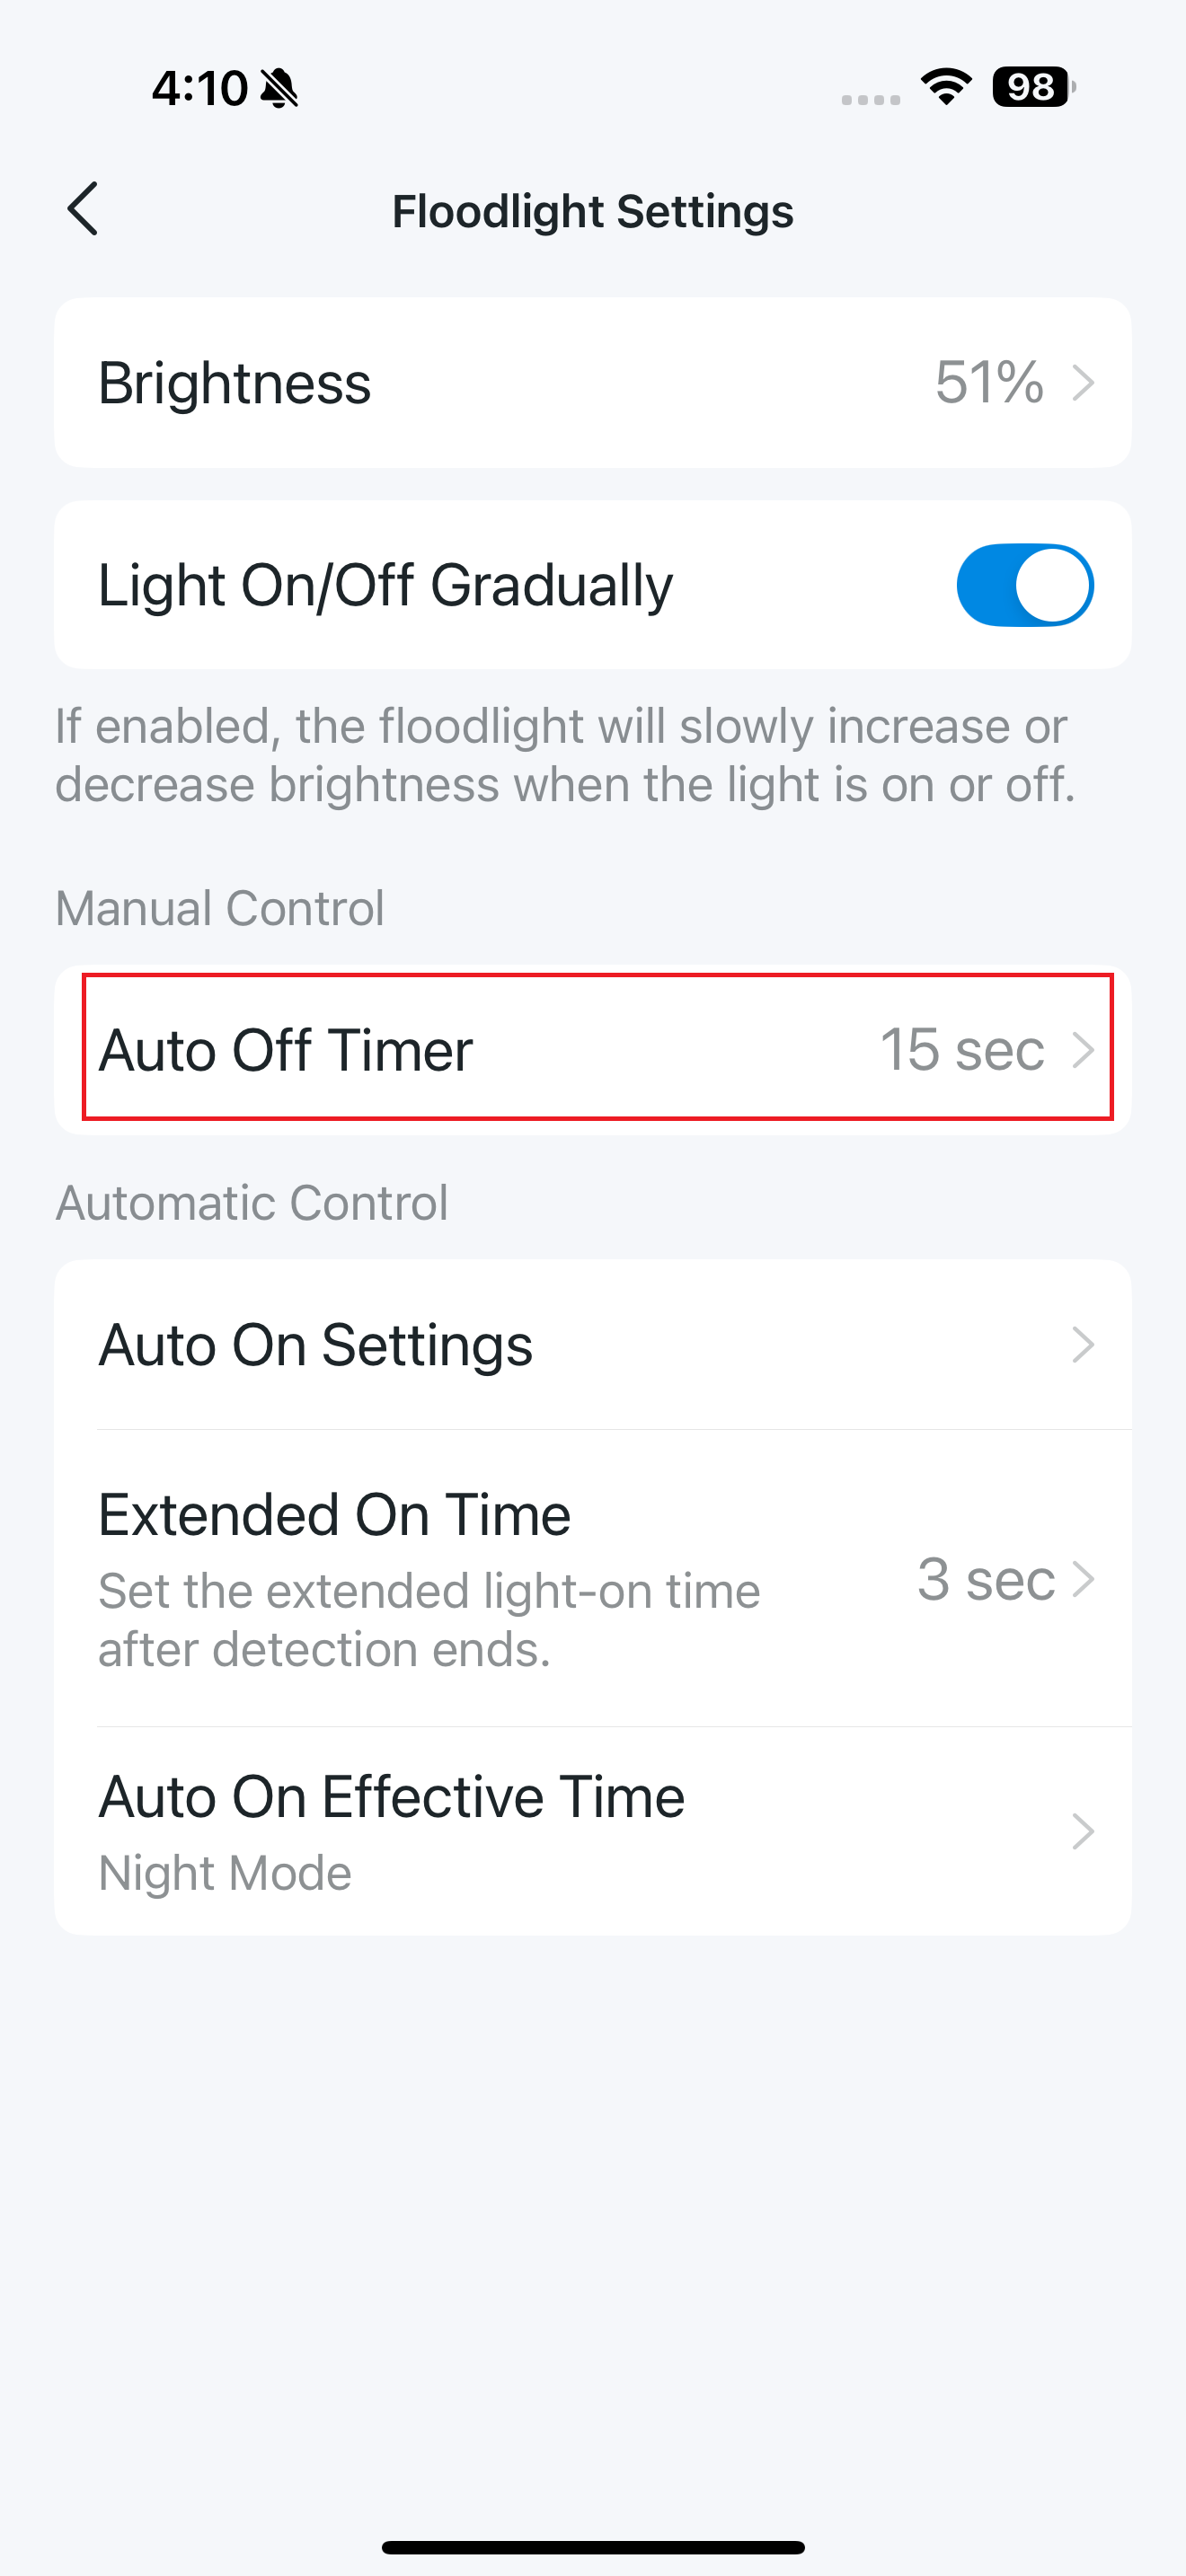
Auto Off Timer
You can set the auto-off timer from 15 seconds to 5 minutes. After the set time, the floodlight will turn off automatically.
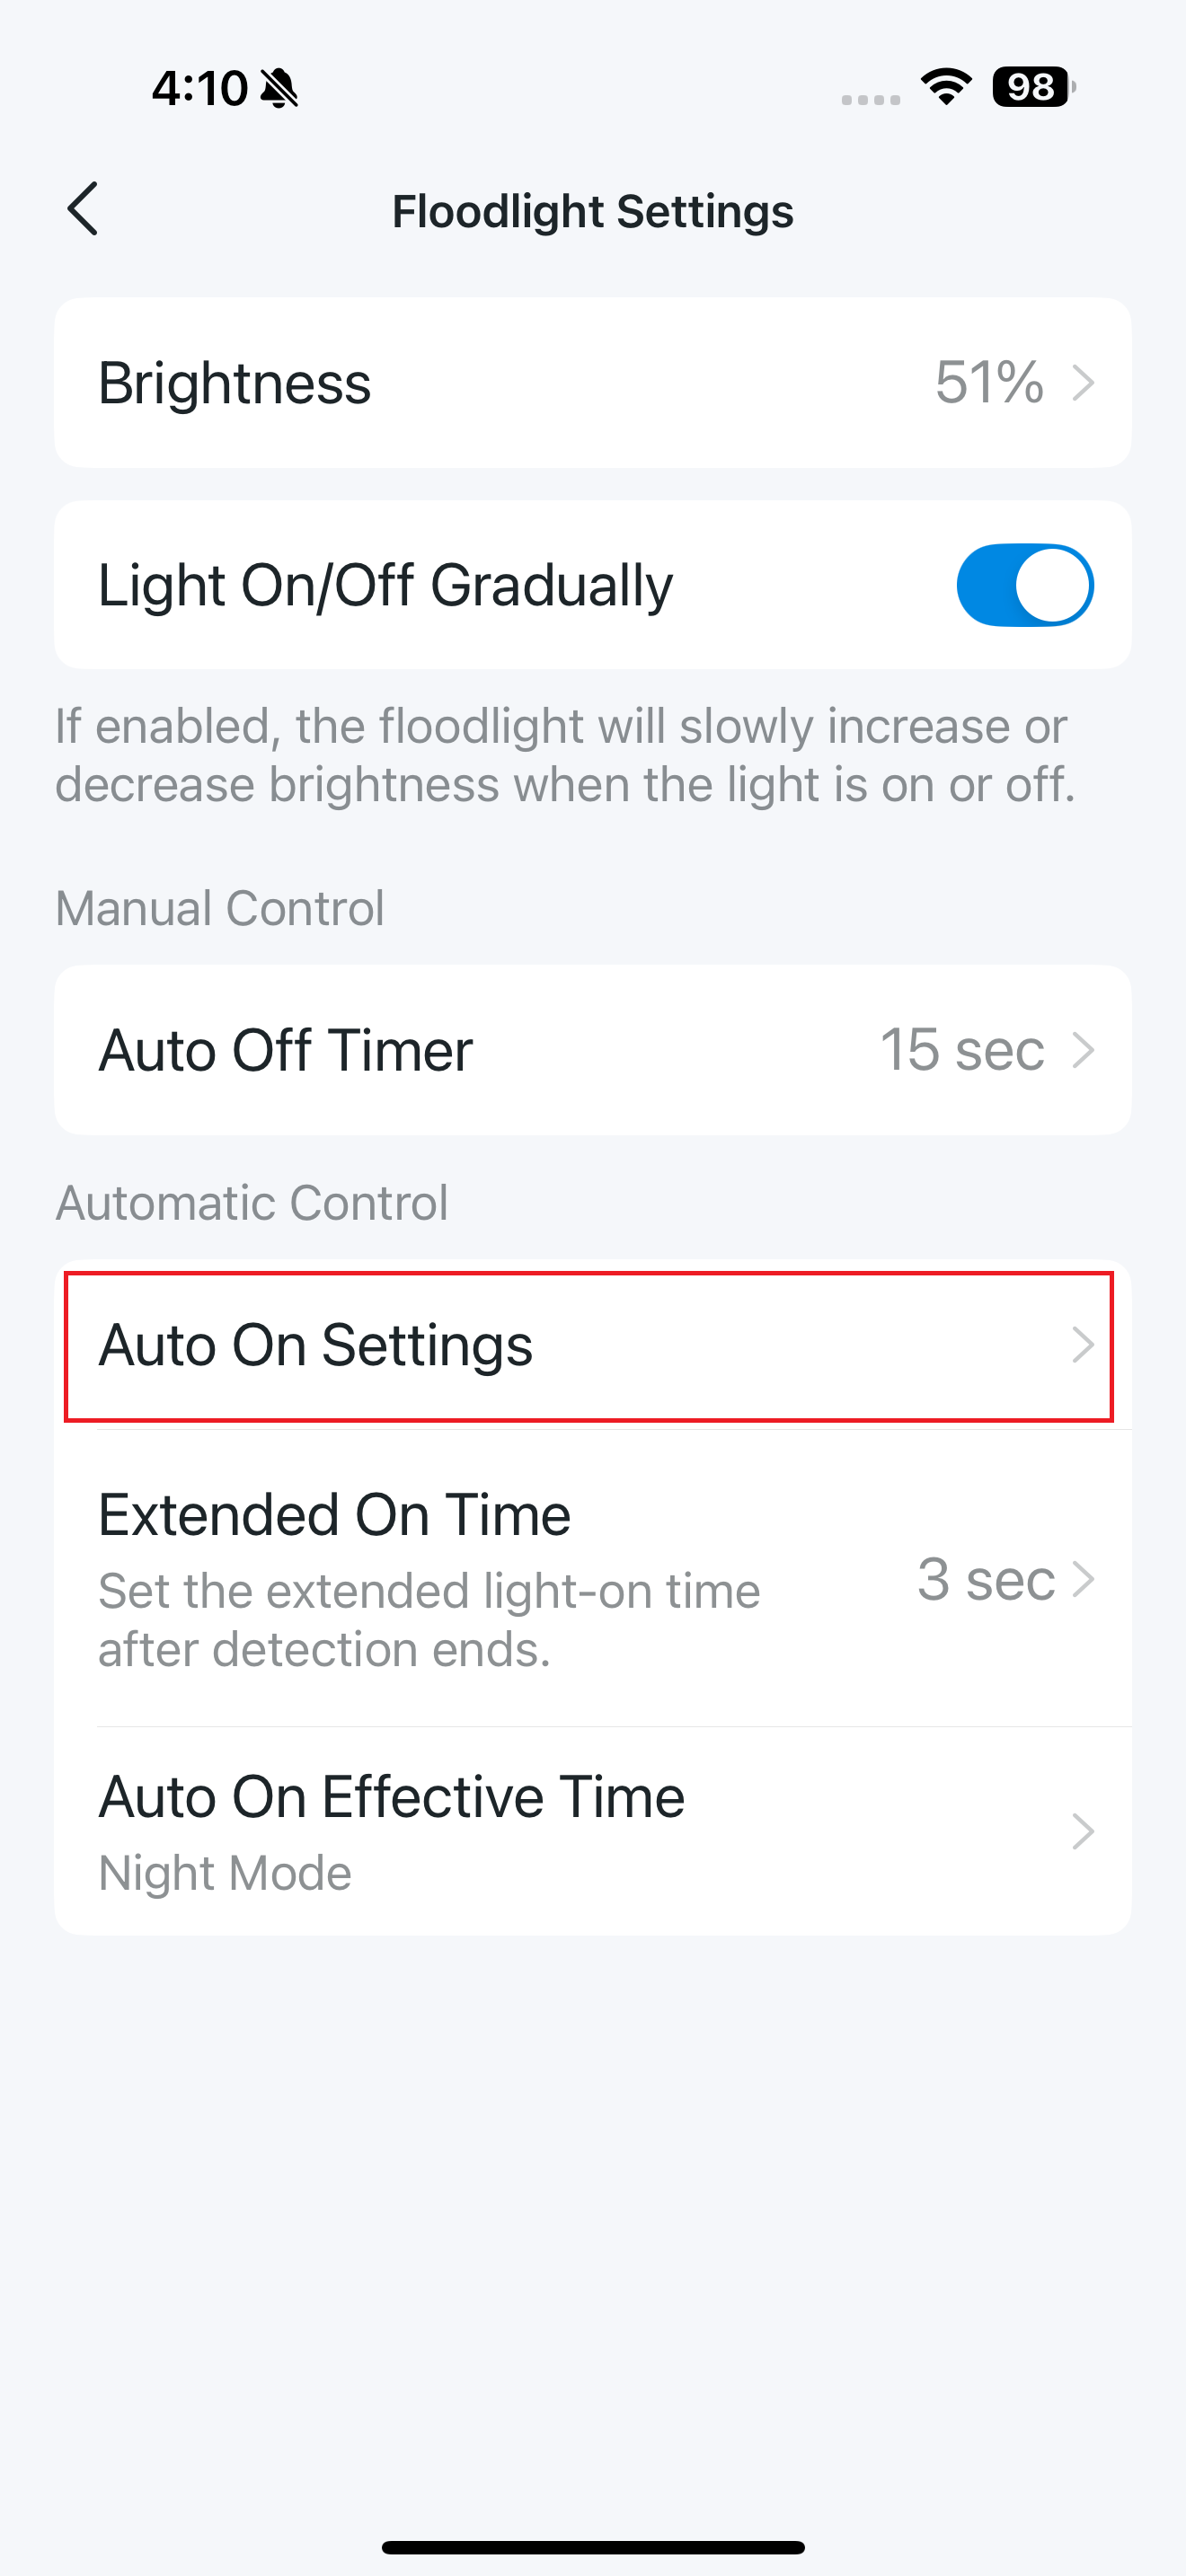
Auto On Settings
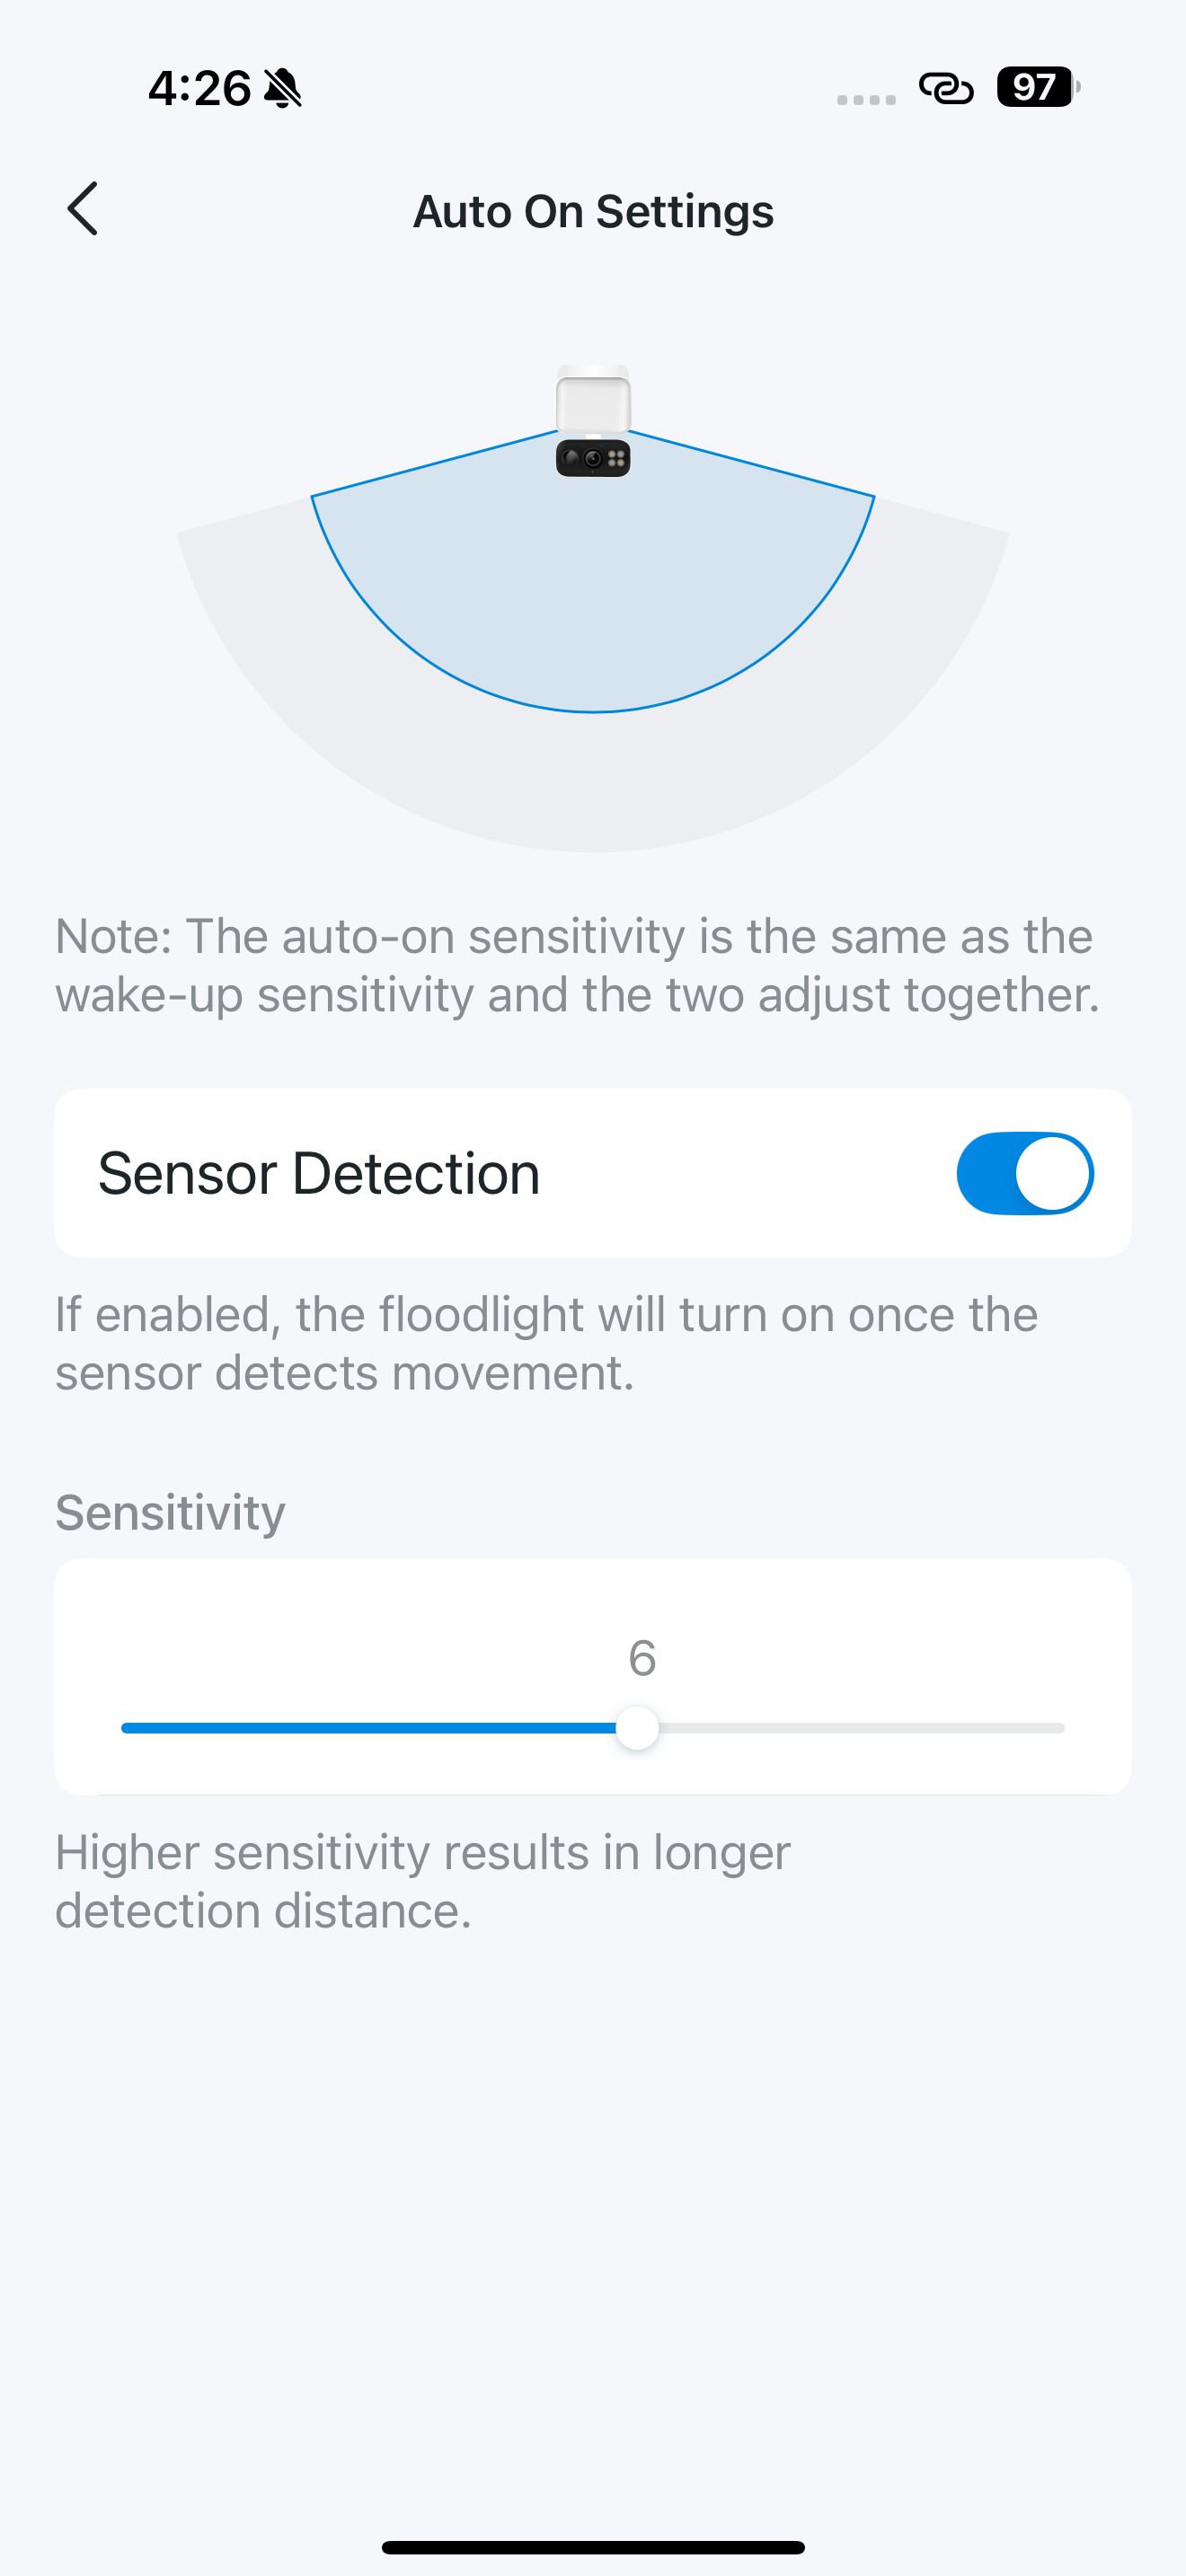
You can adjust the sensitivity to customize the detection range and enable Sensor Detection to allow the floodlight to turn on once the sensor detects movement.
Note: The auto-on sensitivity is the same as the wake-up sensitivity and the two adjust together.
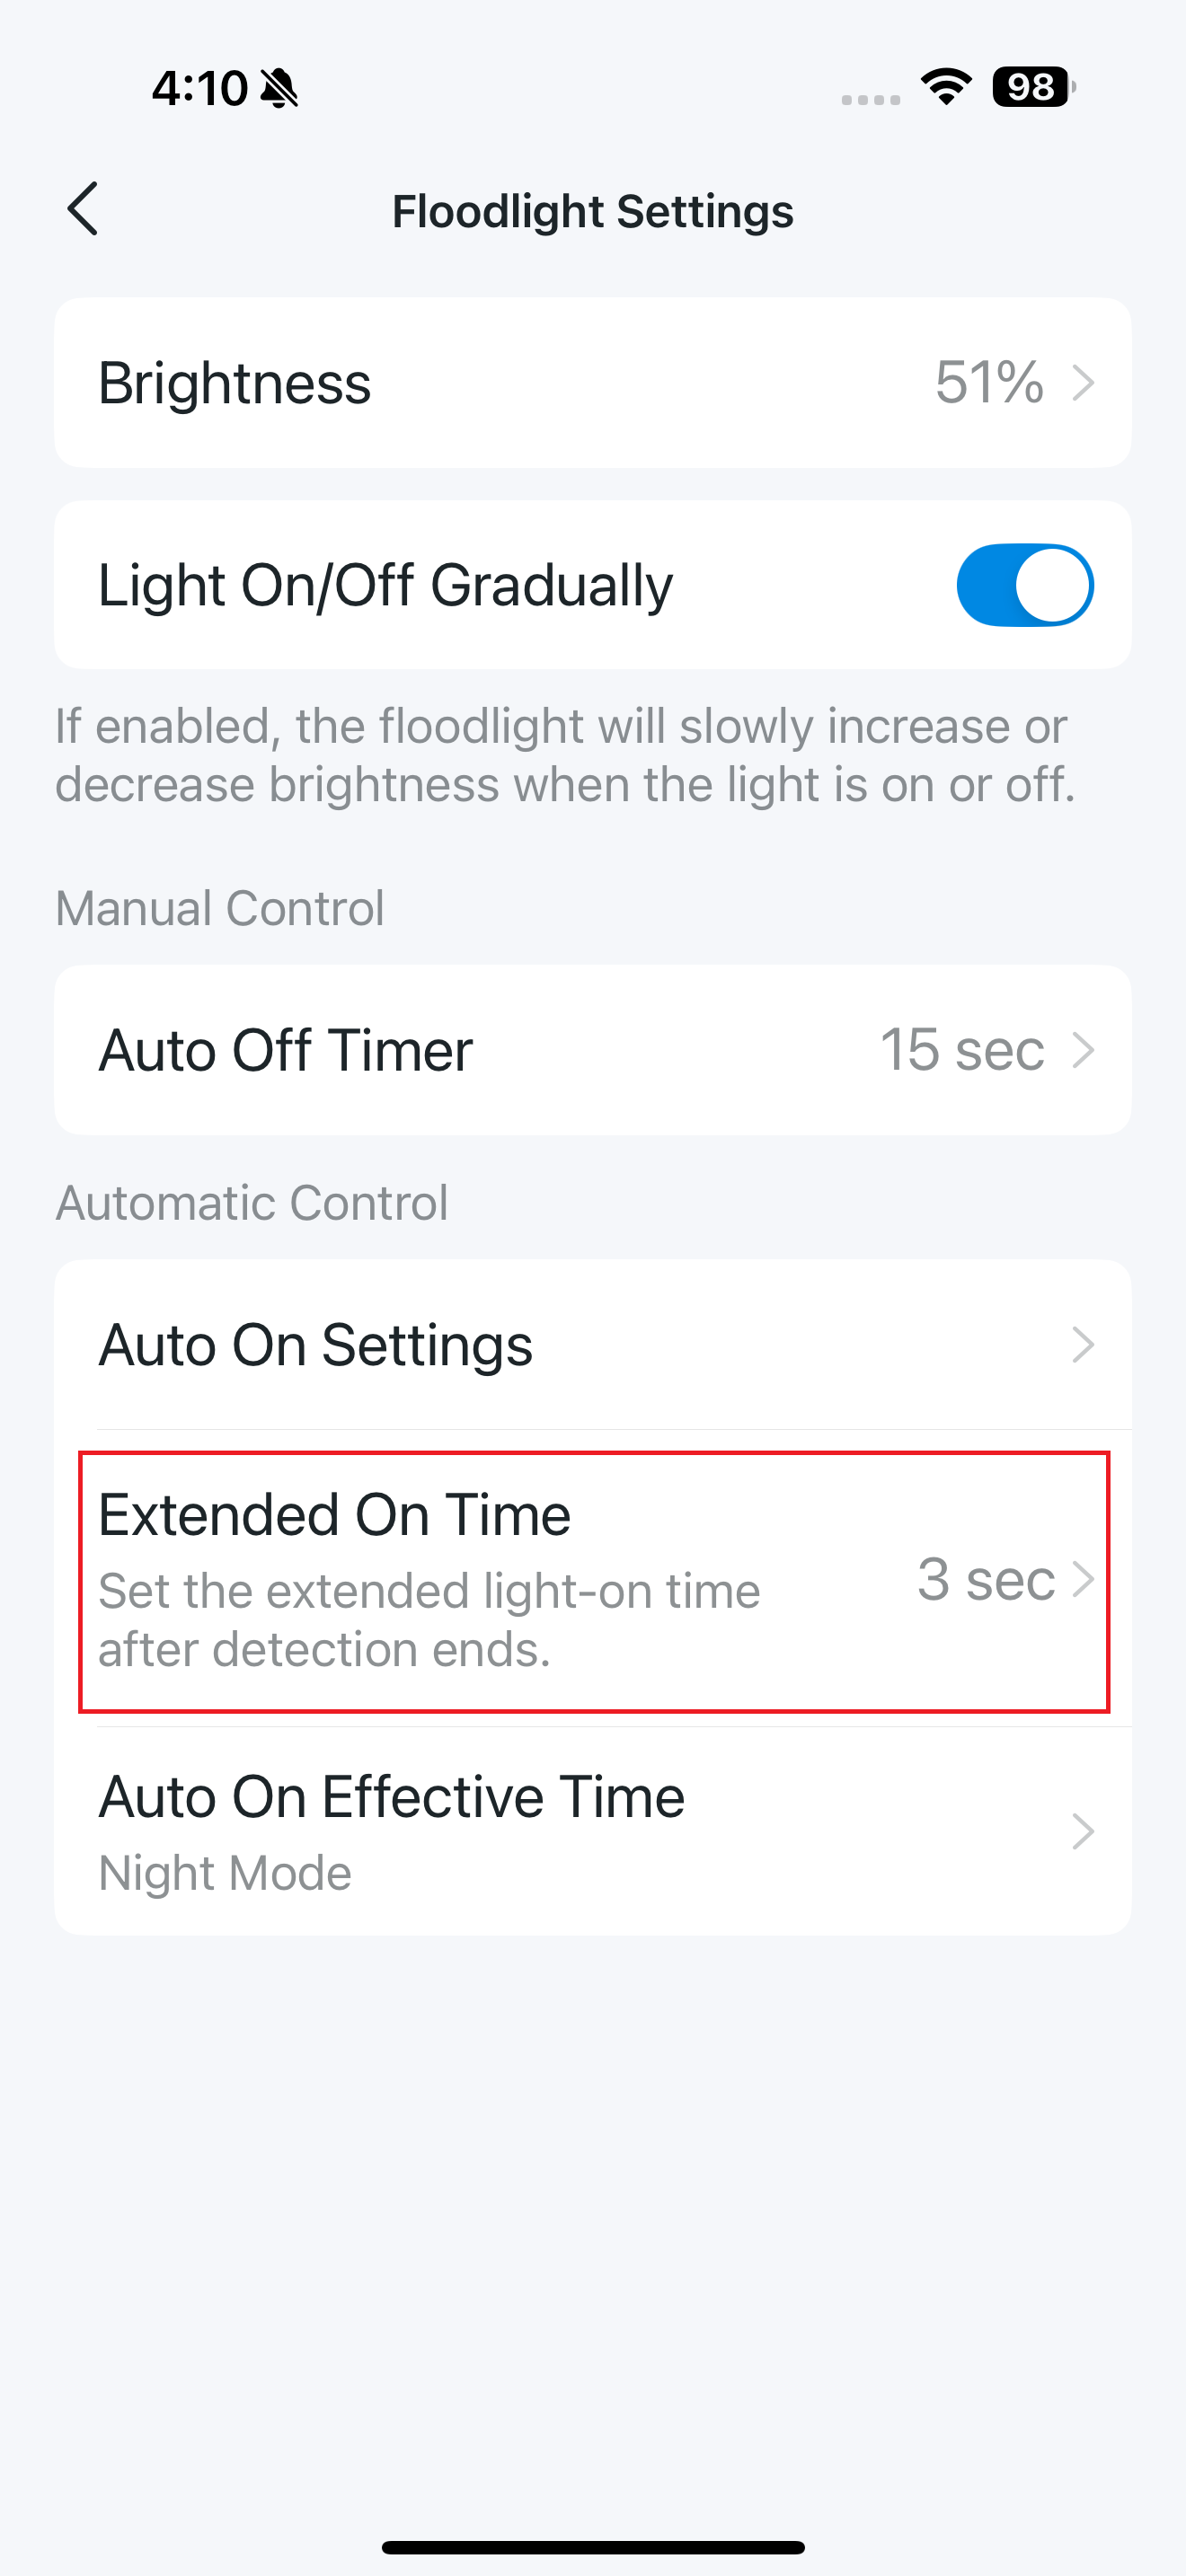
Extended On Time
Set how long the light stays on after detection ends (3 seconds to 2 minutes).
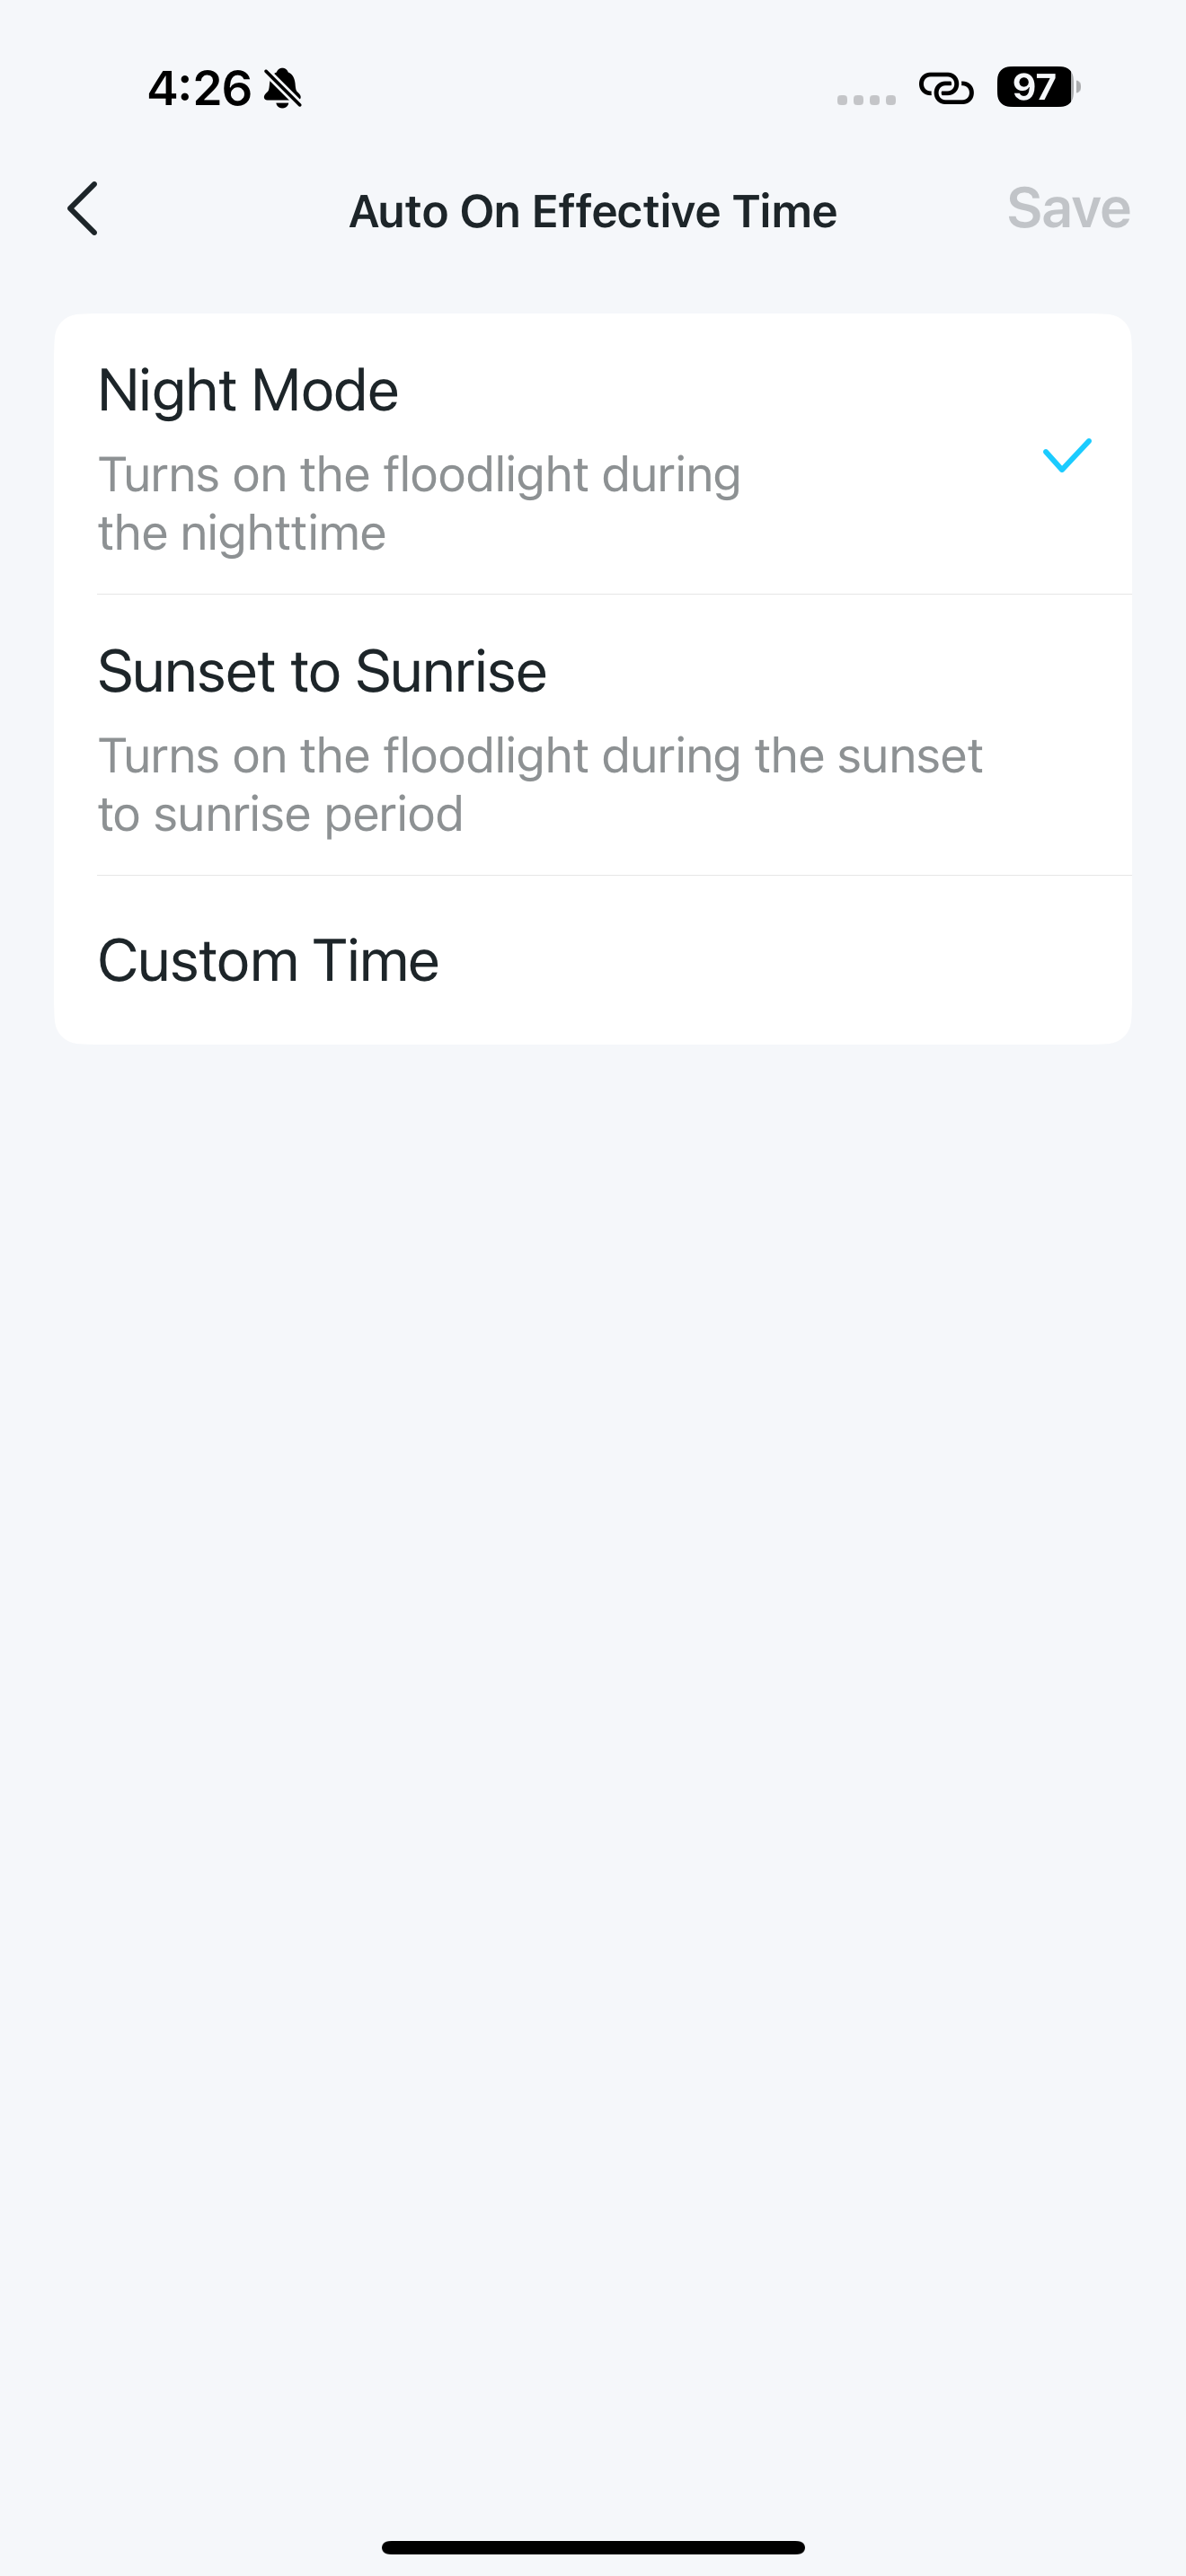
Auto On Effective Time
Choose a preset mode or create a custom schedule to control the floodlight to your preference.
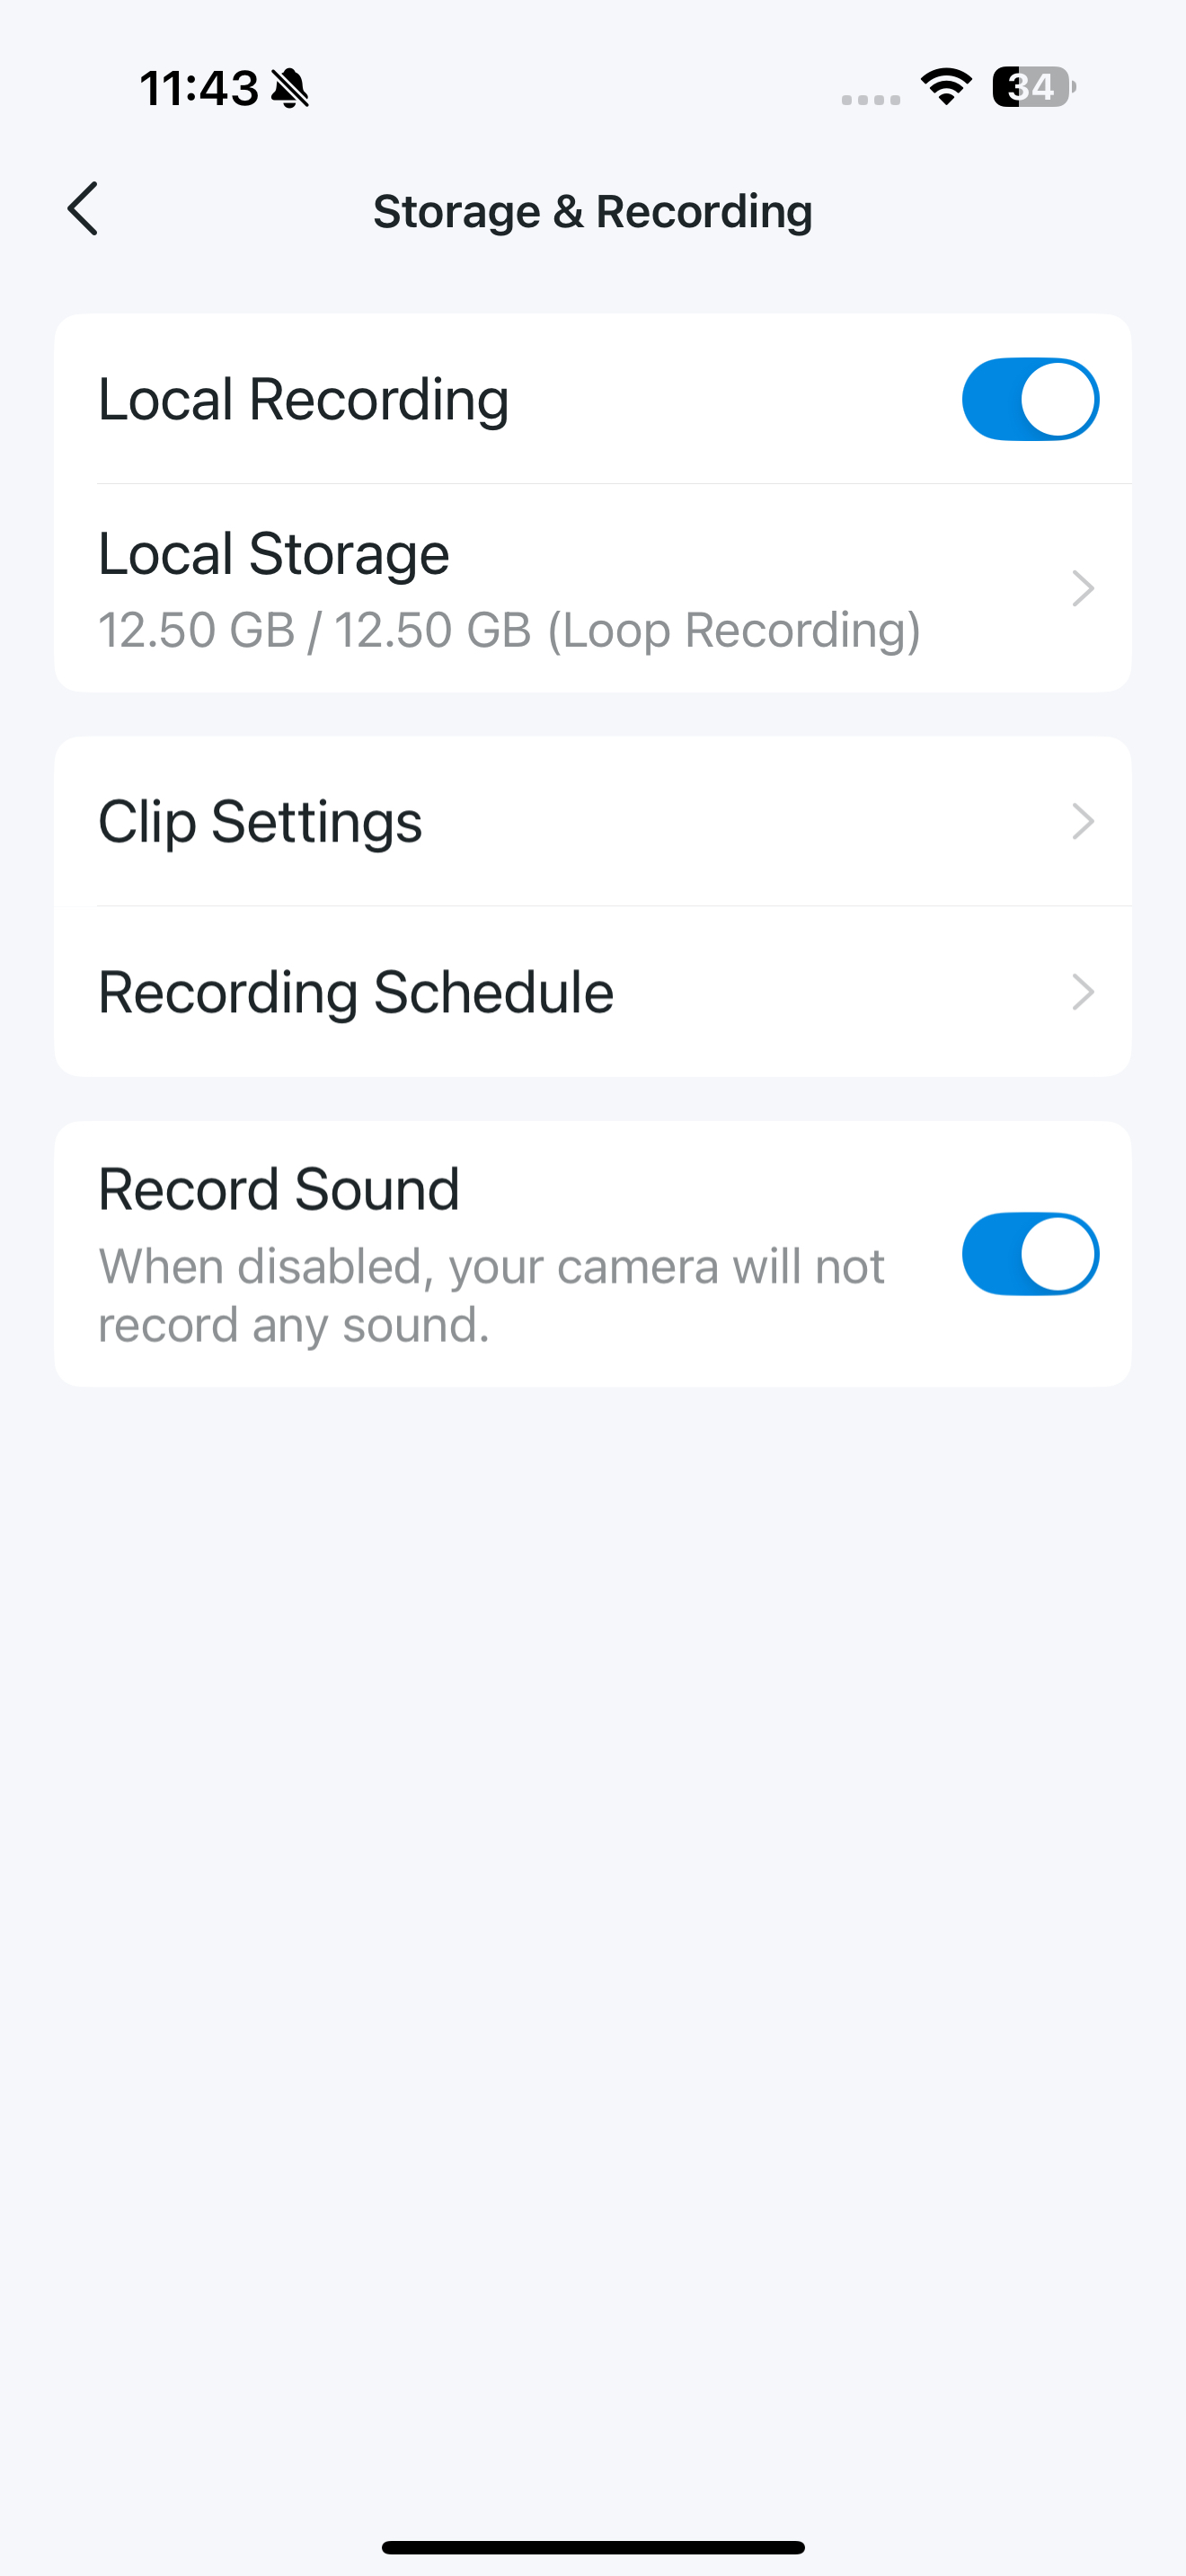
Storage & Recording
You can enable Local Recording, set Recording Schedule, and enable Record Sound as needed.
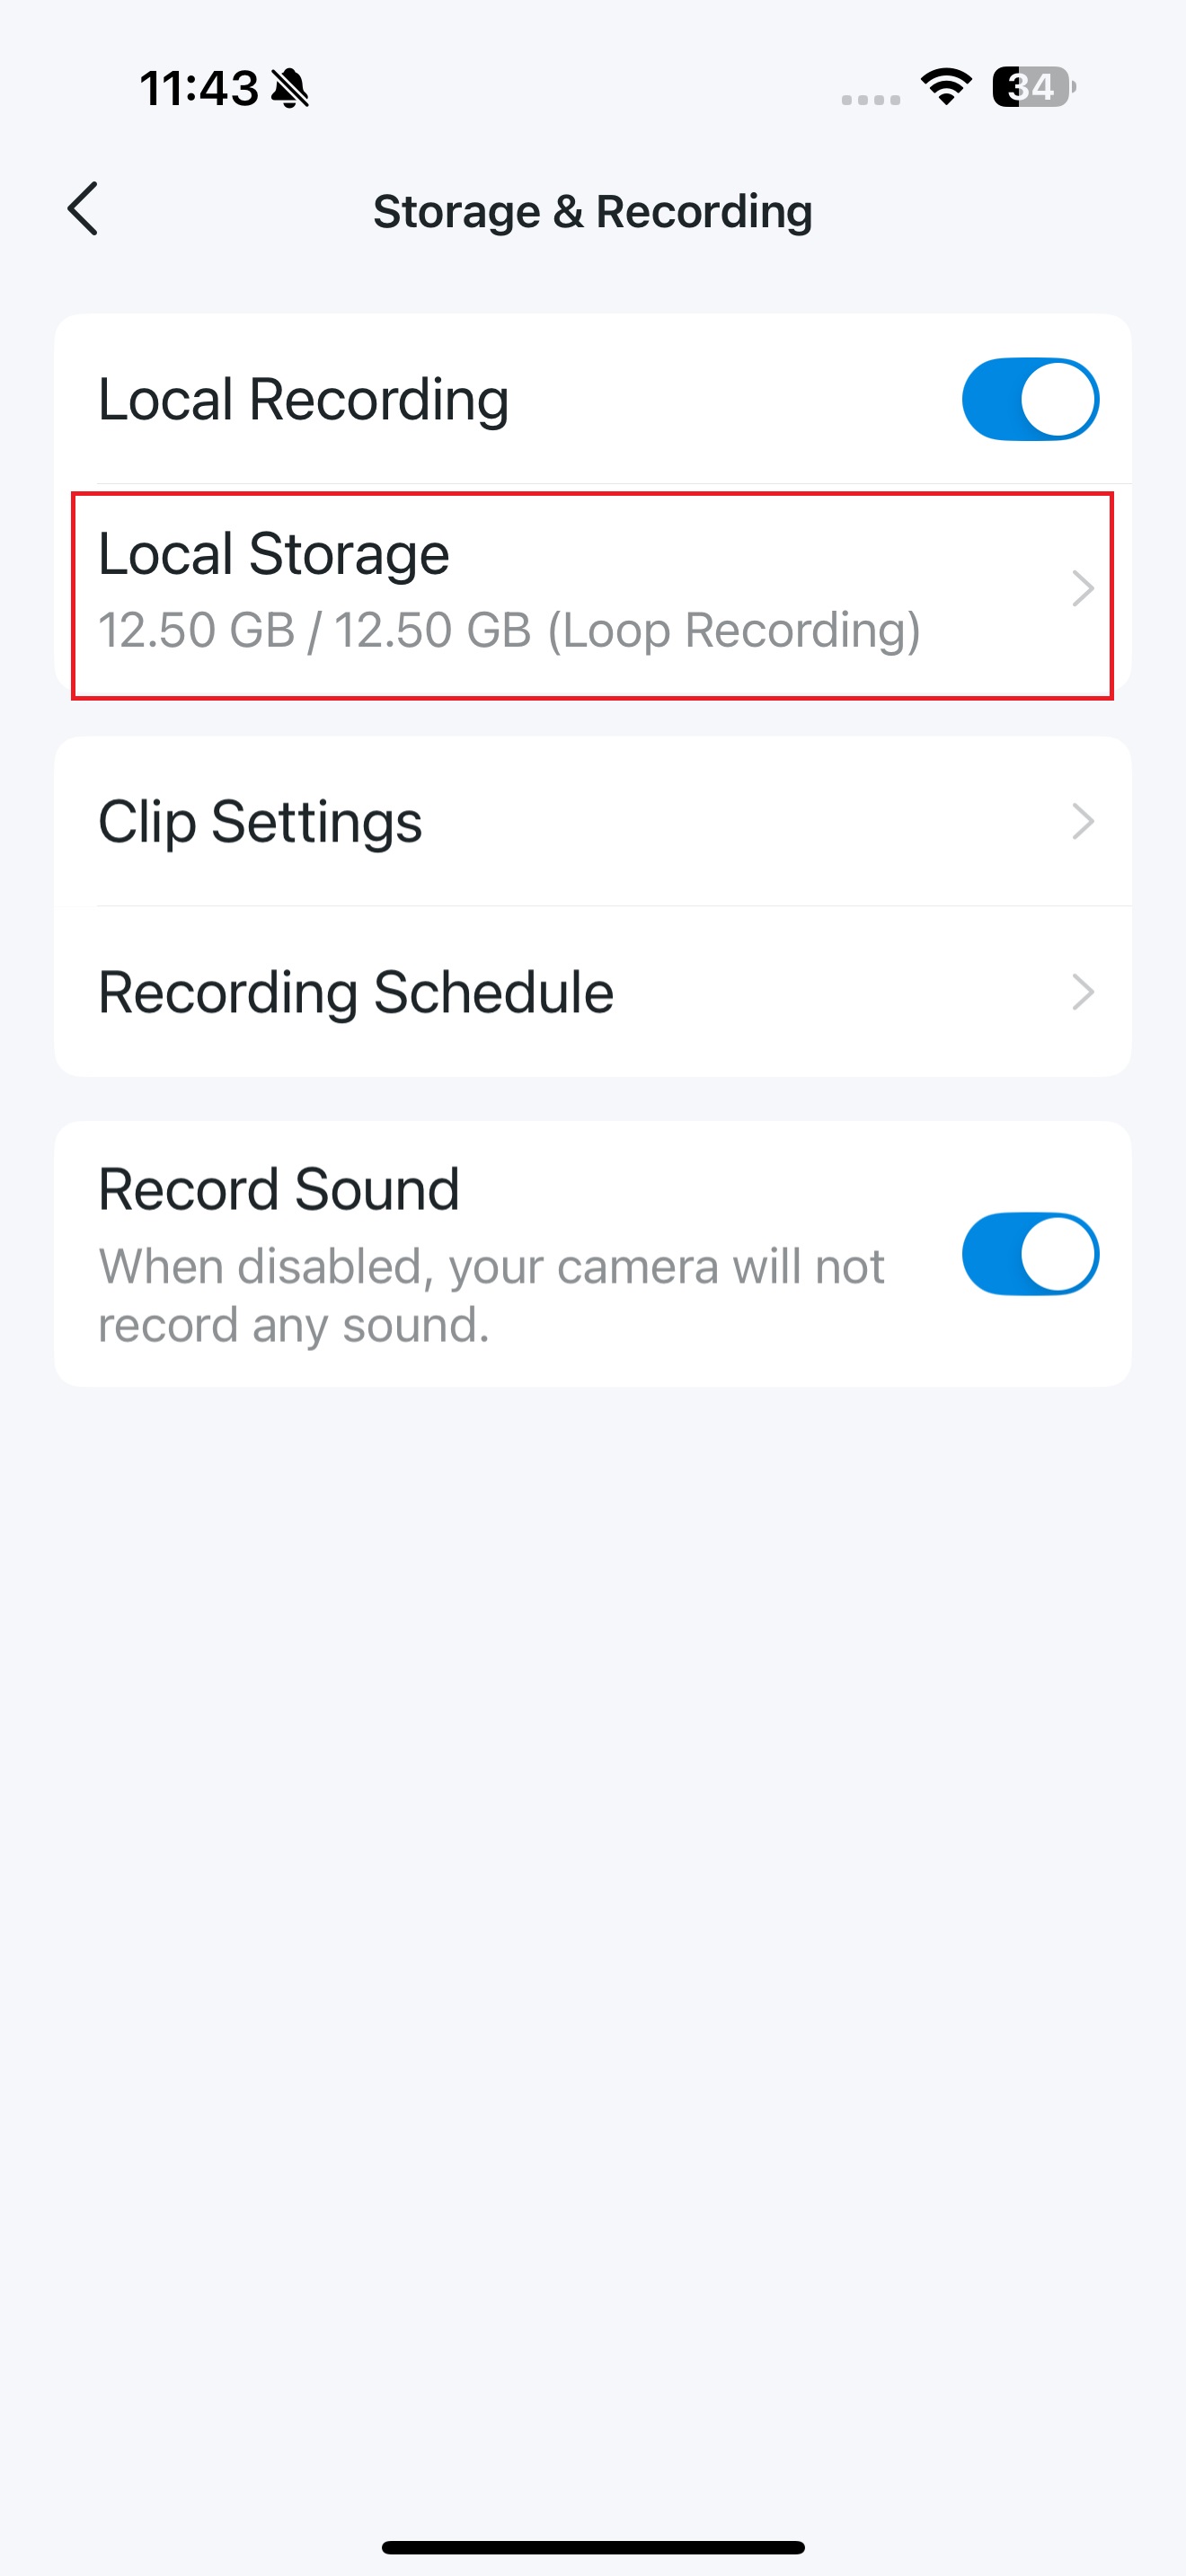
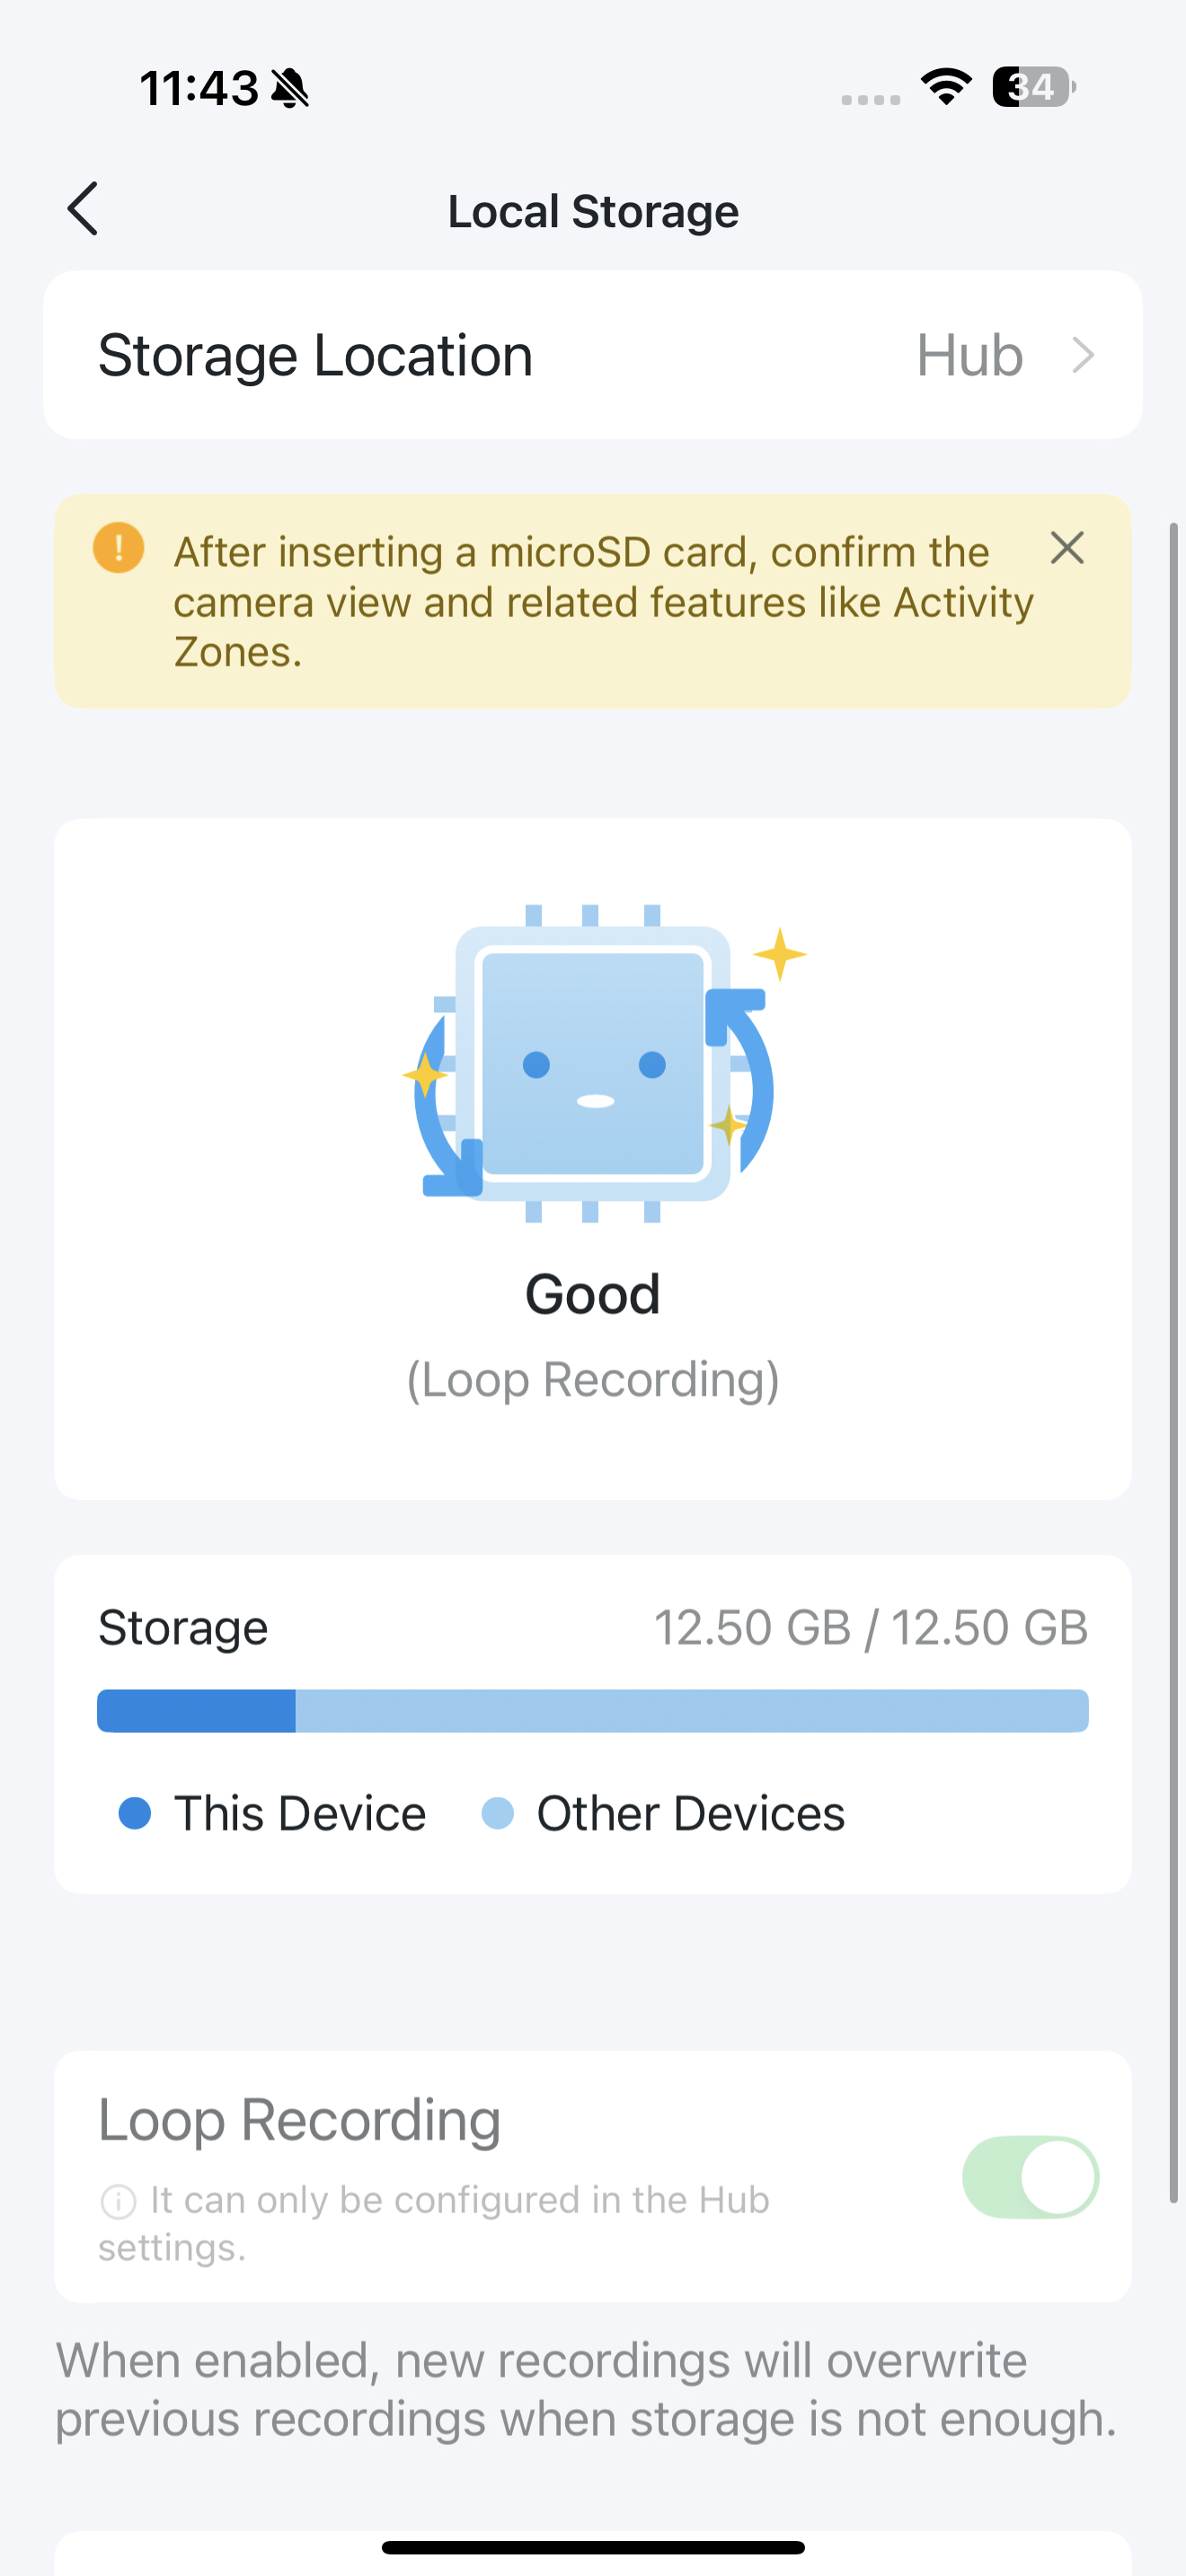
Local Storage
Enable Local Recording and tap Local Storage. Then you can change your Storage Location, check the storage capacity and enable Loop Recording. If you choose to store videos to your camera, you can also format the microSD card here.
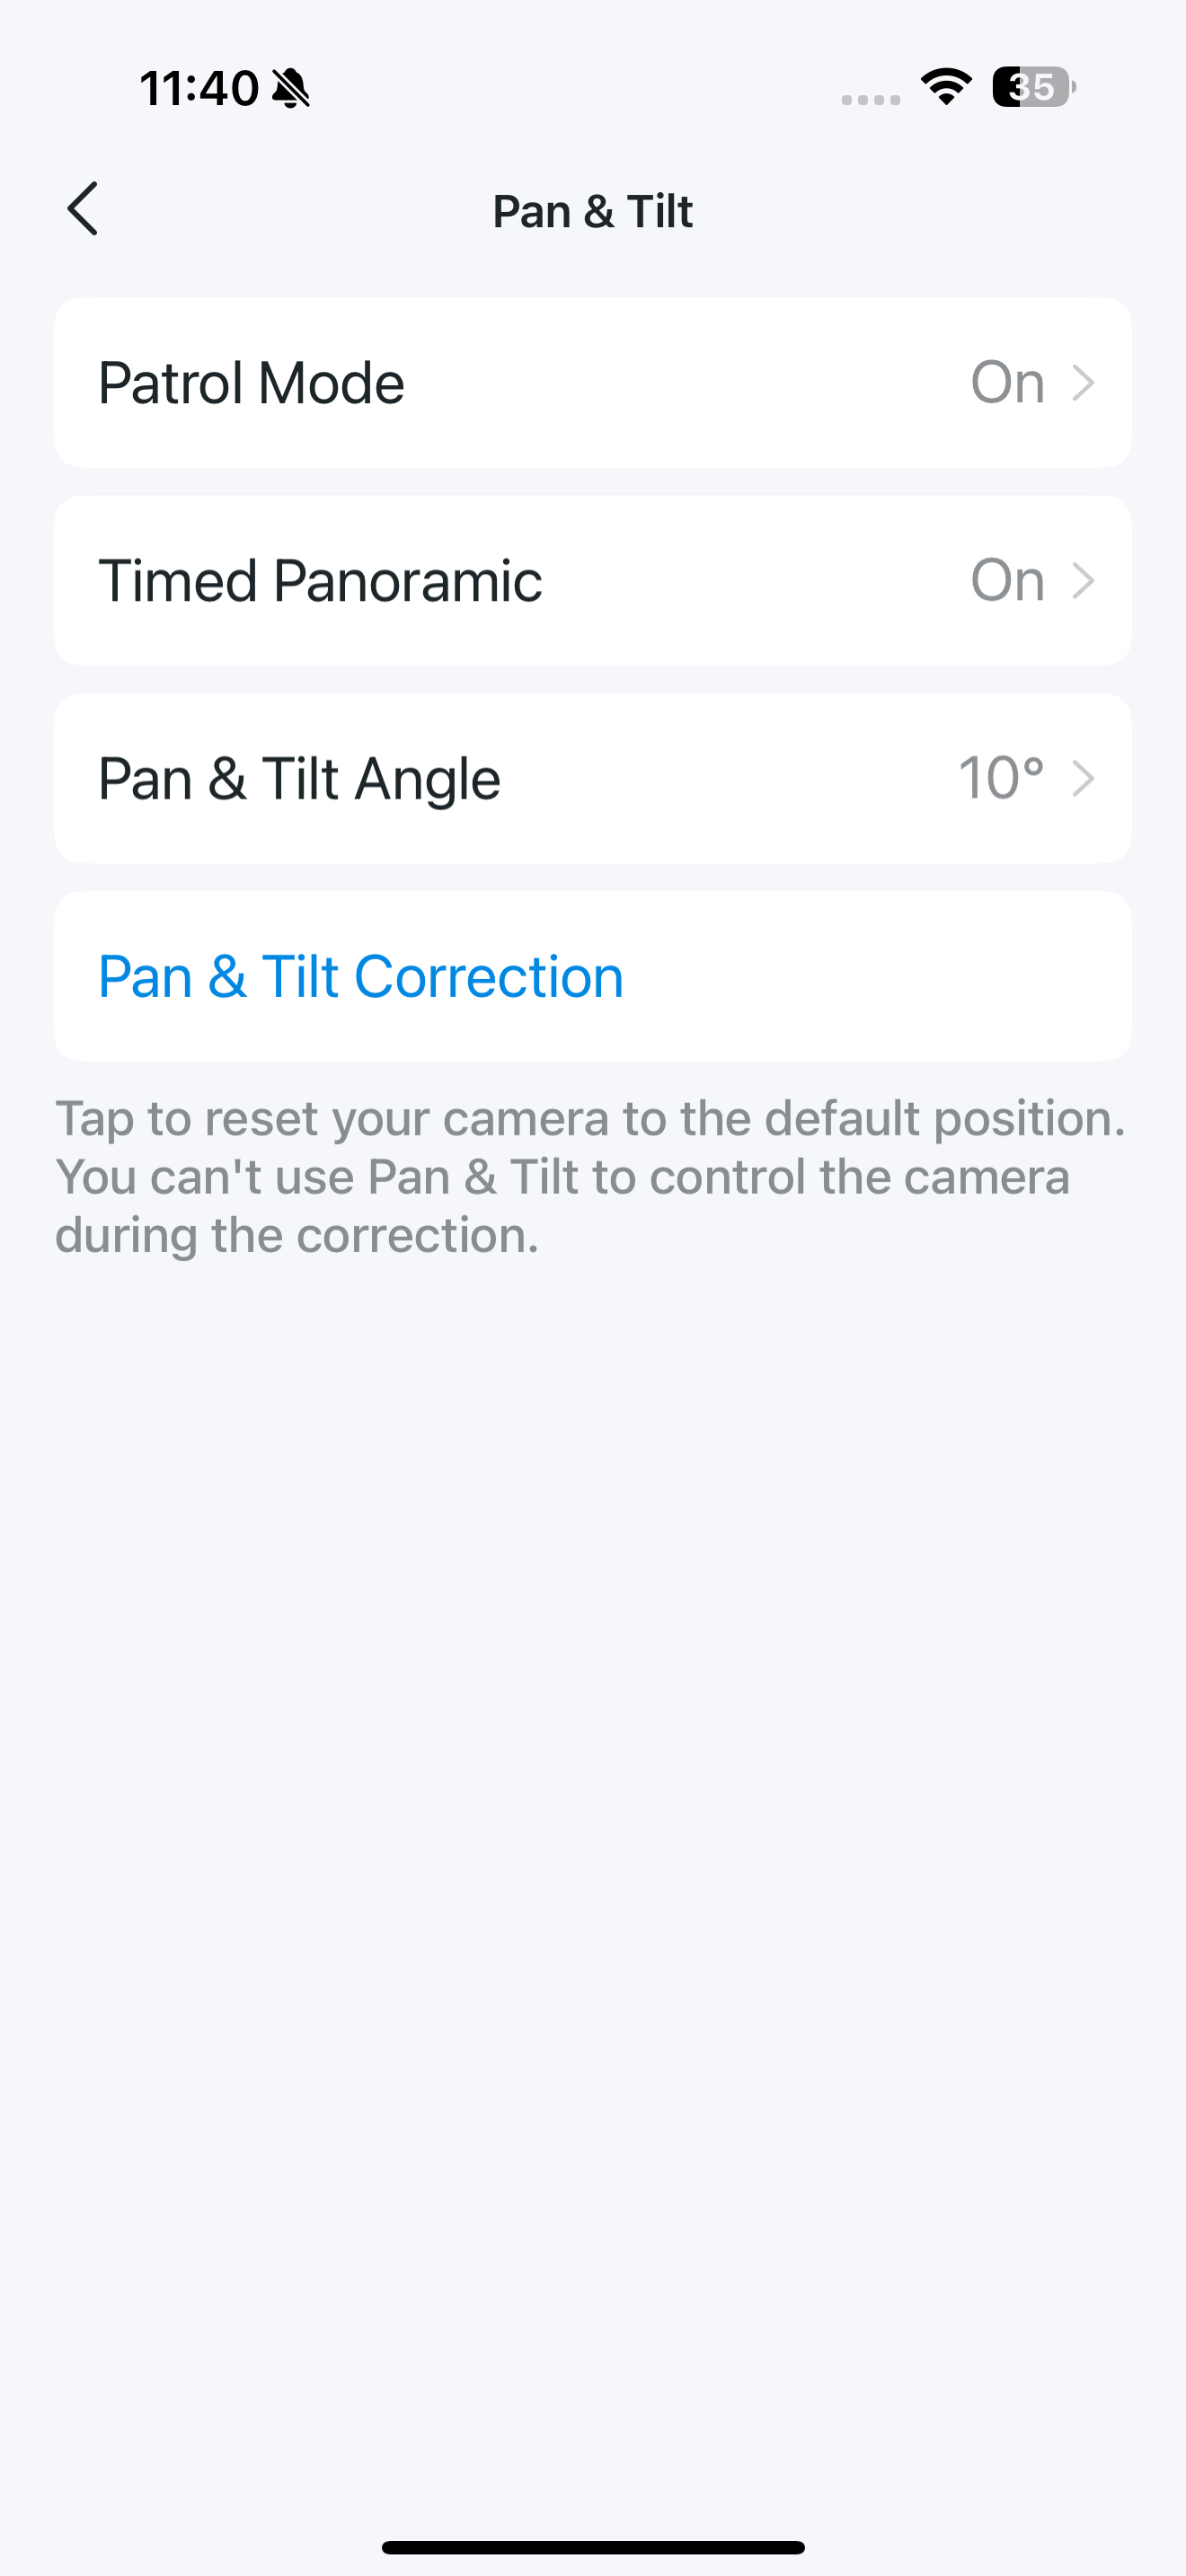
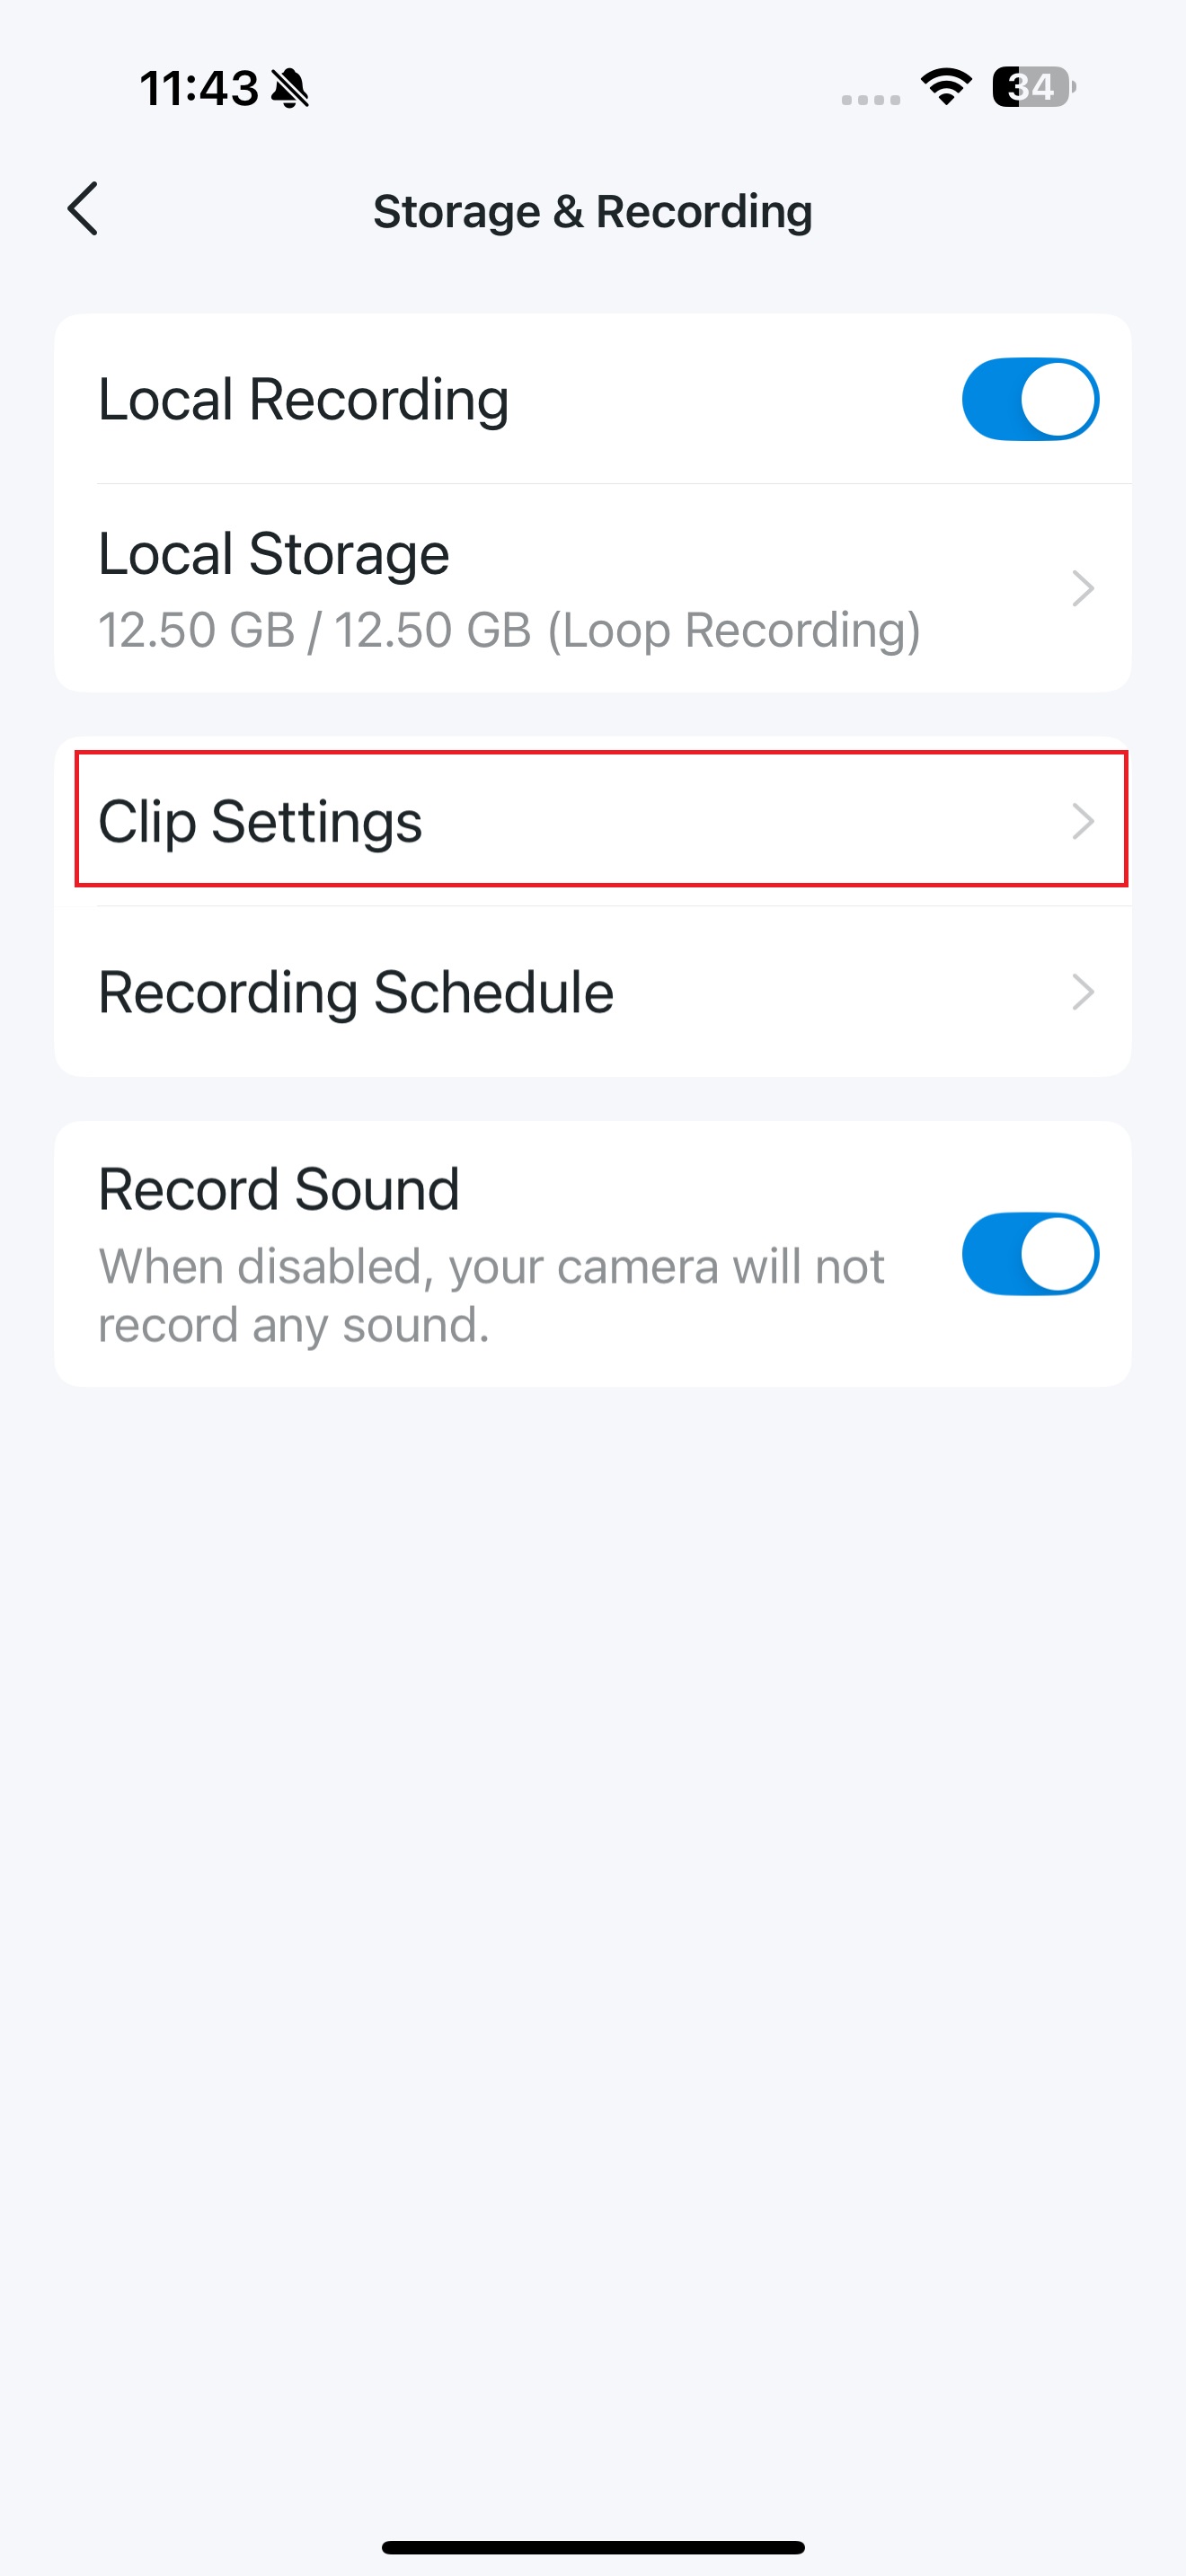
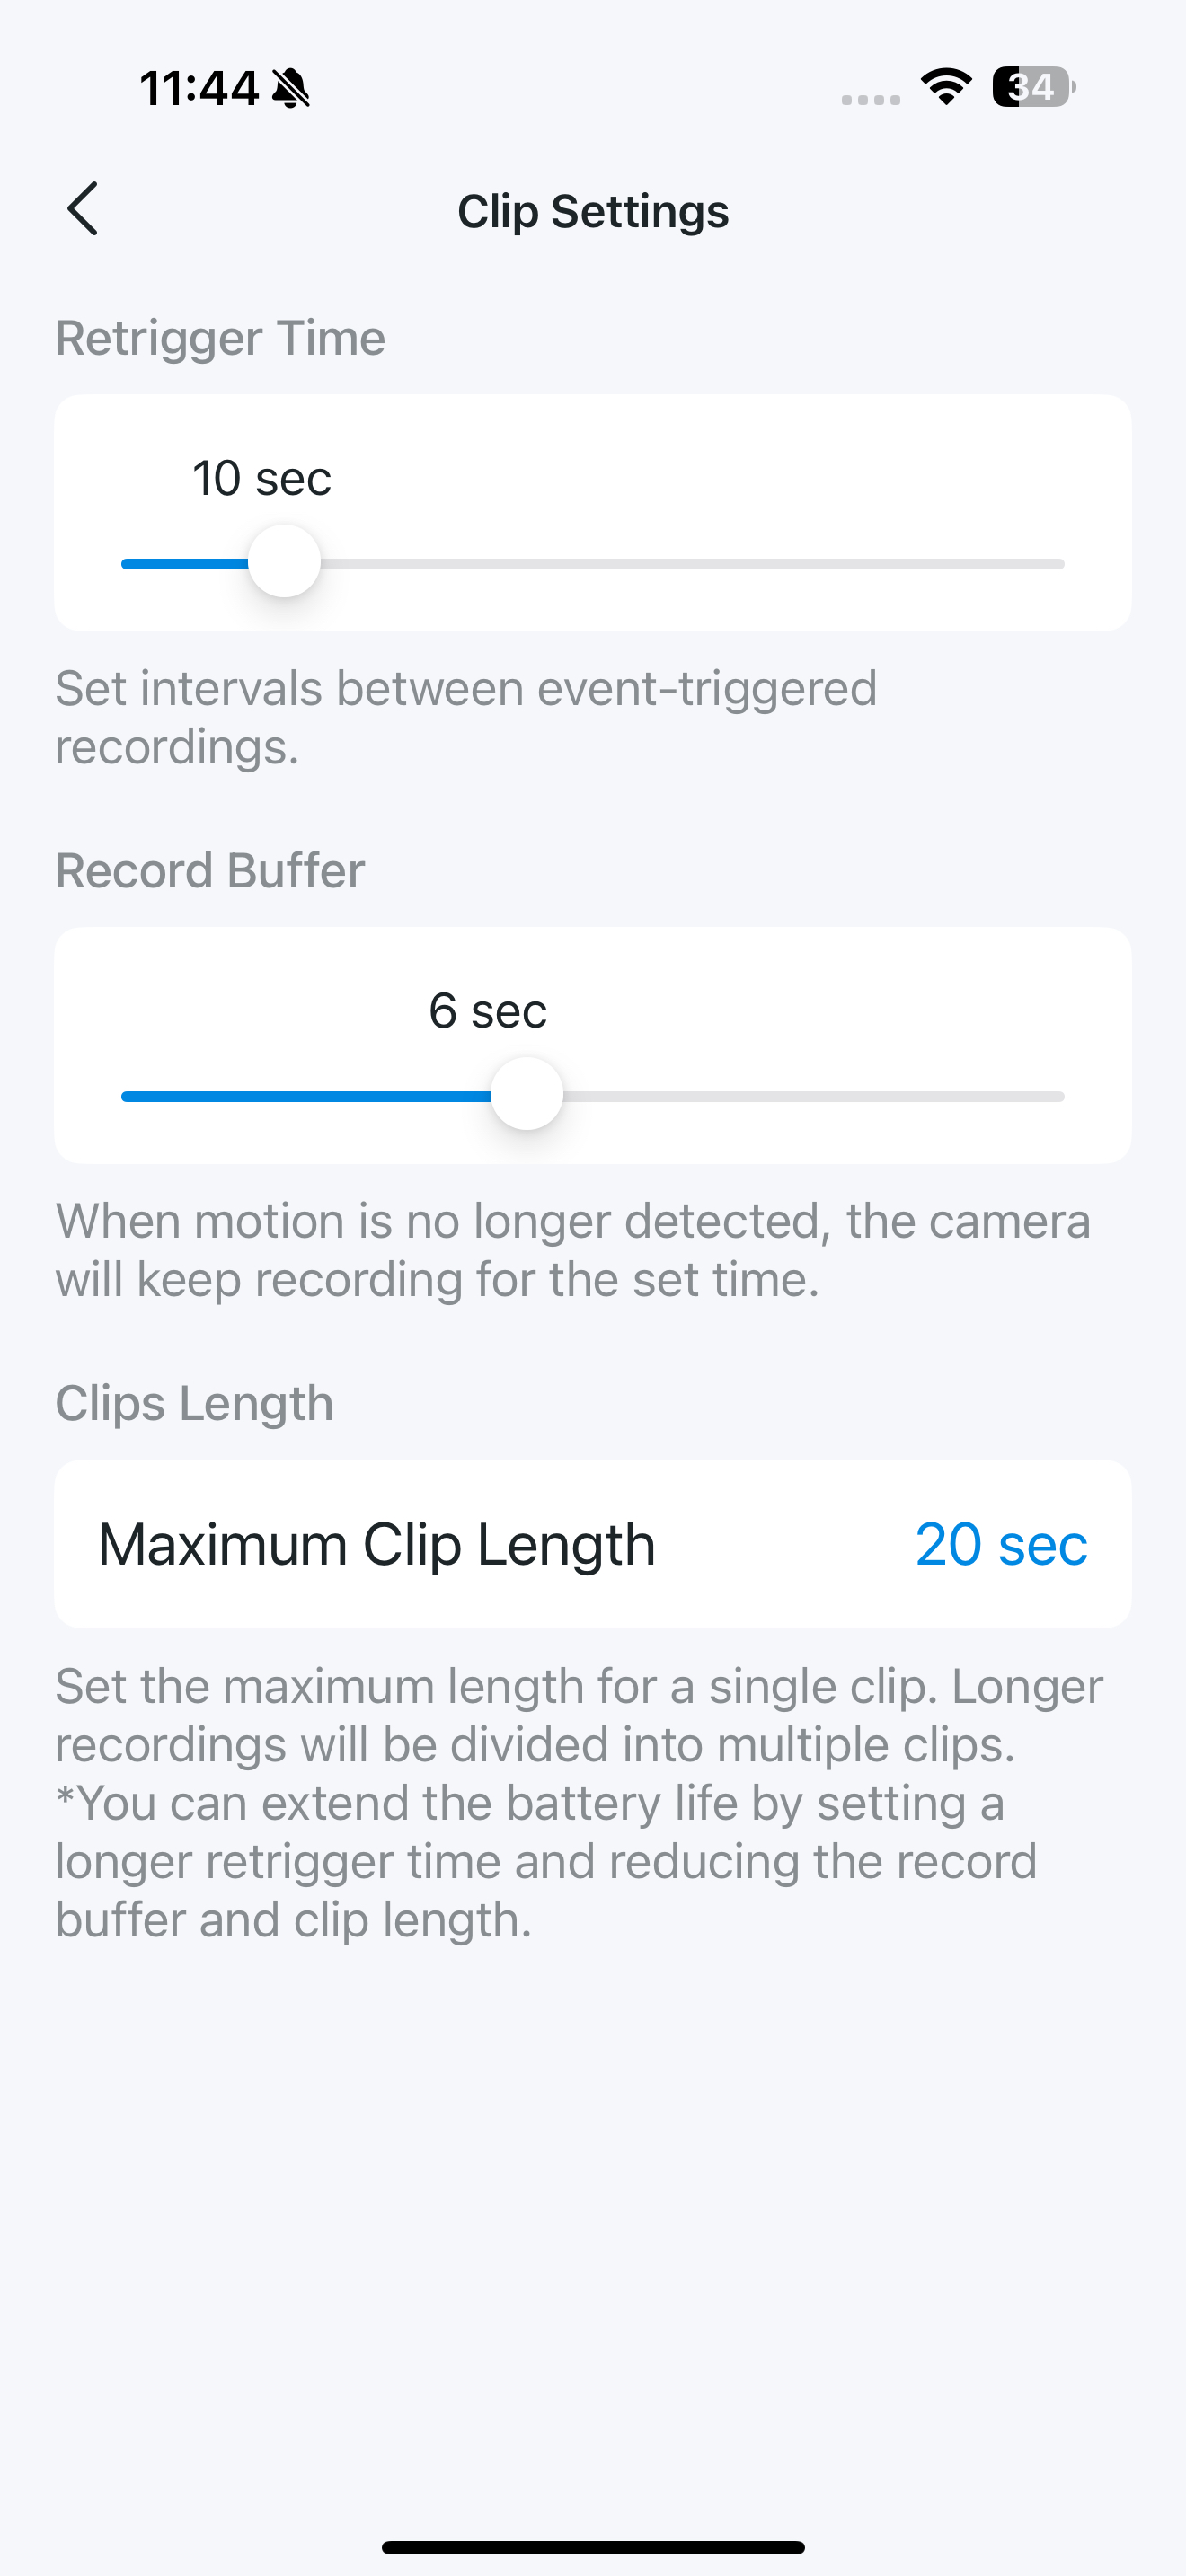
Clip Settings
In Clip Settings, you can configure the retrigger time between recordings, the record buffer for after motion stops, and the maximum clip length (20 seconds to 2 minutes).
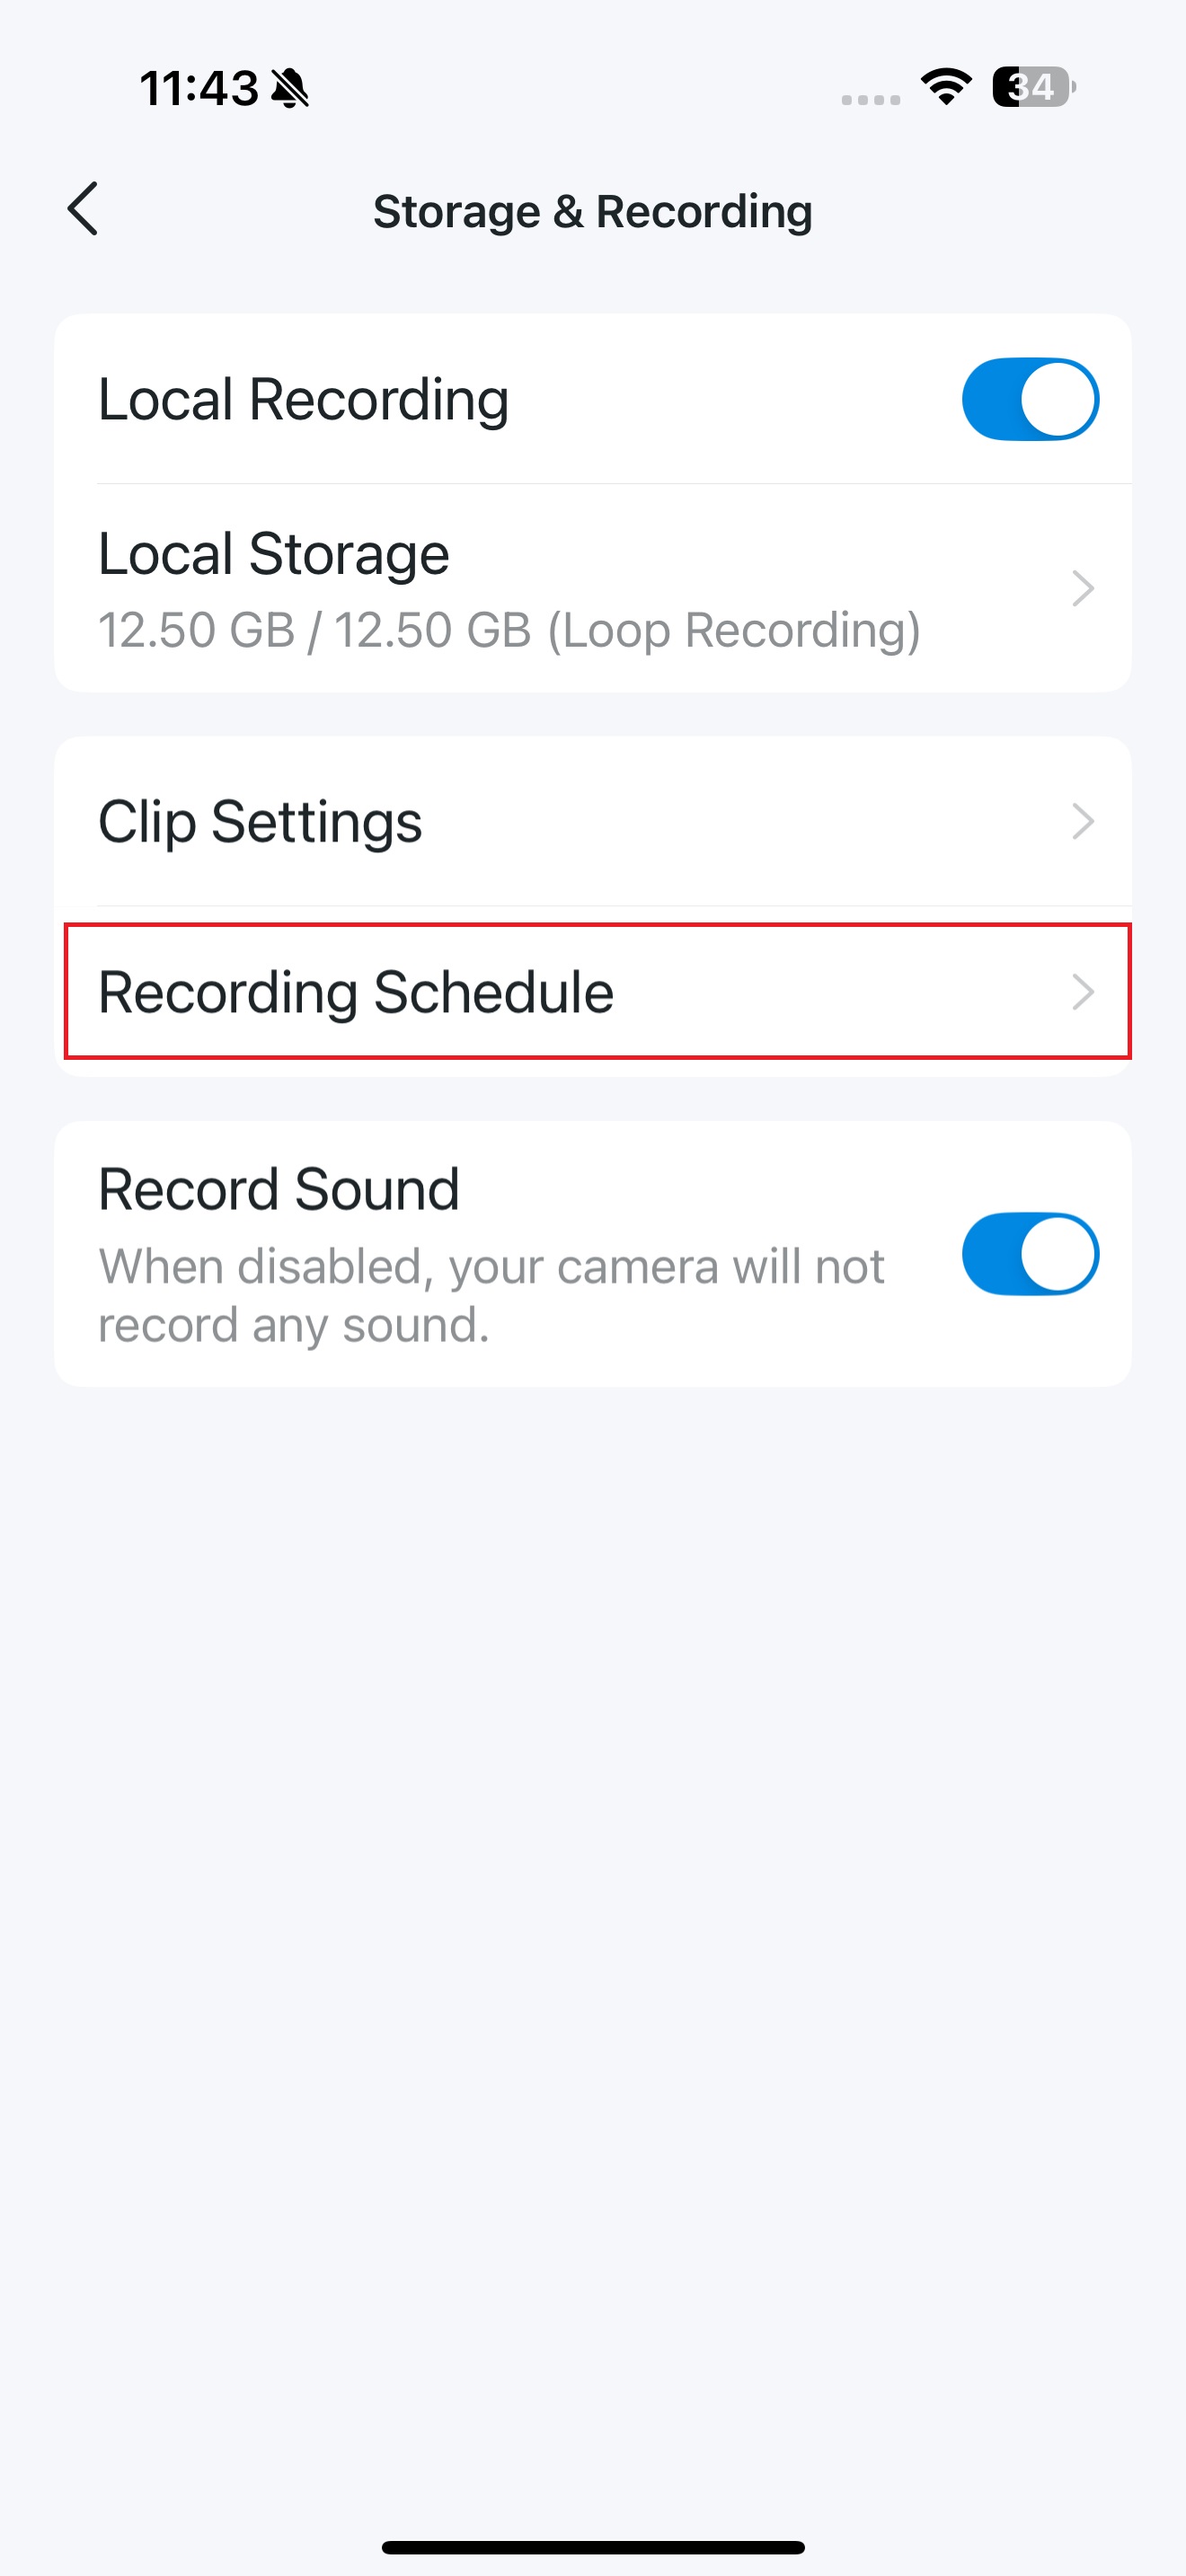
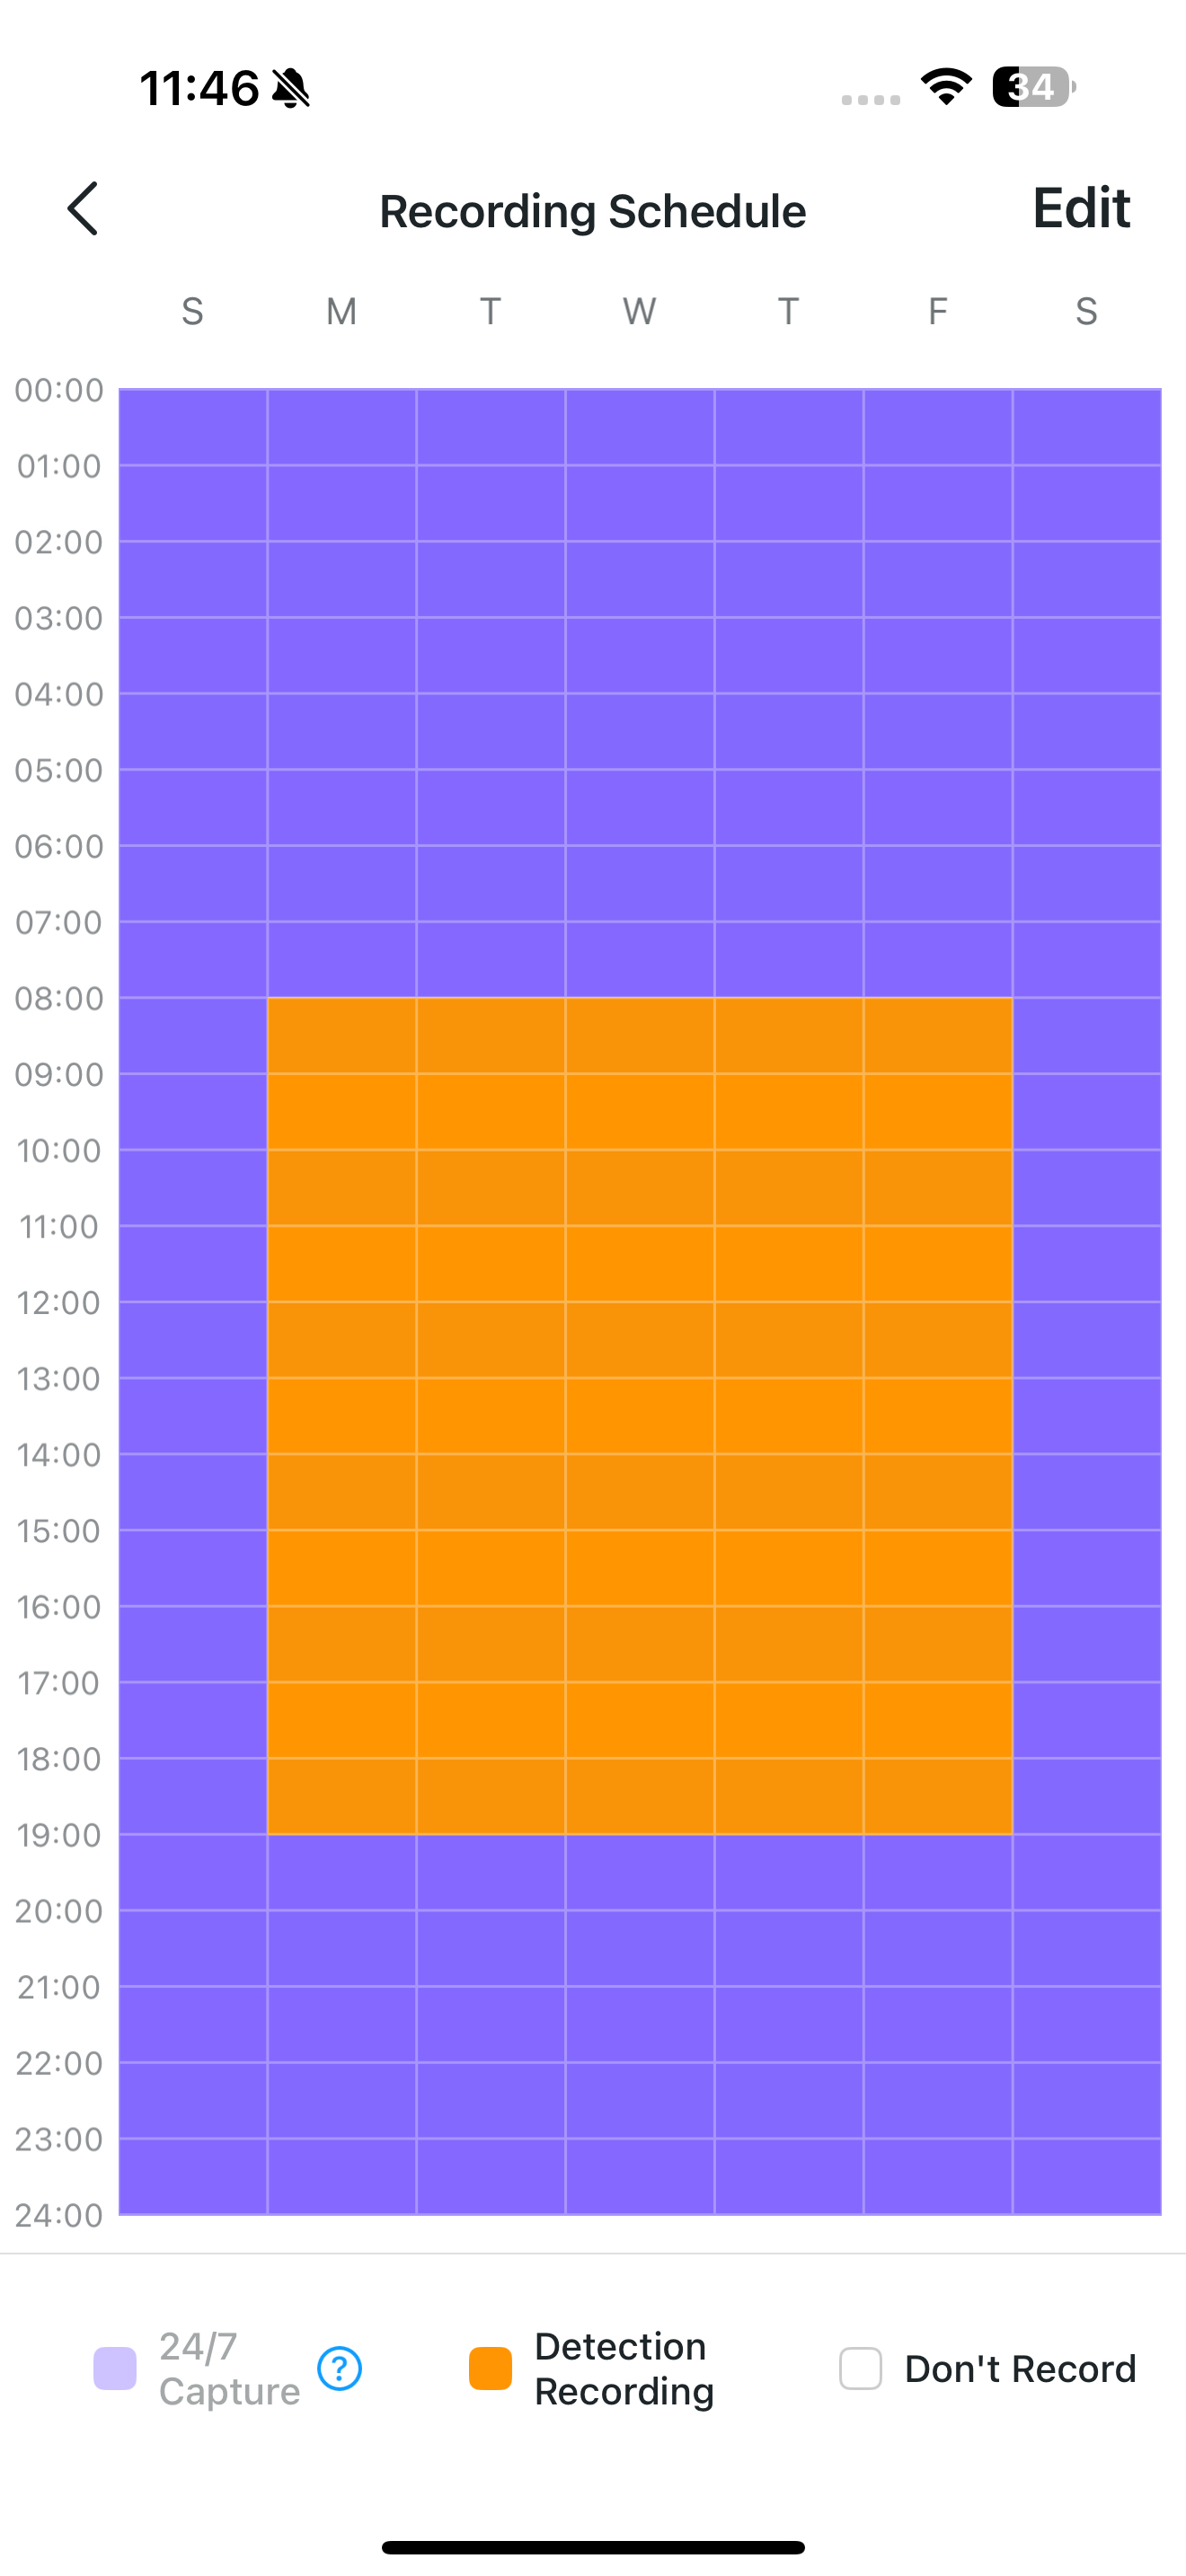
Recording Schedule
Tap Edit to choose the hours for motion detection.
Note: Outside the scheduled hours, the camera still detects motion and sends notifications (and saves to the cloud if subscribed), but no local recording will be saved.
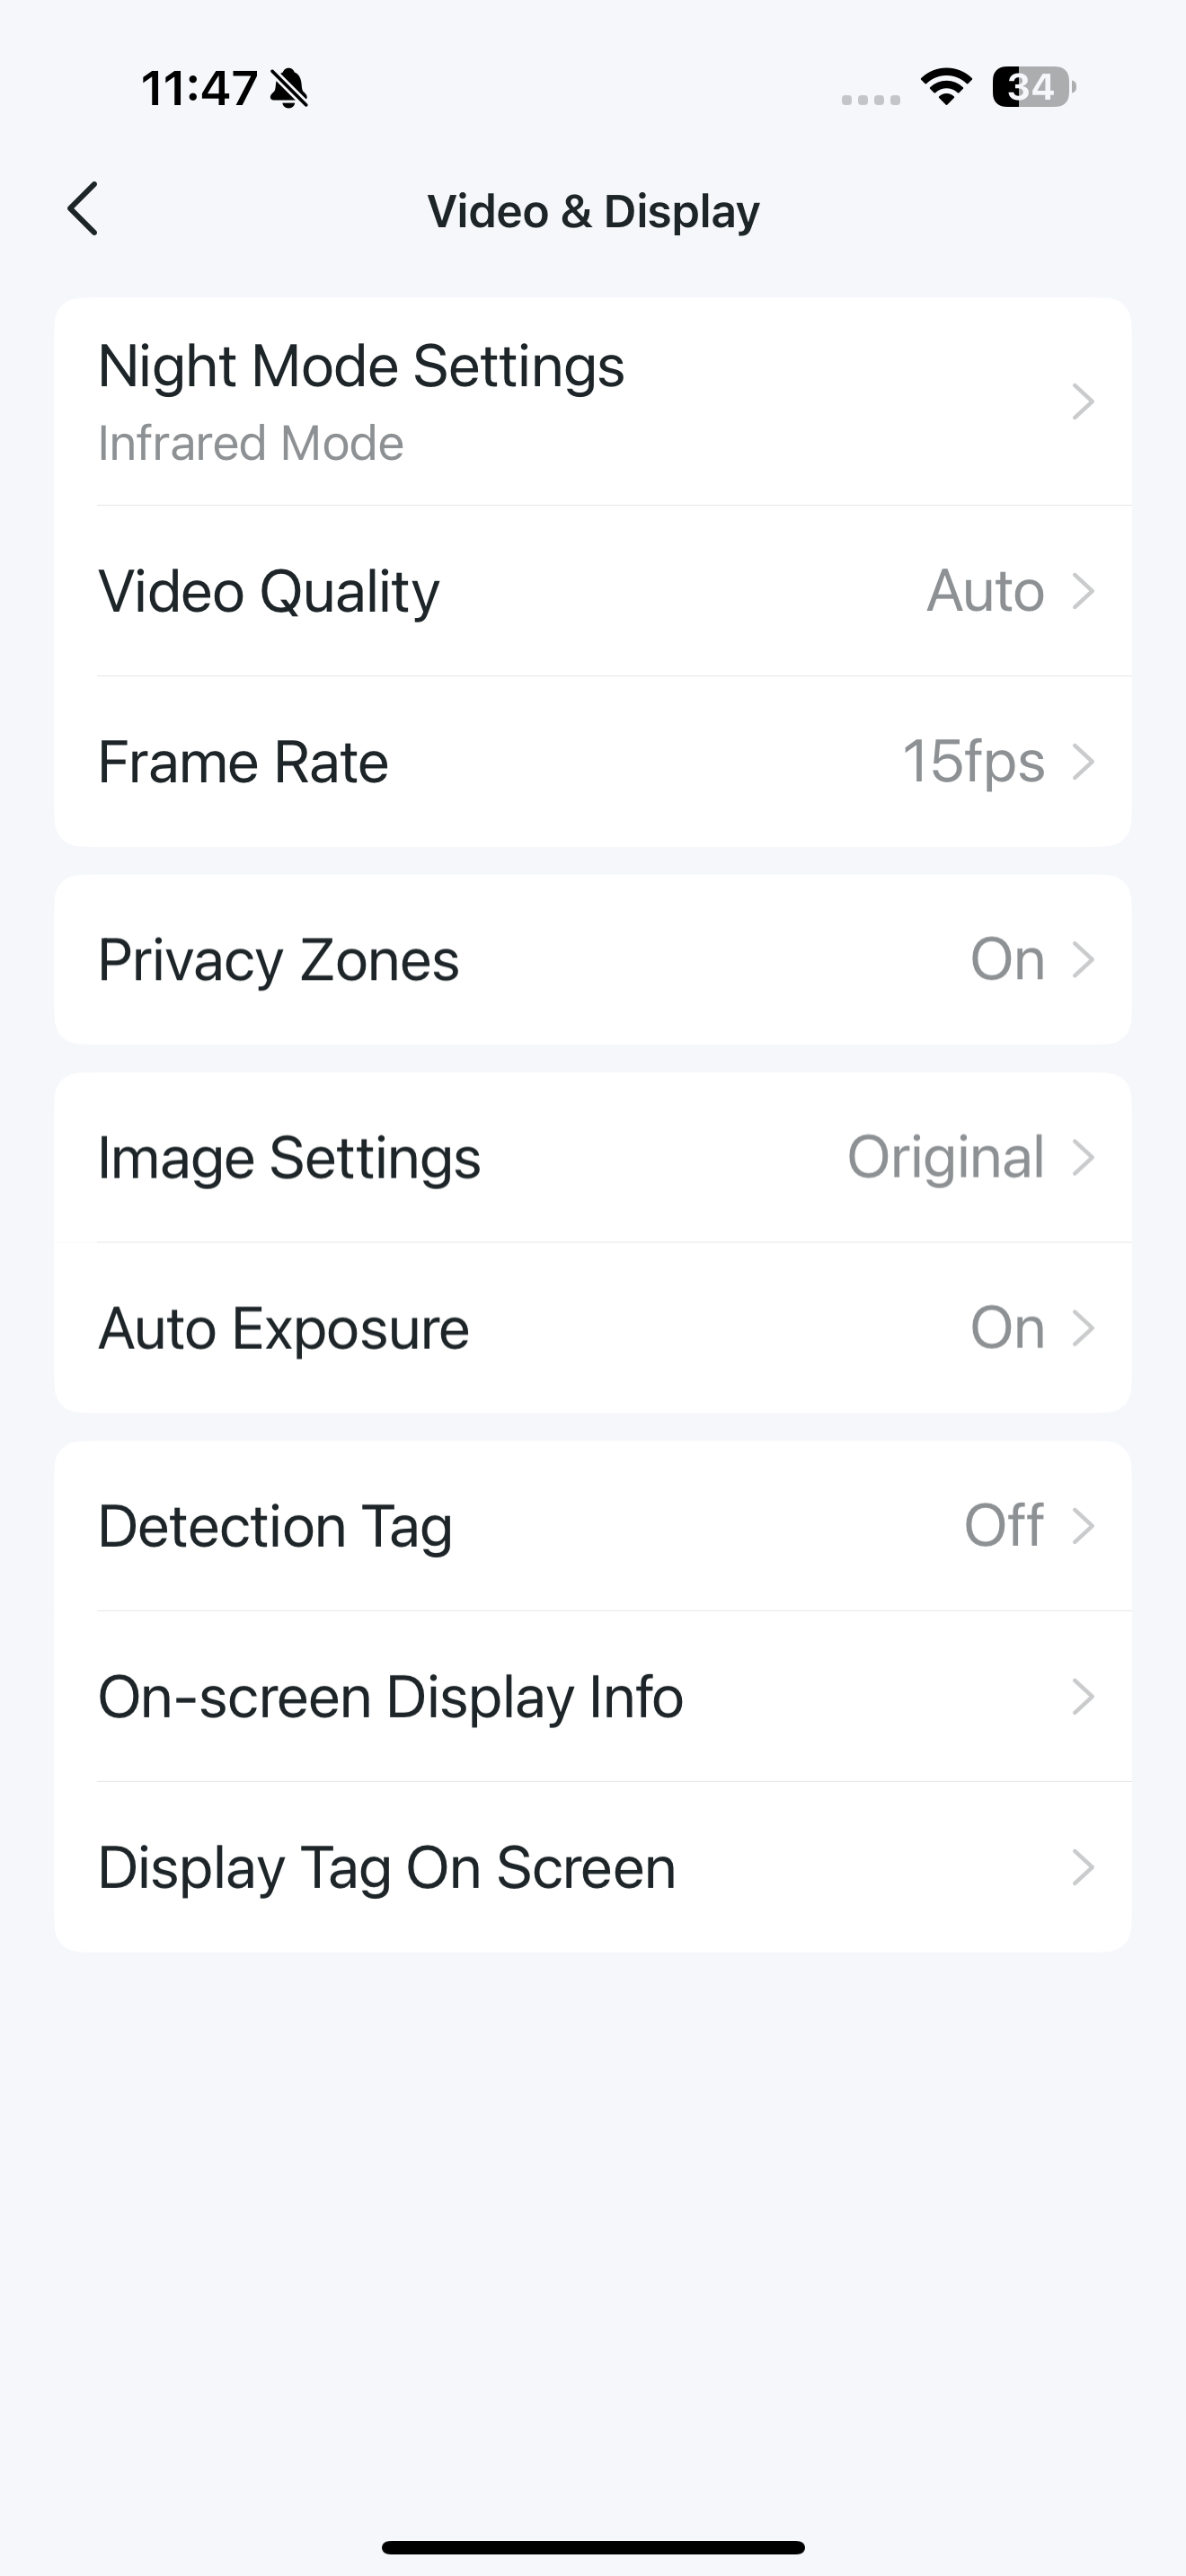
Video & Display
Enter the Video & Display page and you can customize various settings such as Night Mode Settings, Frame Rate, and Detection Tag.
Note: Here we take Tapo C615F as an example. Options may vary across different models.
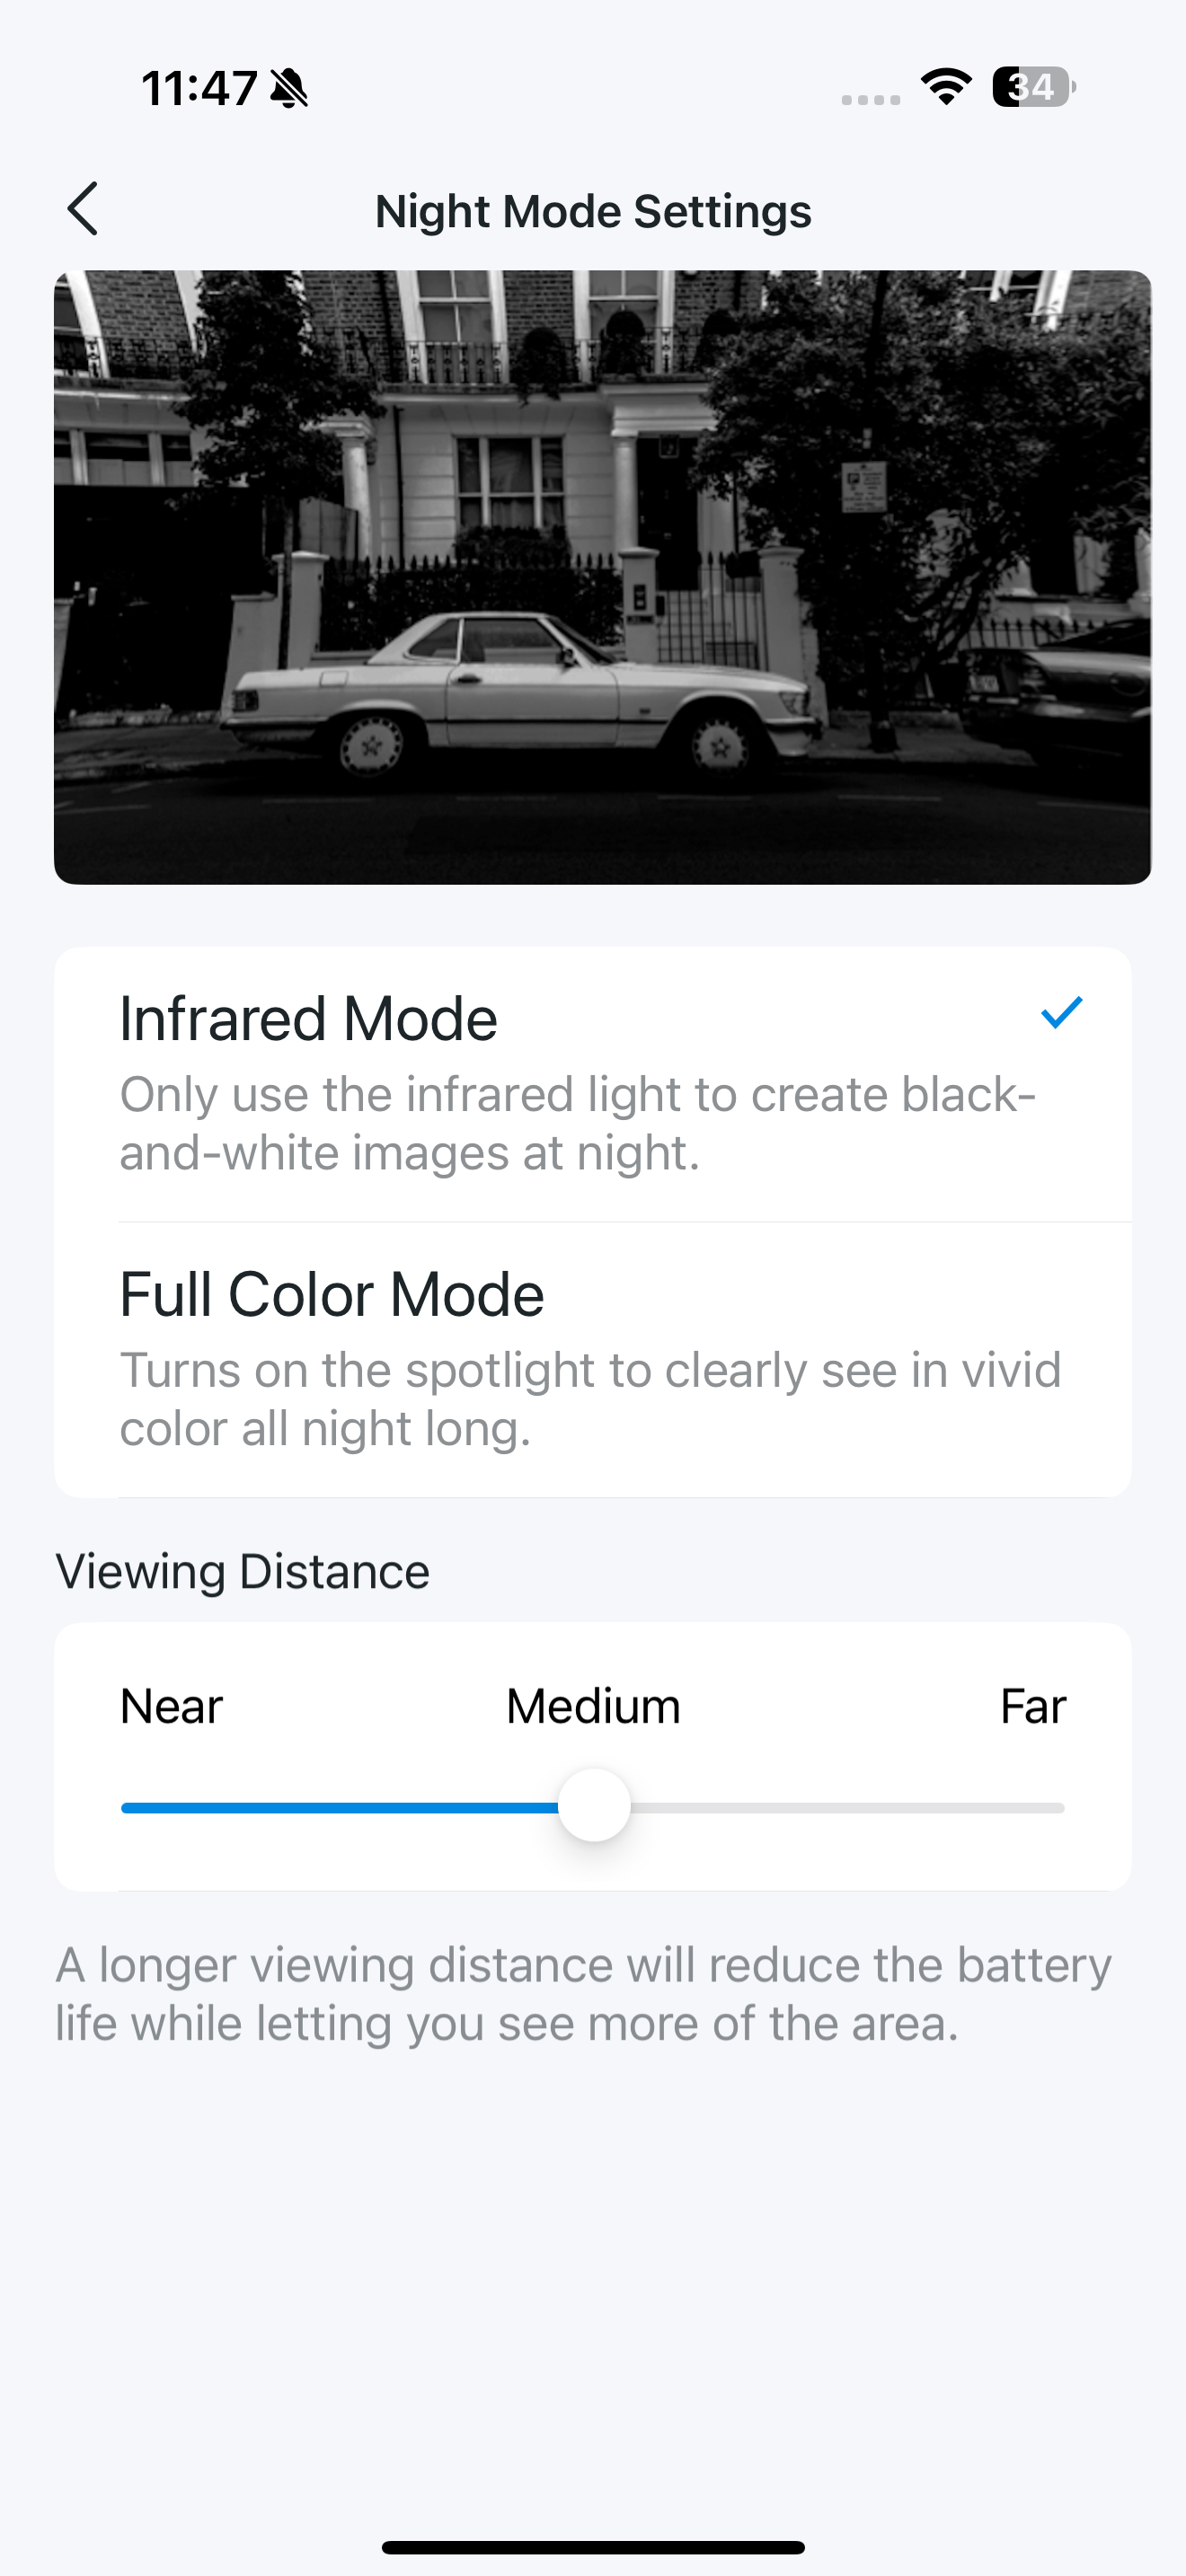
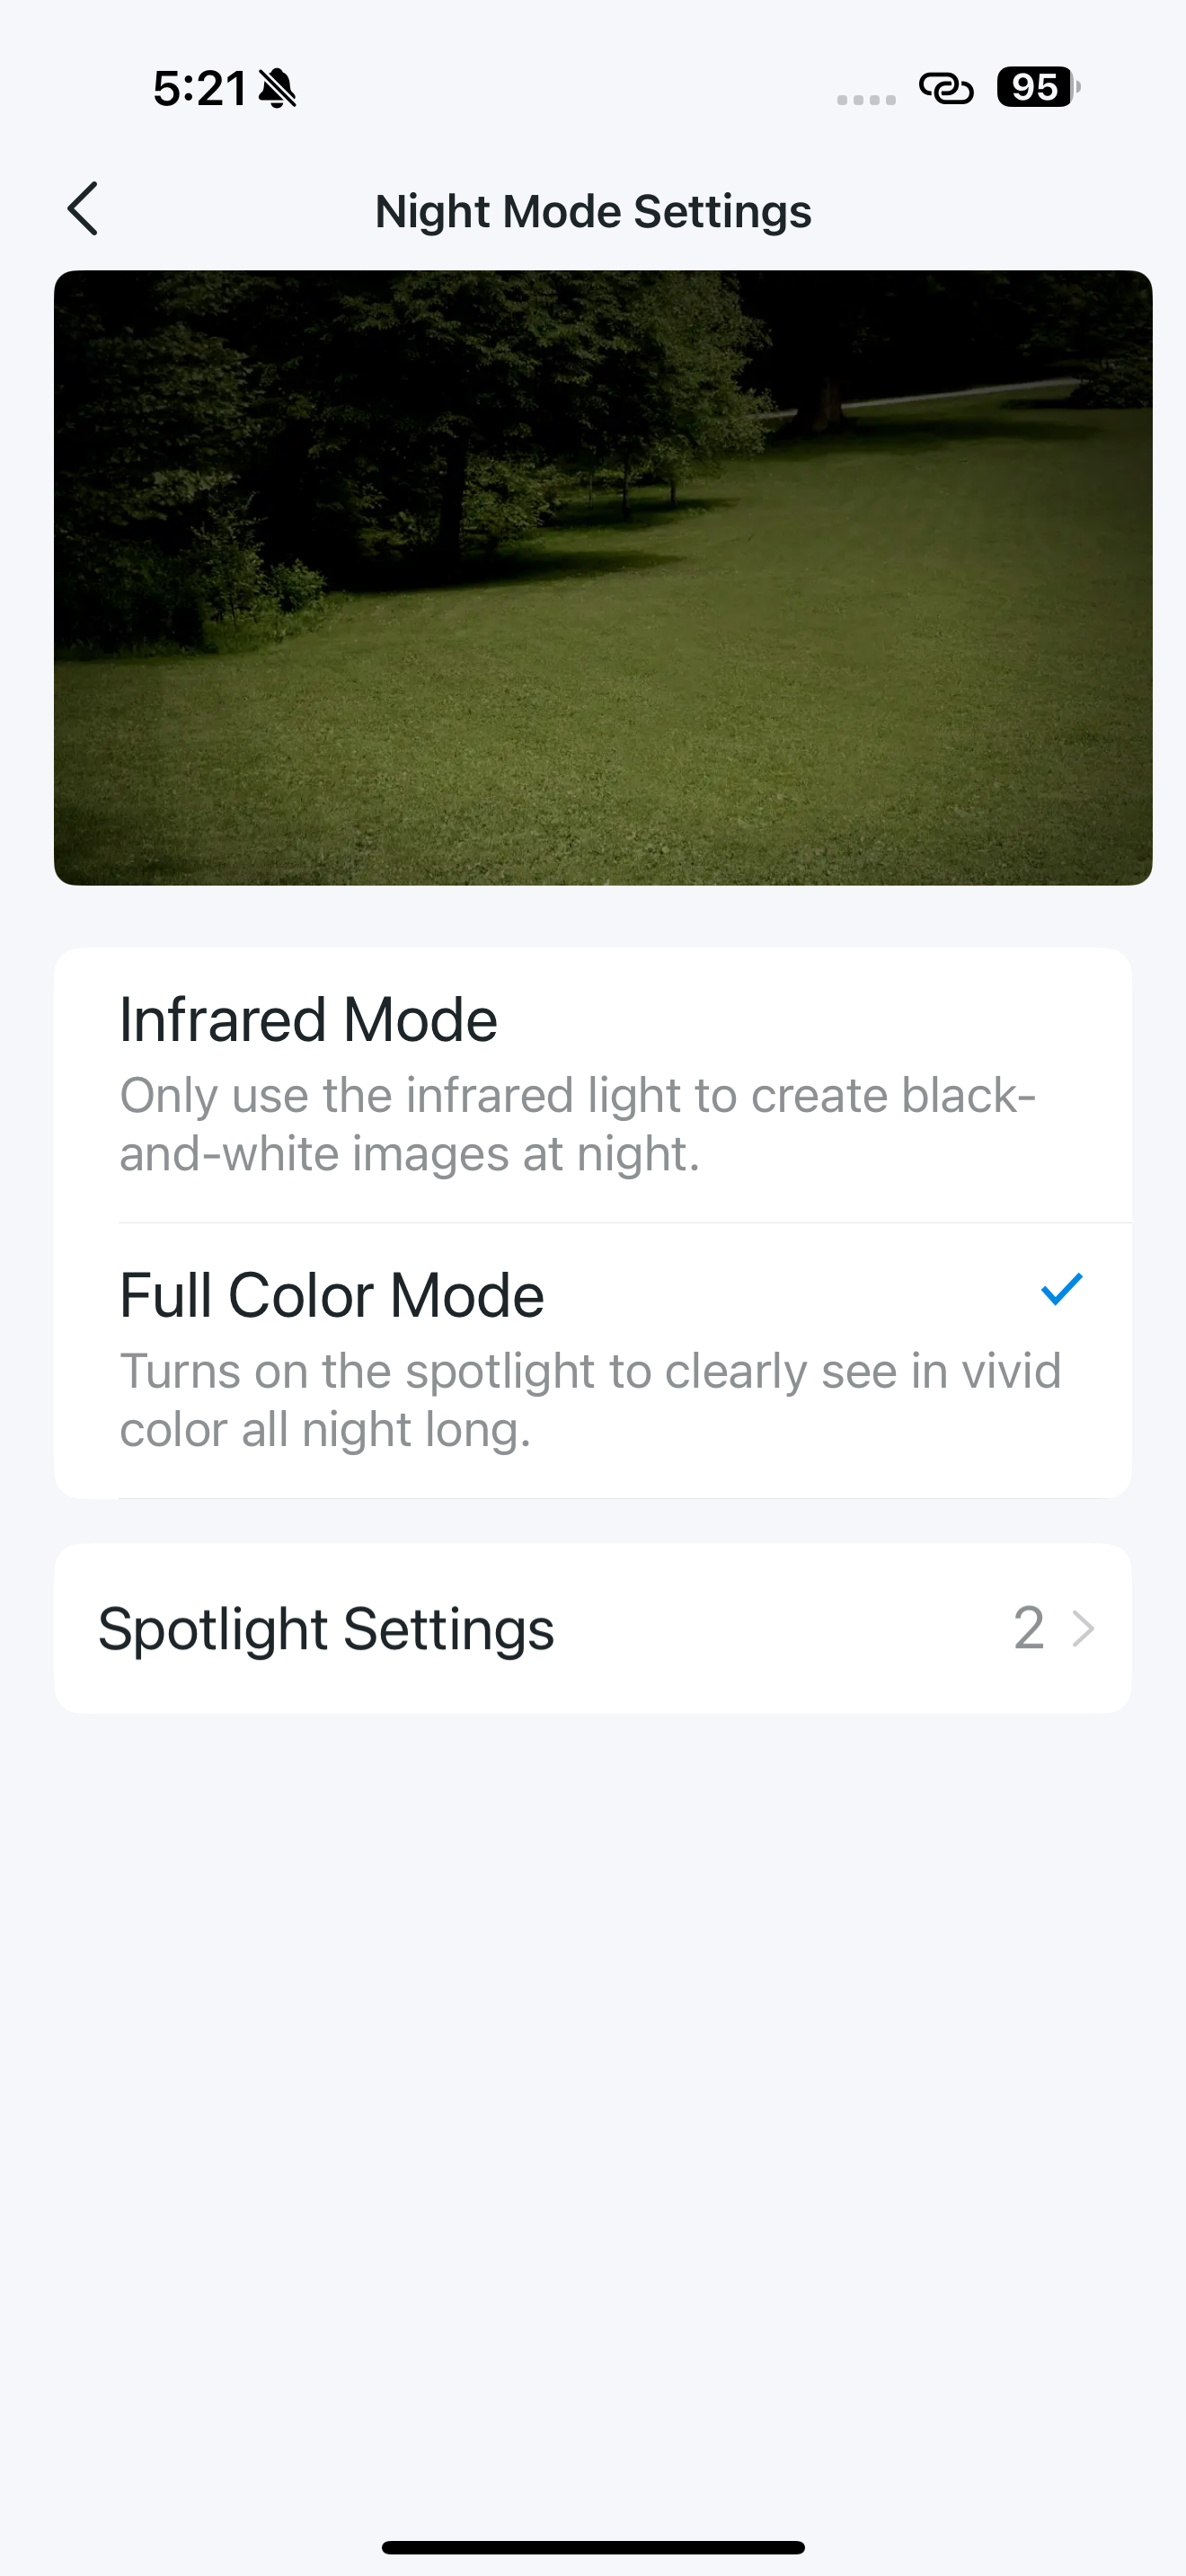
Night Mode Settings
Choose from Infrared Mode and Full Color Mode as need. In IR mode, you can adjust the viewing distance from Near to Far. In Full Color Mode, you can customize the spotlight brightness to your preference.
Note: Here we take Tapo C615F as an example. Night modes may vary by model.
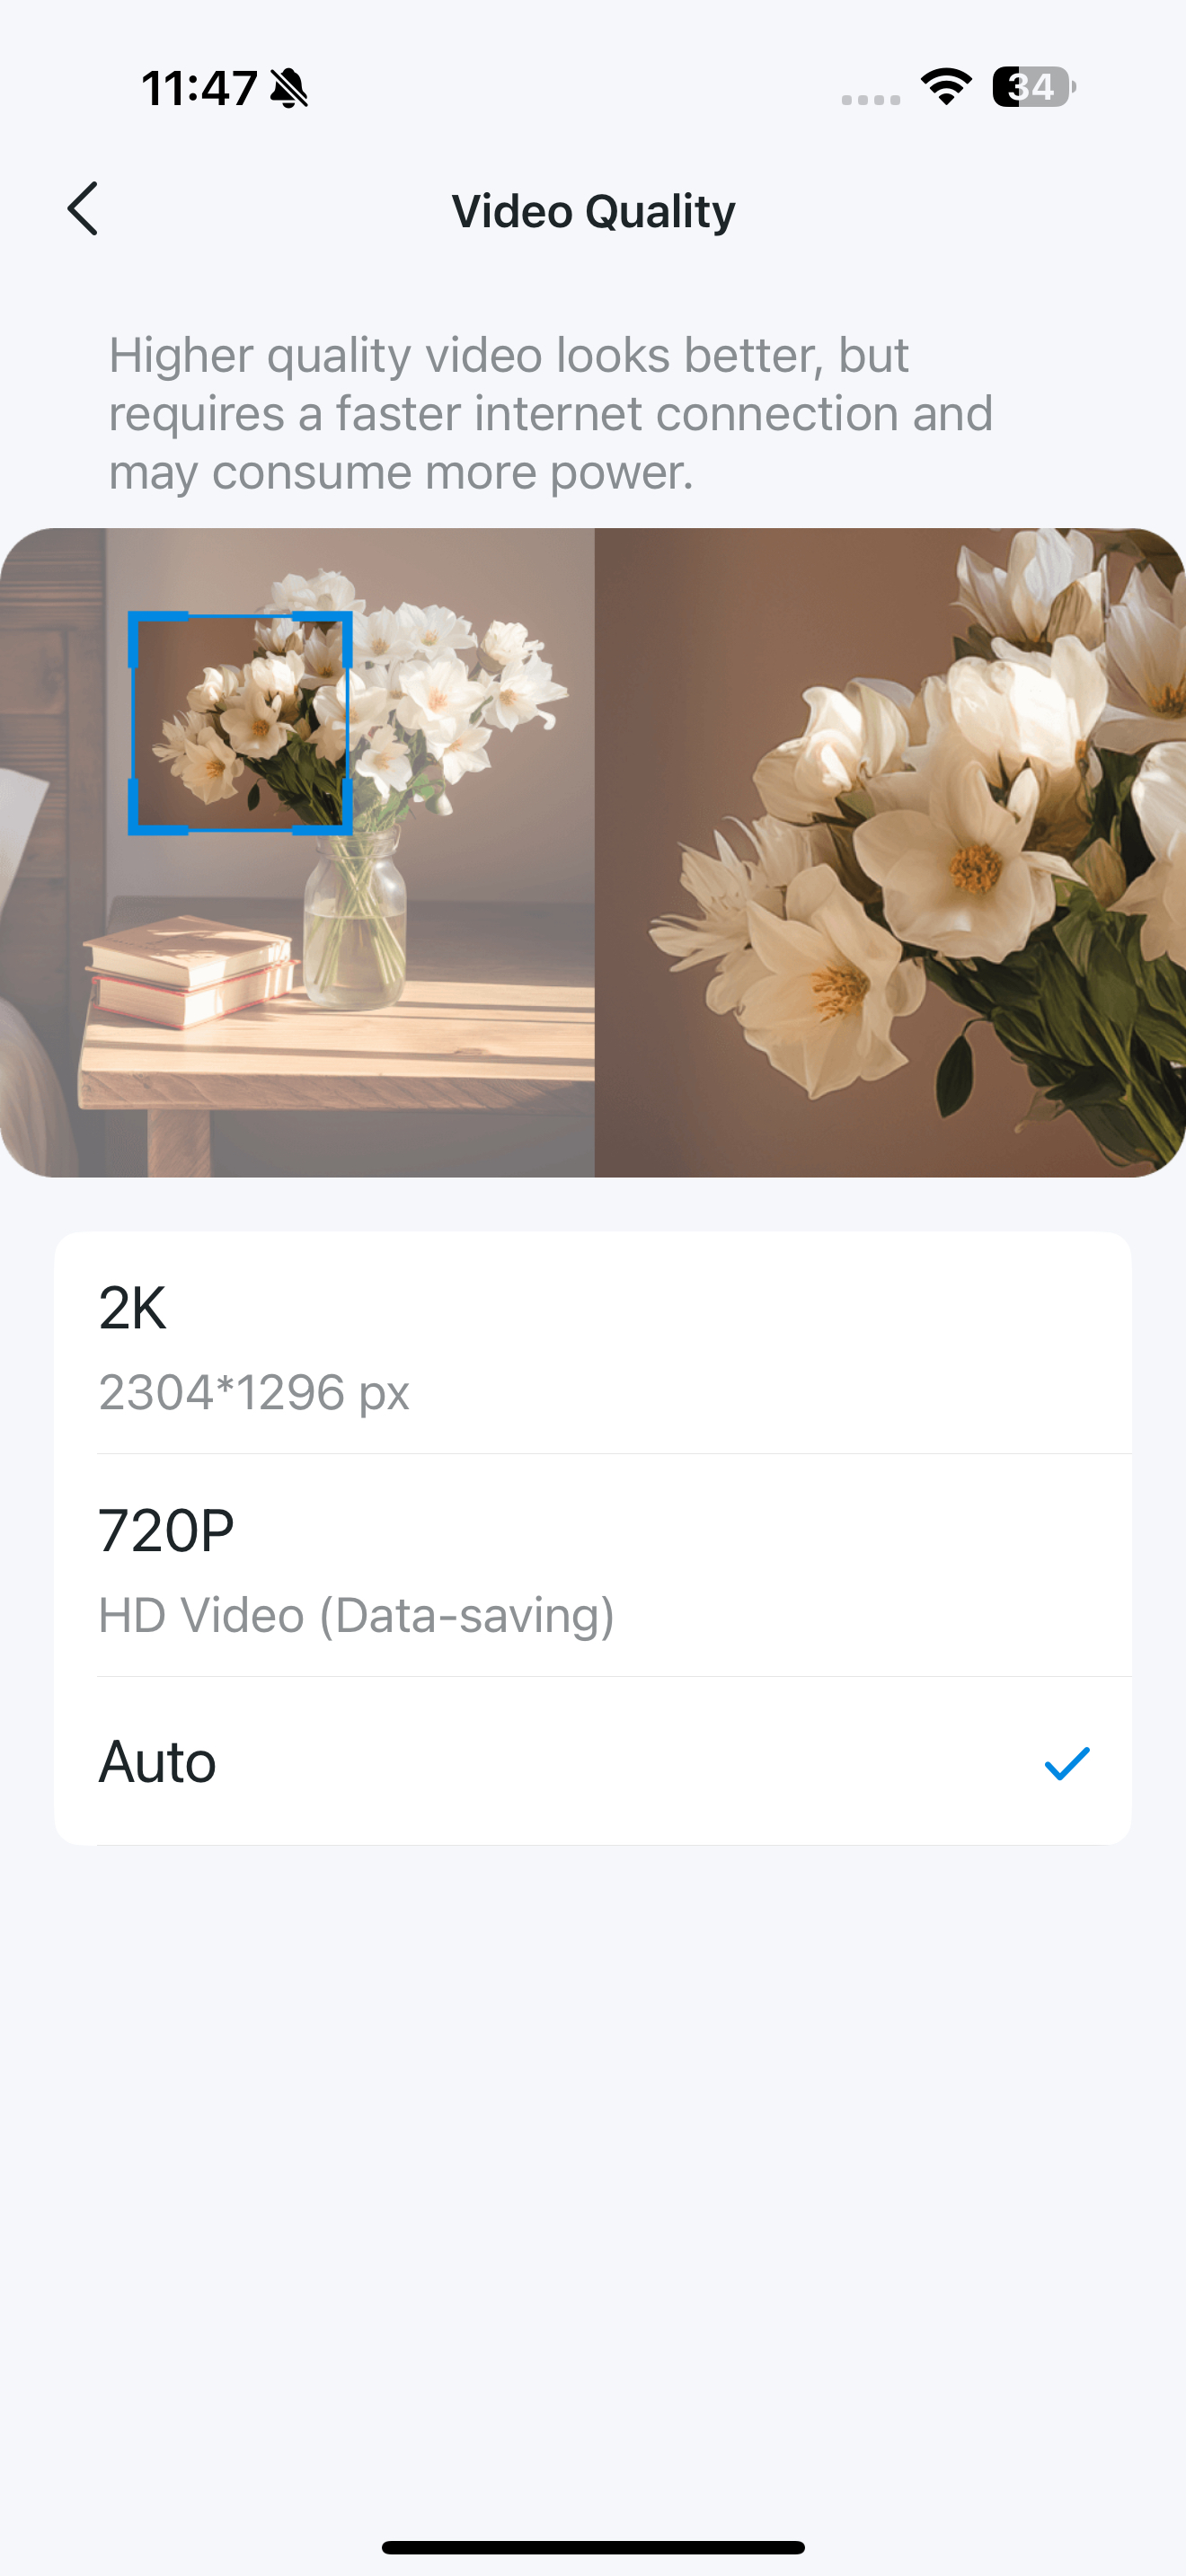
Video Quality
Switch Video Quality as needed. Higher video quality looks better, but requires a better internet connection and may consume more power.
Note: This setting only affects live view and event recordings are always saved in full camera resolution. Here we take Tapo C615F as an example. Video quality options may vary across different models.
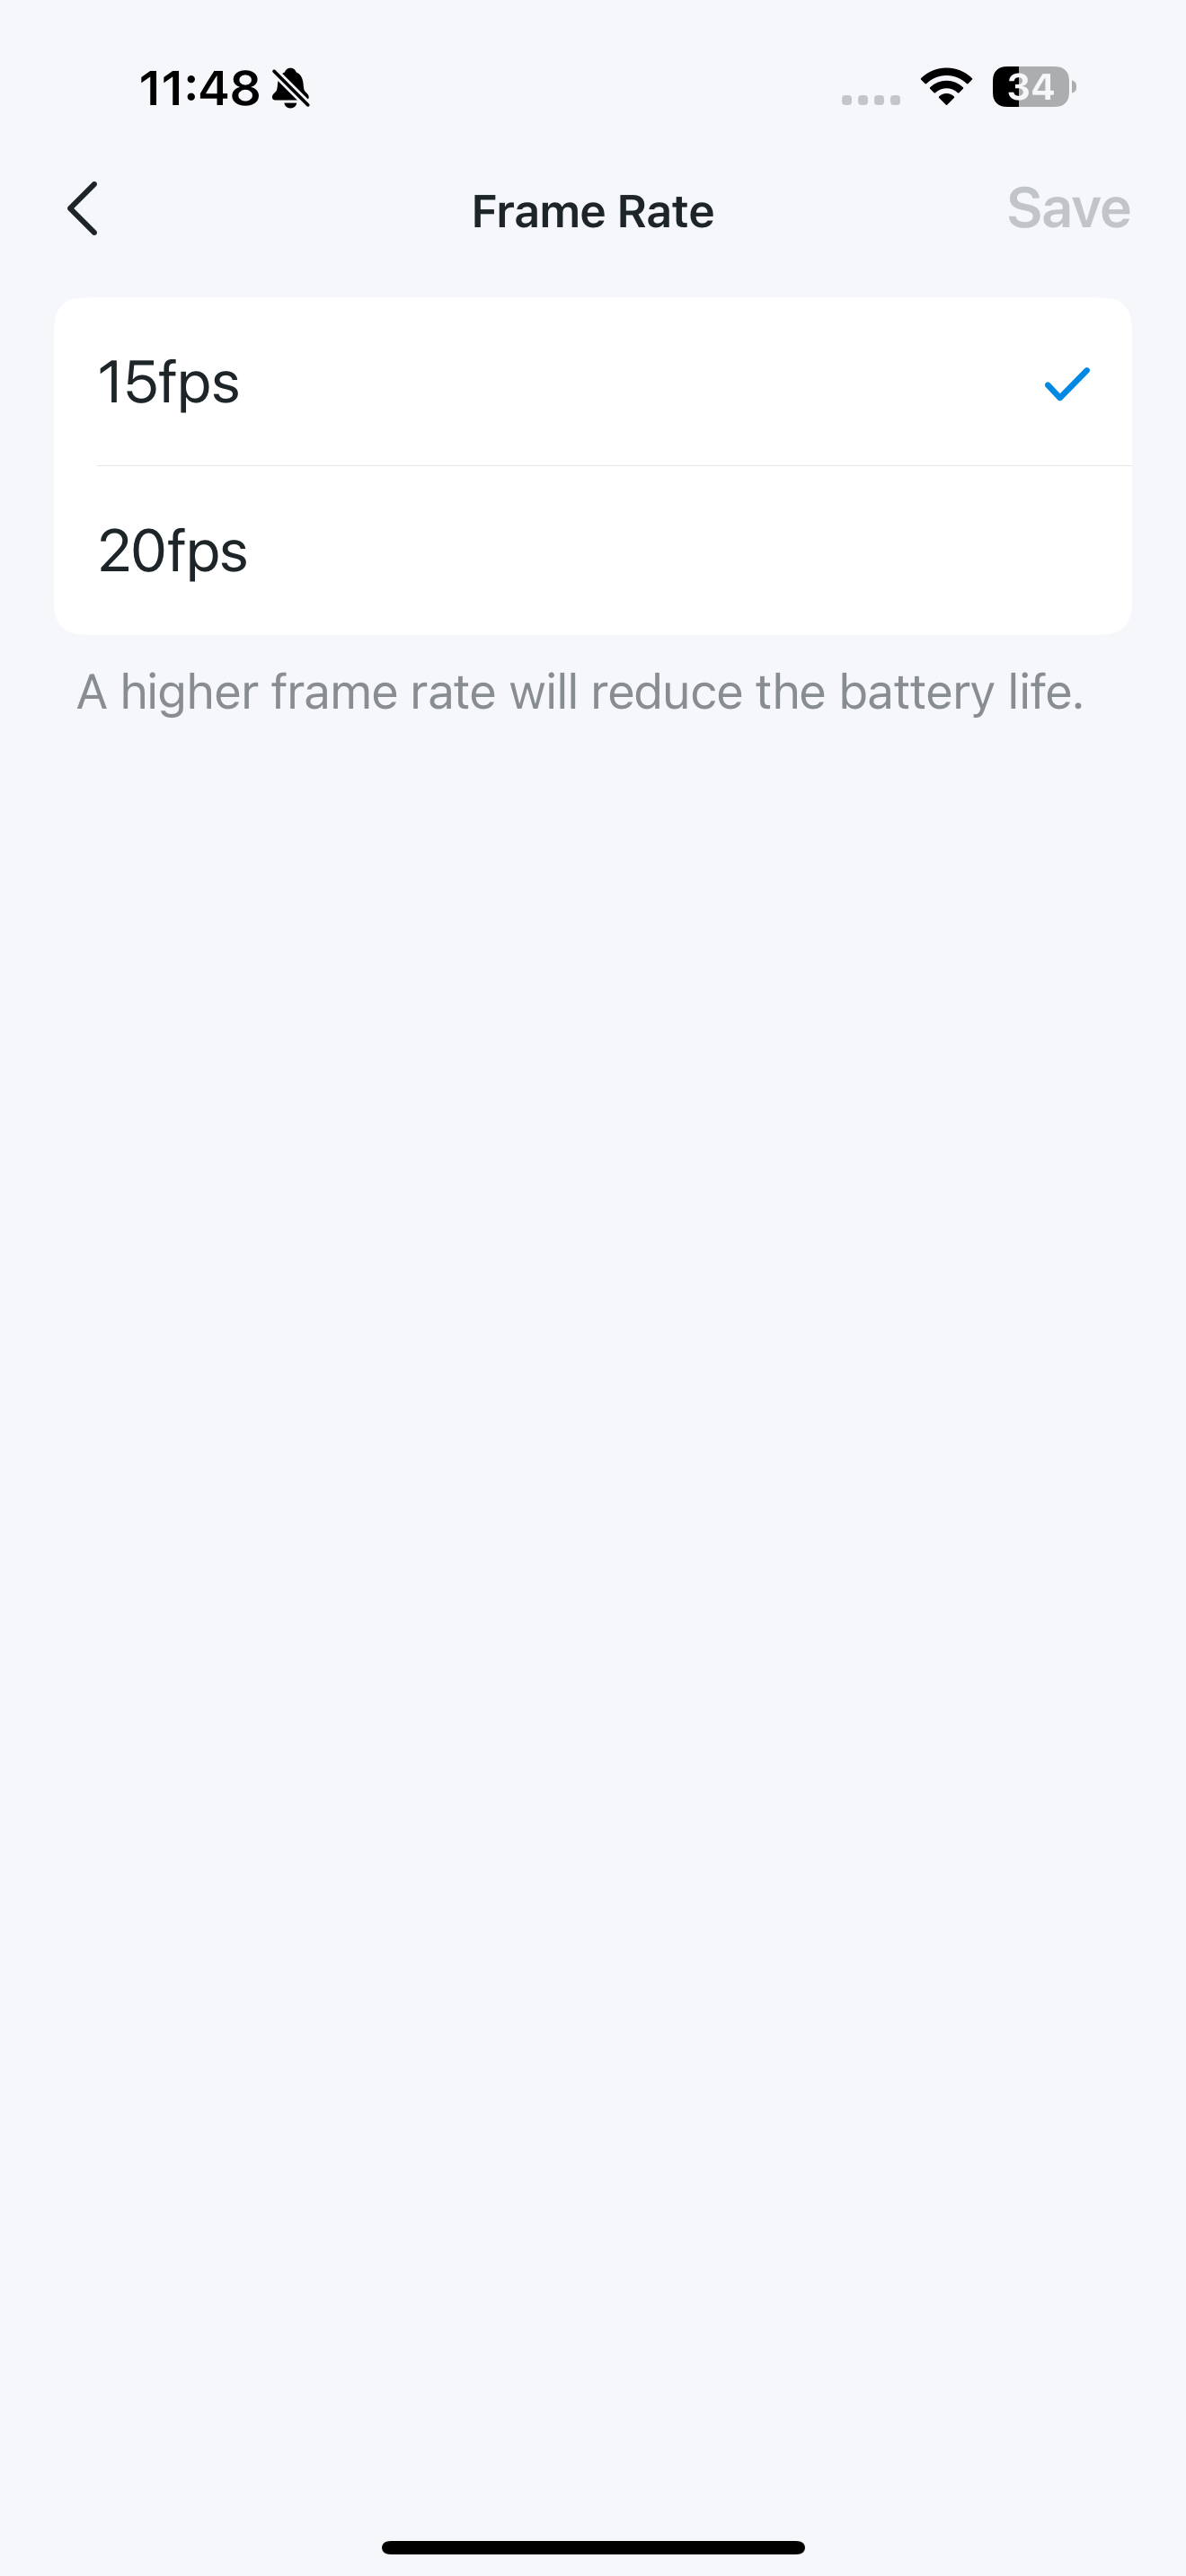
Frame Rate
Switch Frame Rate as needed. A higher frame rate will reduce the battery life.
Note: Here we take Tapo C615F as an example. Frame rate options may vary across different models.
Privacy Zones
When enabled, the custom privacy zones cannot be viewed or monitored to protect your privacy.
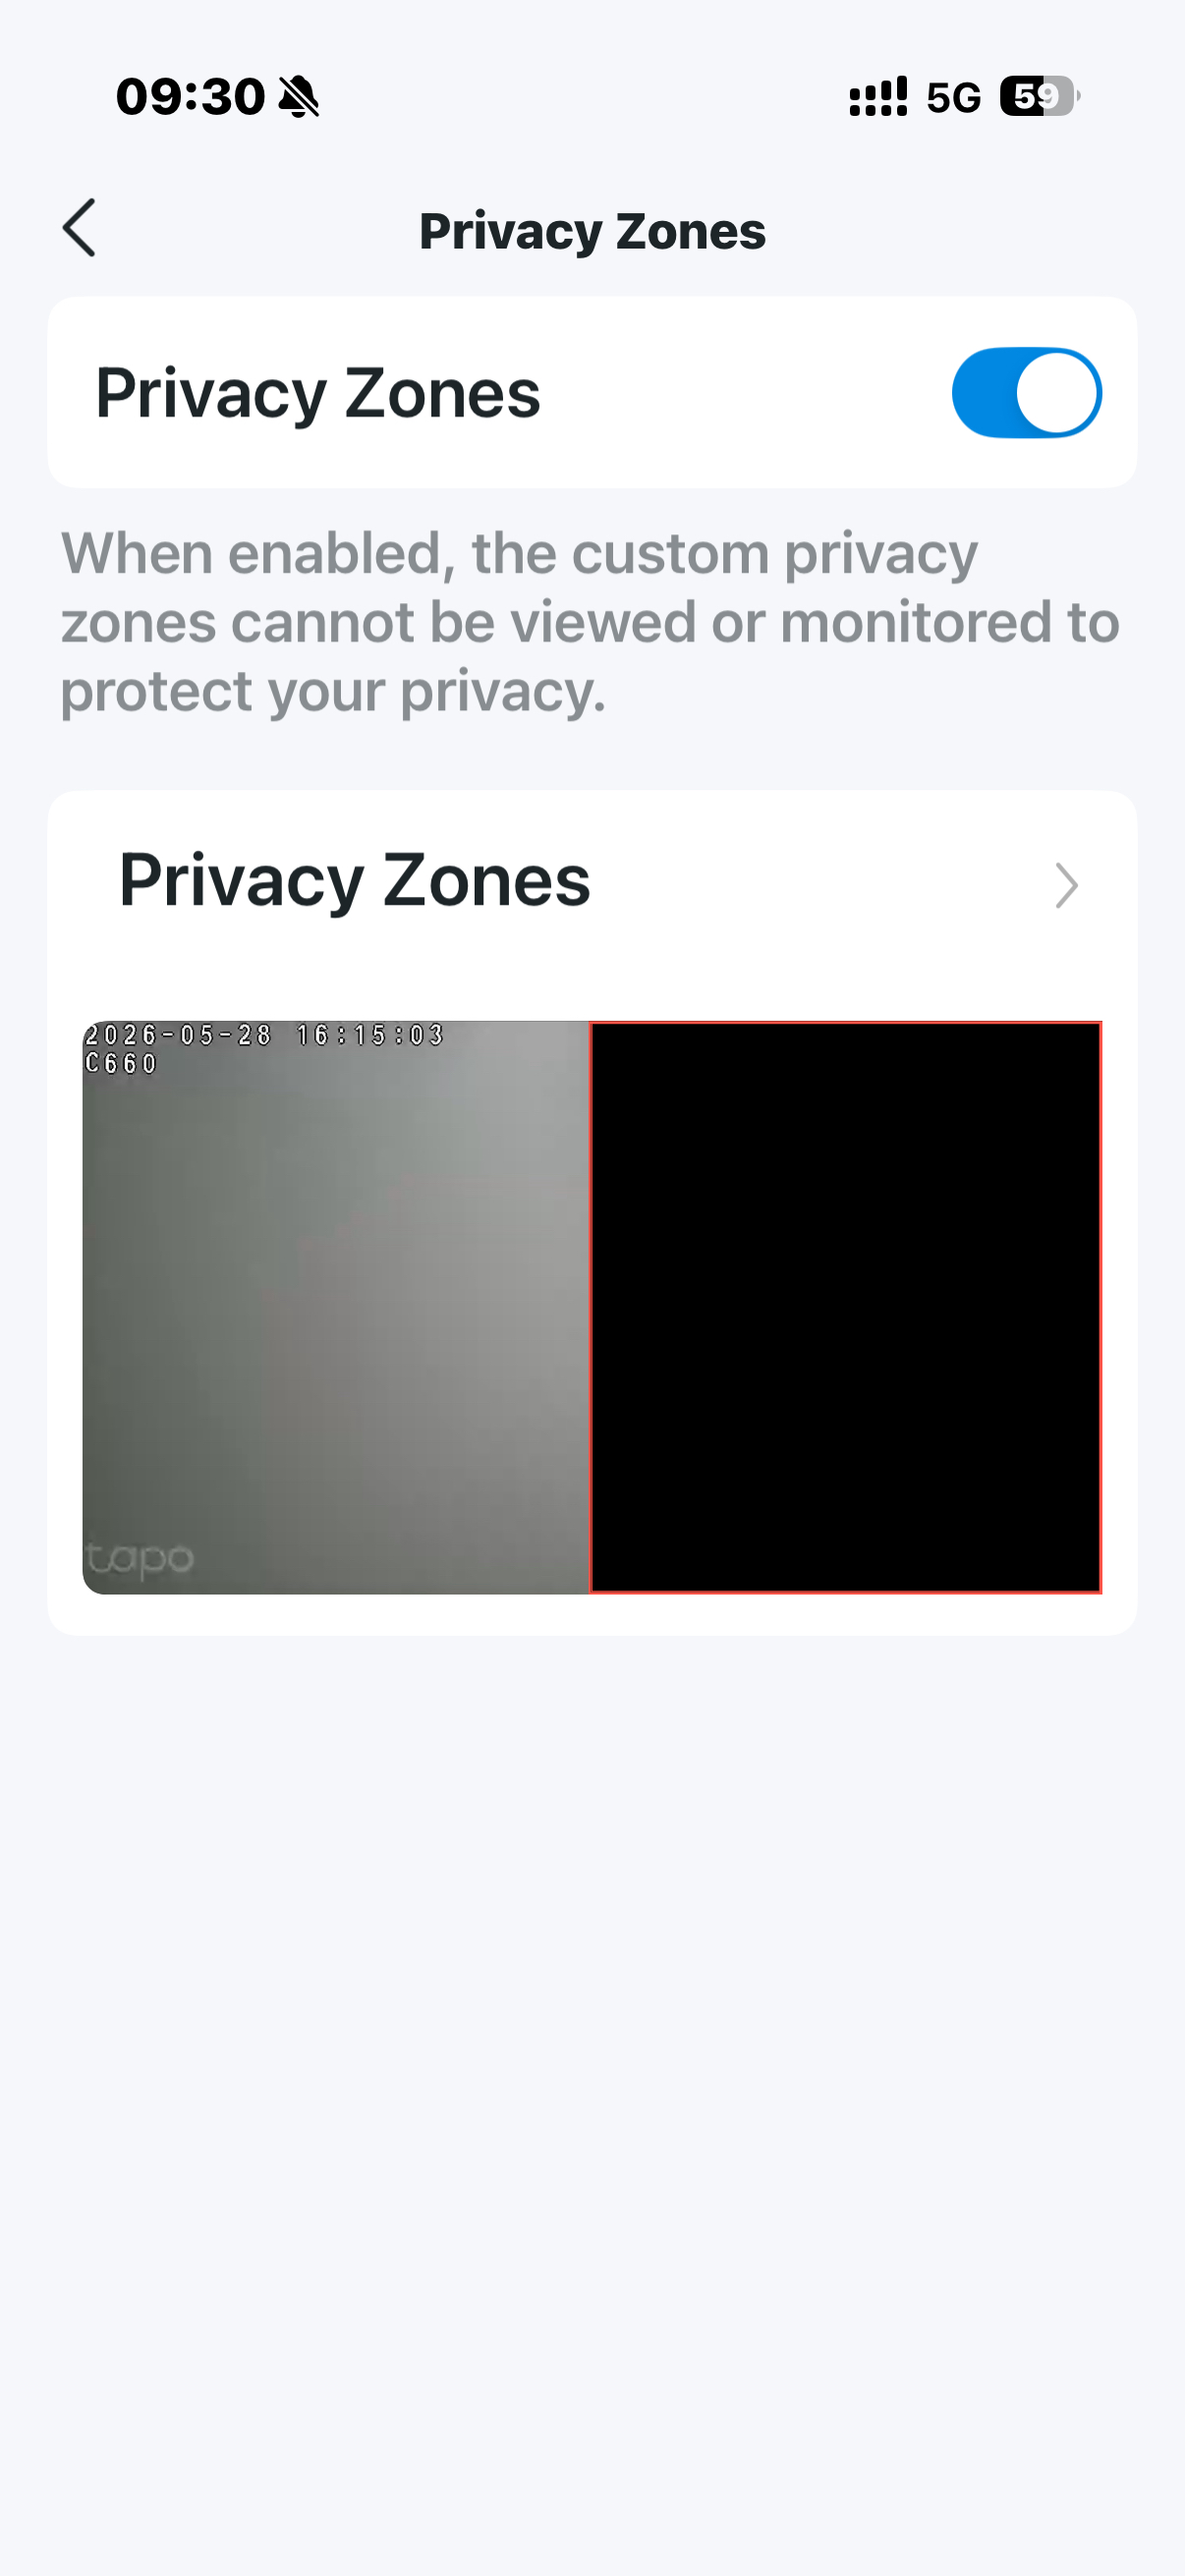
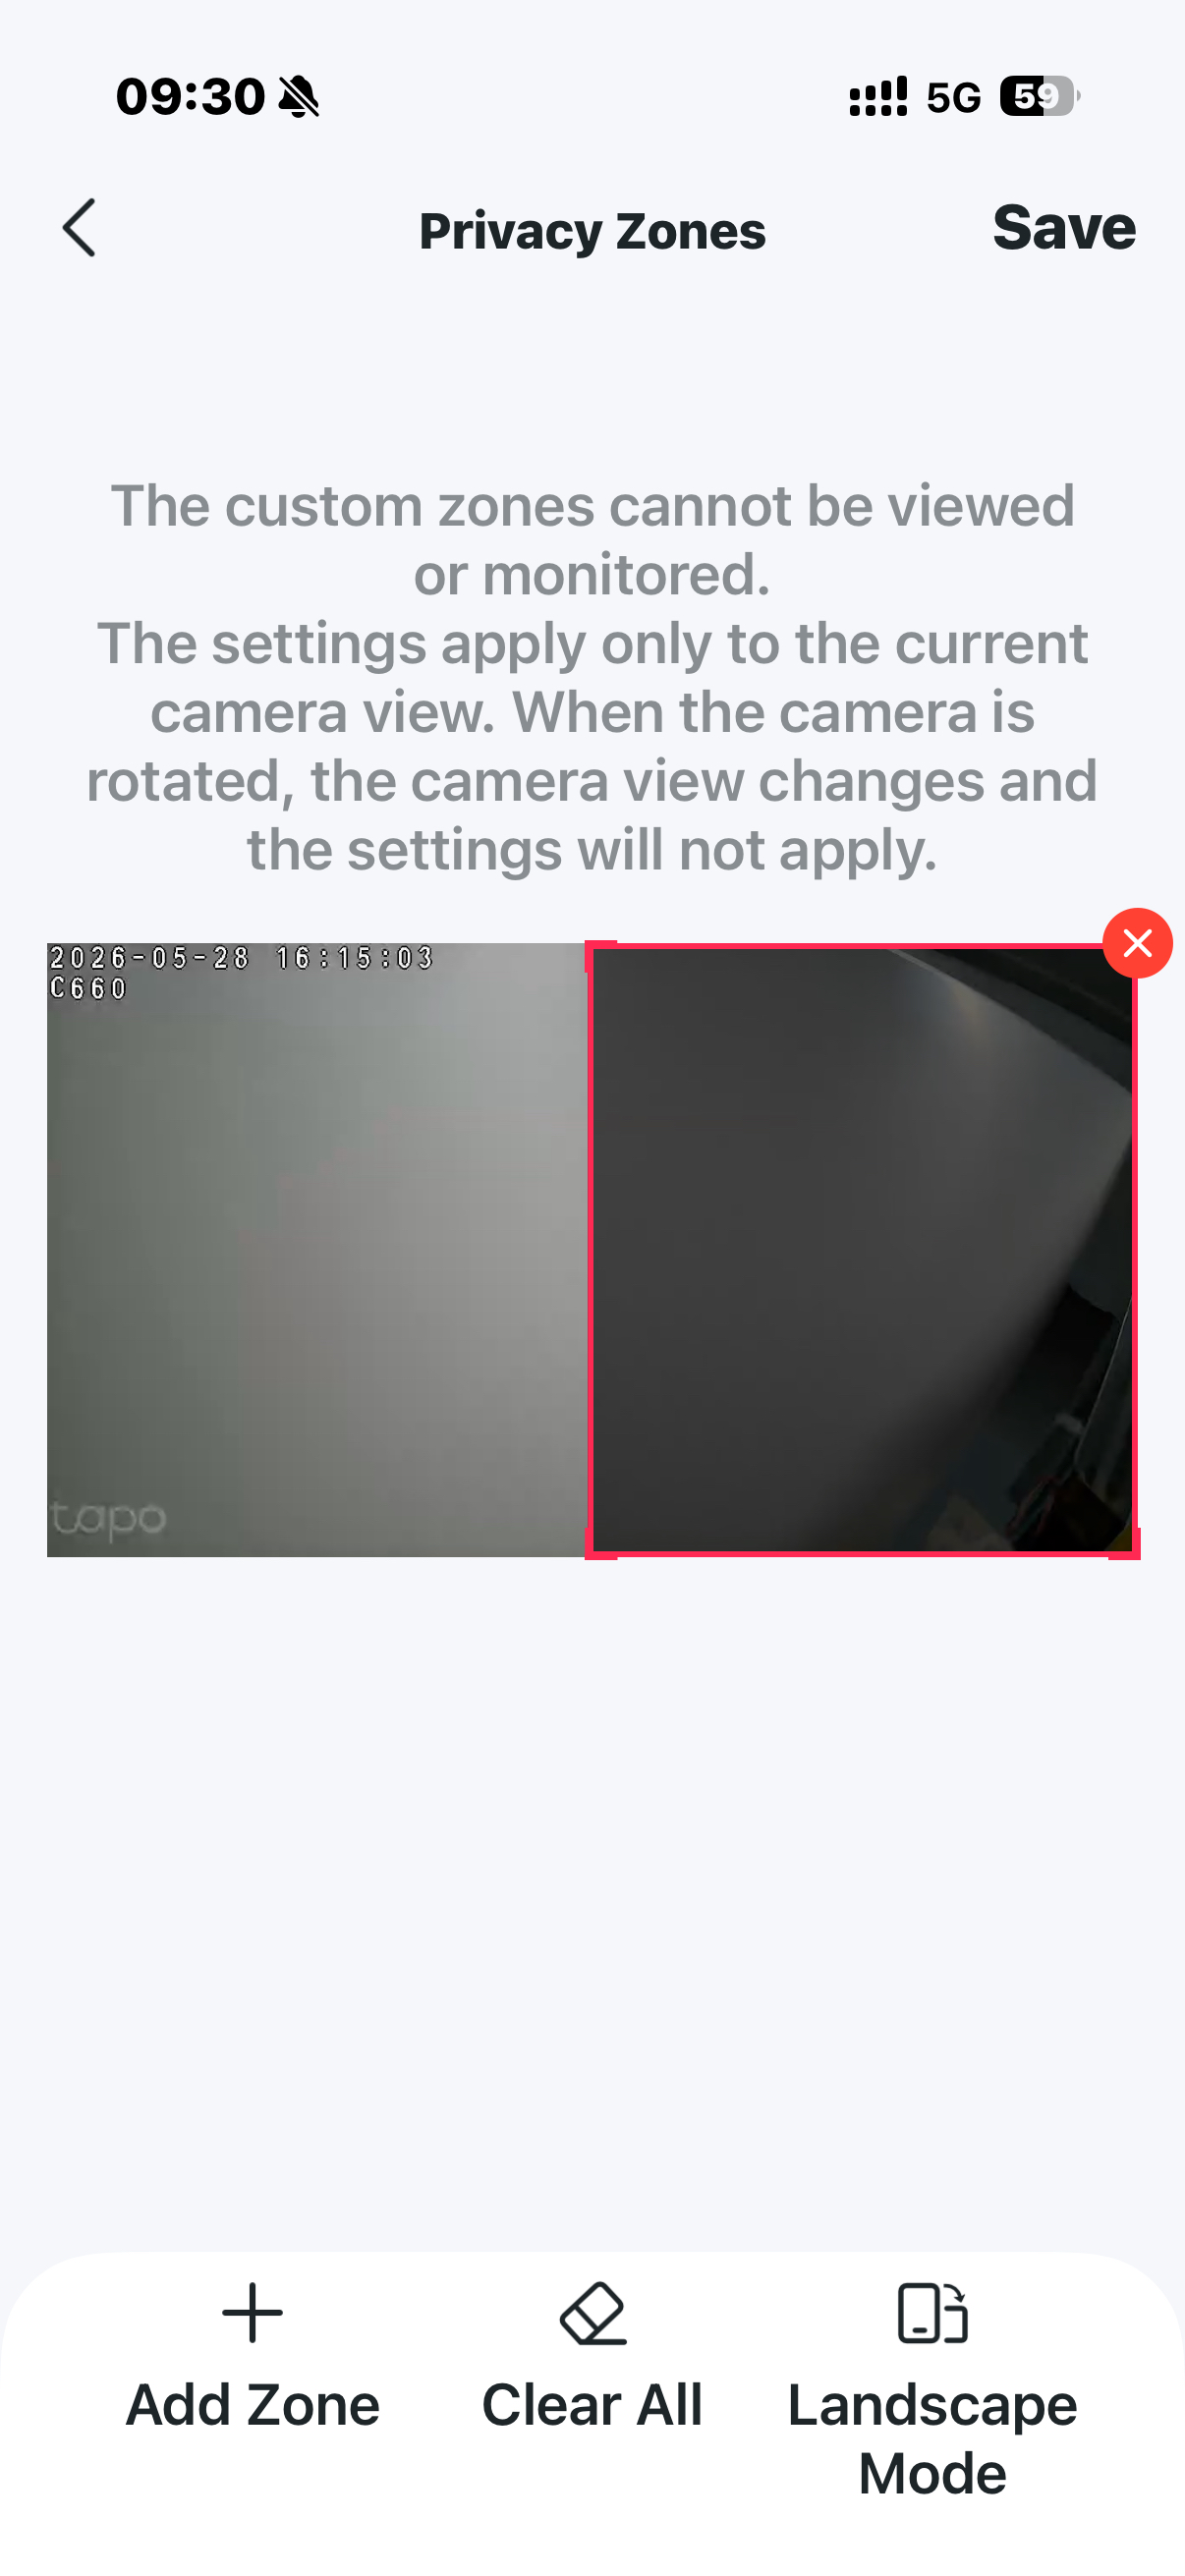
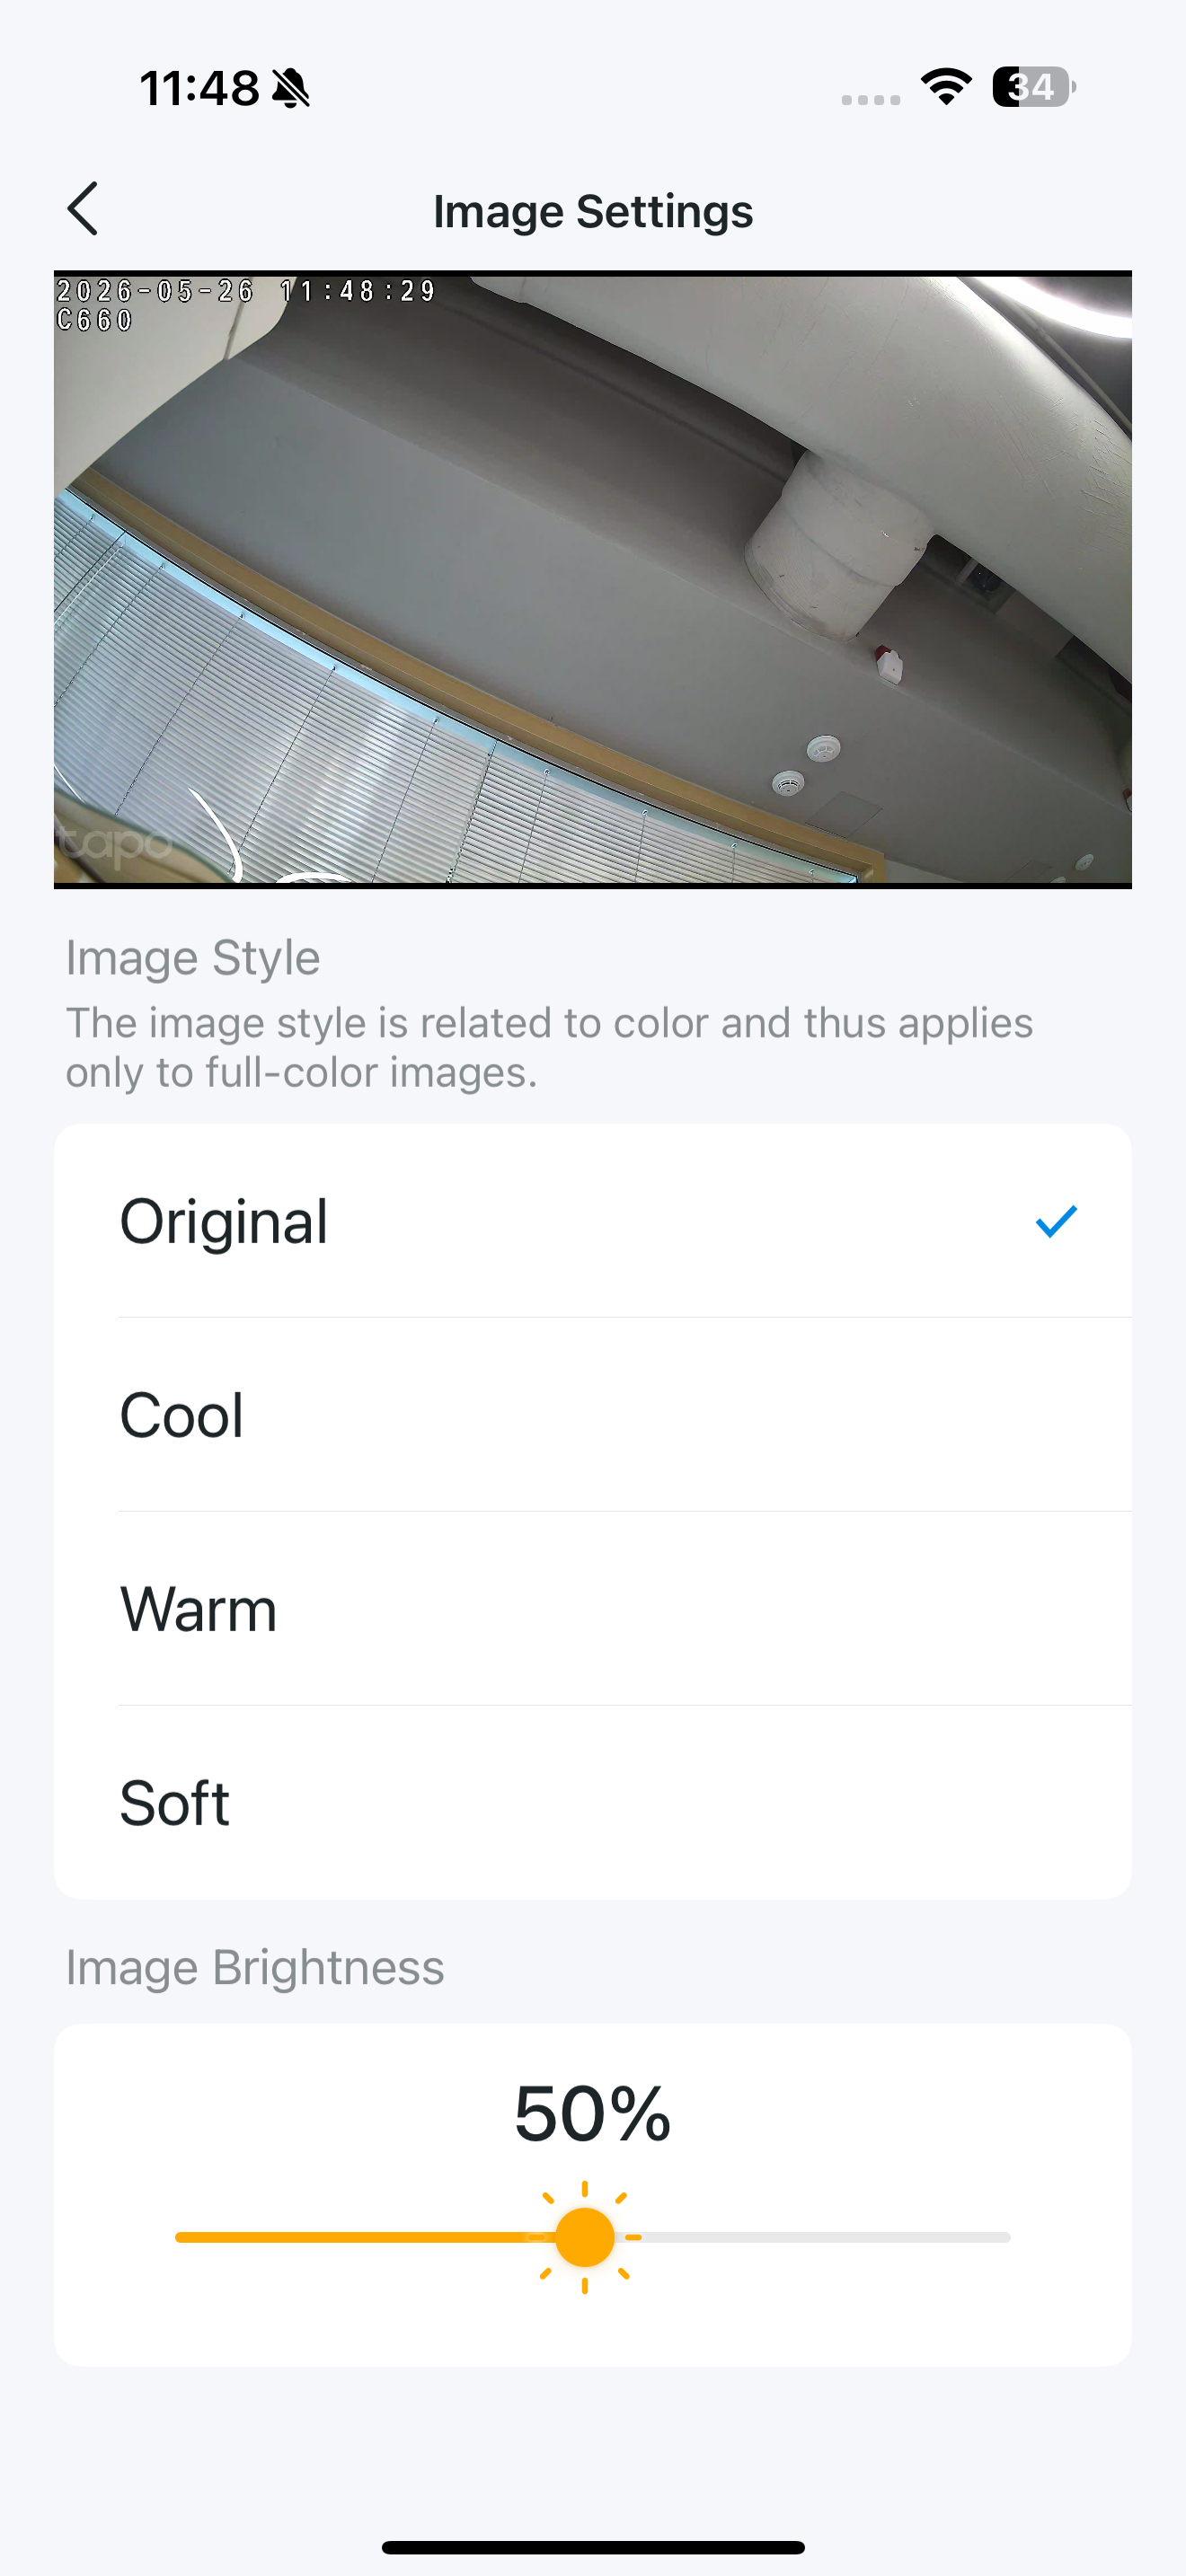
Image Settings
You can choose your image style and adjust your image brightness here.
Note: The image style is related to color and thus applies only to full-color images.
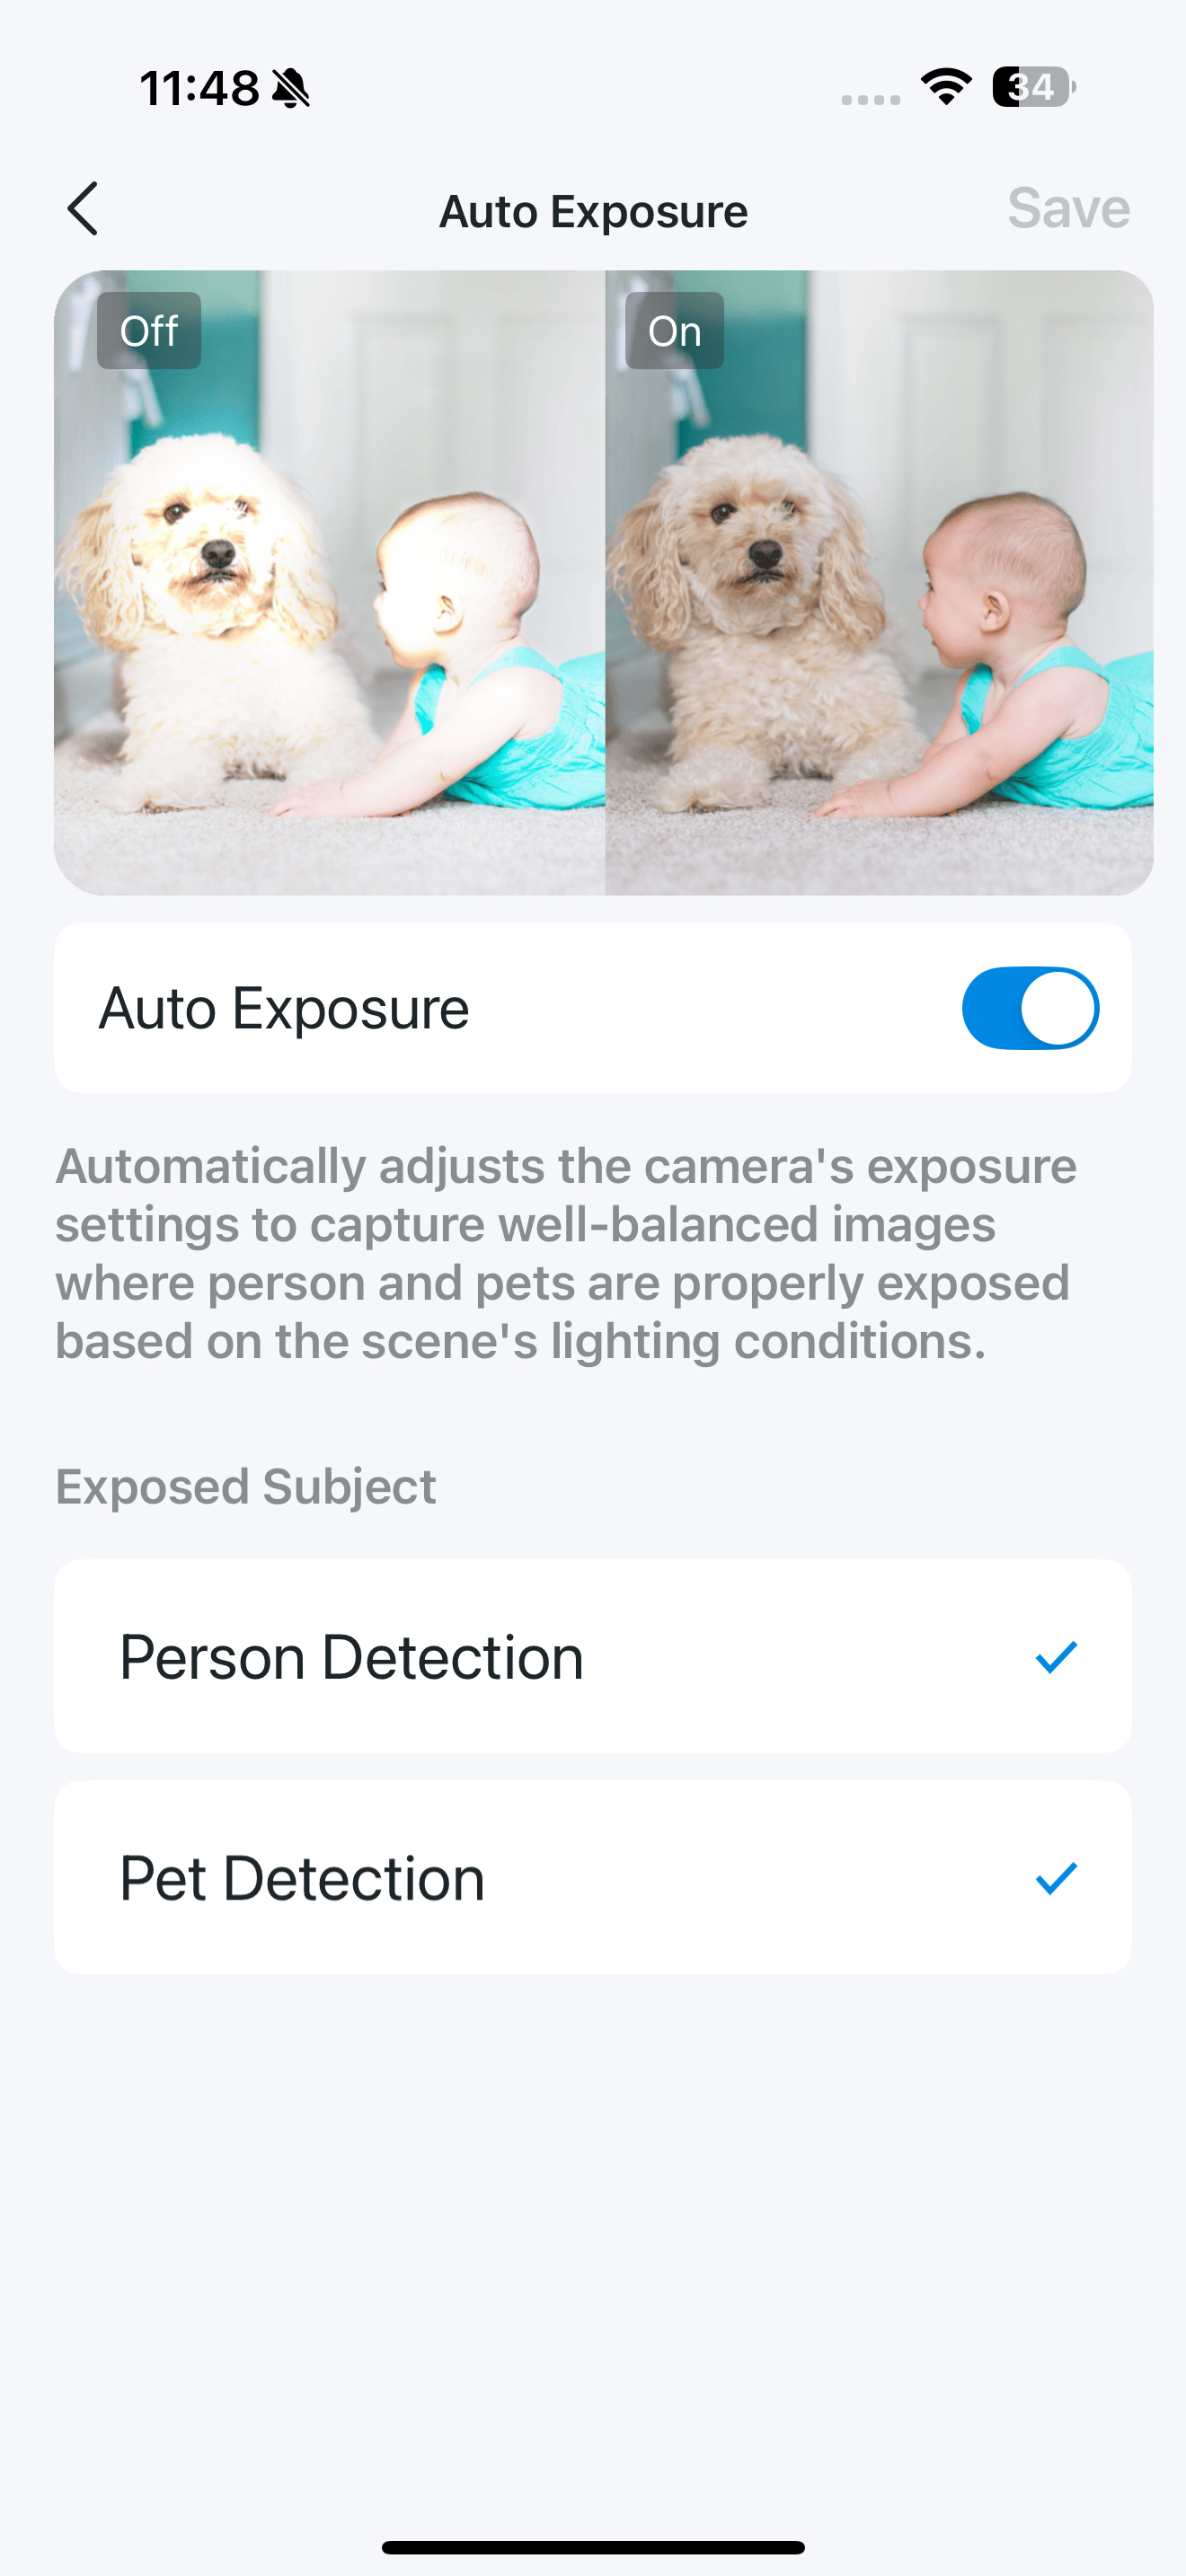
Auto Exposure
Automatically adjusts the camera's exposure settings to capture well-balanced images where person and pets are properly exposed based on the scene's lighting conditions.
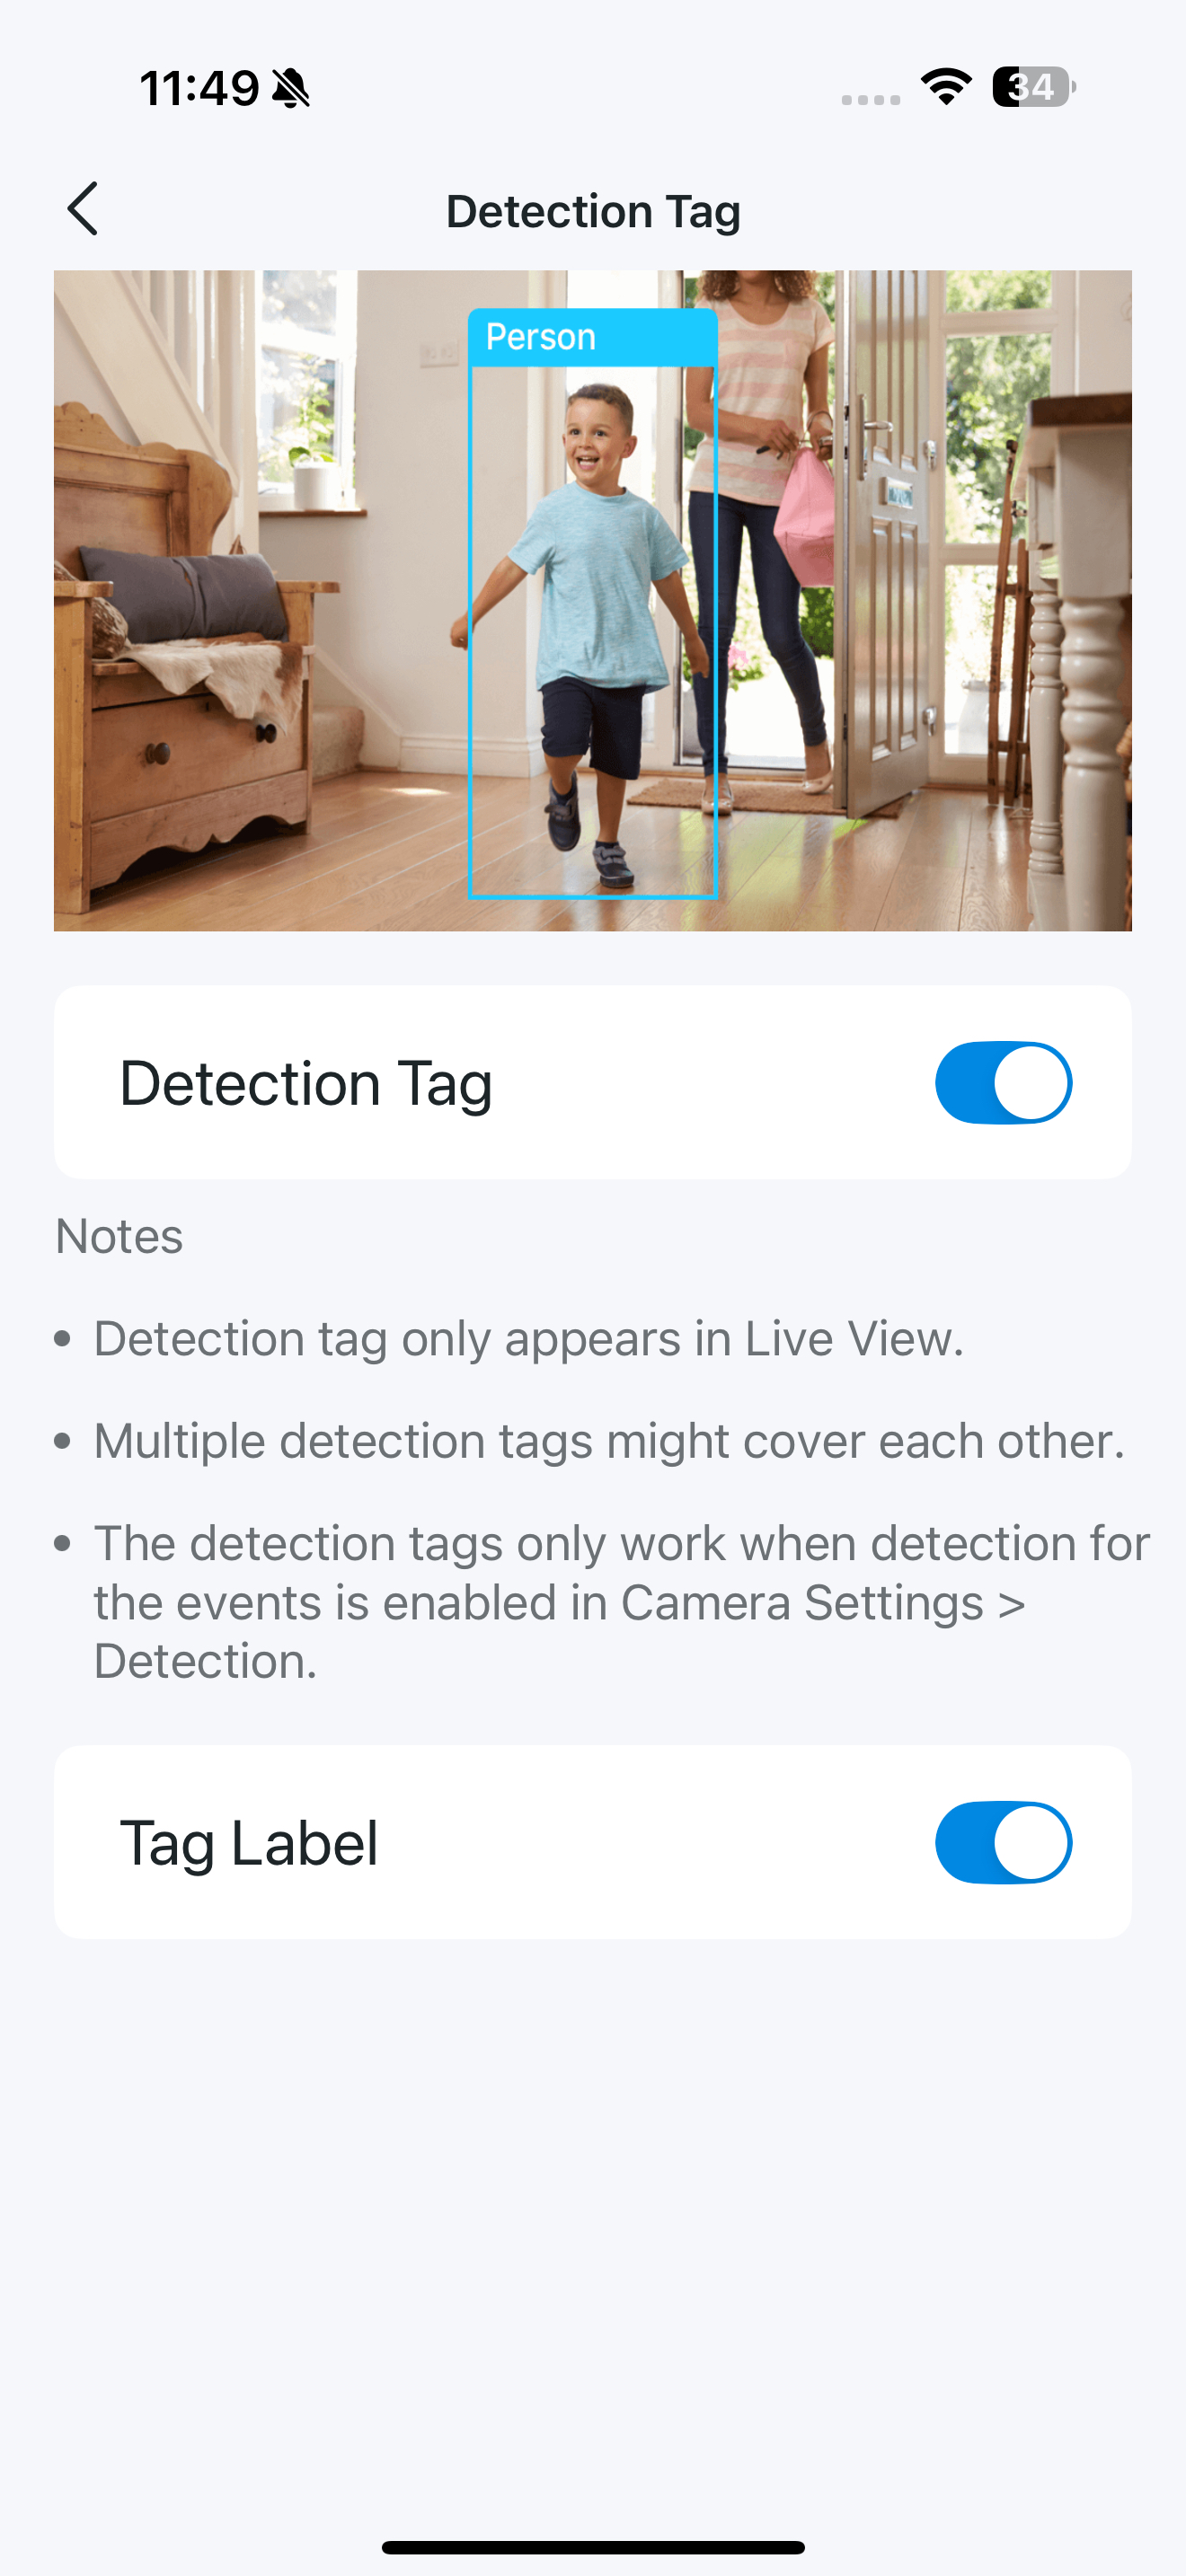
Detection Tag
The detection tags only work when detection for the events is enabled in Camera Settings > Detection. The tag only appears in Live View, and multiple detection tags might cover each other.
Note: This feature is only applicable to certain models.
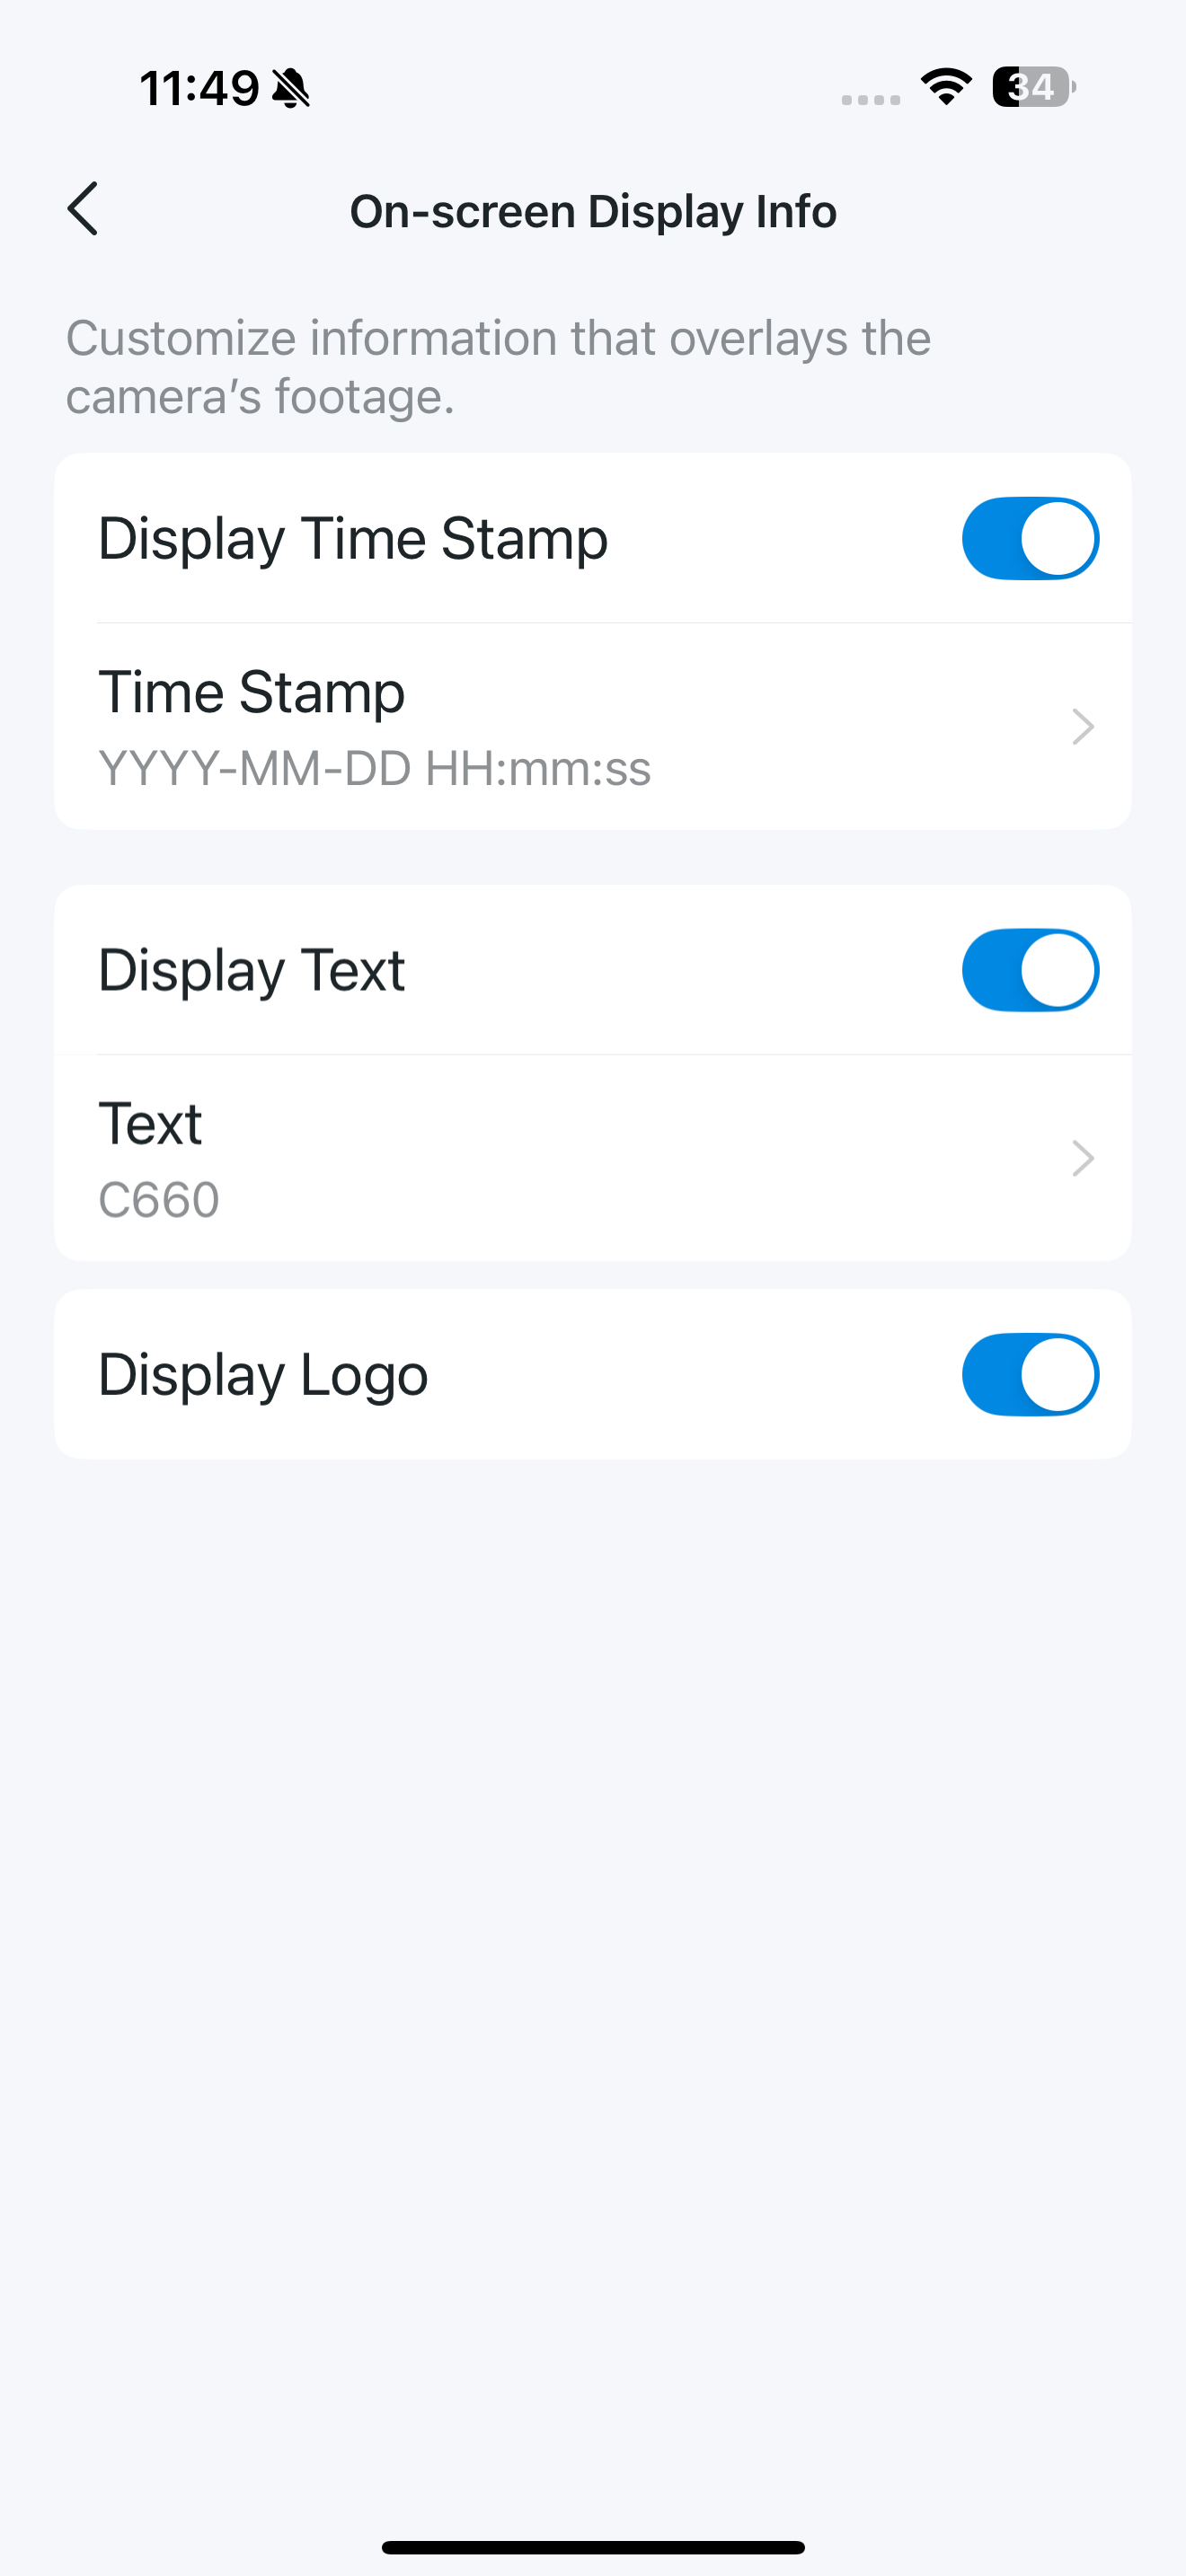
On-Screen Display Info
Customize information that overlays the camera's footage, such as Time Stamp and Logo.
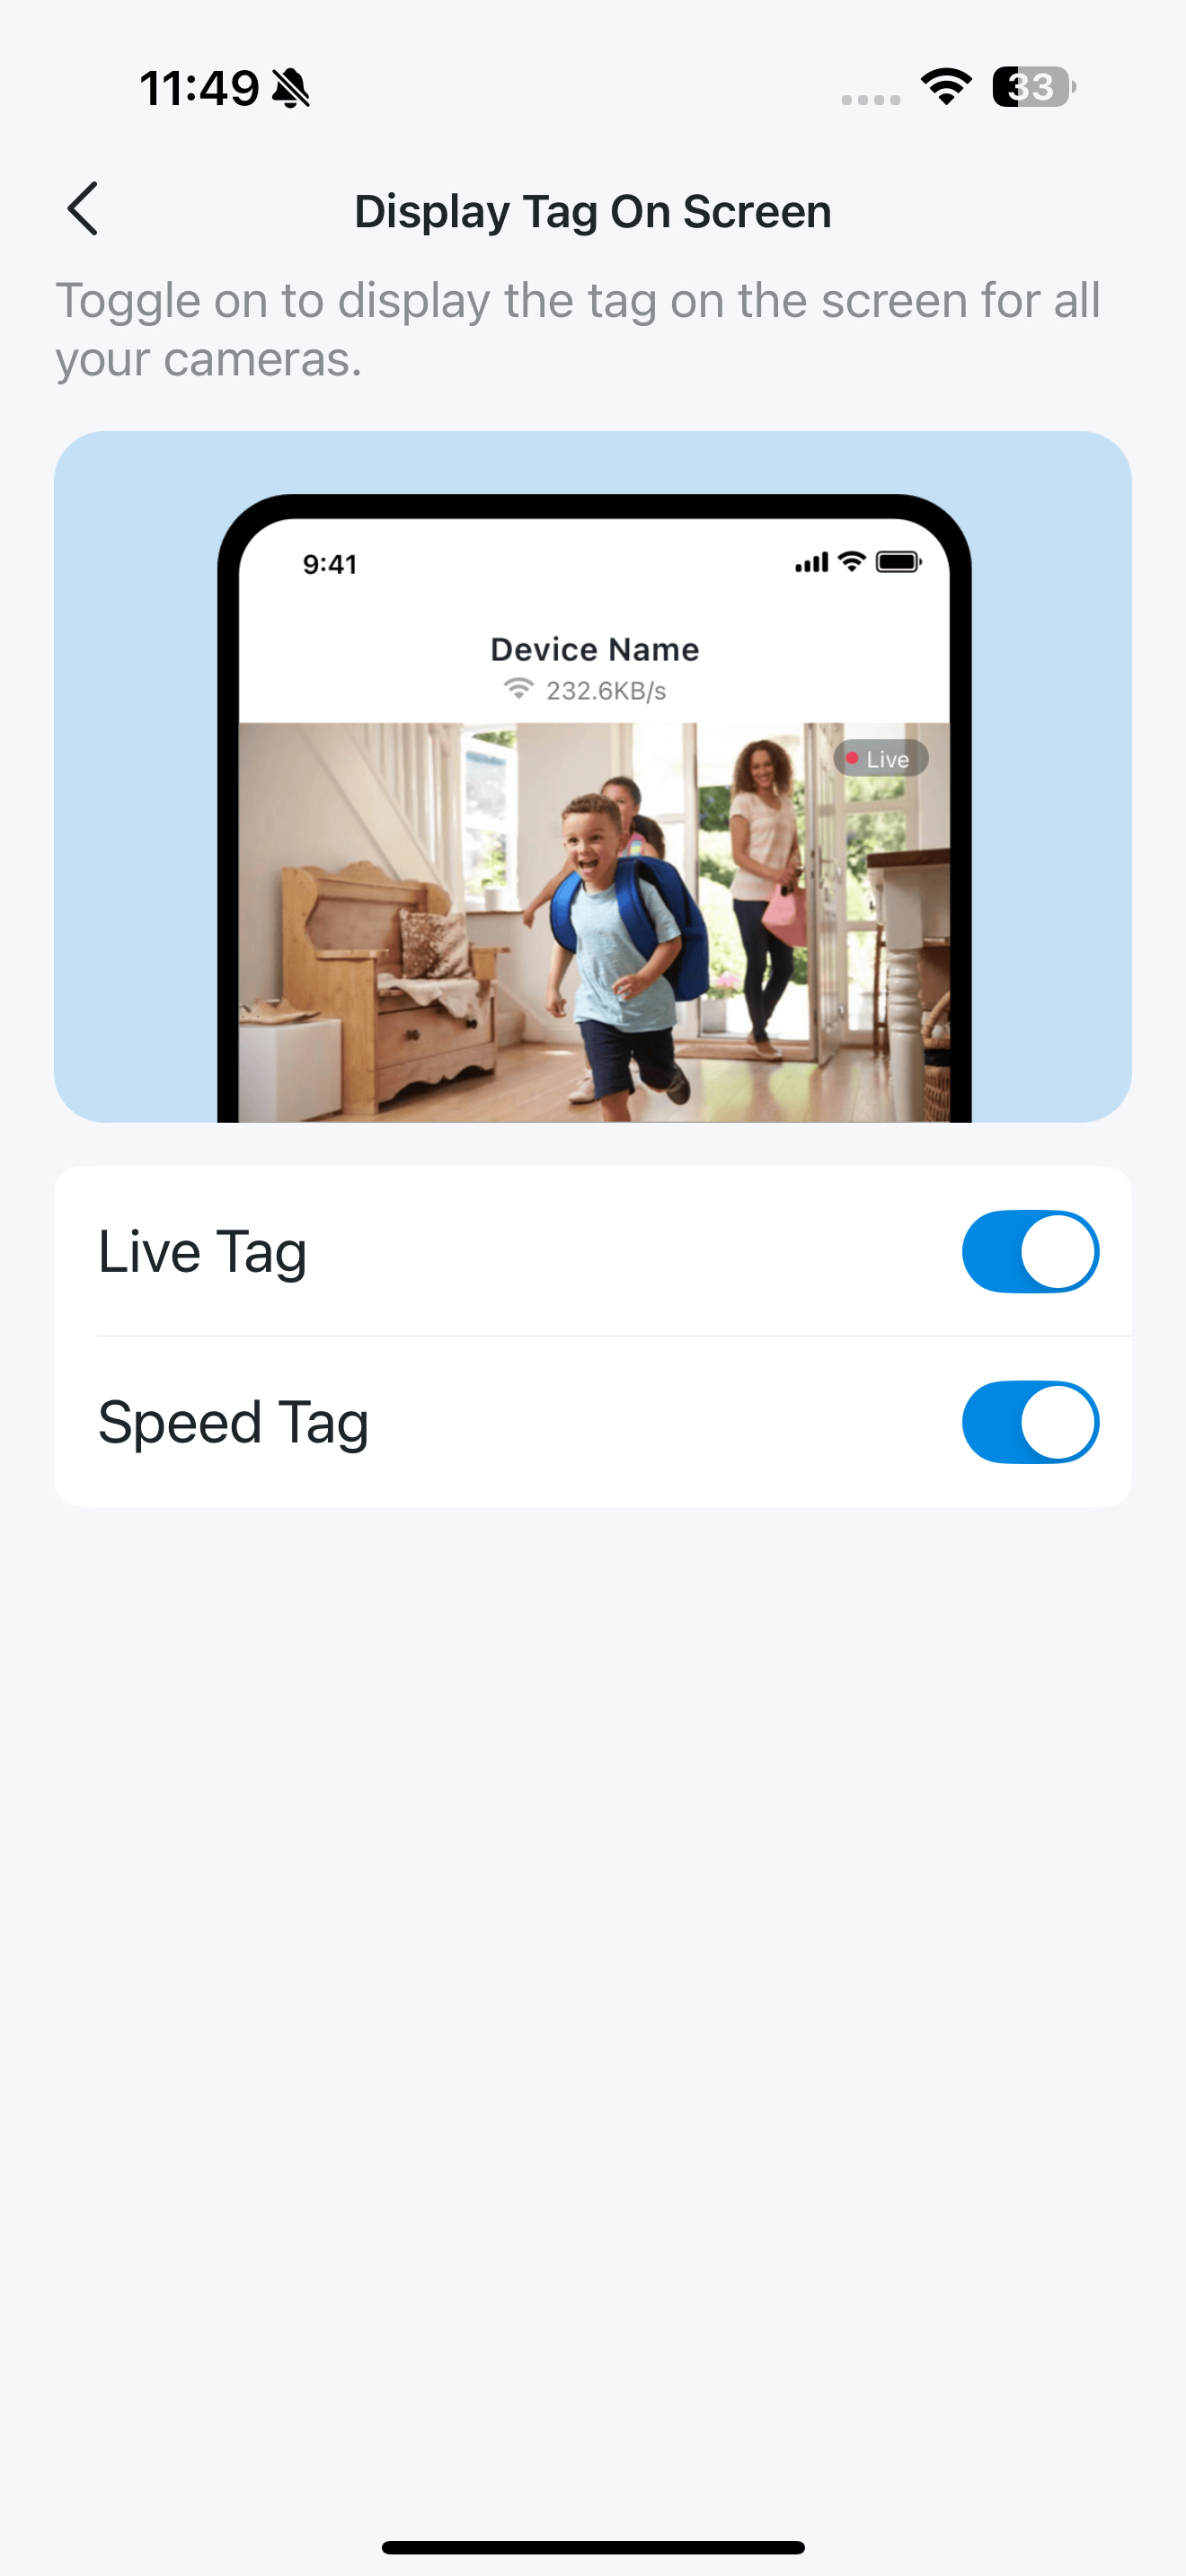
Display Tag on Screen
Toggle on to display the Live Tag or Speed Tag on all your cameras' screens.
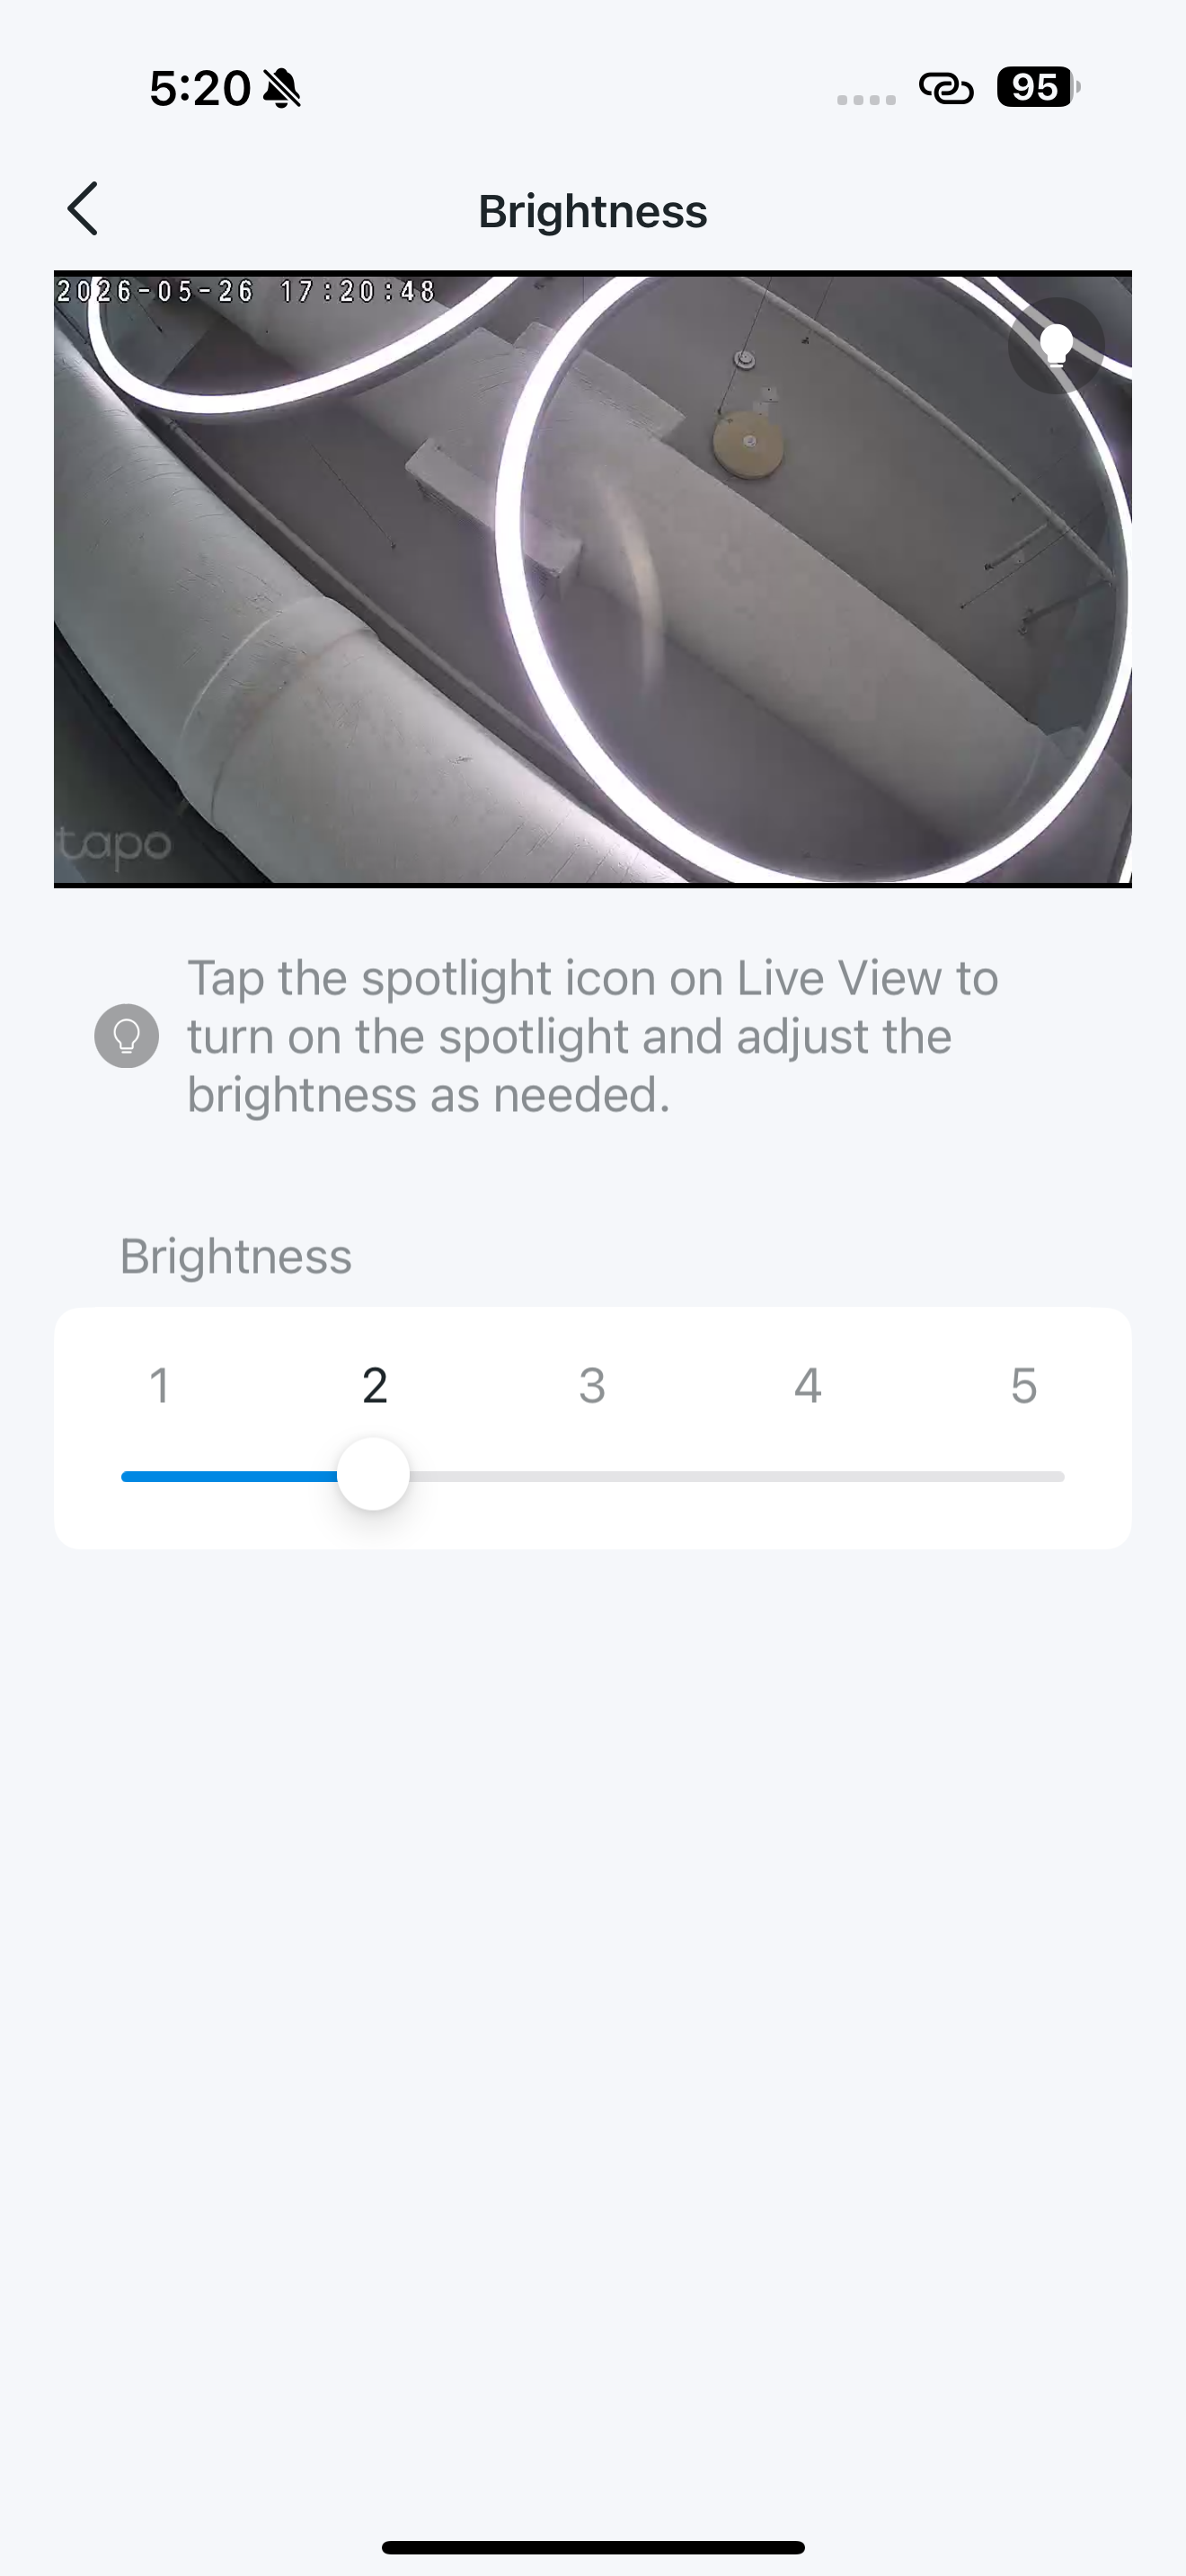
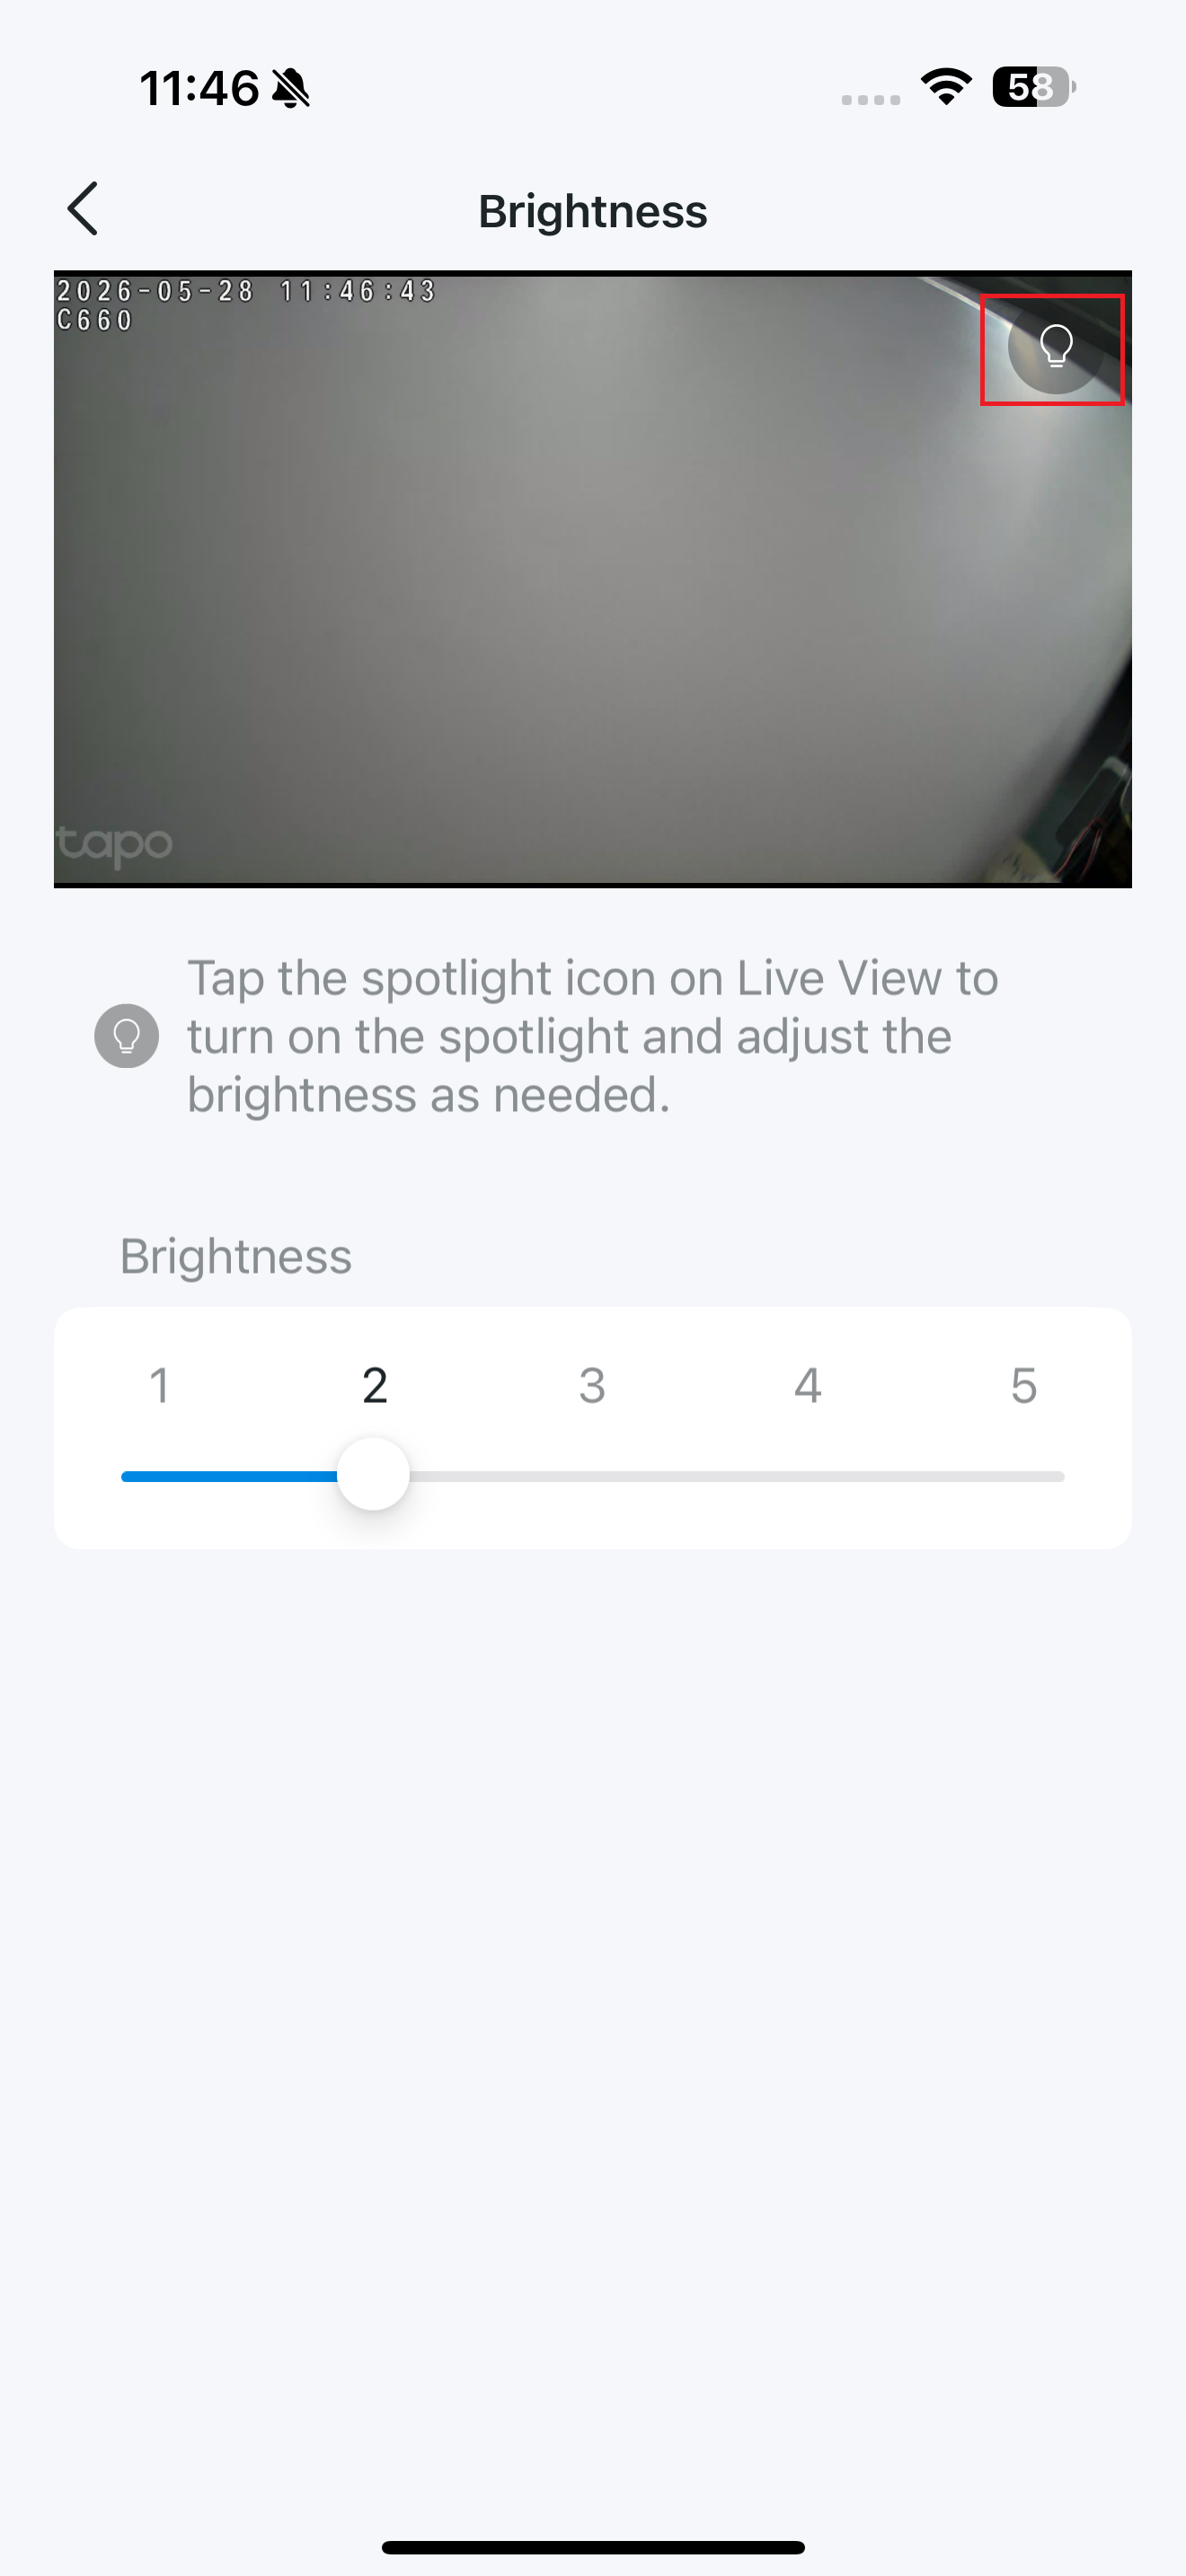
Spotlight Brightness
Tap the spotlight icon on the Live View page to turn on/off the spotlights and adjust the brightness of the spotlights. The illuminated spotlights allow the camera to capture footage in vivid color.
Note: Only cameras equipped with white lights or spotlights have this feature. Here we take Tapo C660 as an example.
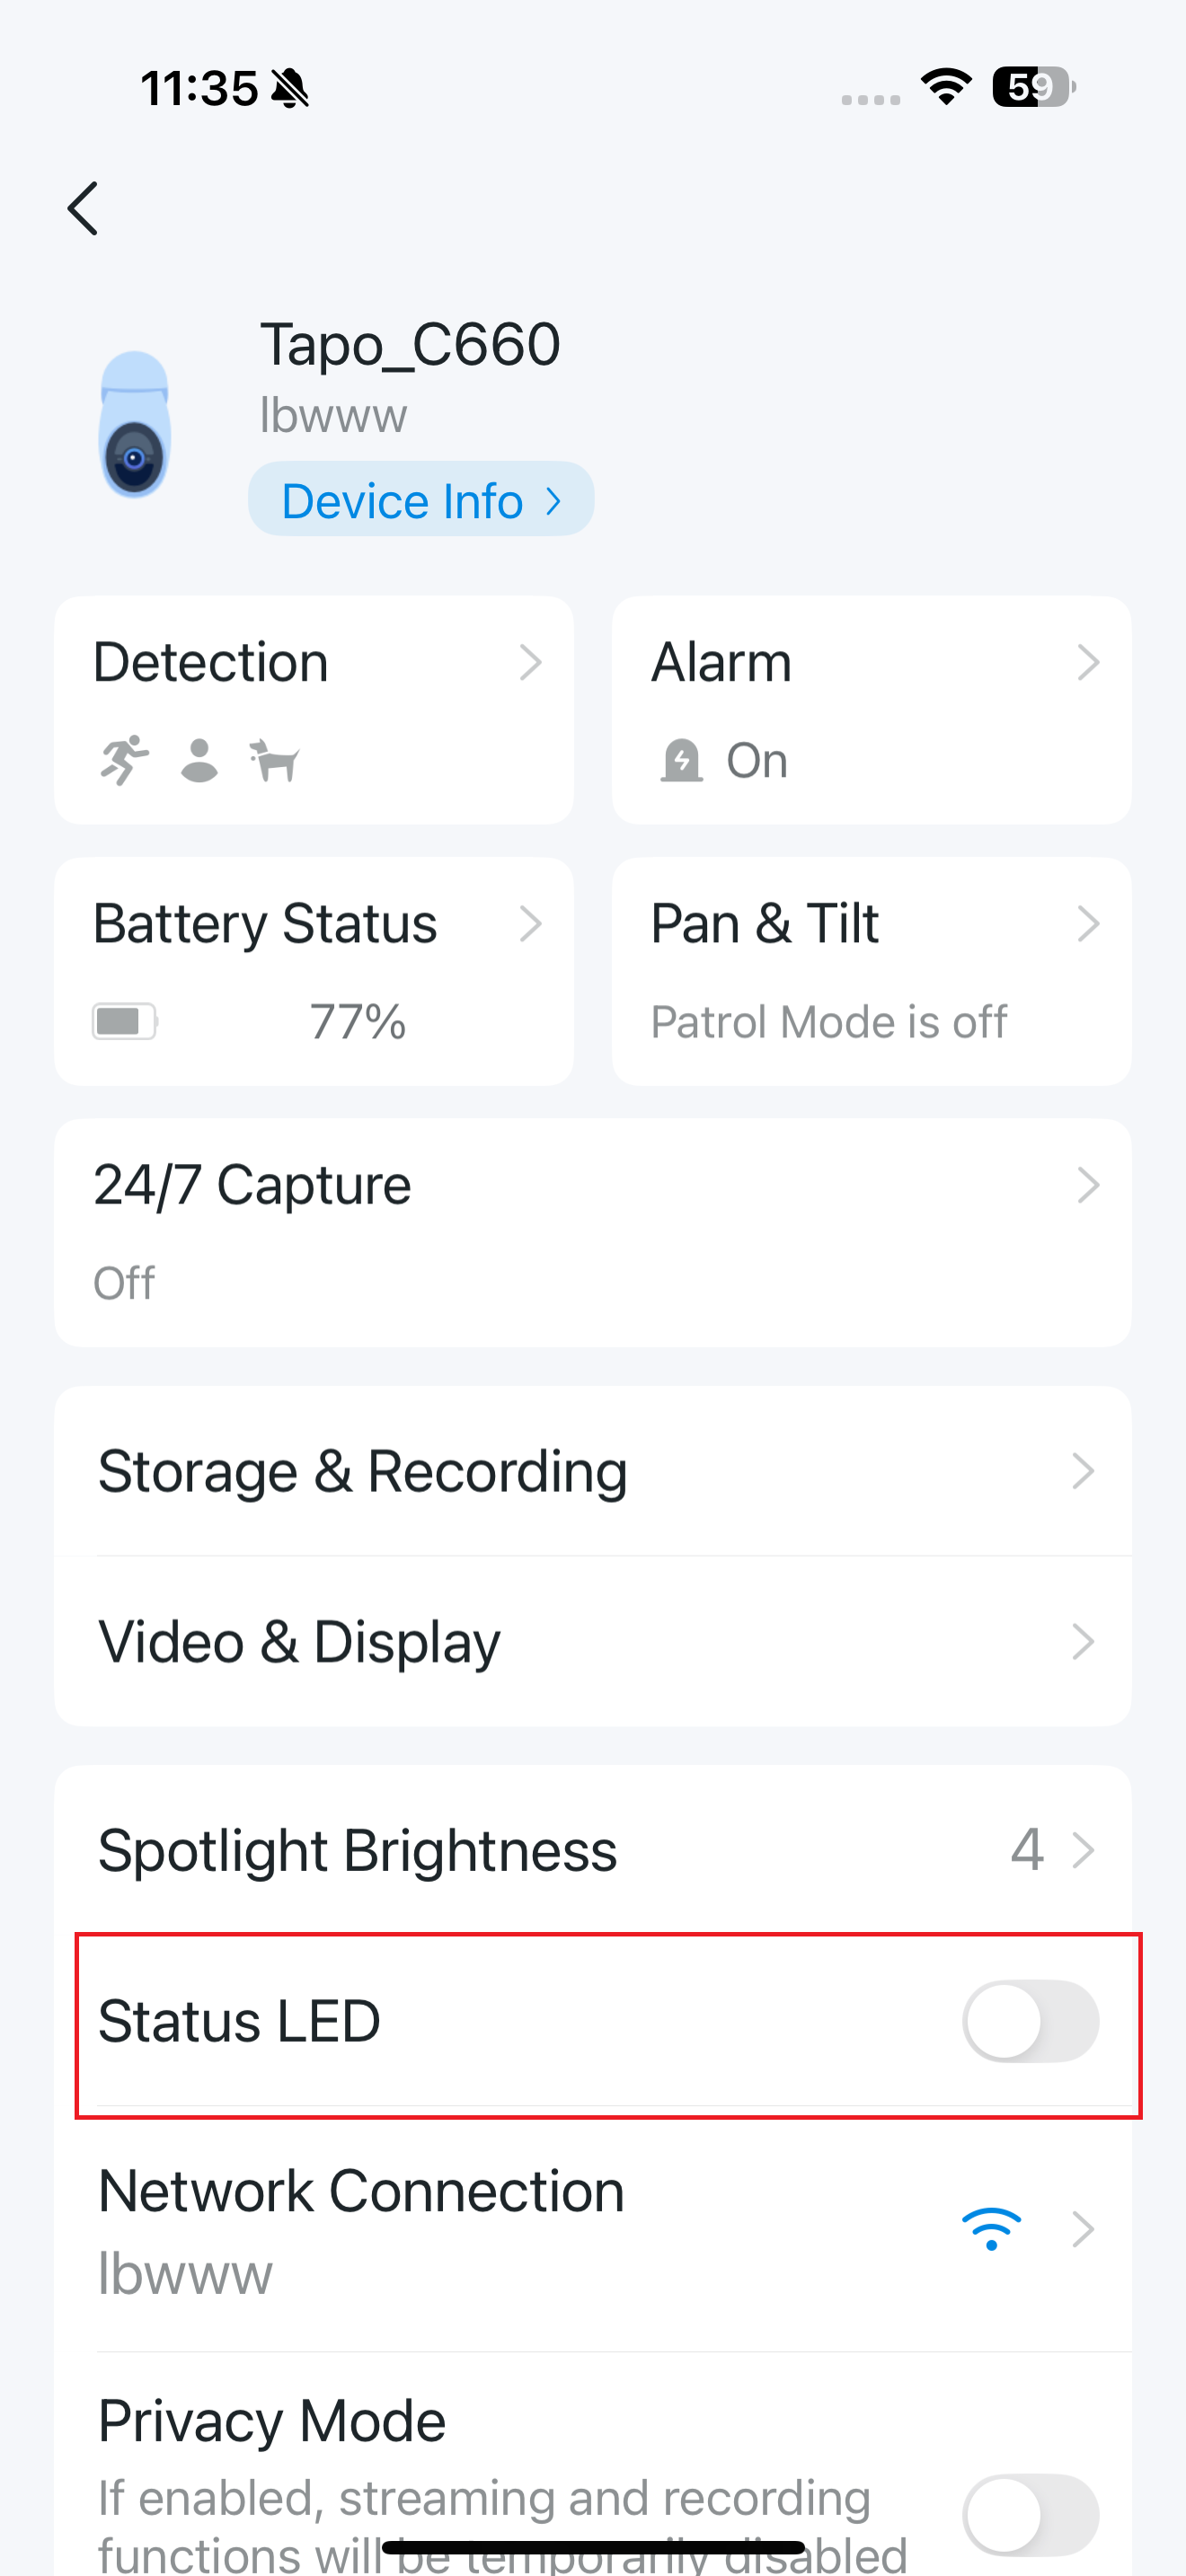
Status LED
Toggle off the Status LED if you want the camera to work with the system LED off to avoid attention.
Note: The LED will turn off during normal operation, but error indicators will remain active for troubleshooting.
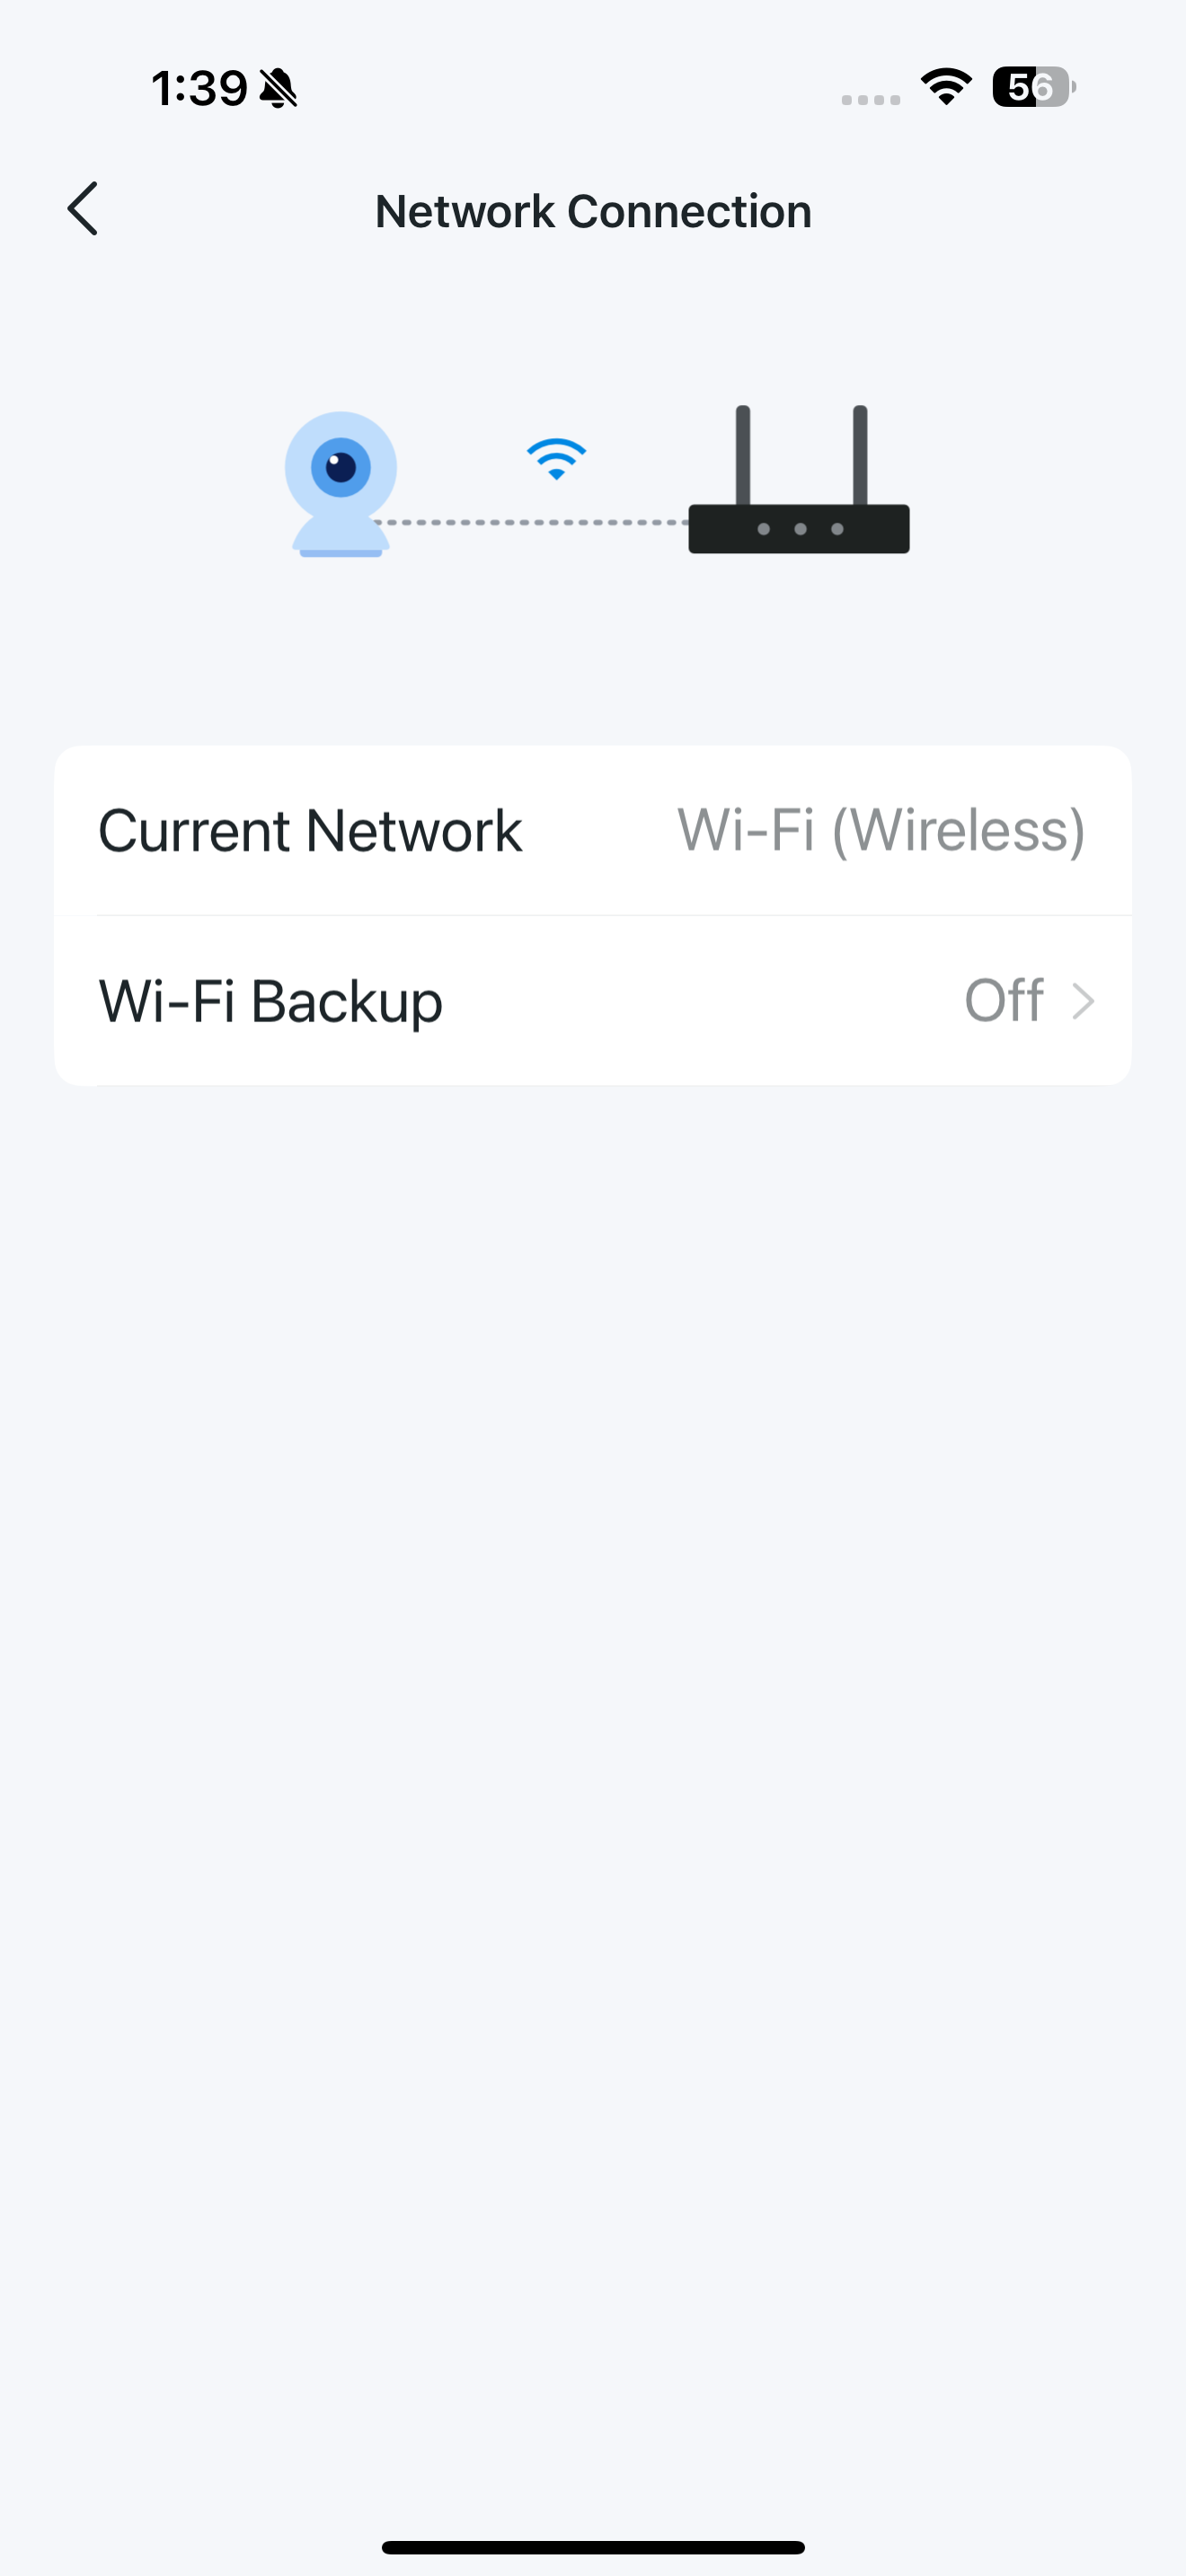
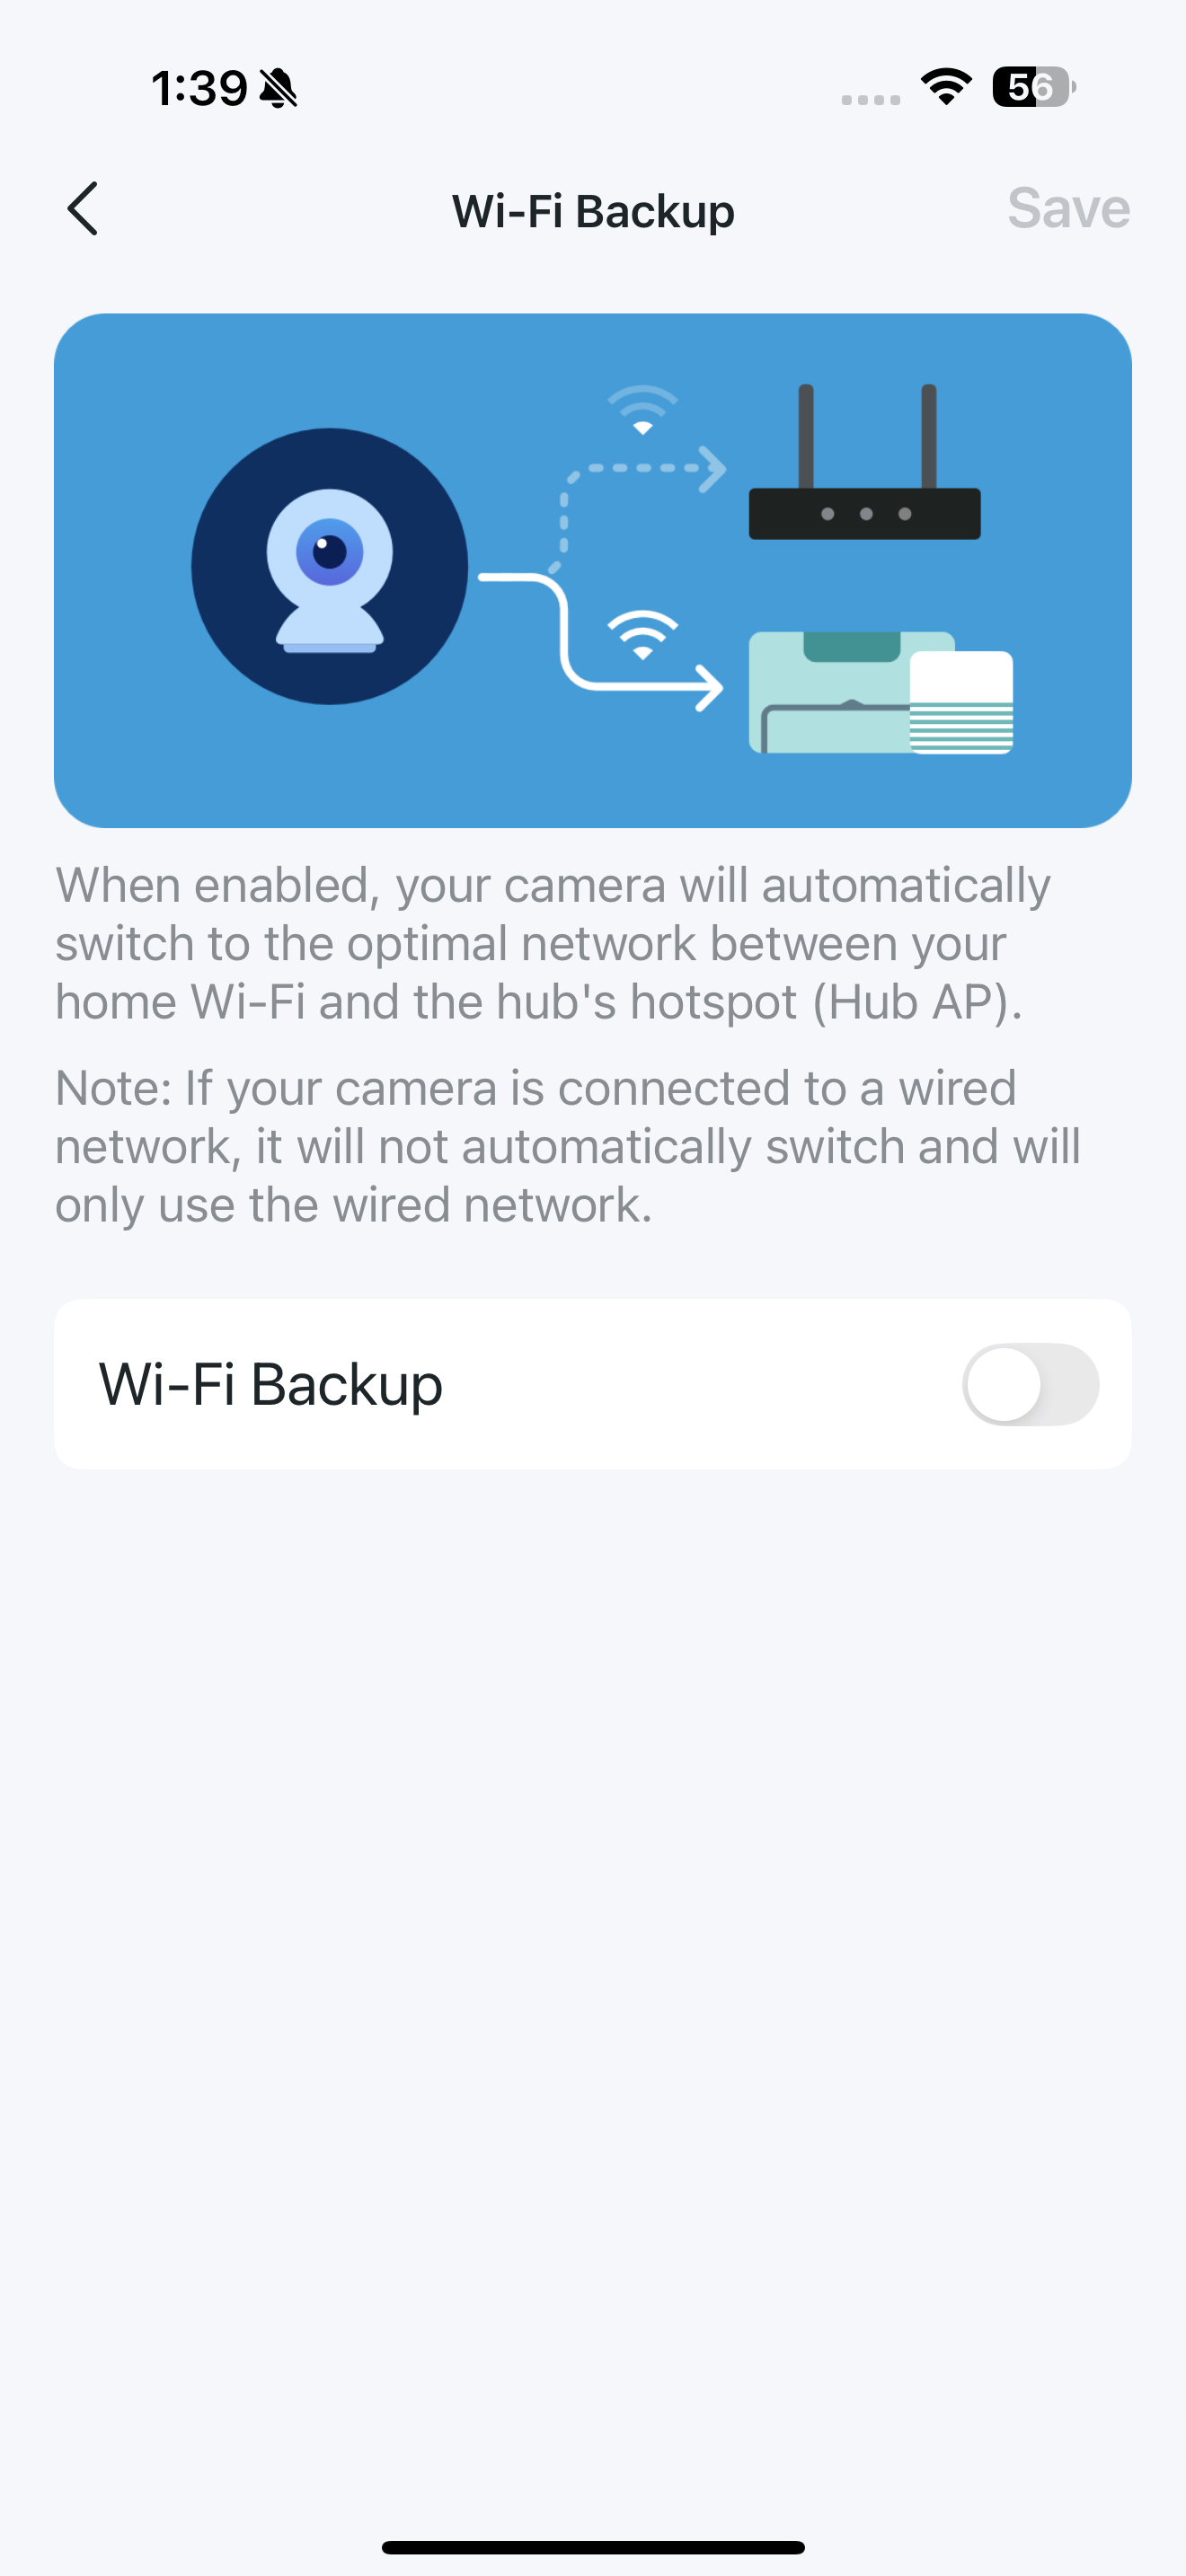
Network Connection
You can check the device's current connection and set up a backup Wi-Fi network for your camera to automatically switch to, ensuring optimal performance.
Note: If your camera is connected to a wired network, it will not automatically switch and will only use the wired network.
4G Network Connection
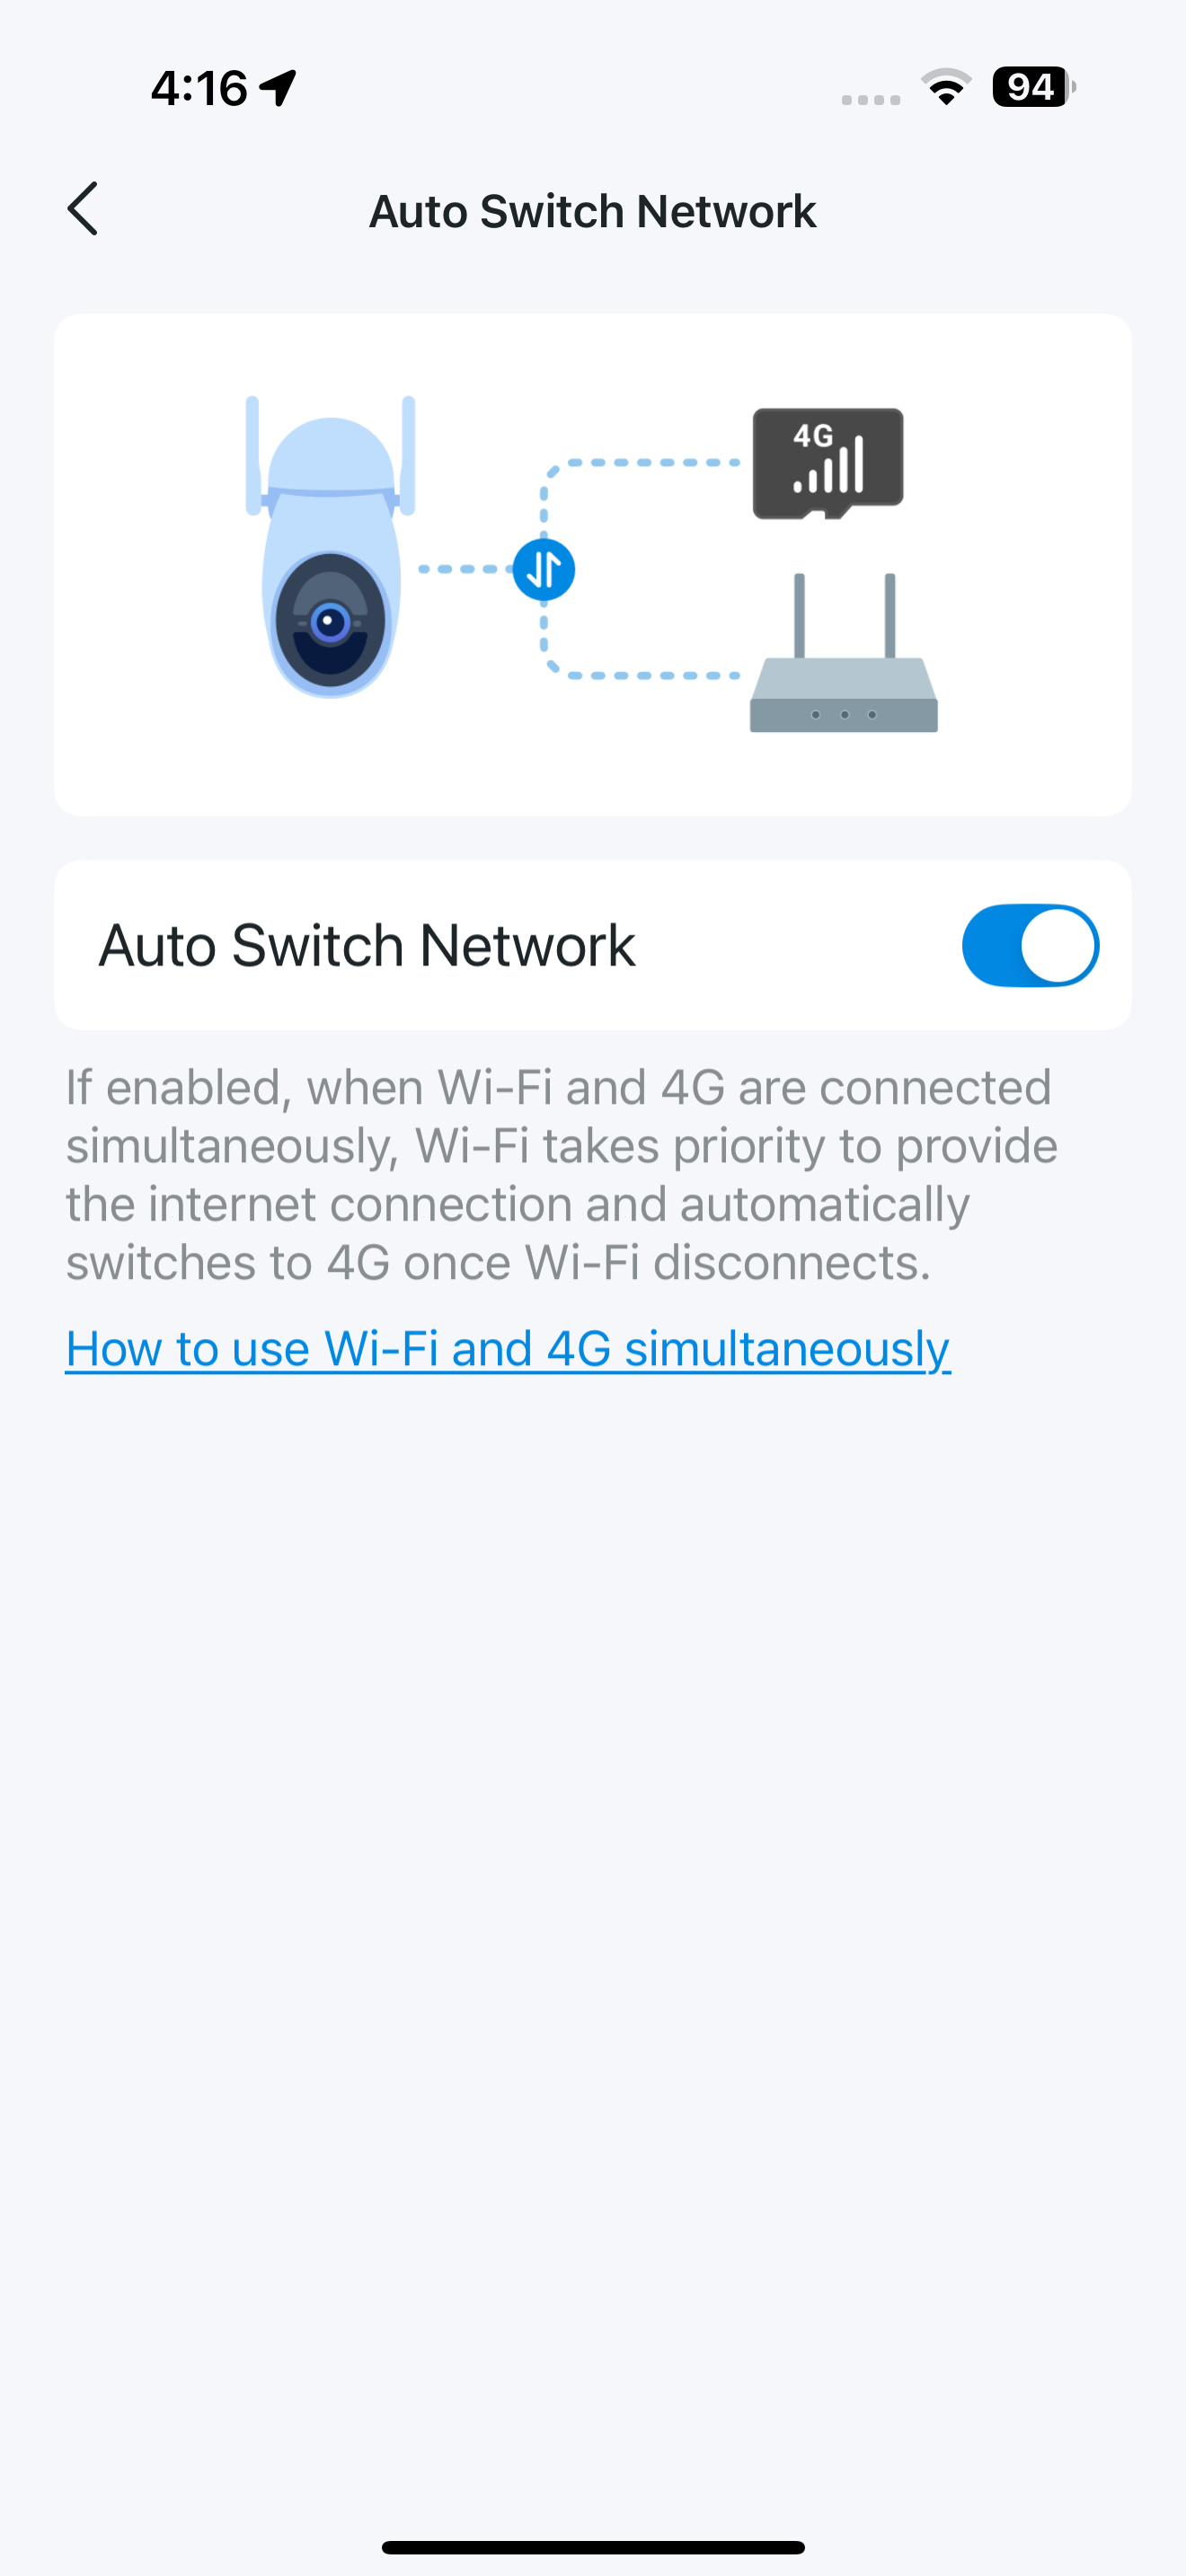
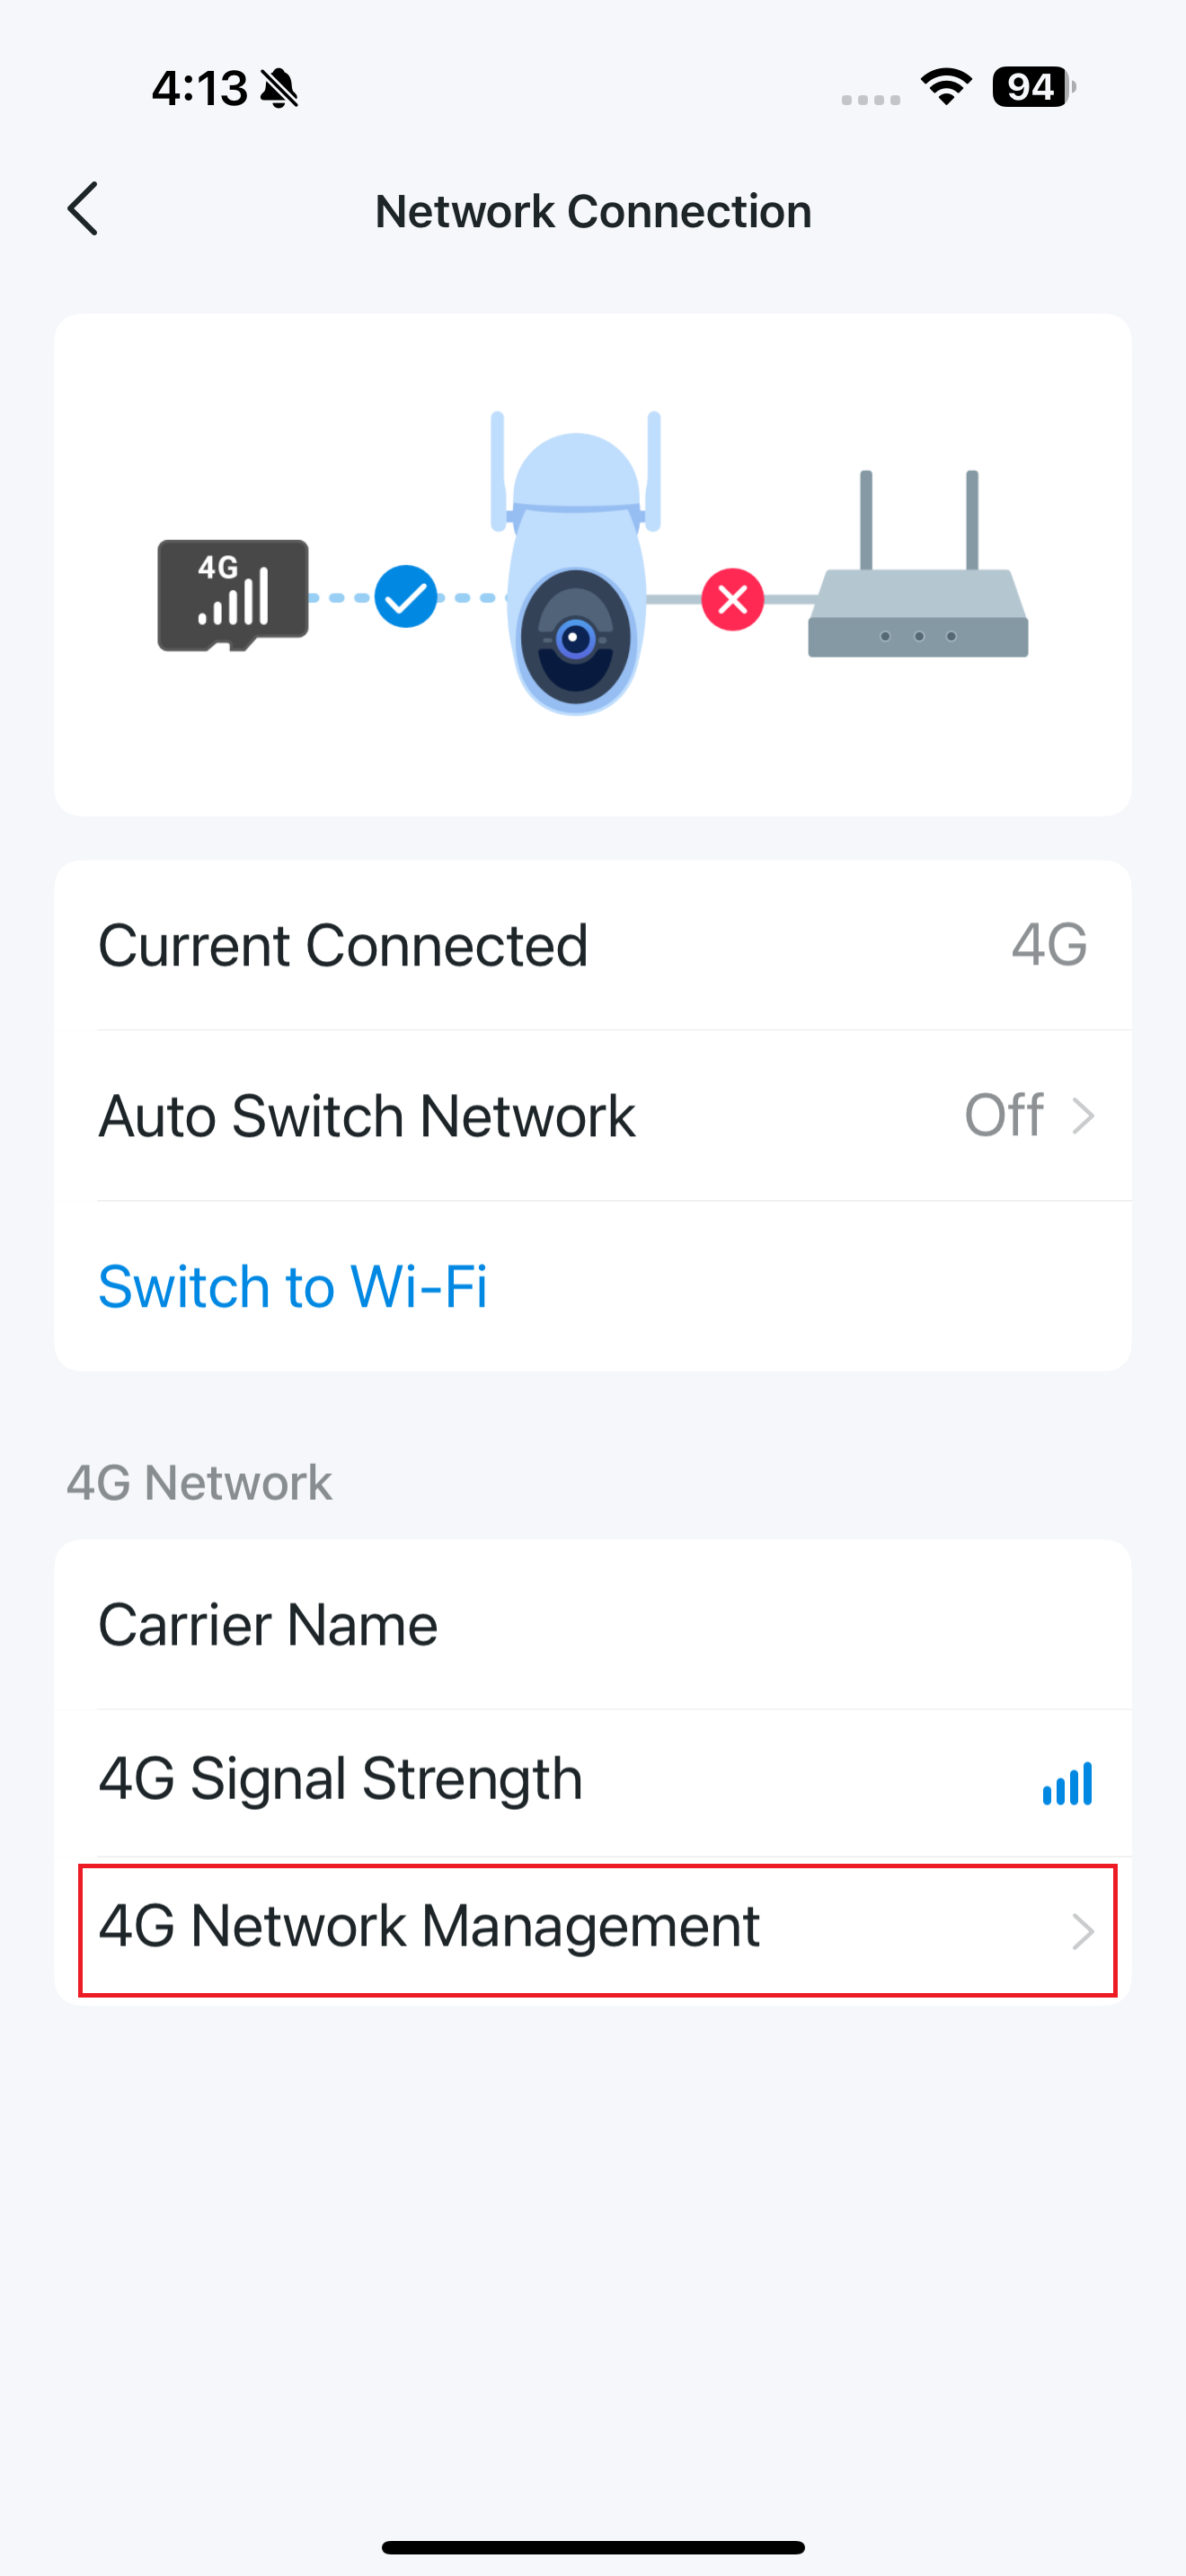
4G cameras can switch between cellular and Wi-Fi networks as needed. Enable Auto Switch Network when Wi-Fi and 4G are both connected, the camera will automatically change to 4G once Wi-Fi disconnects.
Note: Only 4G cameras support this feature. Here we take Tapo C665G as an example.
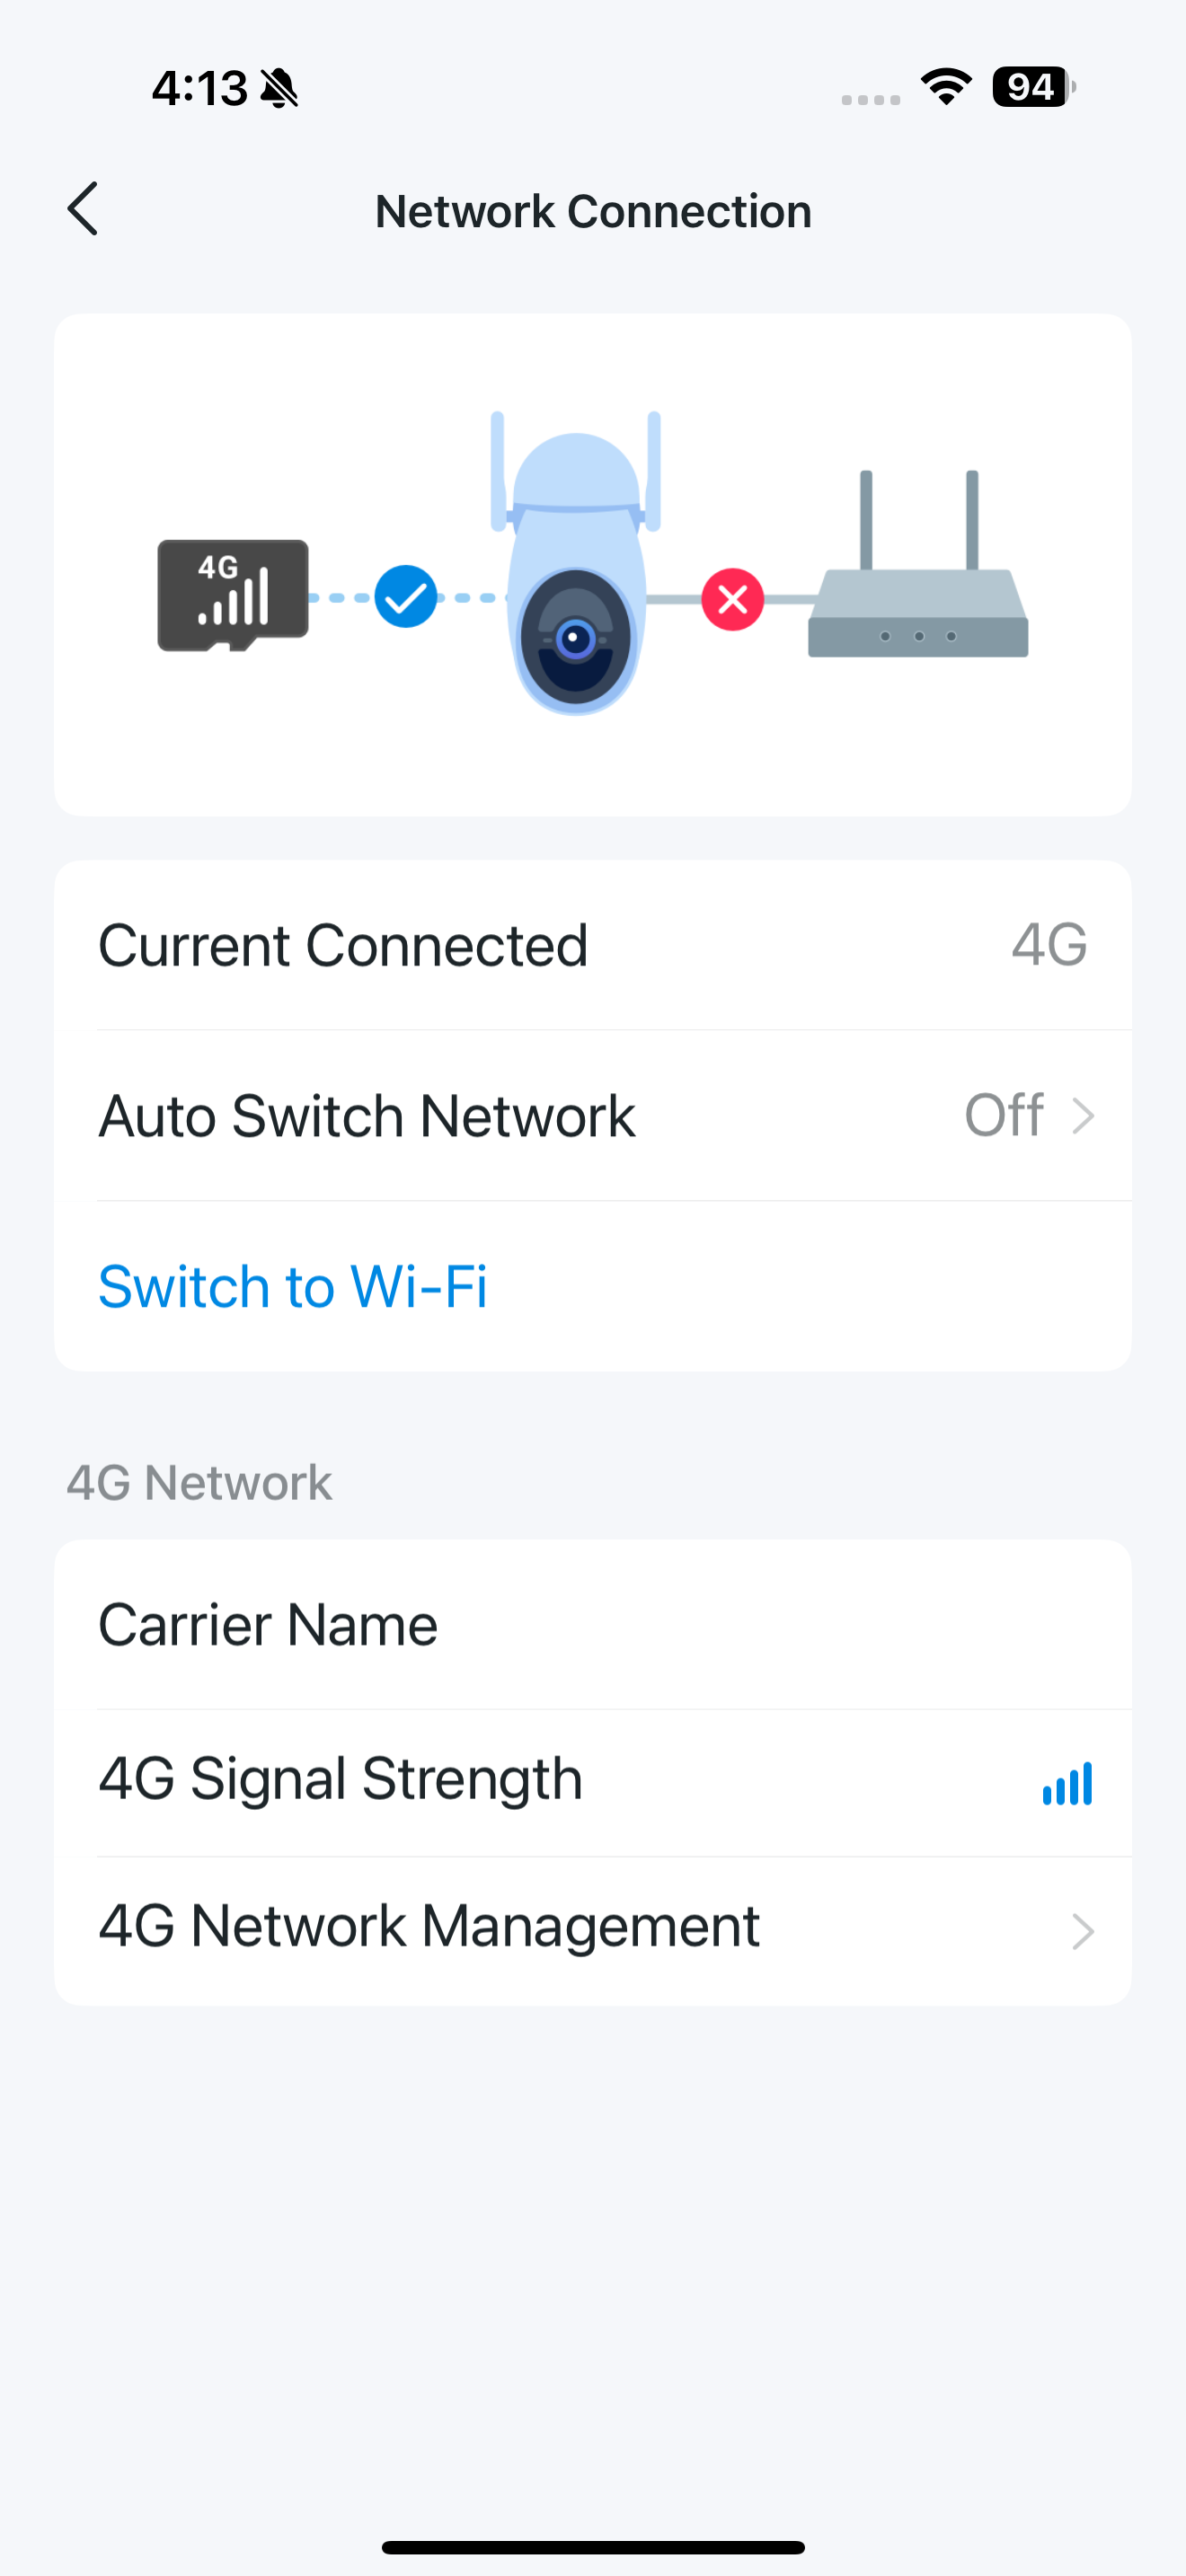
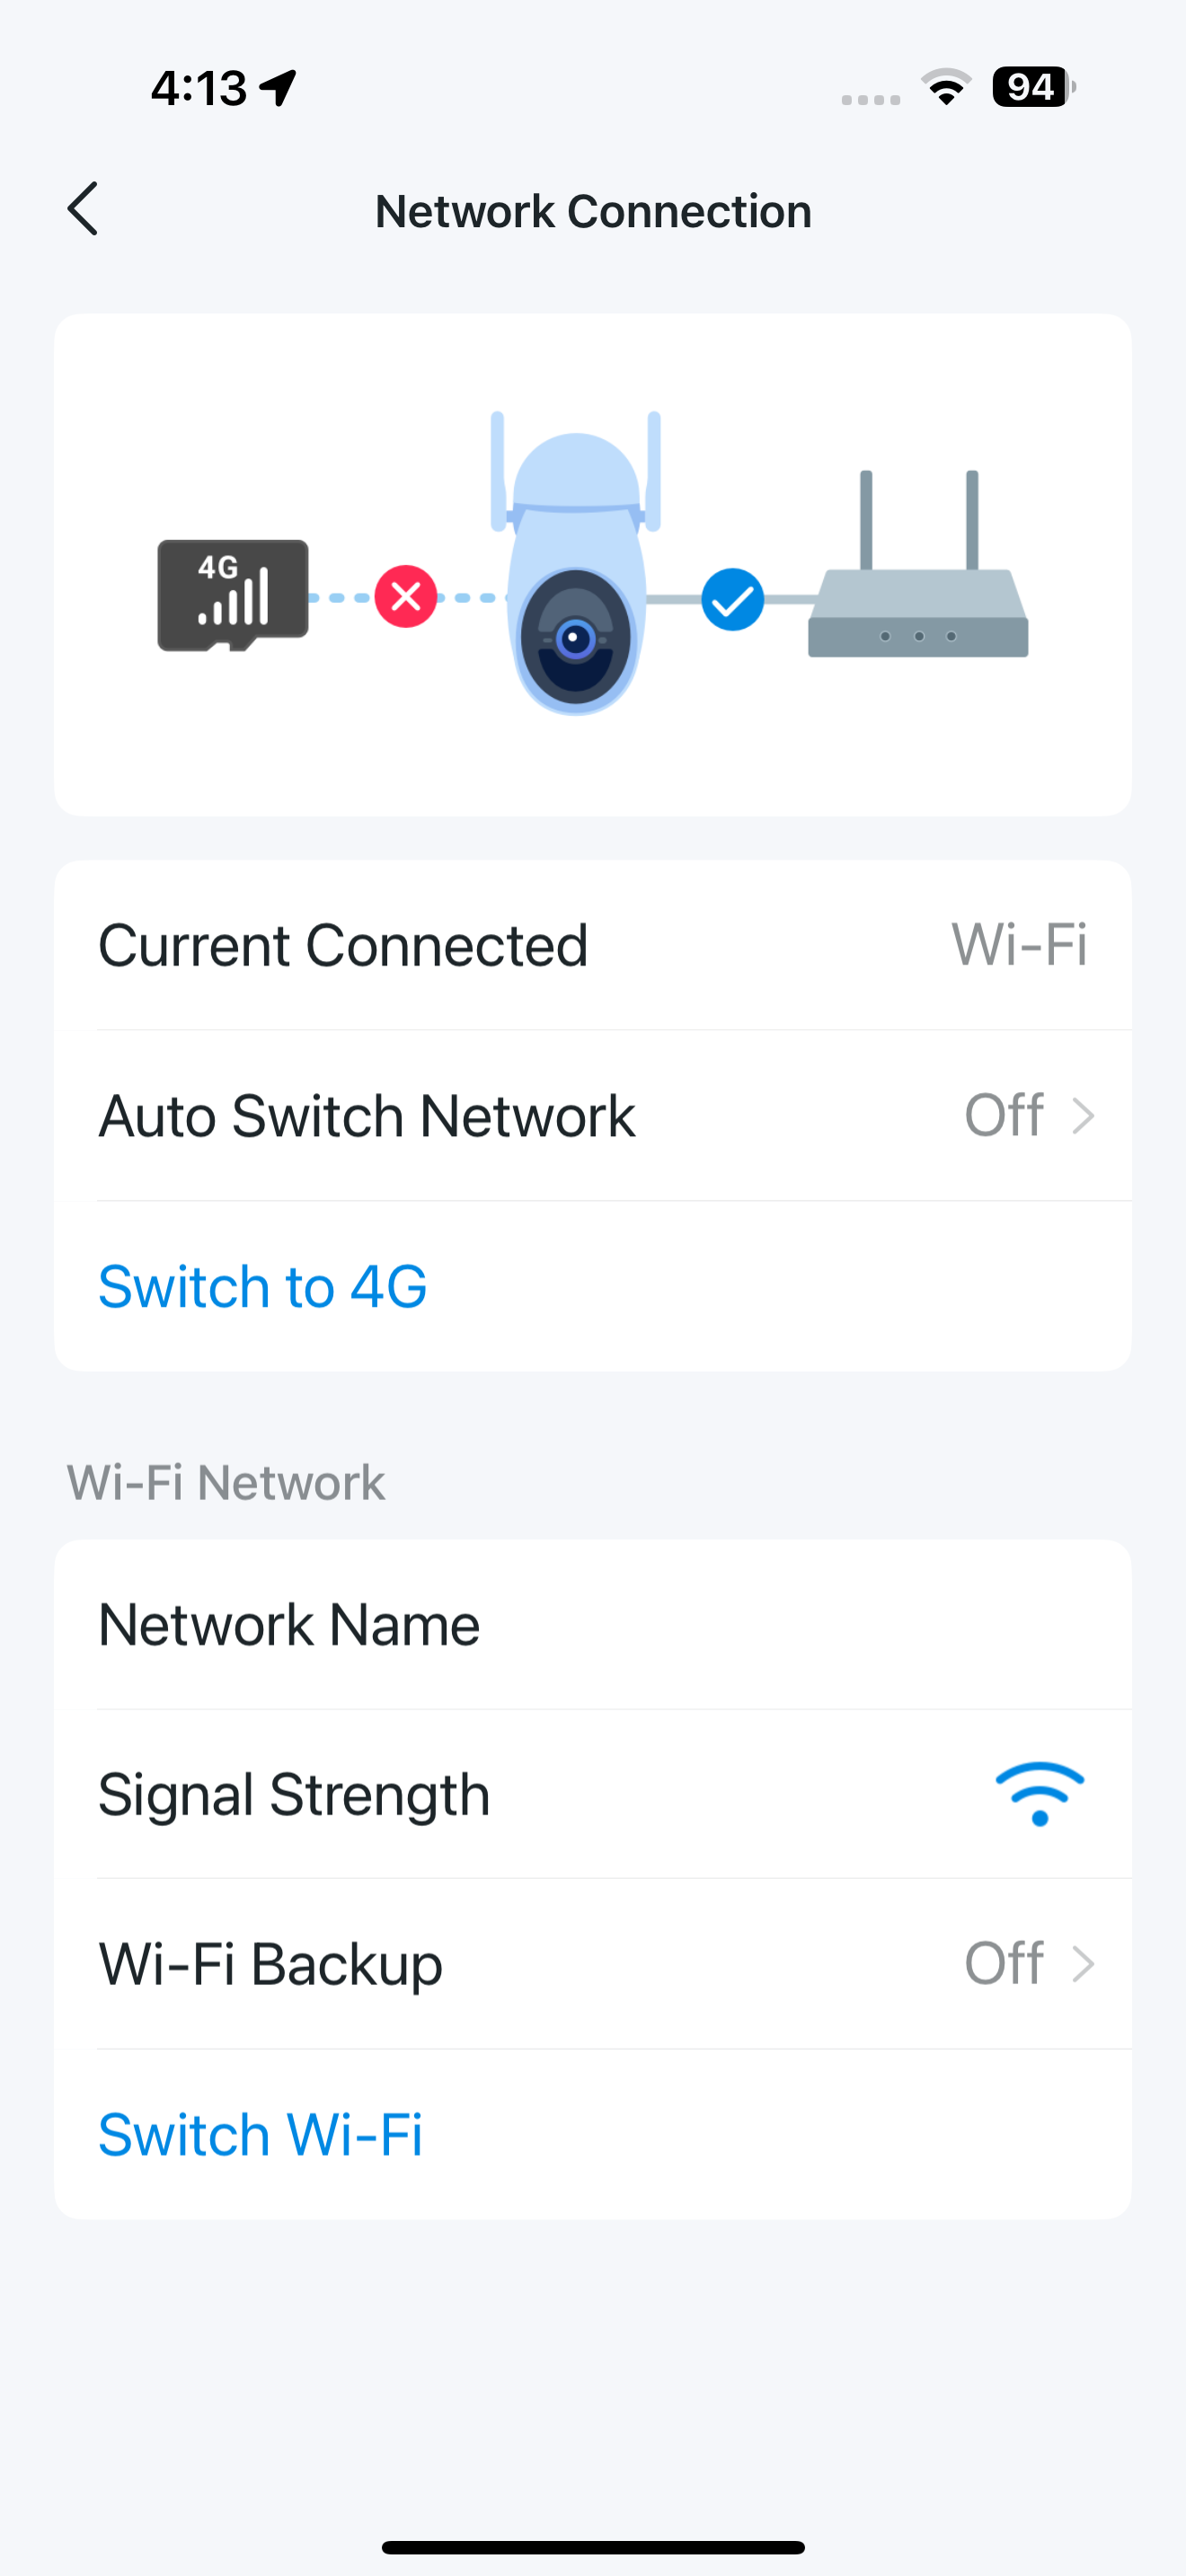
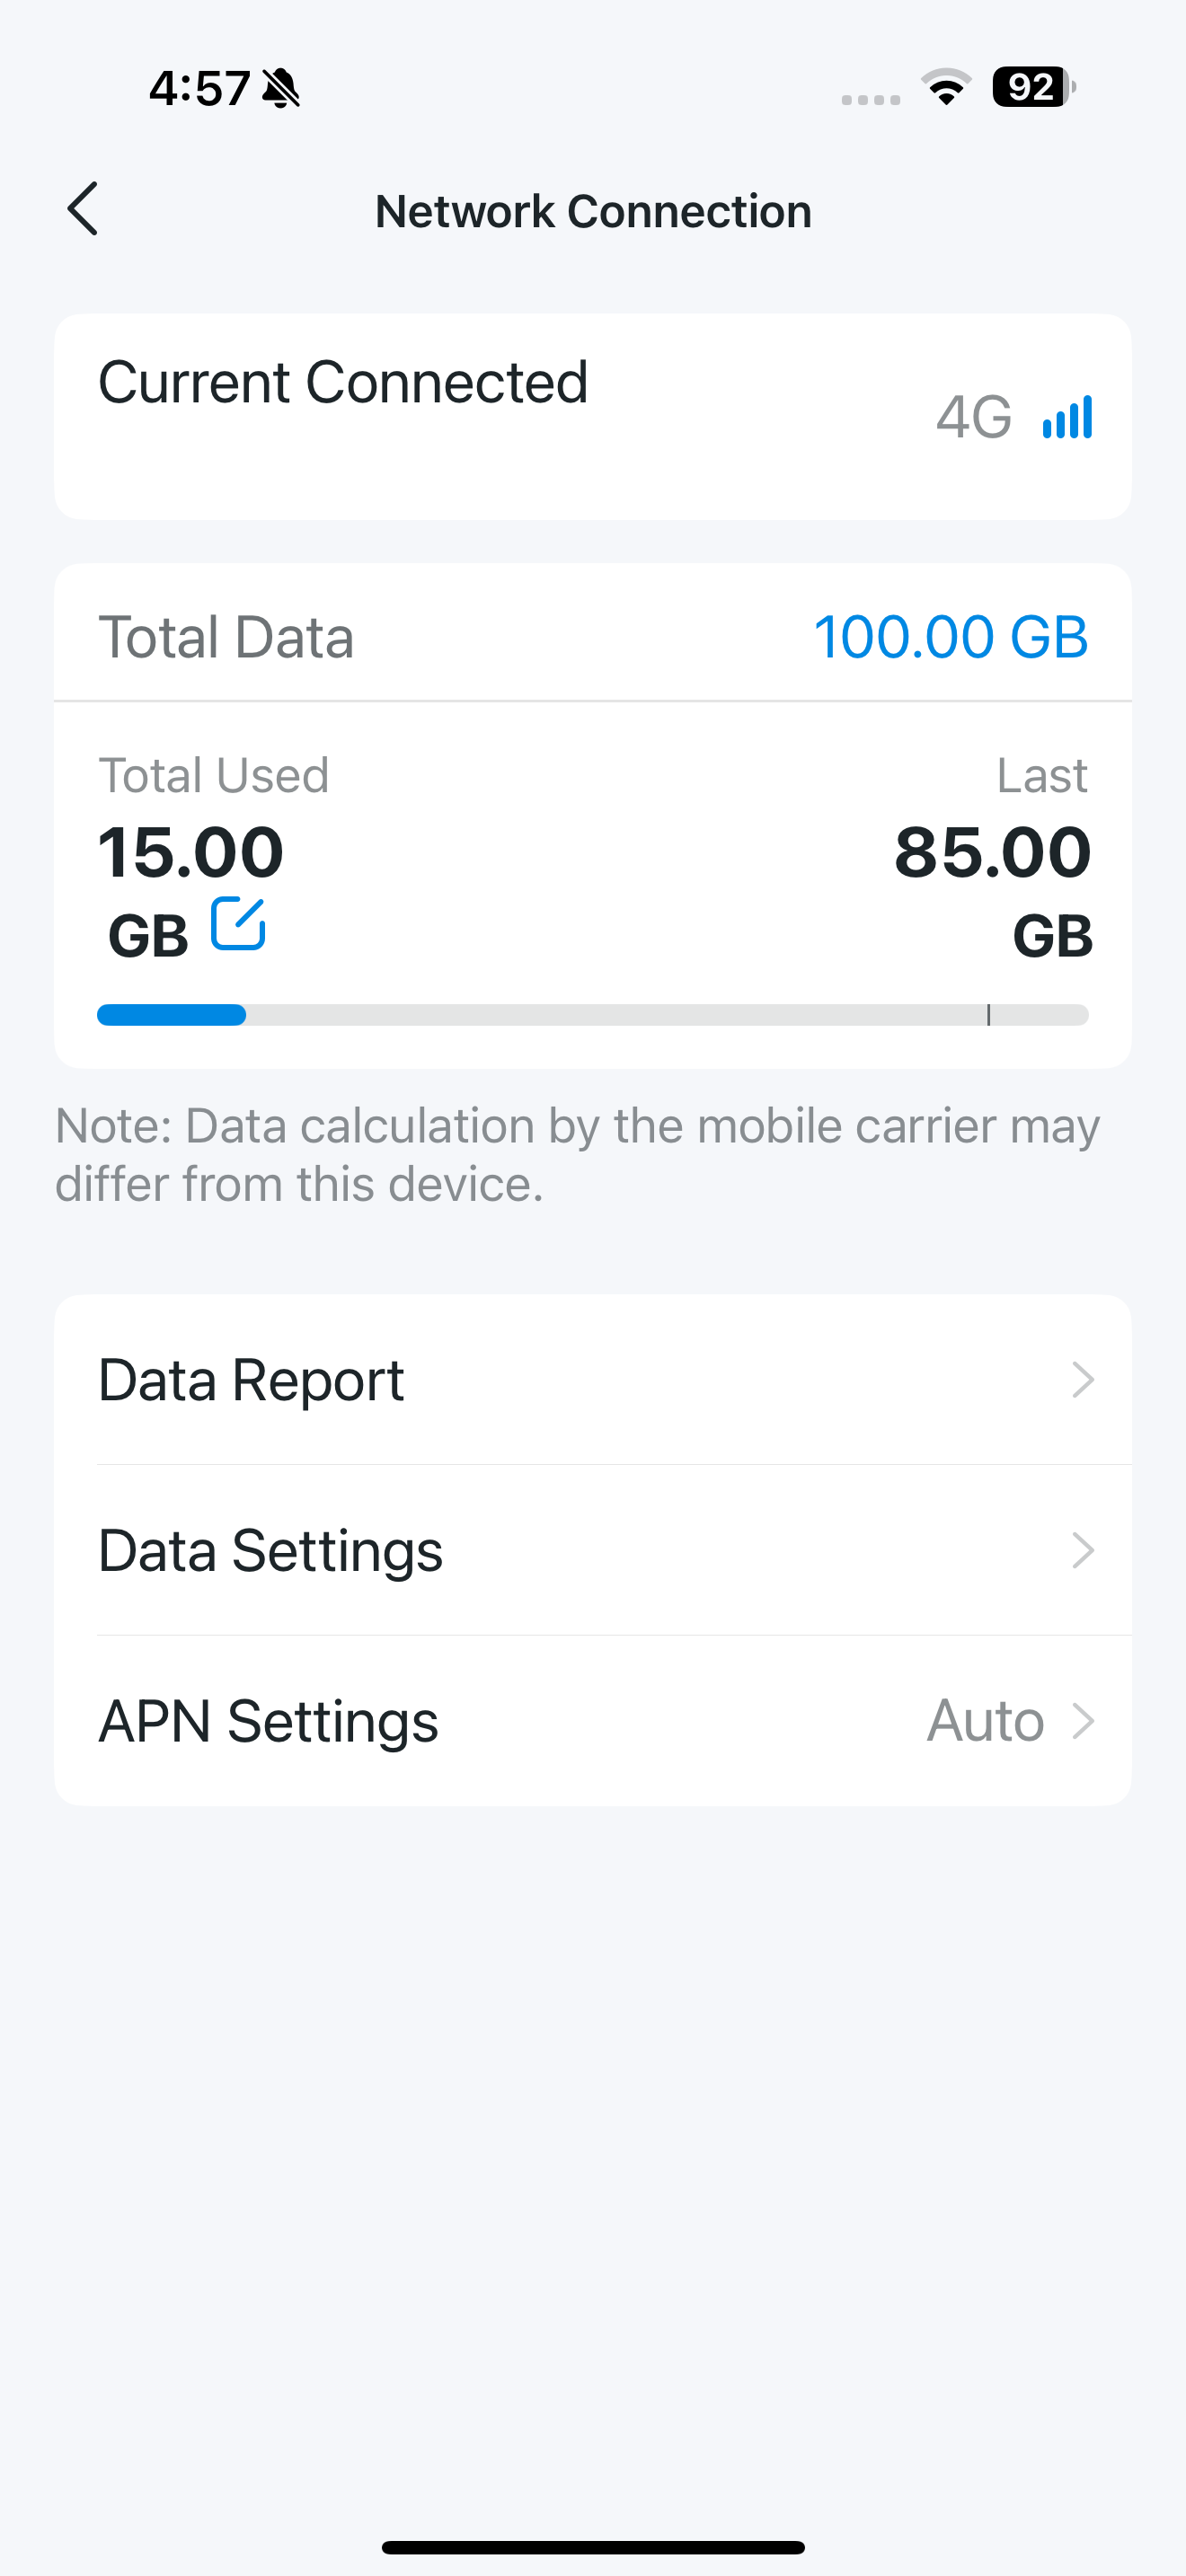
When your camera is using 4G, you can go to 4G Network Management to check Data Report, customize your data plan, and configure APN settings.
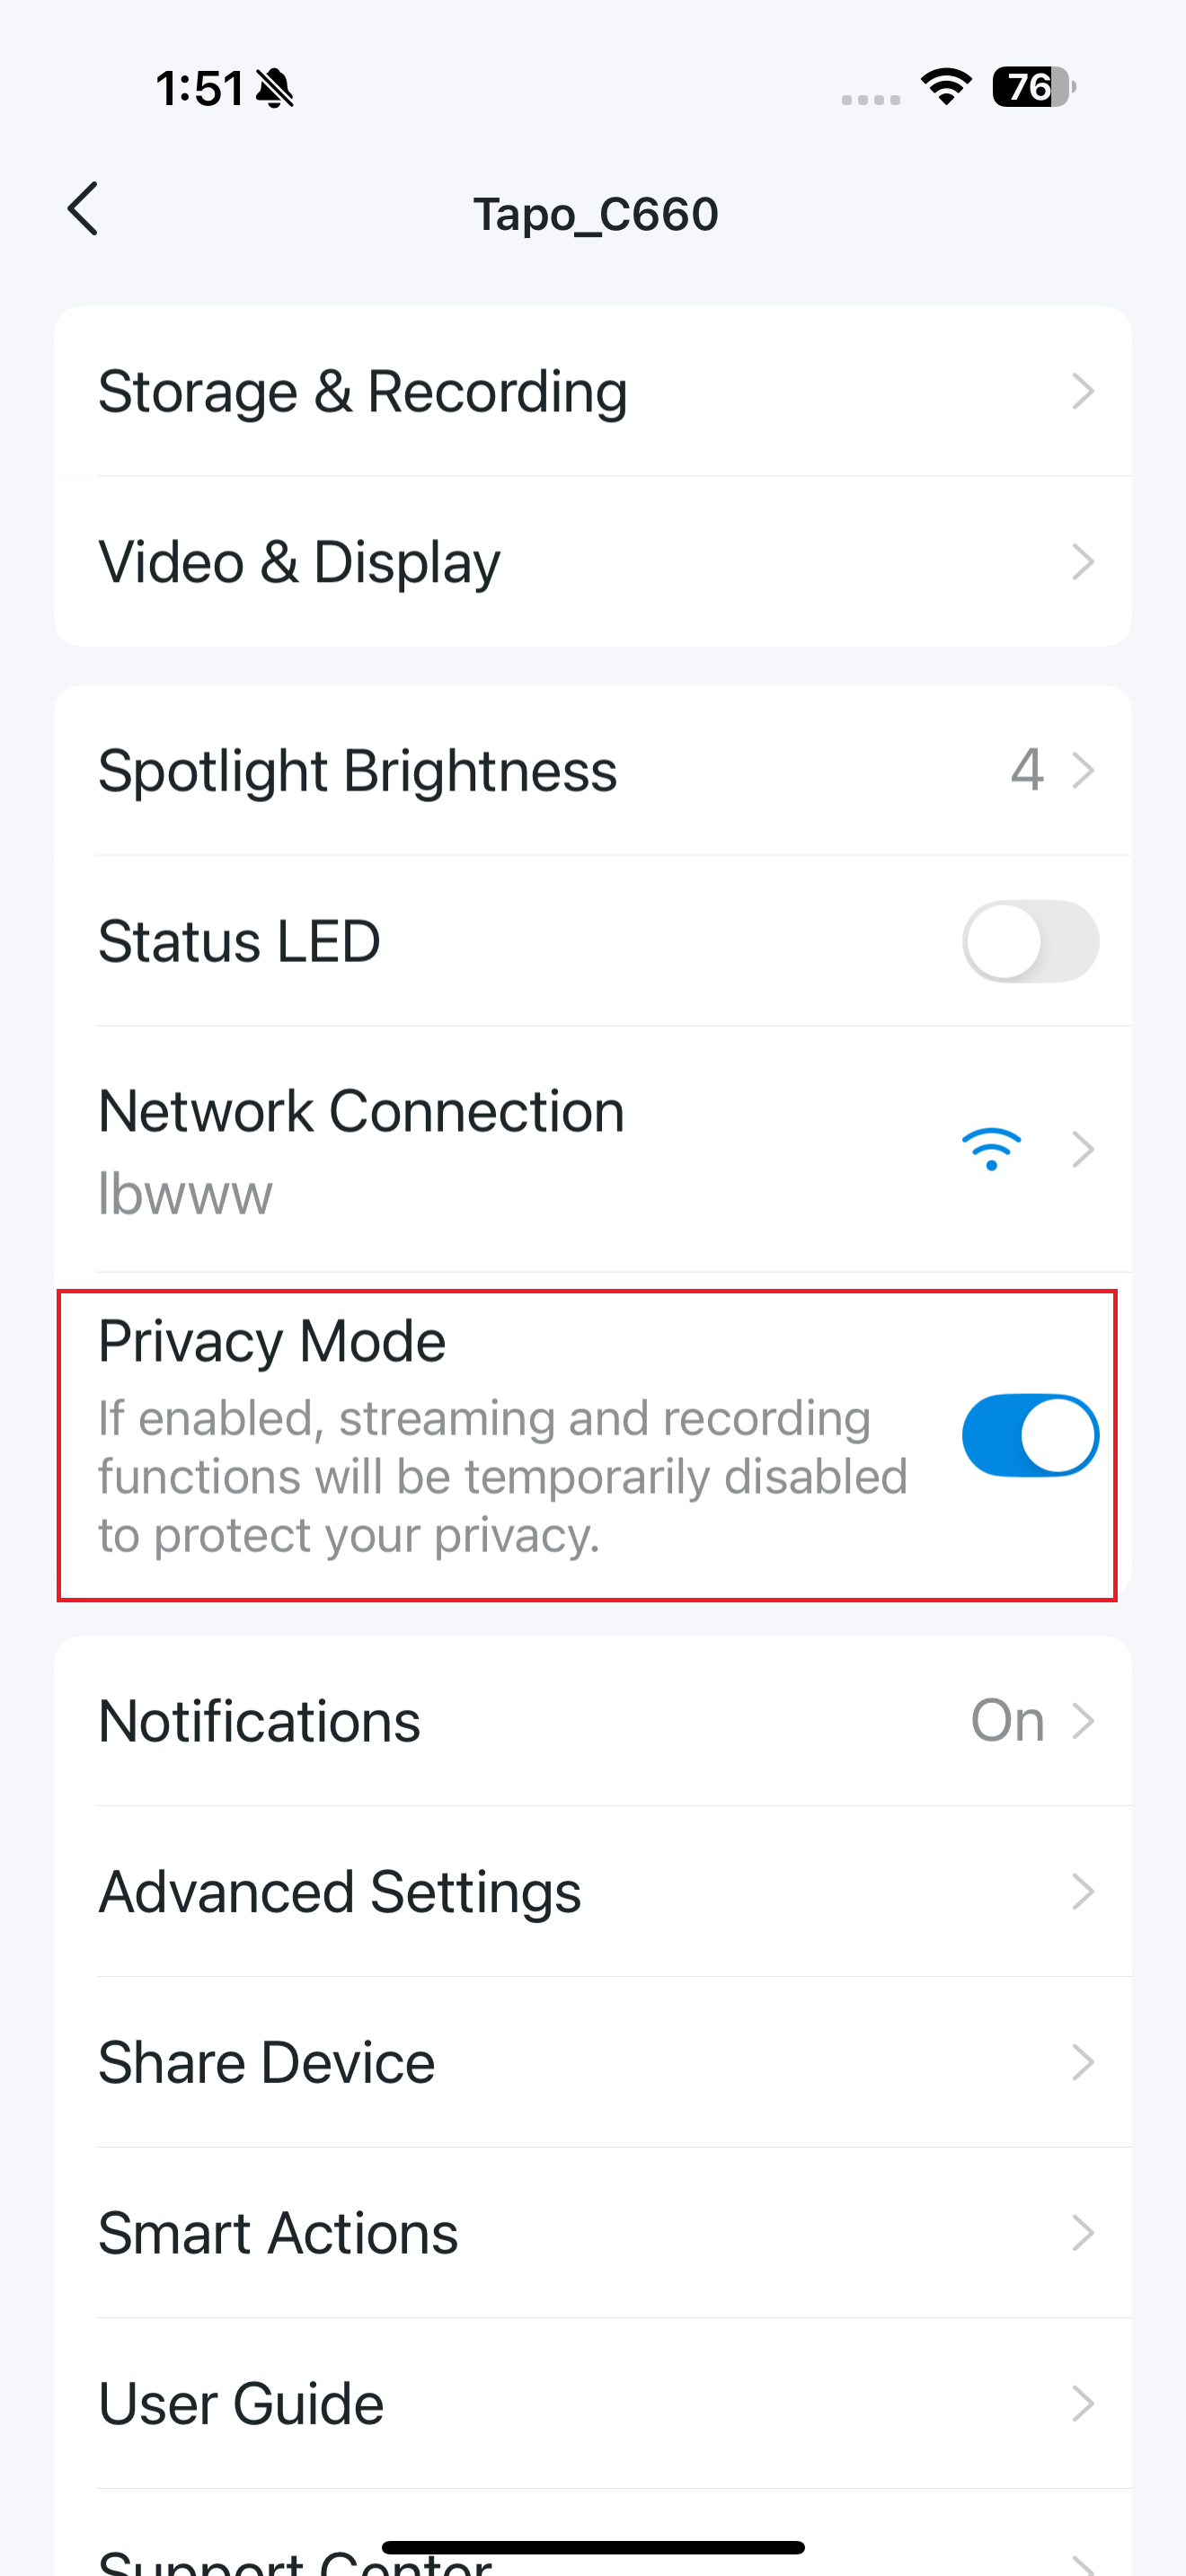
Privacy Mode
Once enabled, the streaming and recording functions will be temporarily disabled to protect your privacy.
Notifications
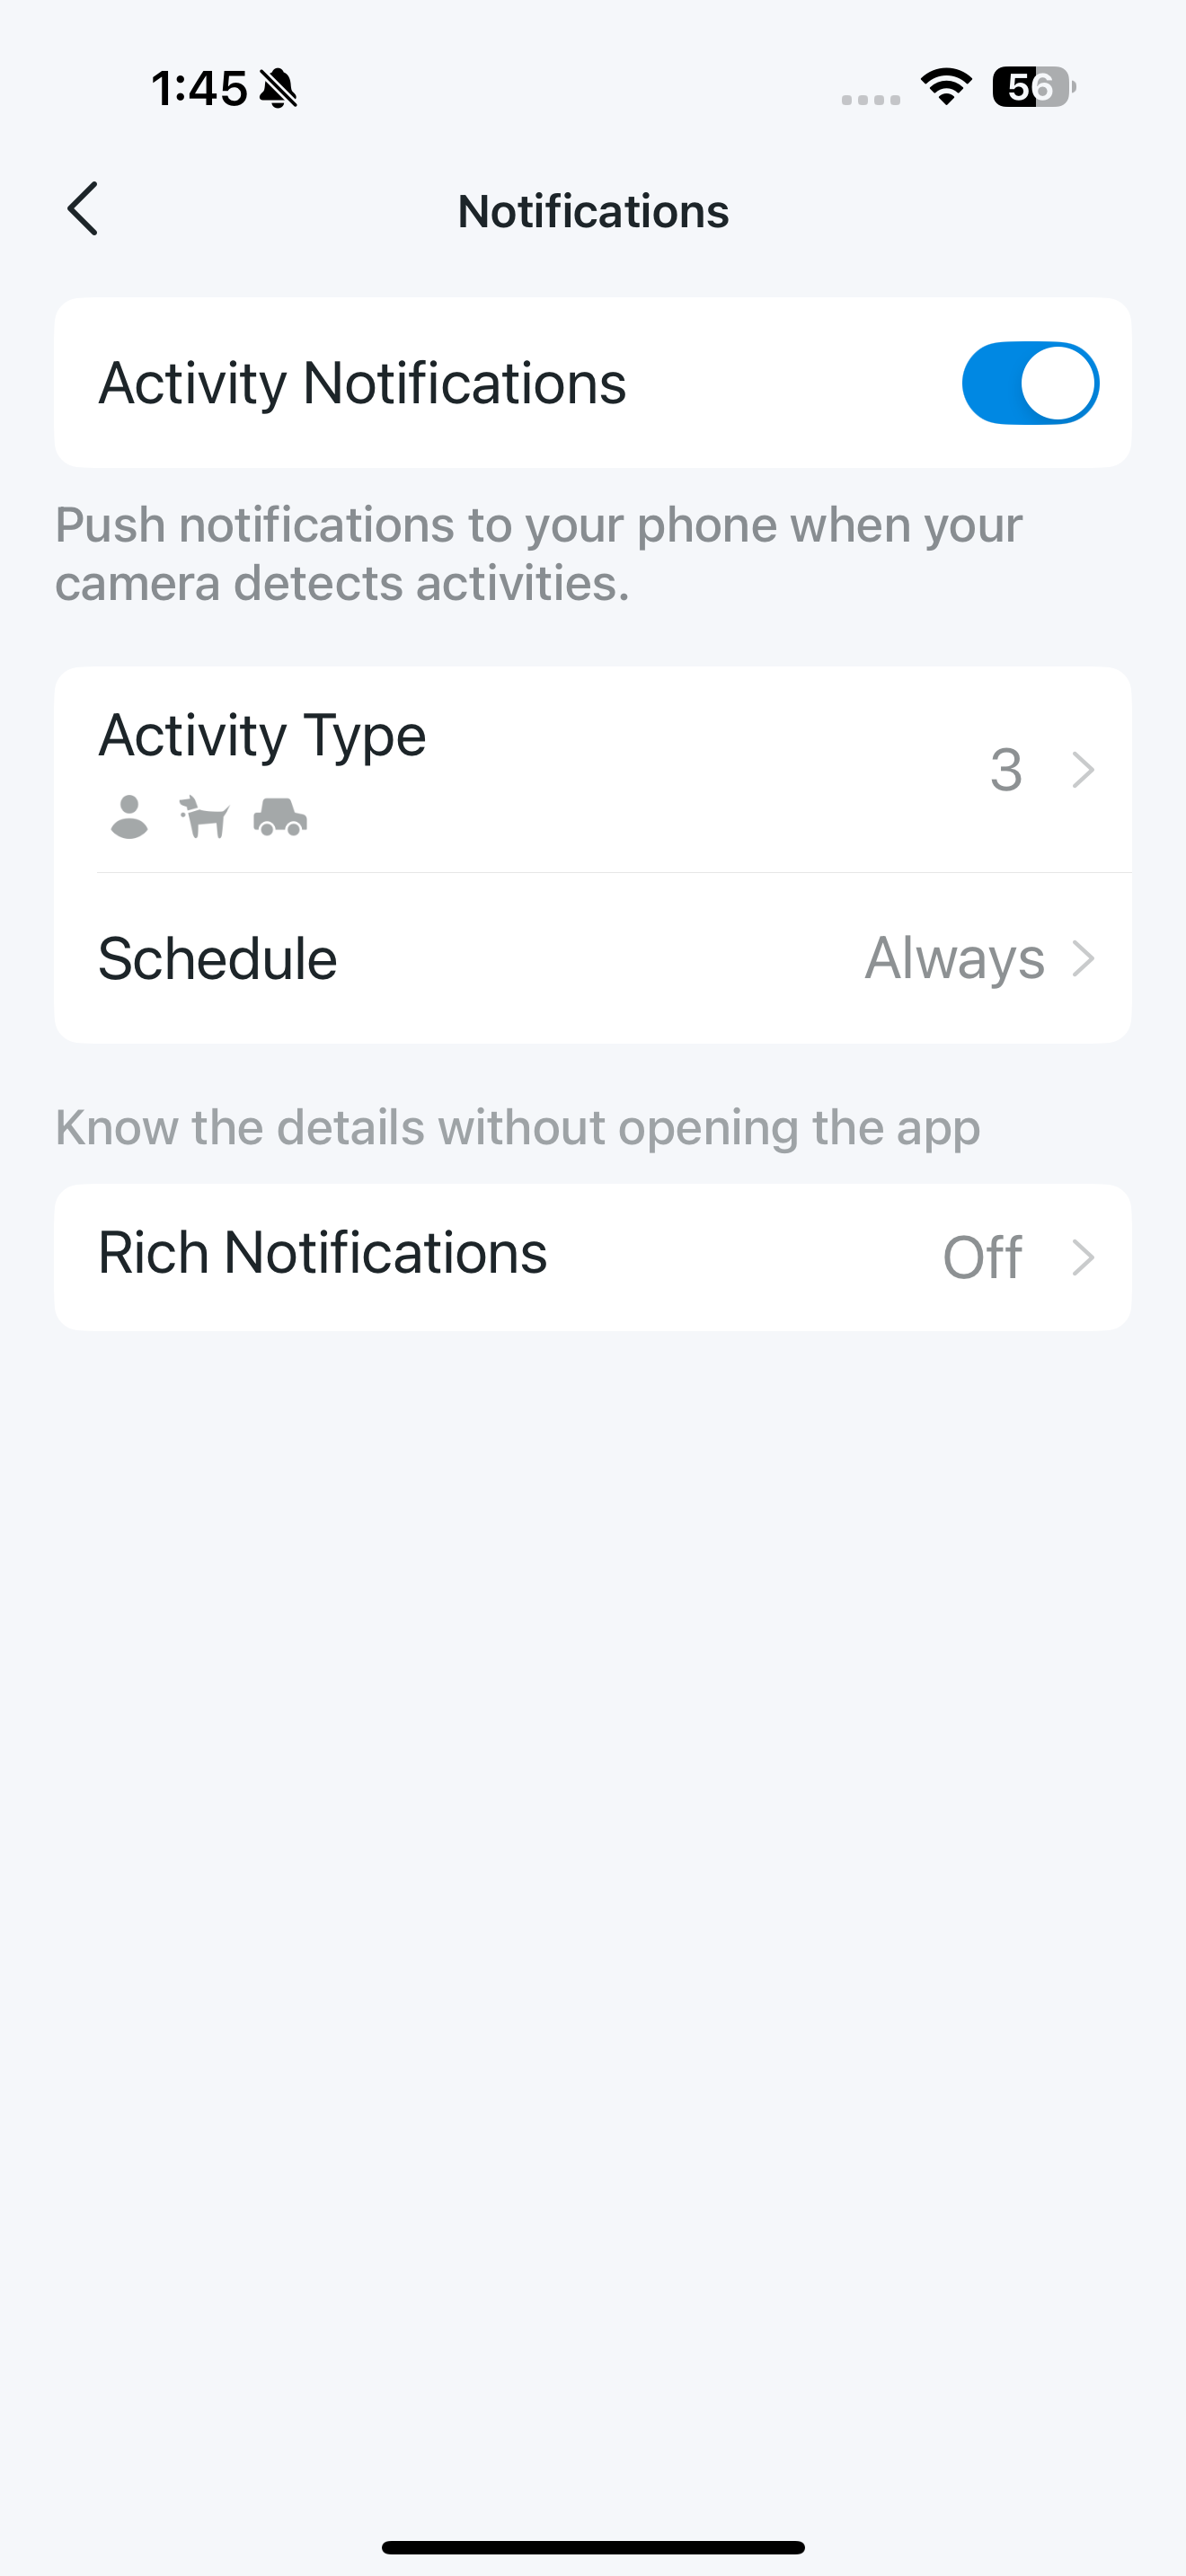
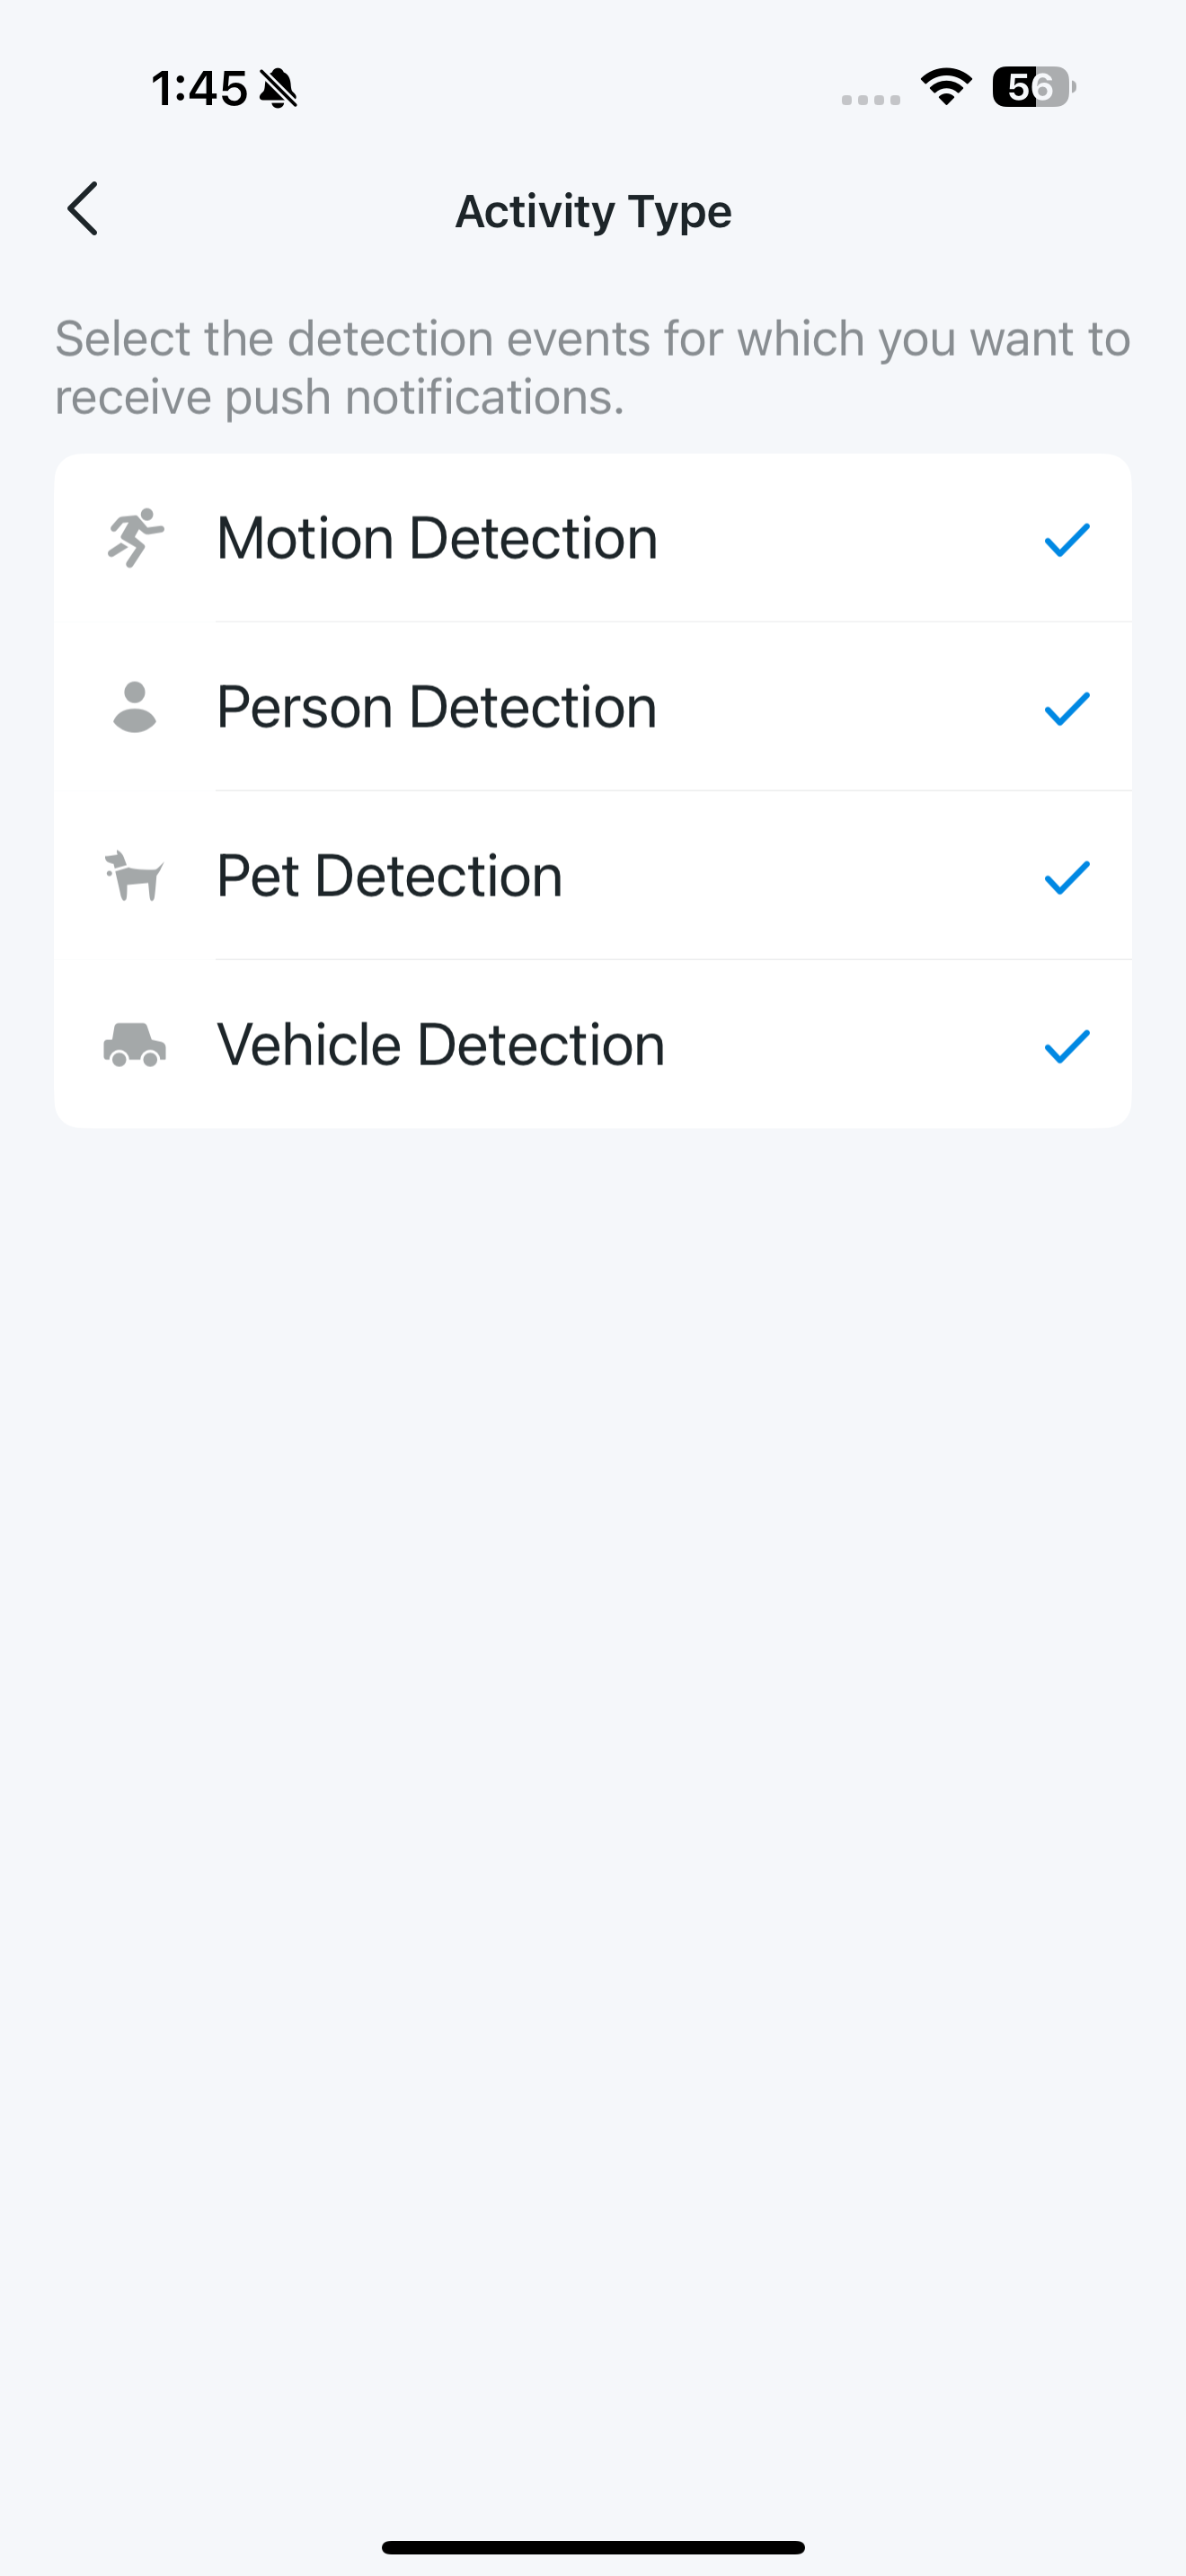
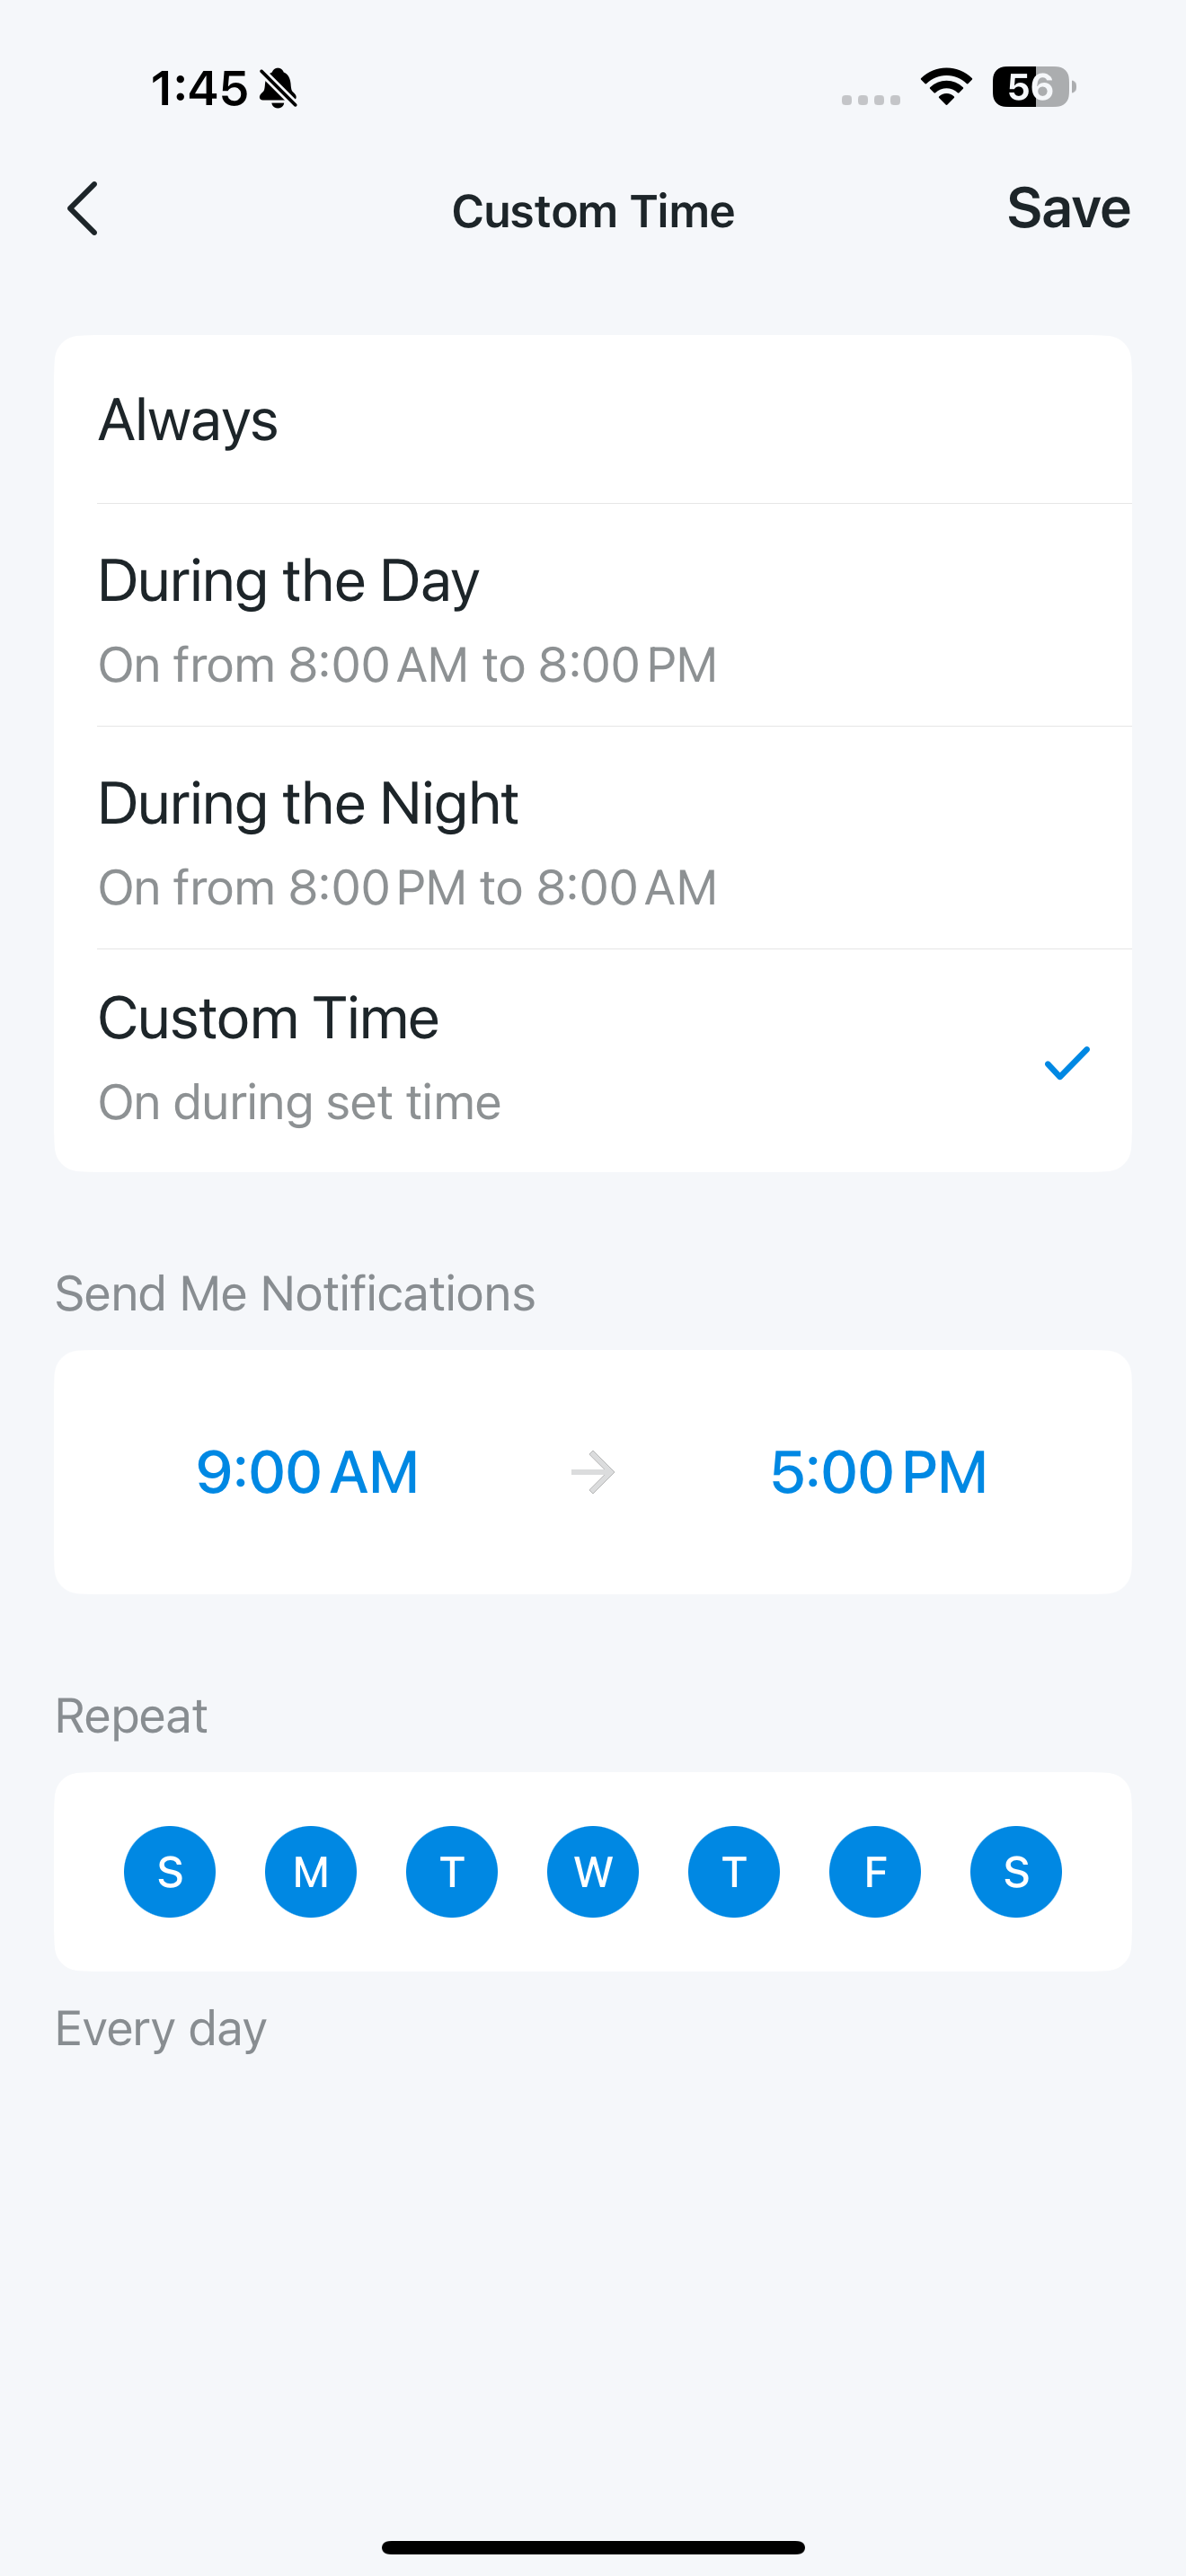
If enabled, Tapo will send notifications to your phone when the camera detects activity. You can select the types of activity you're interested in and customize the detection schedule.
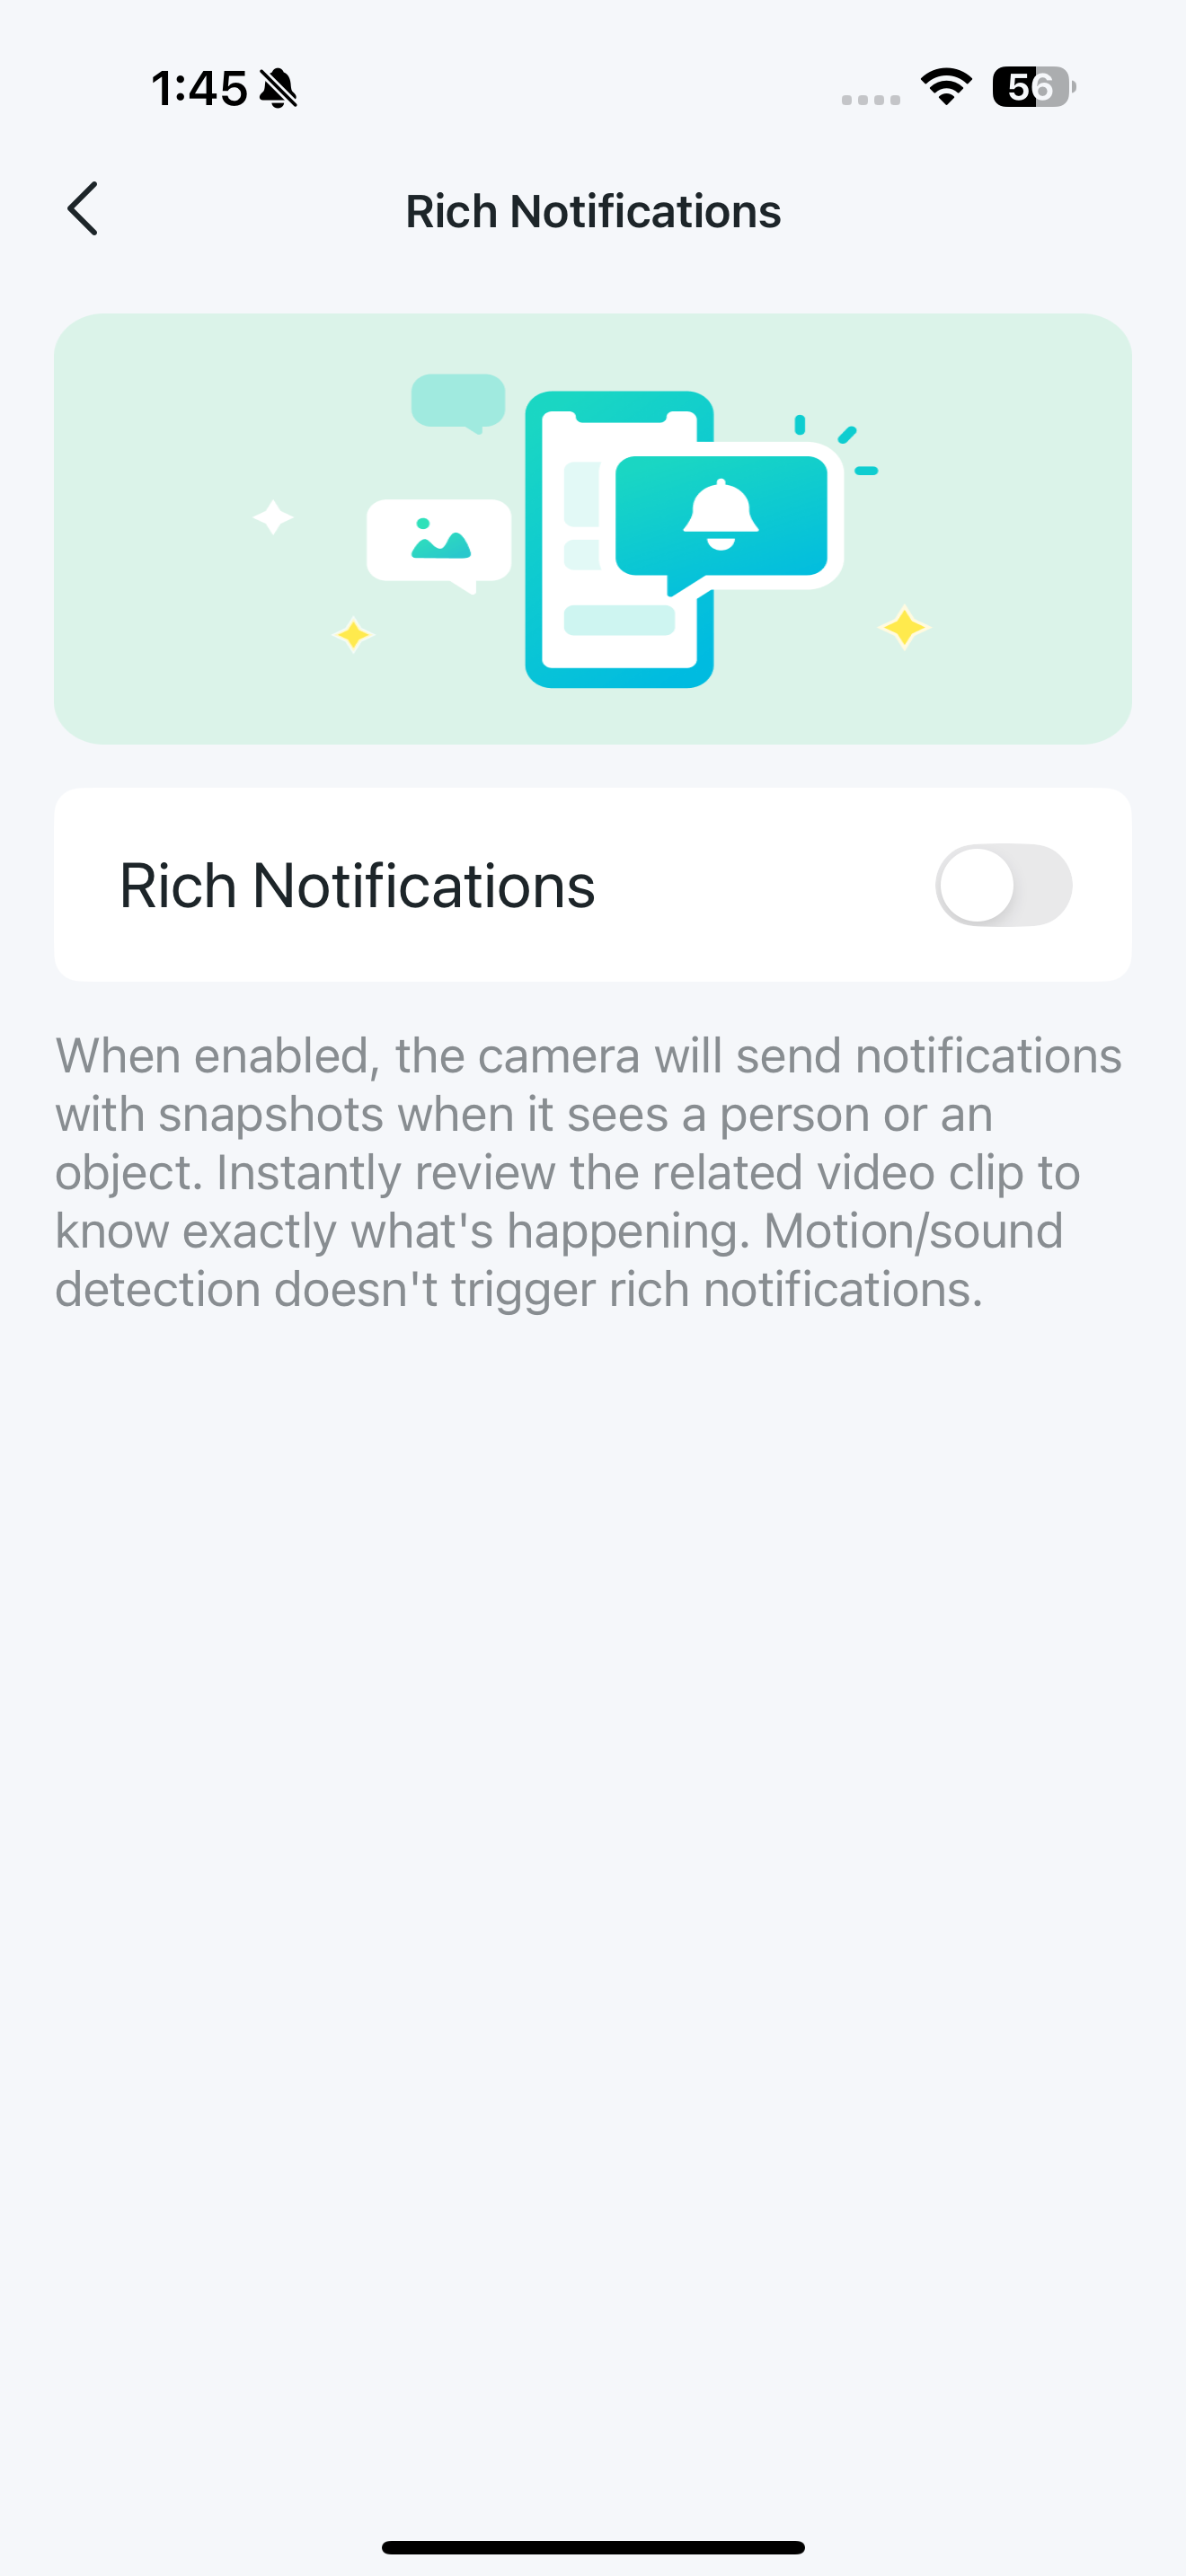
If you'd like to see event details without opening the app, try enabling Rich Notifications. The camera will then send notifications with snapshots when it detects a person or object, allowing you to instantly review the related video clip and see exactly what happened.
Note: Rich Notifications are not triggered by Motion/Sound Detection alerts.
Advanced Settings
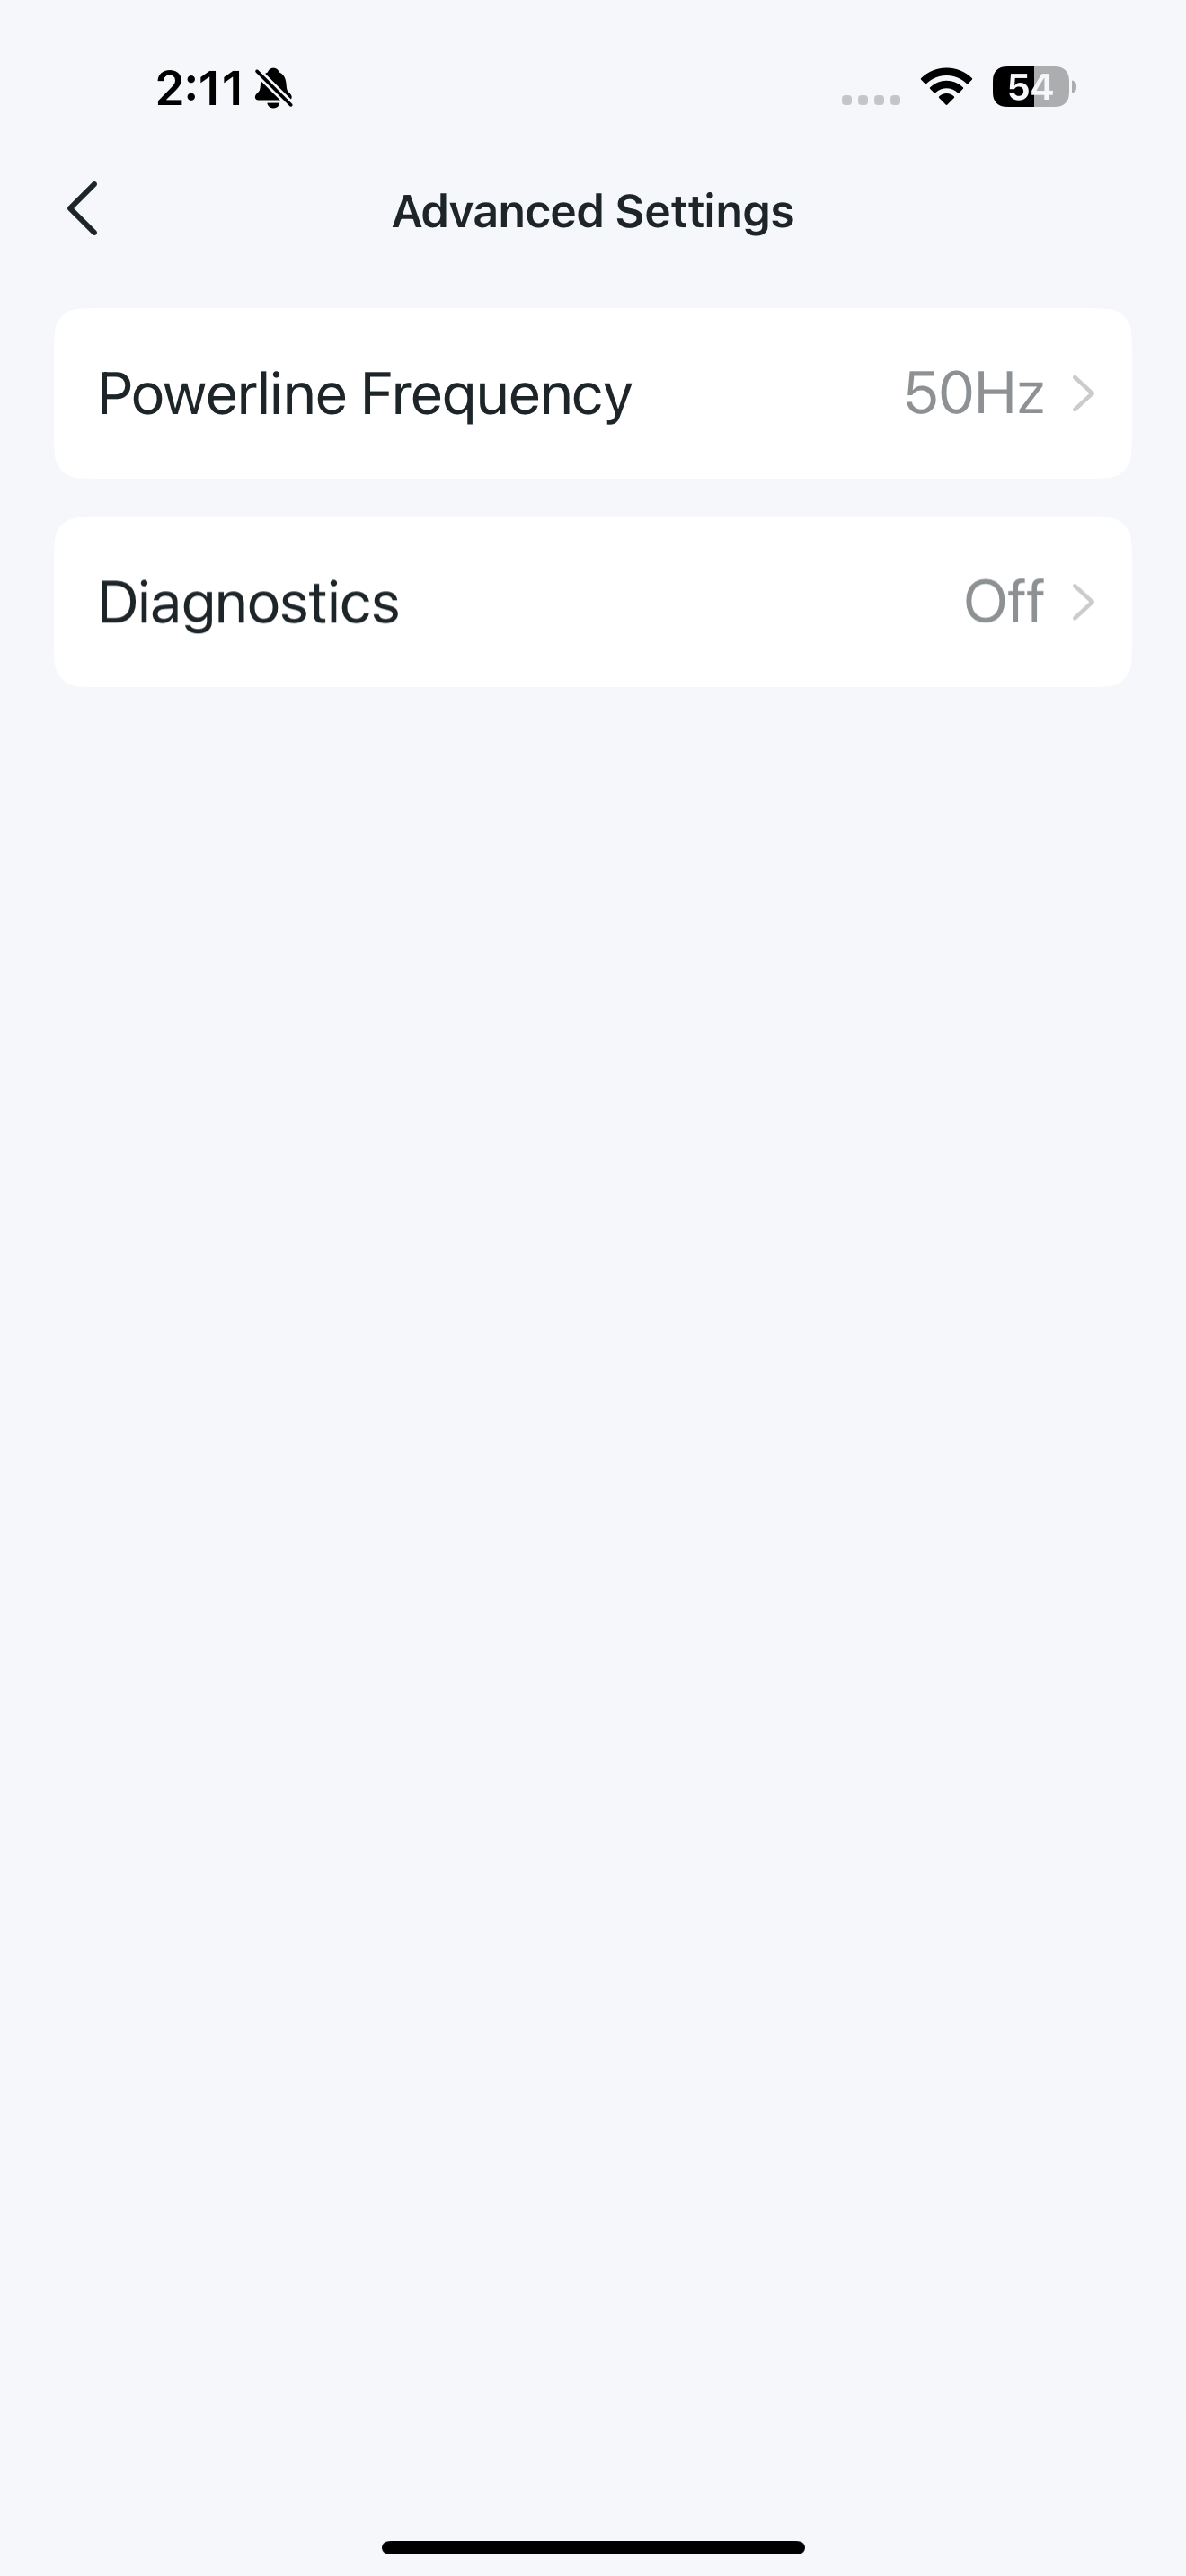
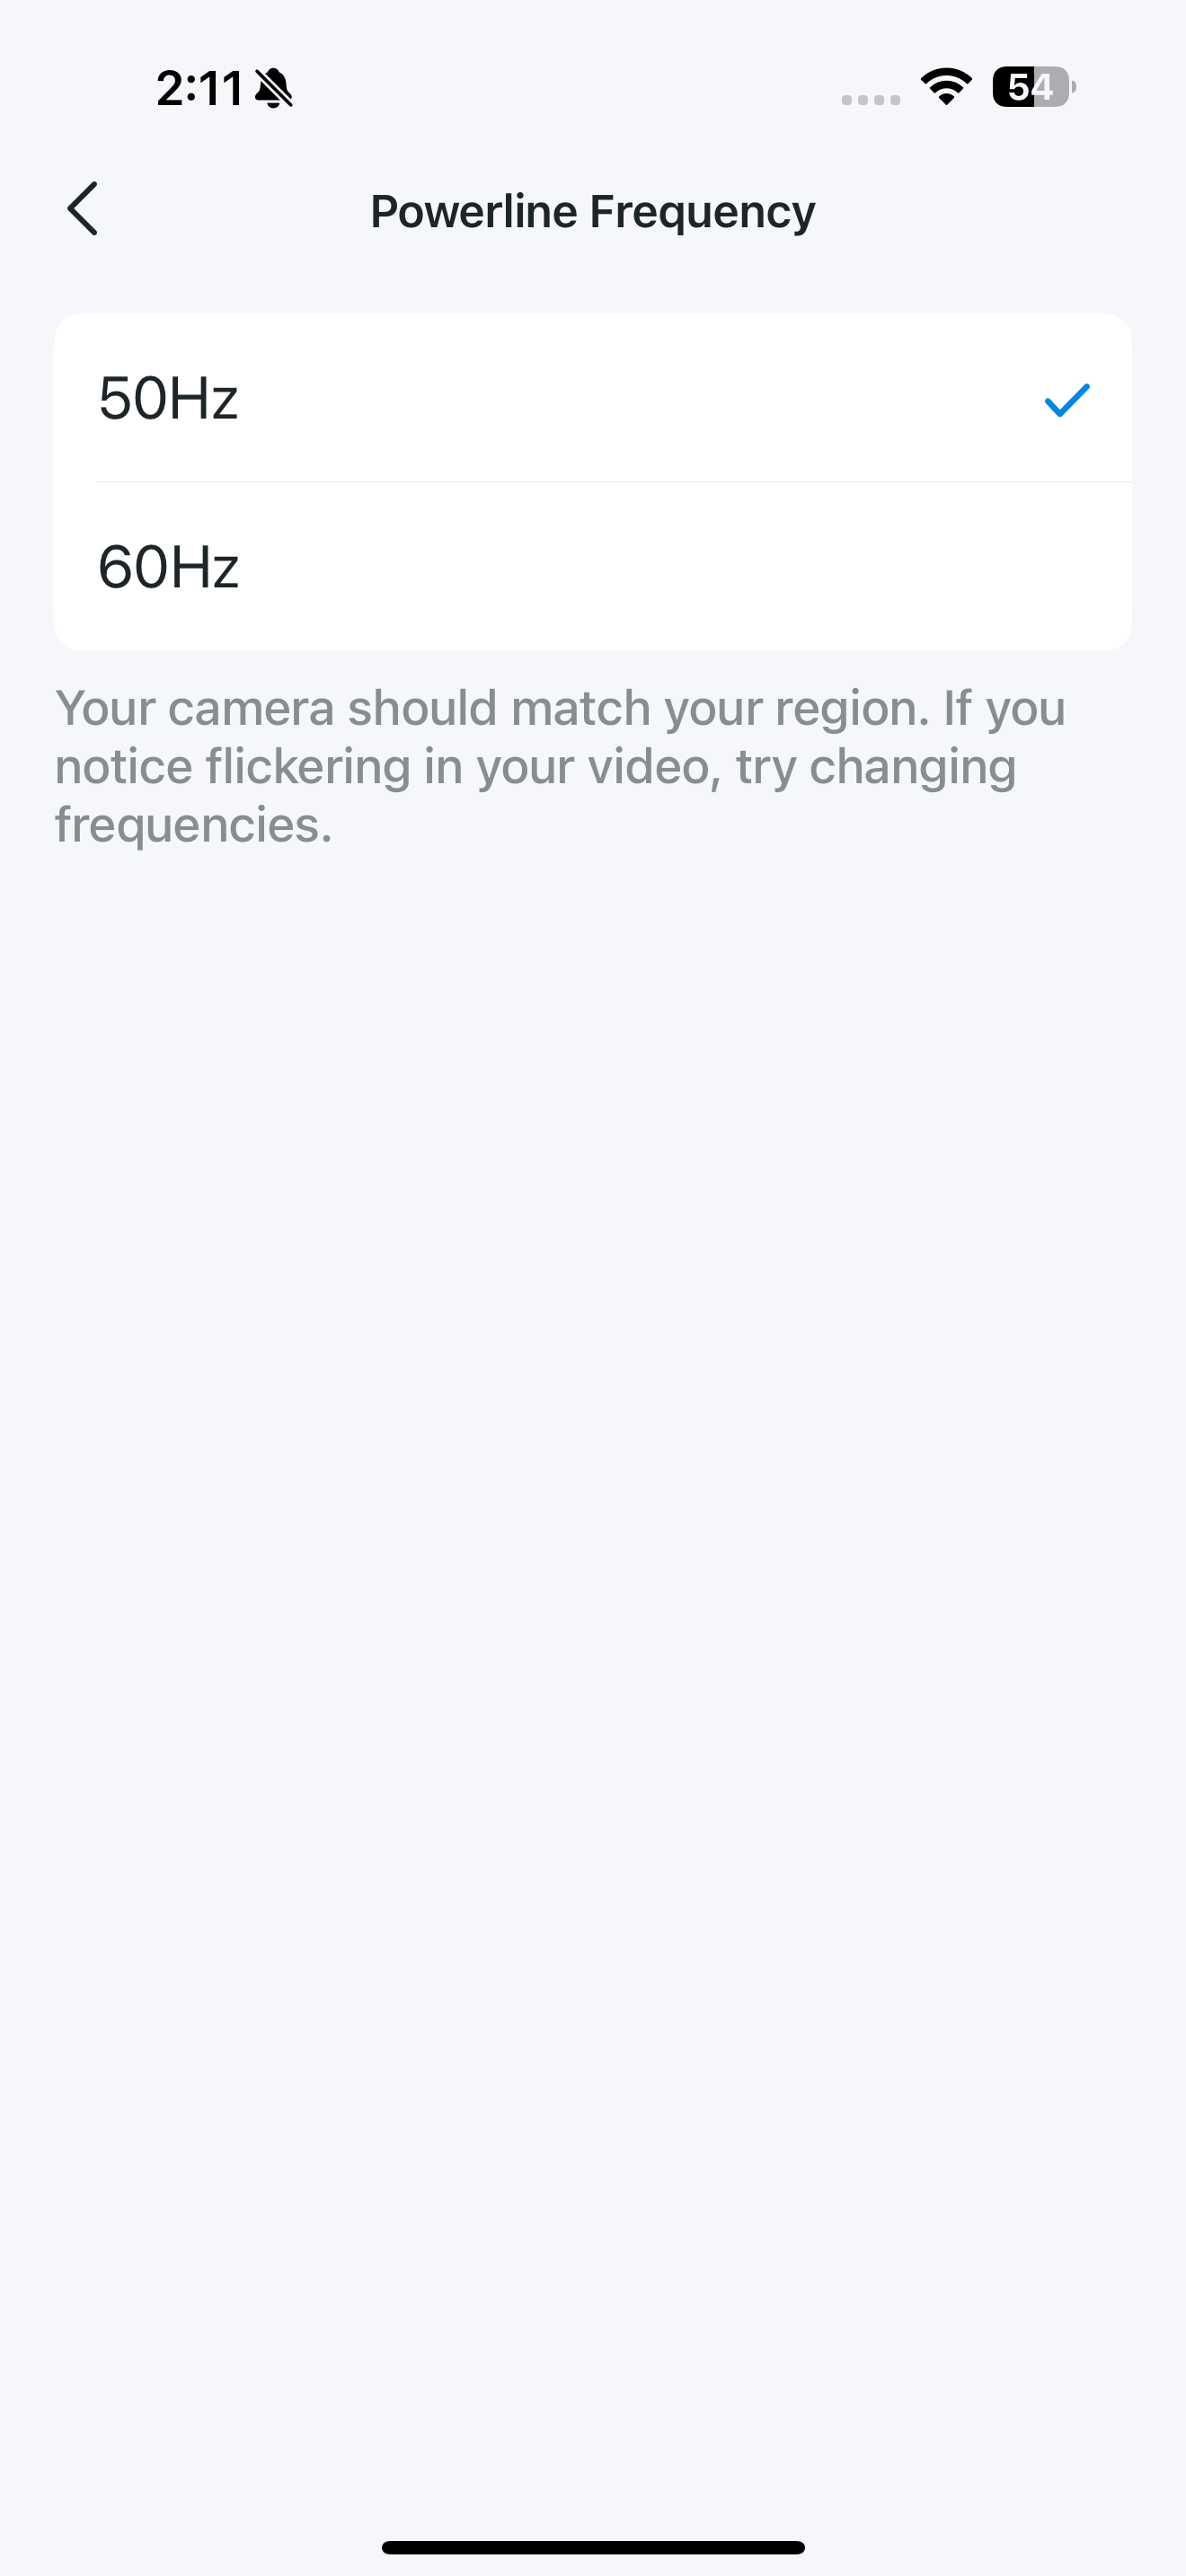
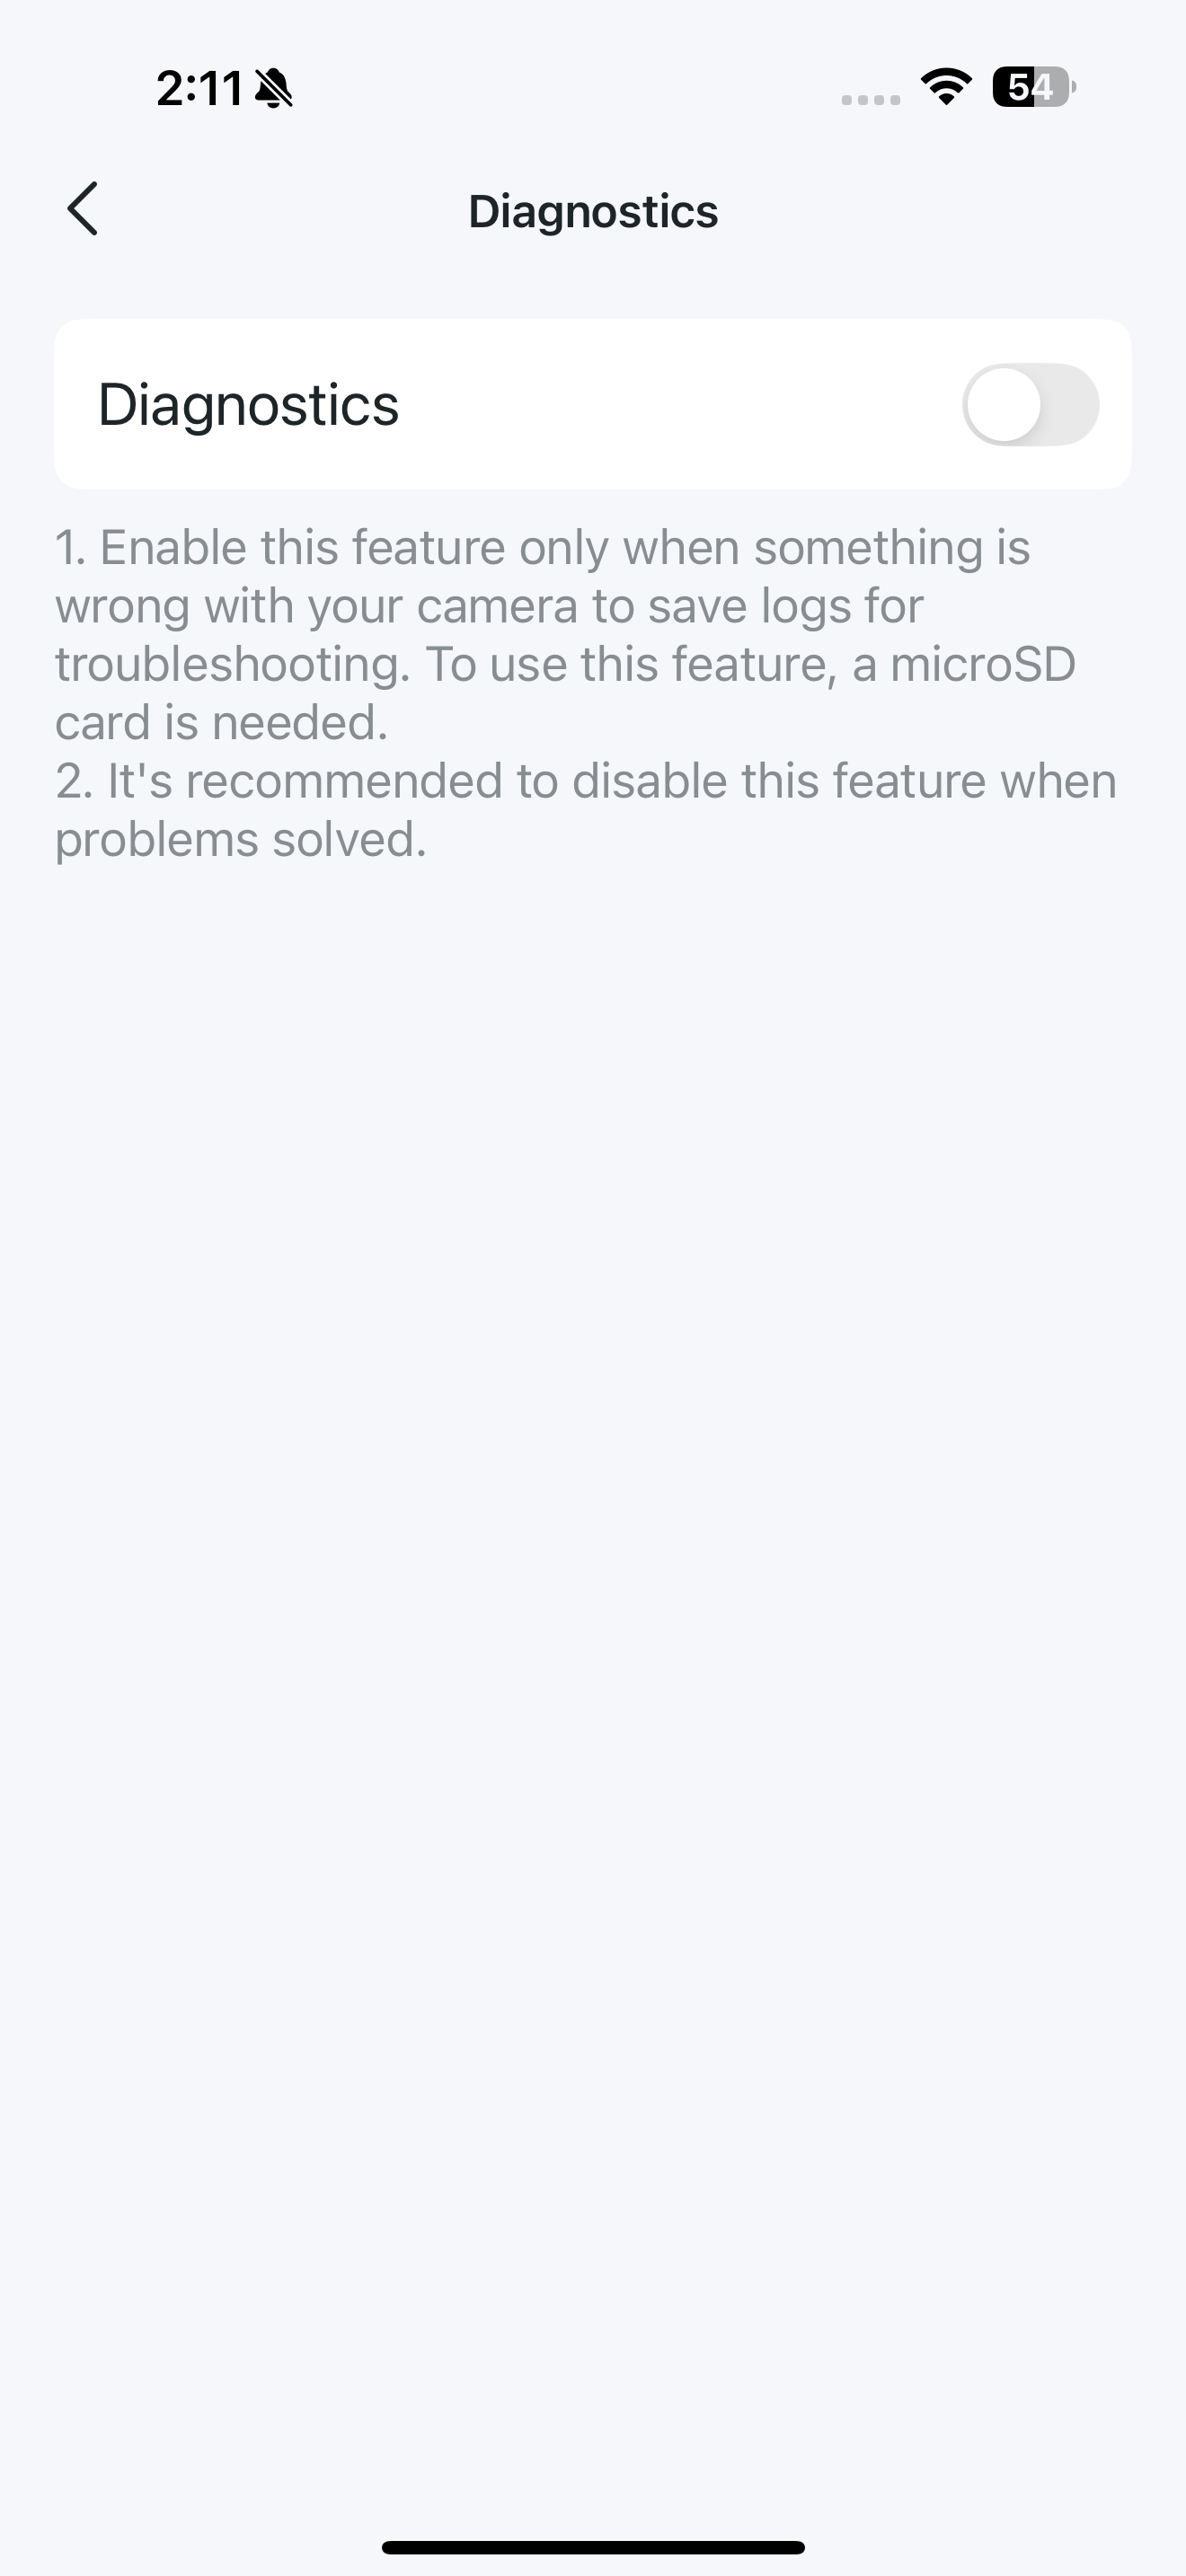
You can change Powerline Frequency if you notice flickering in your video. Also, if something goes wrong with your camera, enable Diagnostics to save logs for troubleshooting.
Note: Using Diagnostics requires a microSD card. It's recommended to turn this feature off once the issue is resolved.
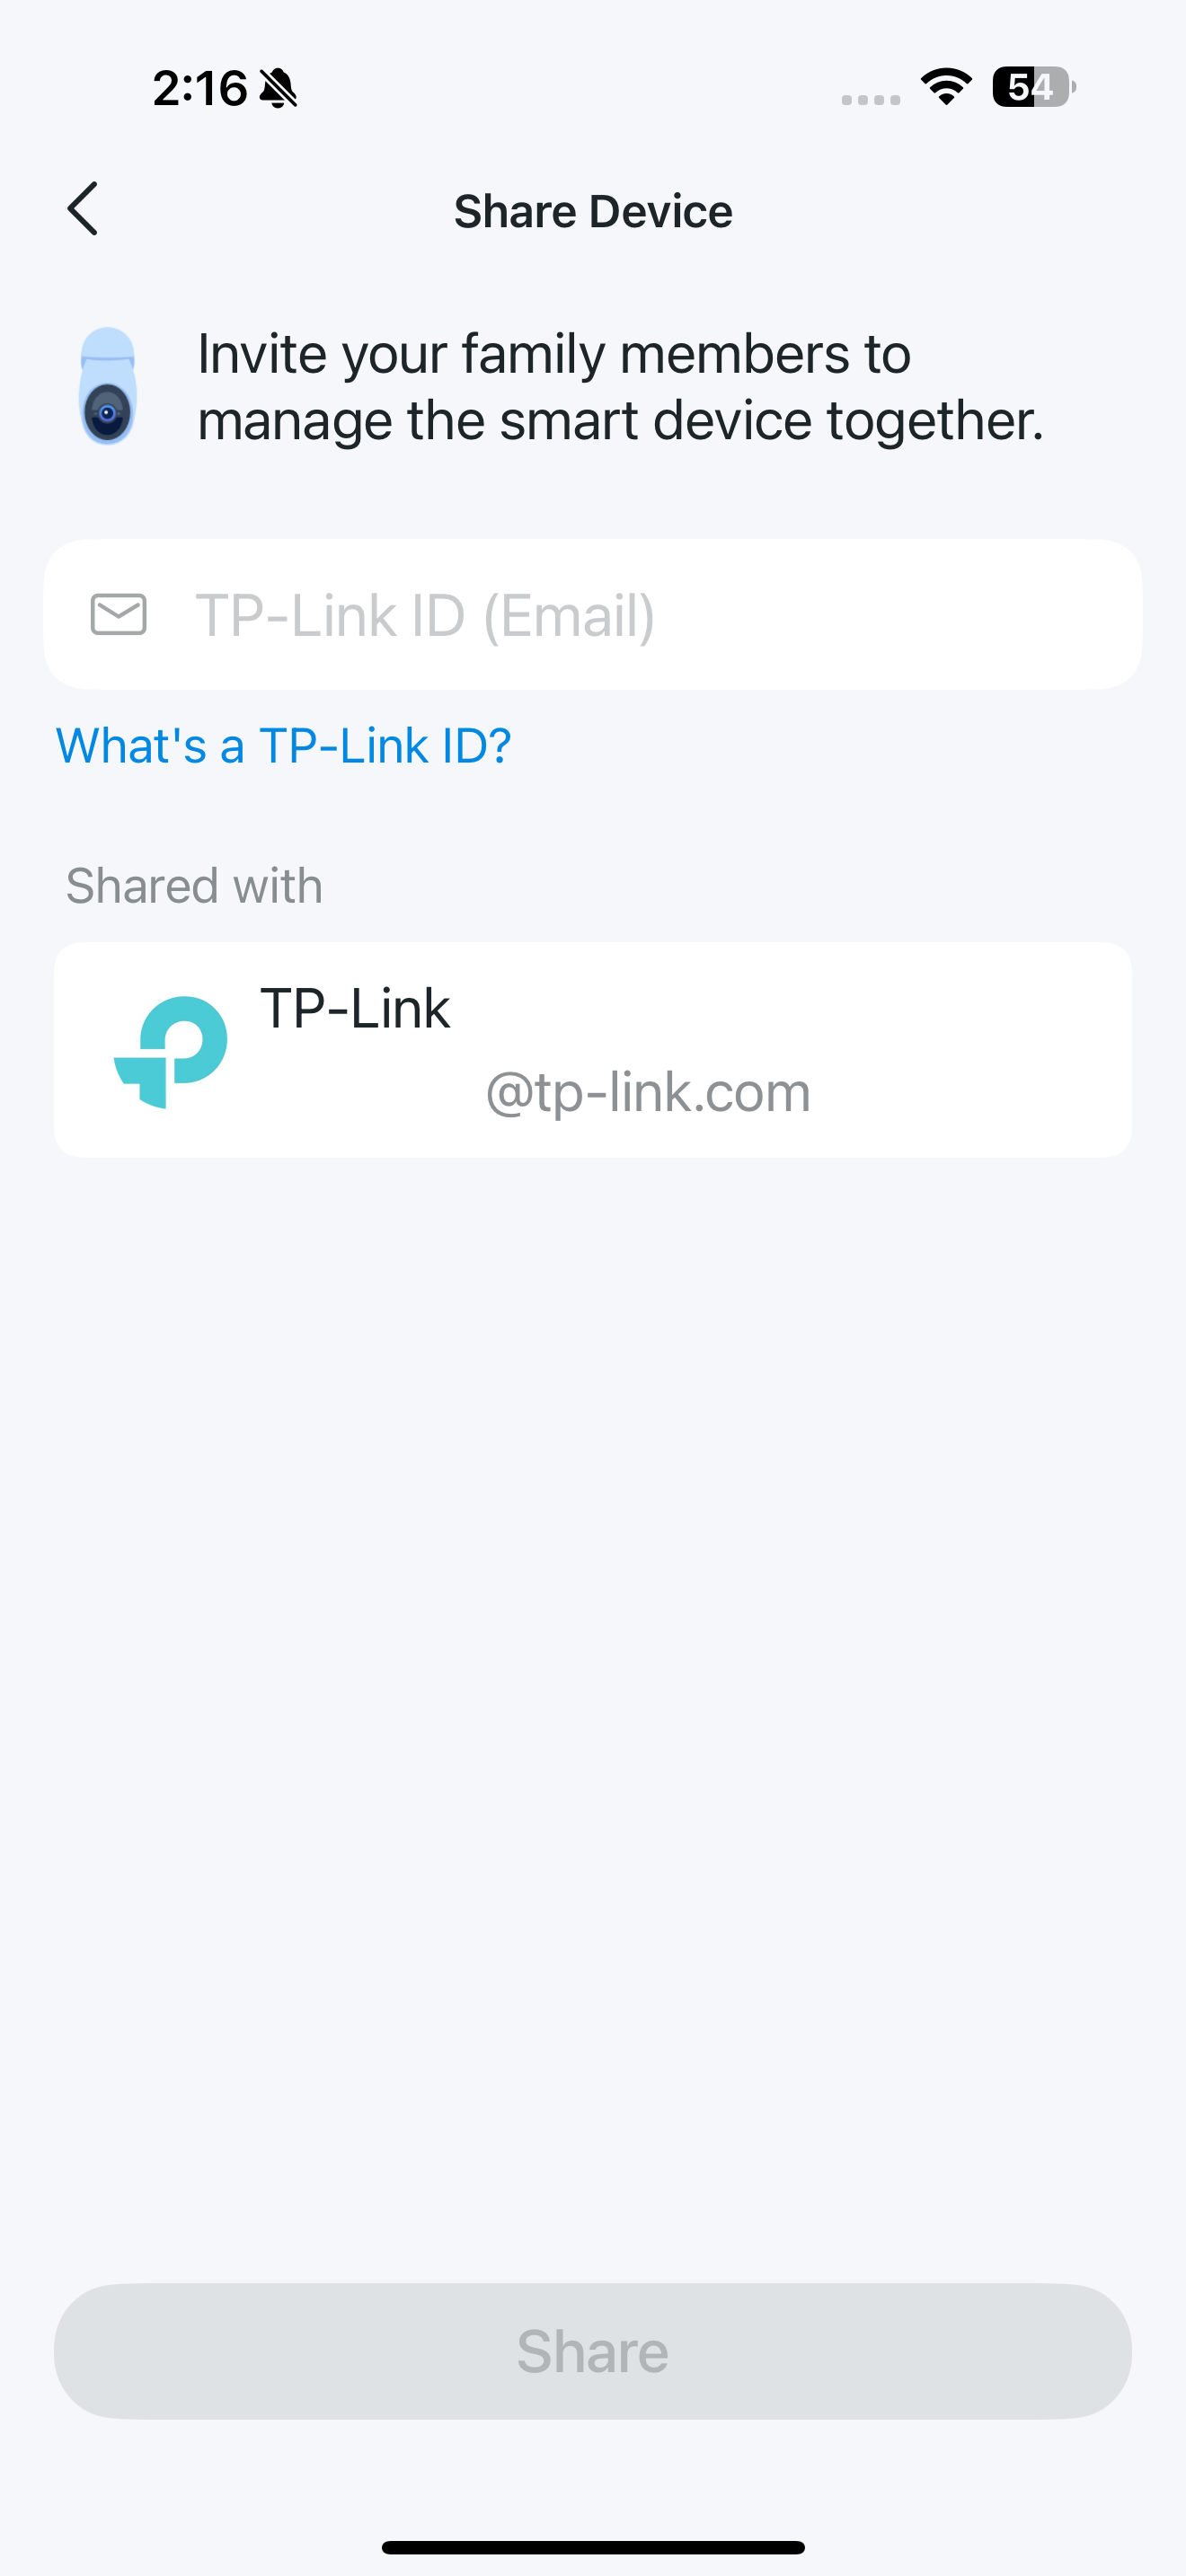
Share Device
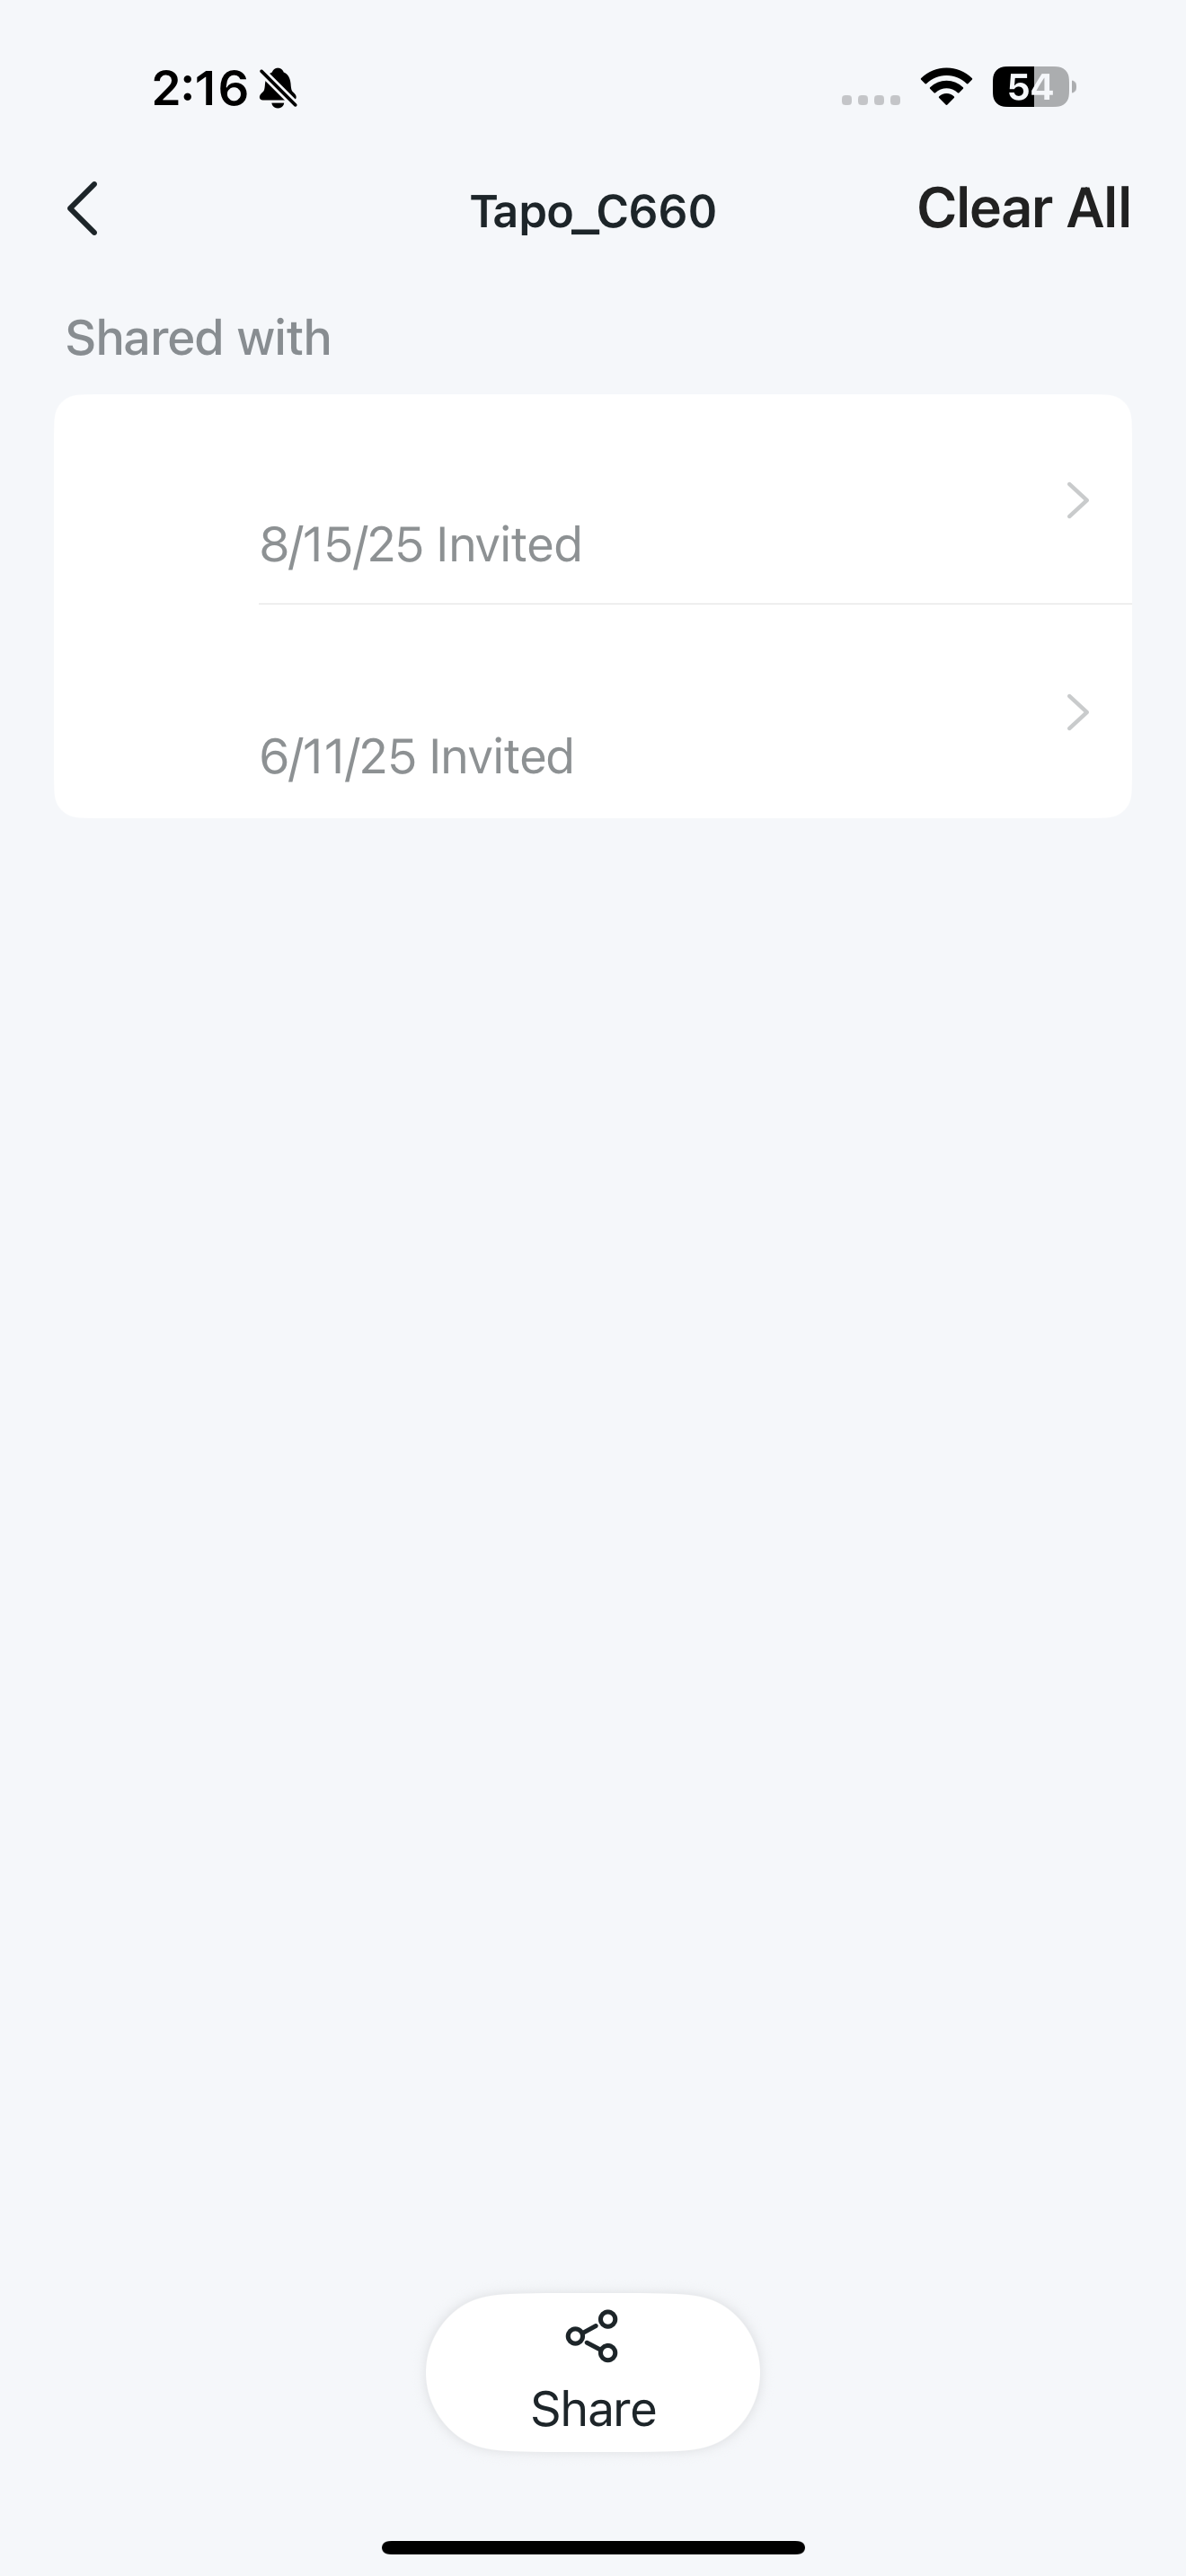
Invite your loved ones to manage the smart device together. Invitees have limited permissions, so they cannot modify the camera settings.
If the selected camera has videos stored in a hub, you can choose to also share the hub-stored videos.
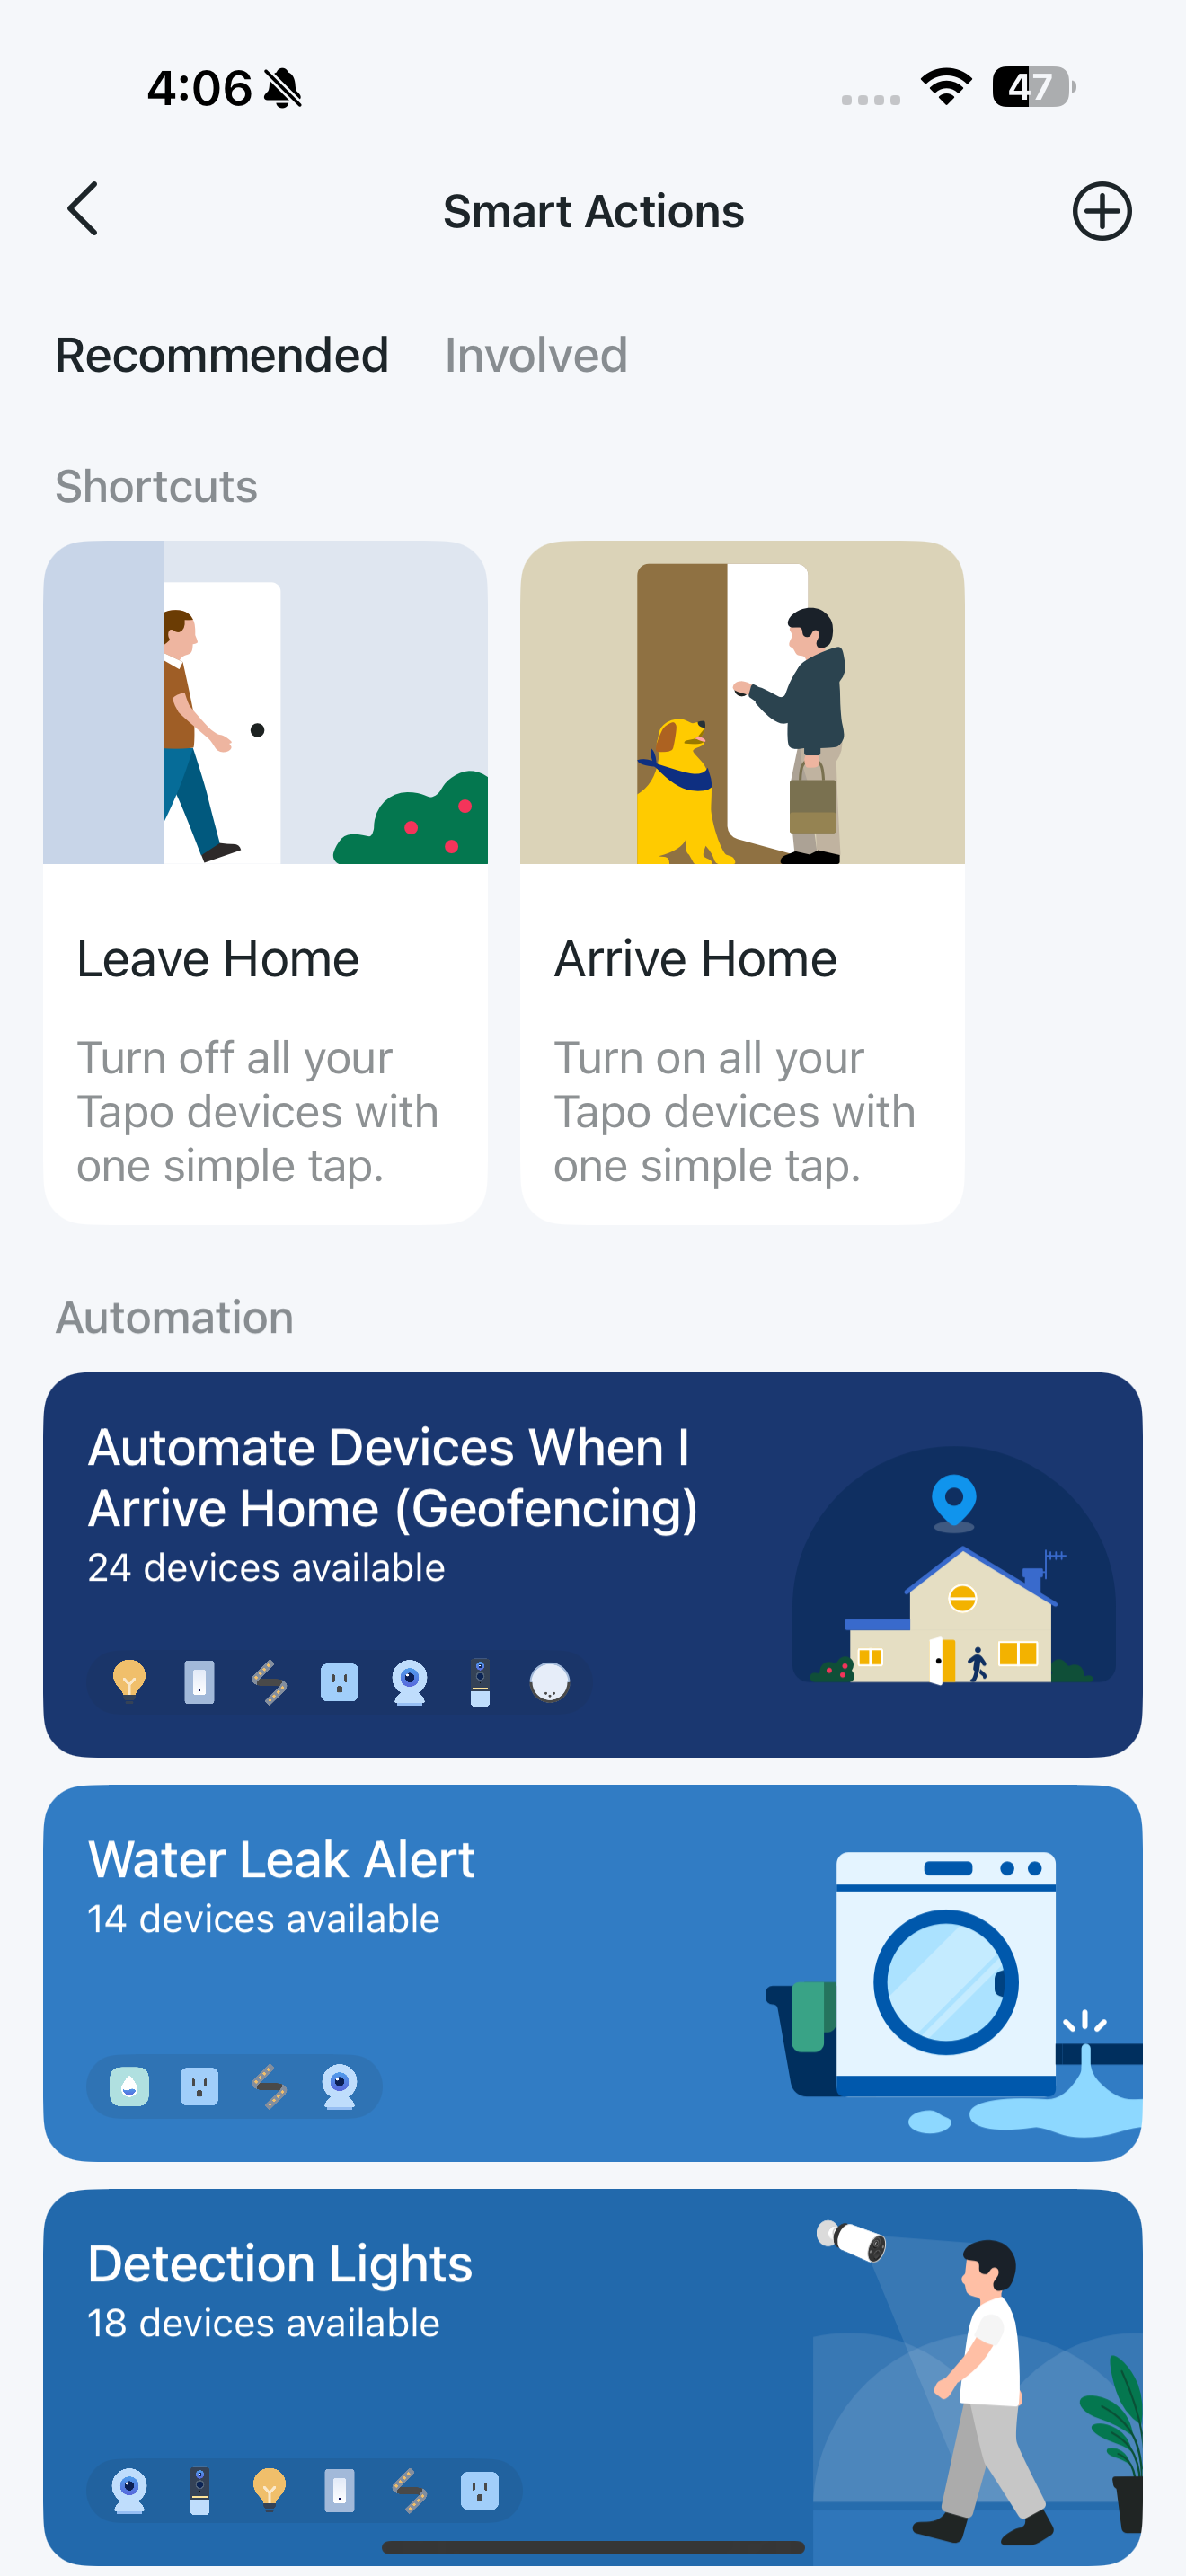
Smart Actions
Smart Actions automate repetitive tasks, allowing you to blaze through tedium with utmost ease. Set everything up once and never have to worry about it again.
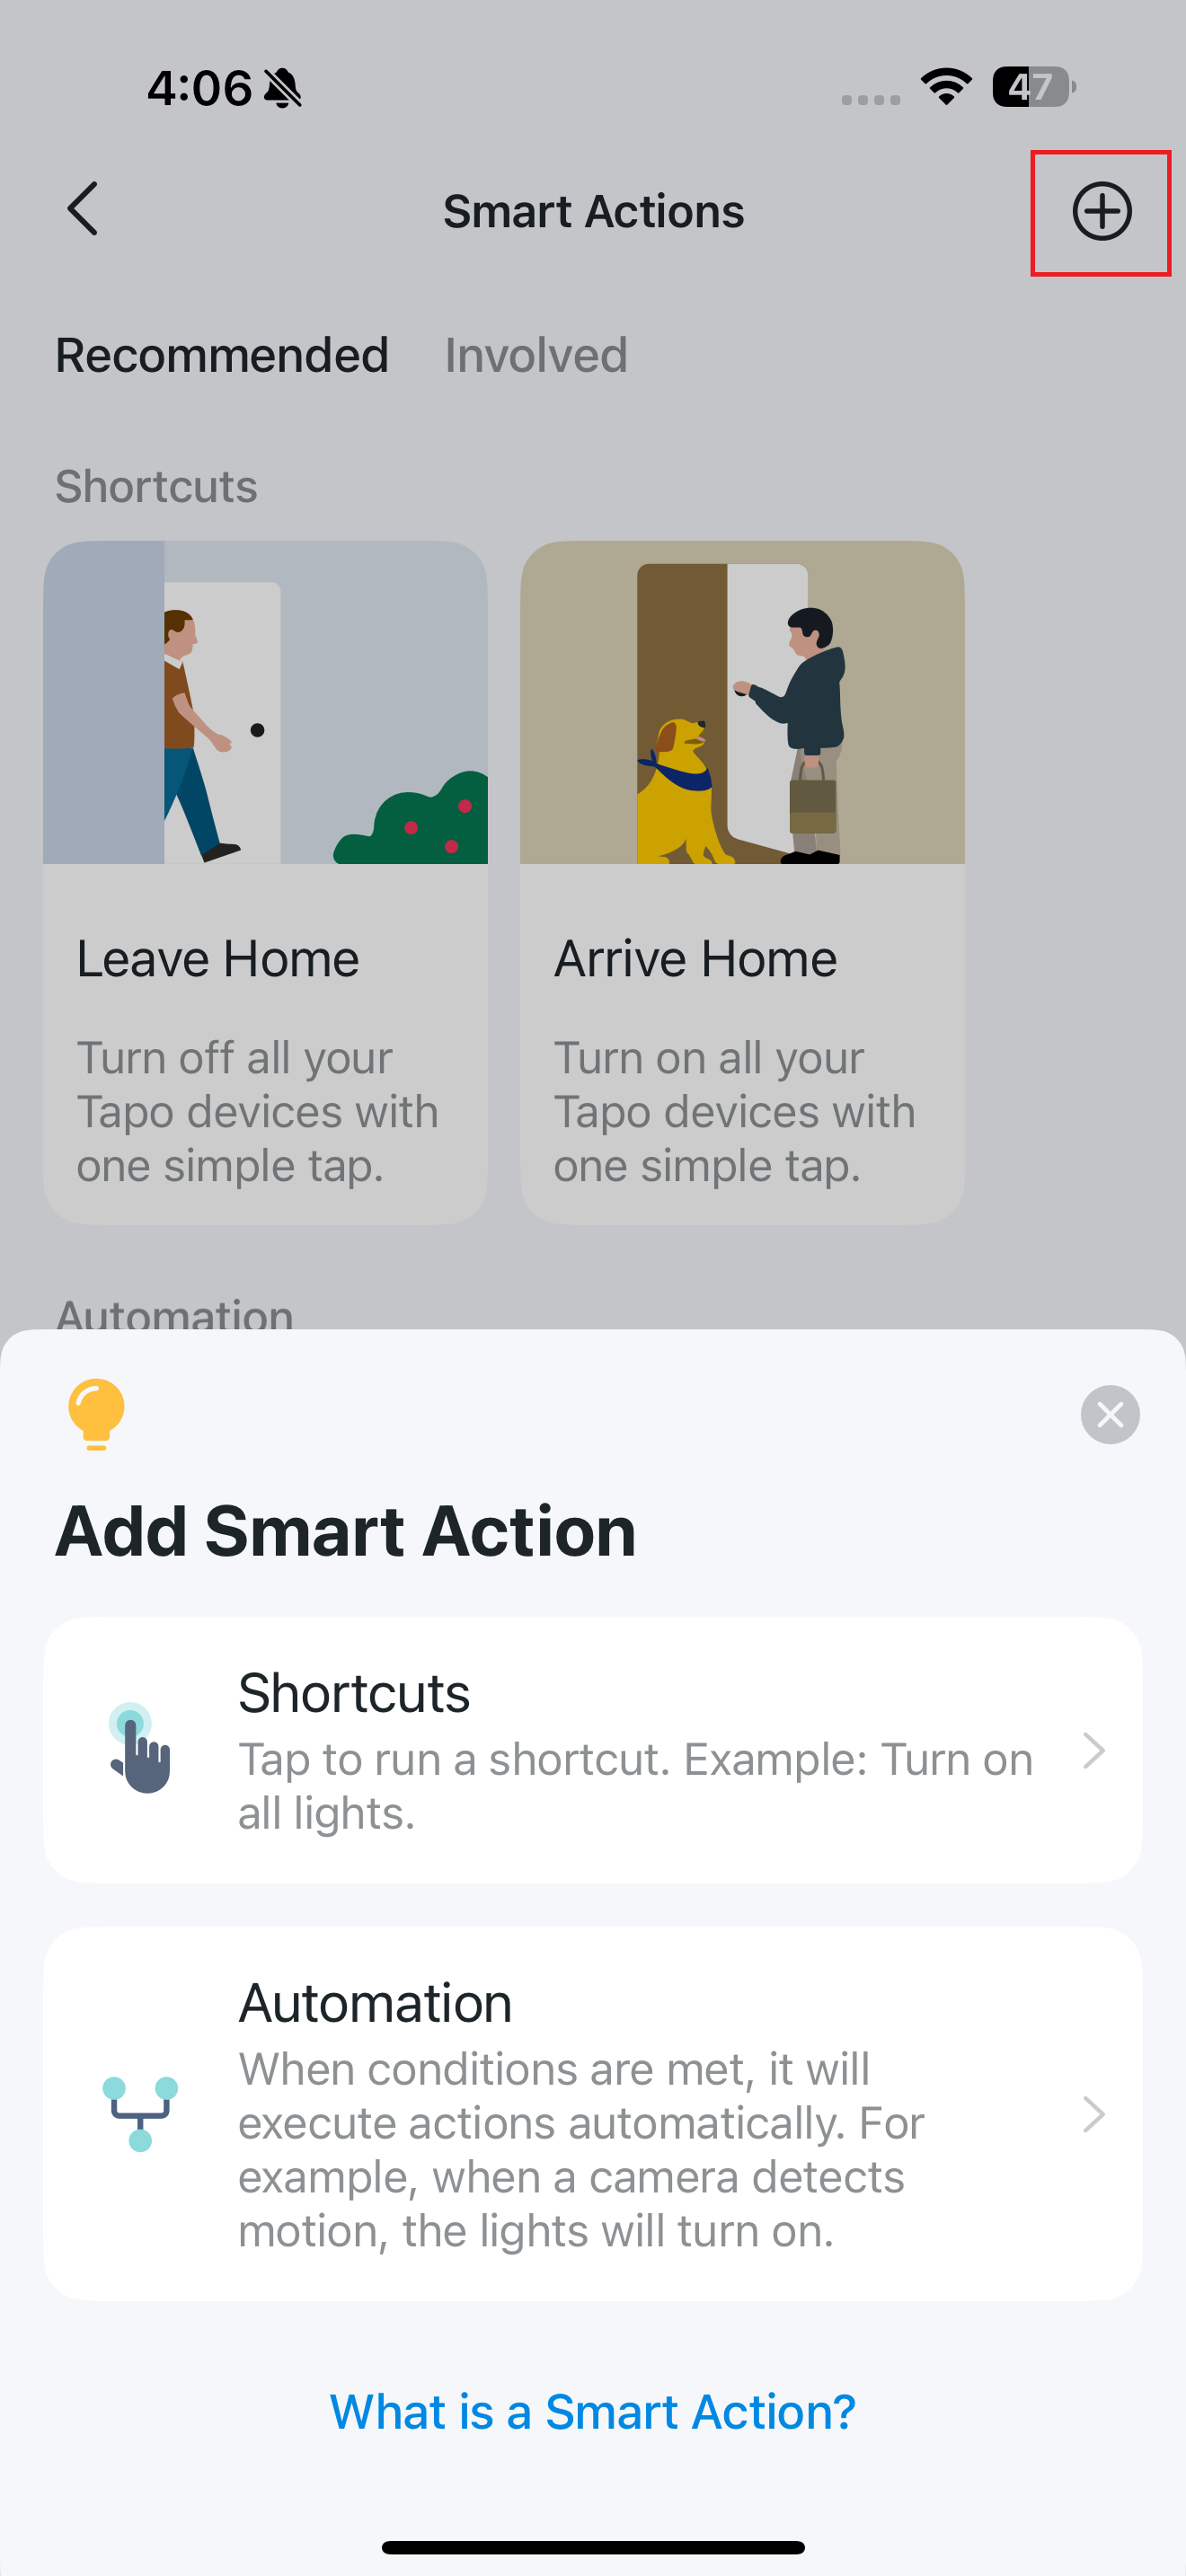
You can edit based on the featured actions or tap the + button to create your own routines.
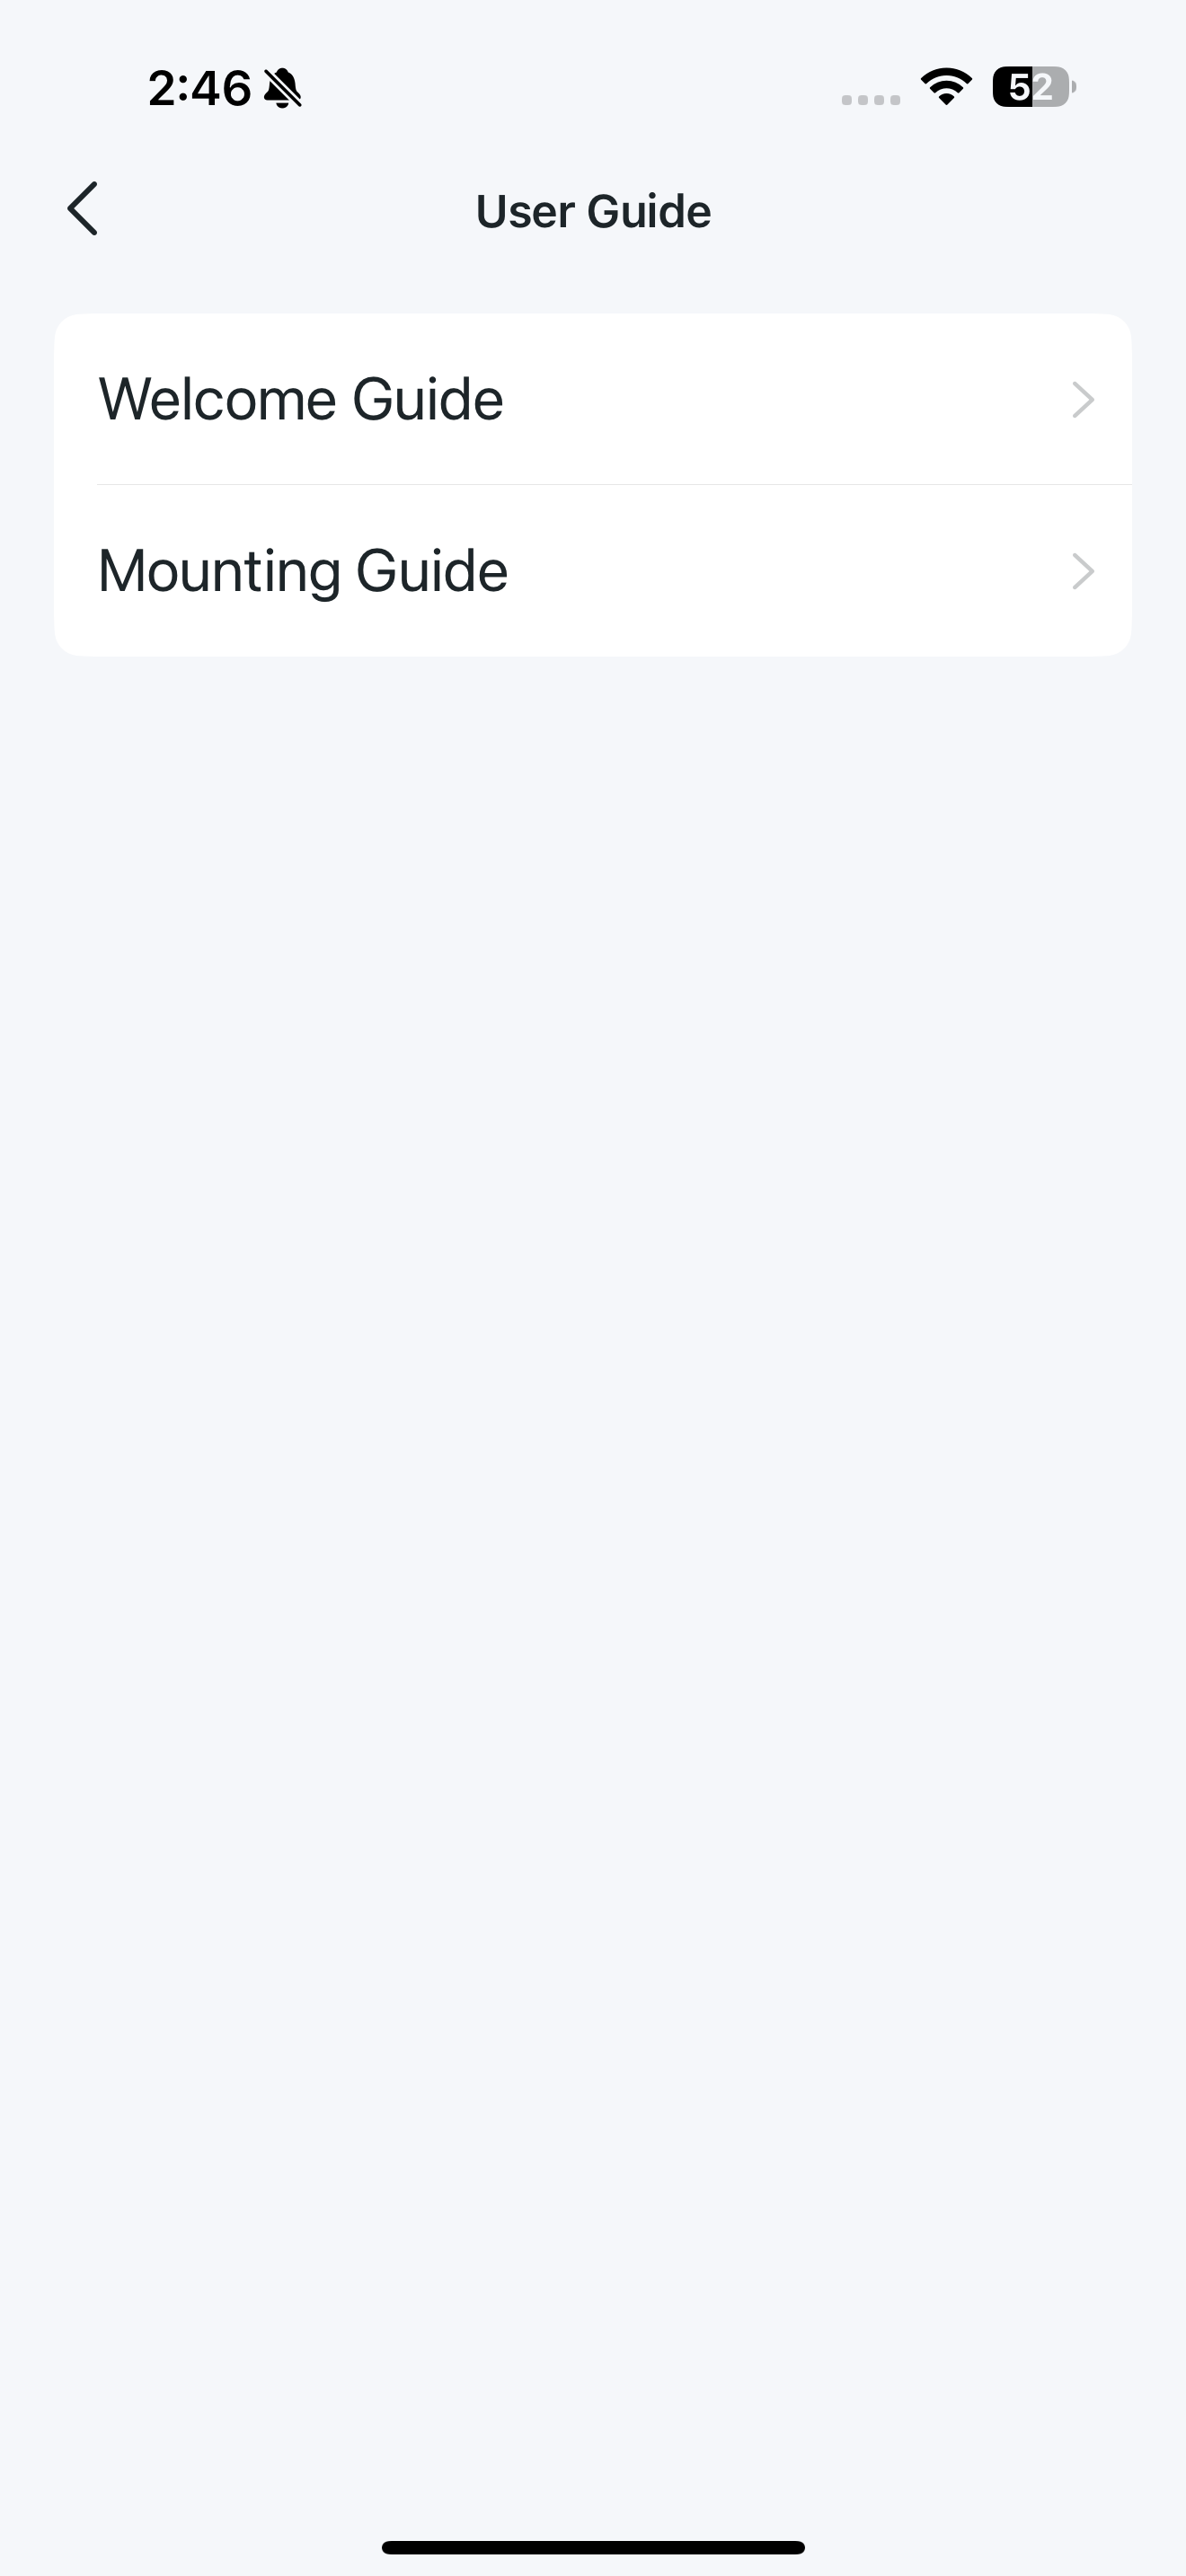
User Guide
Review the Welcome Guide to explore your camera's features and the Mounting Guide for installation instructions.
Support Center
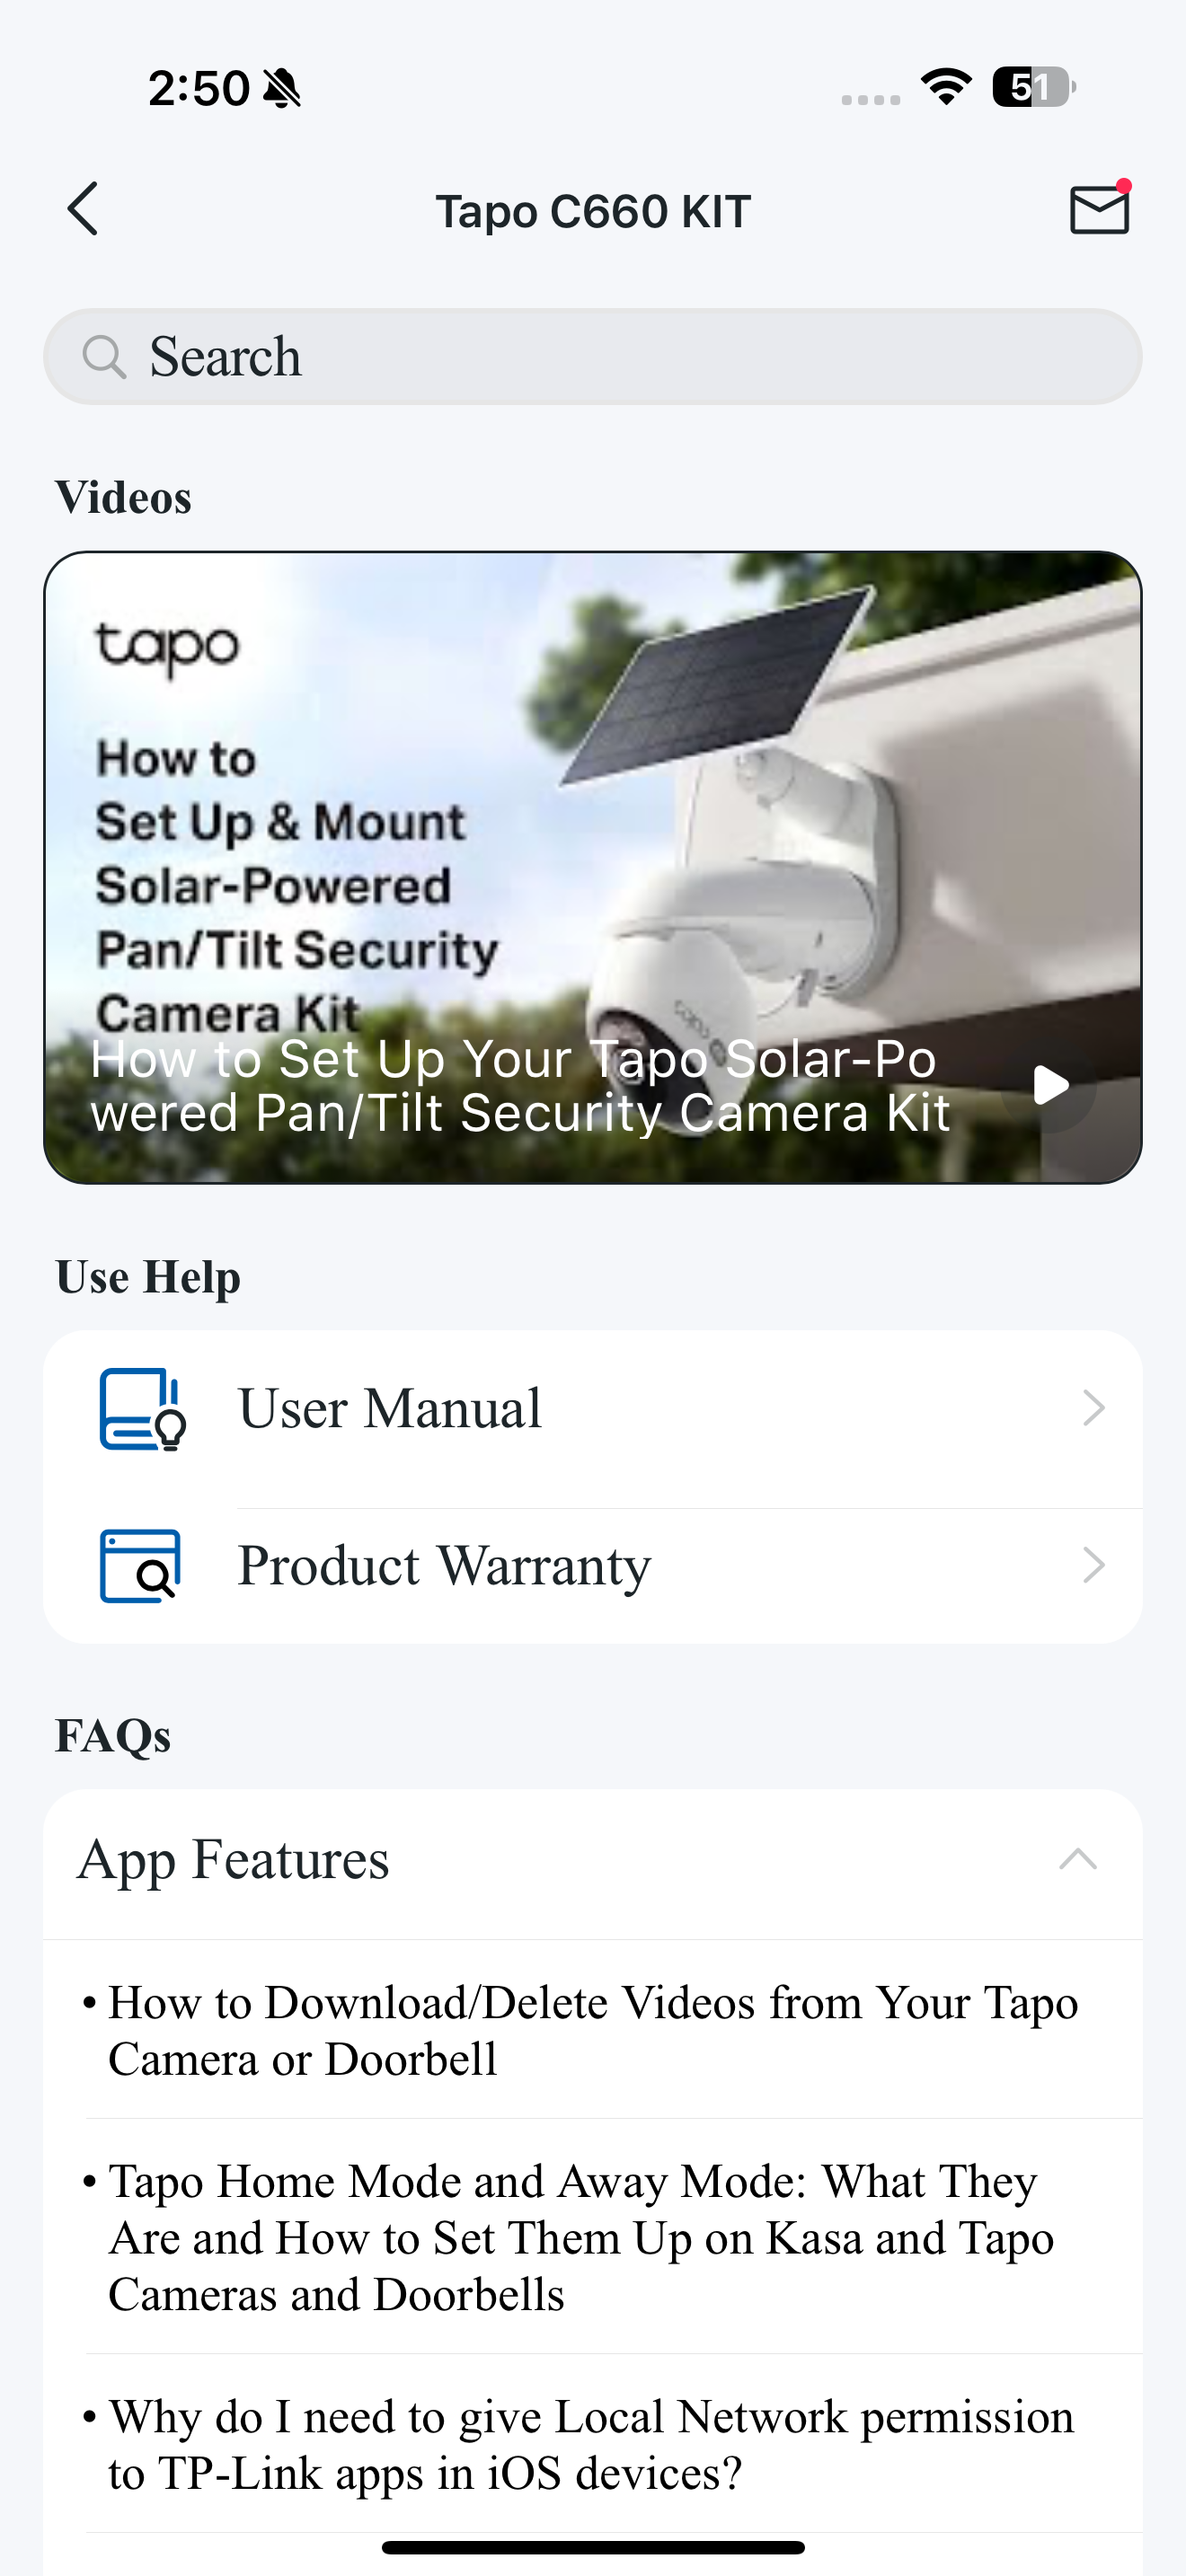
You can find helpful resources here: watch setup videos, get answers to FAQs, or Visit Community to explore more.
Firmware Update
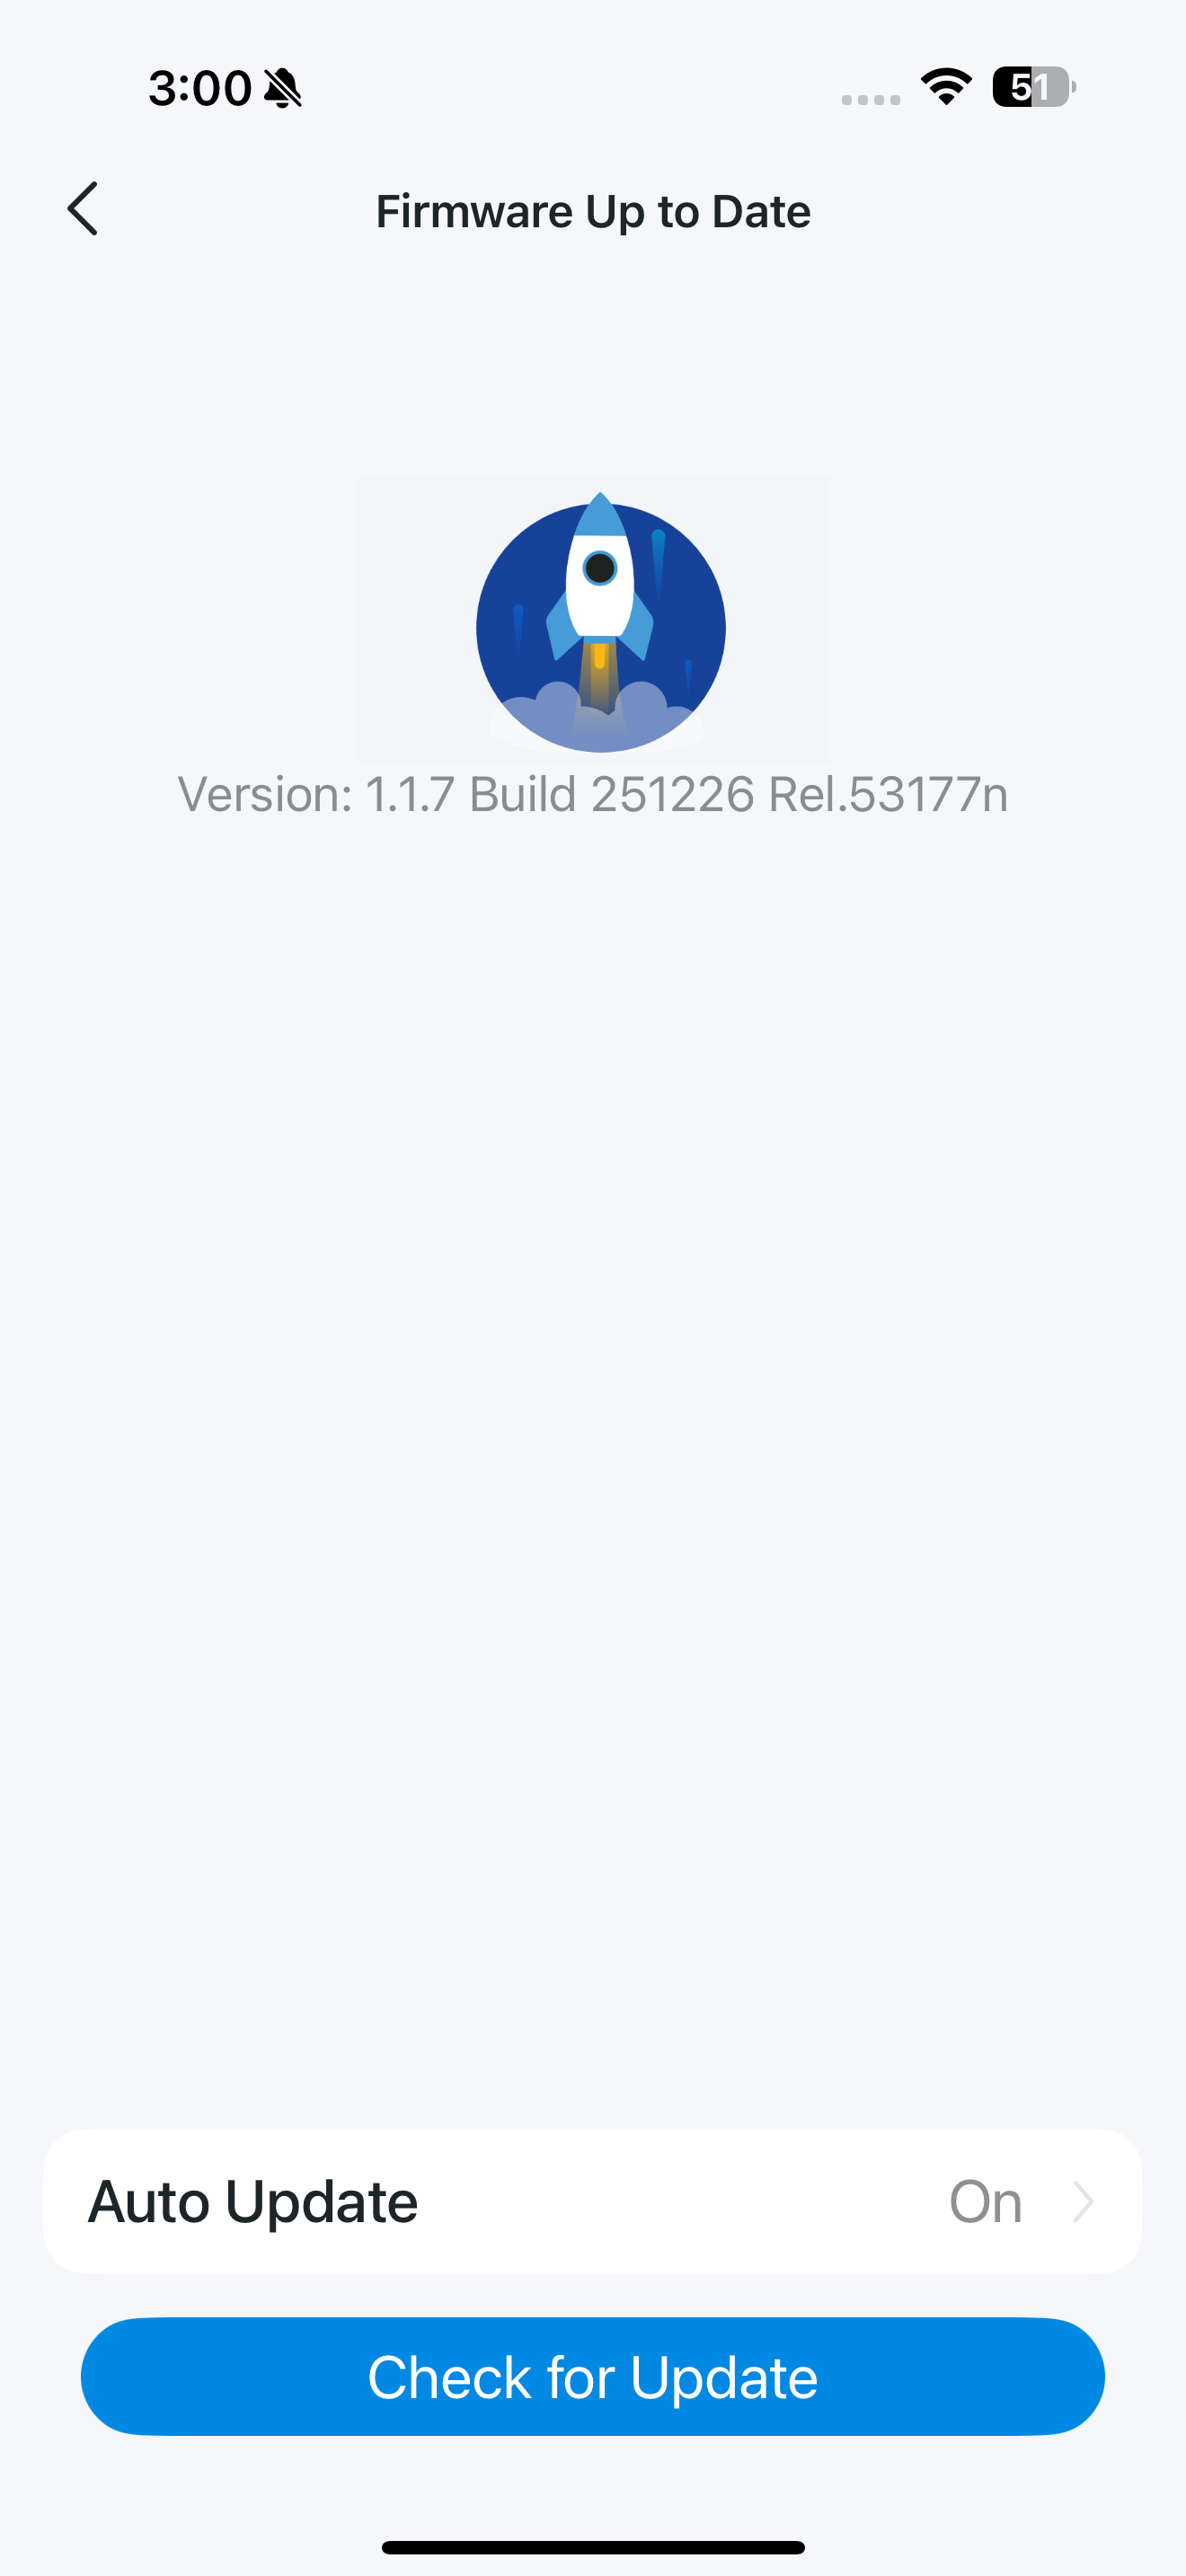
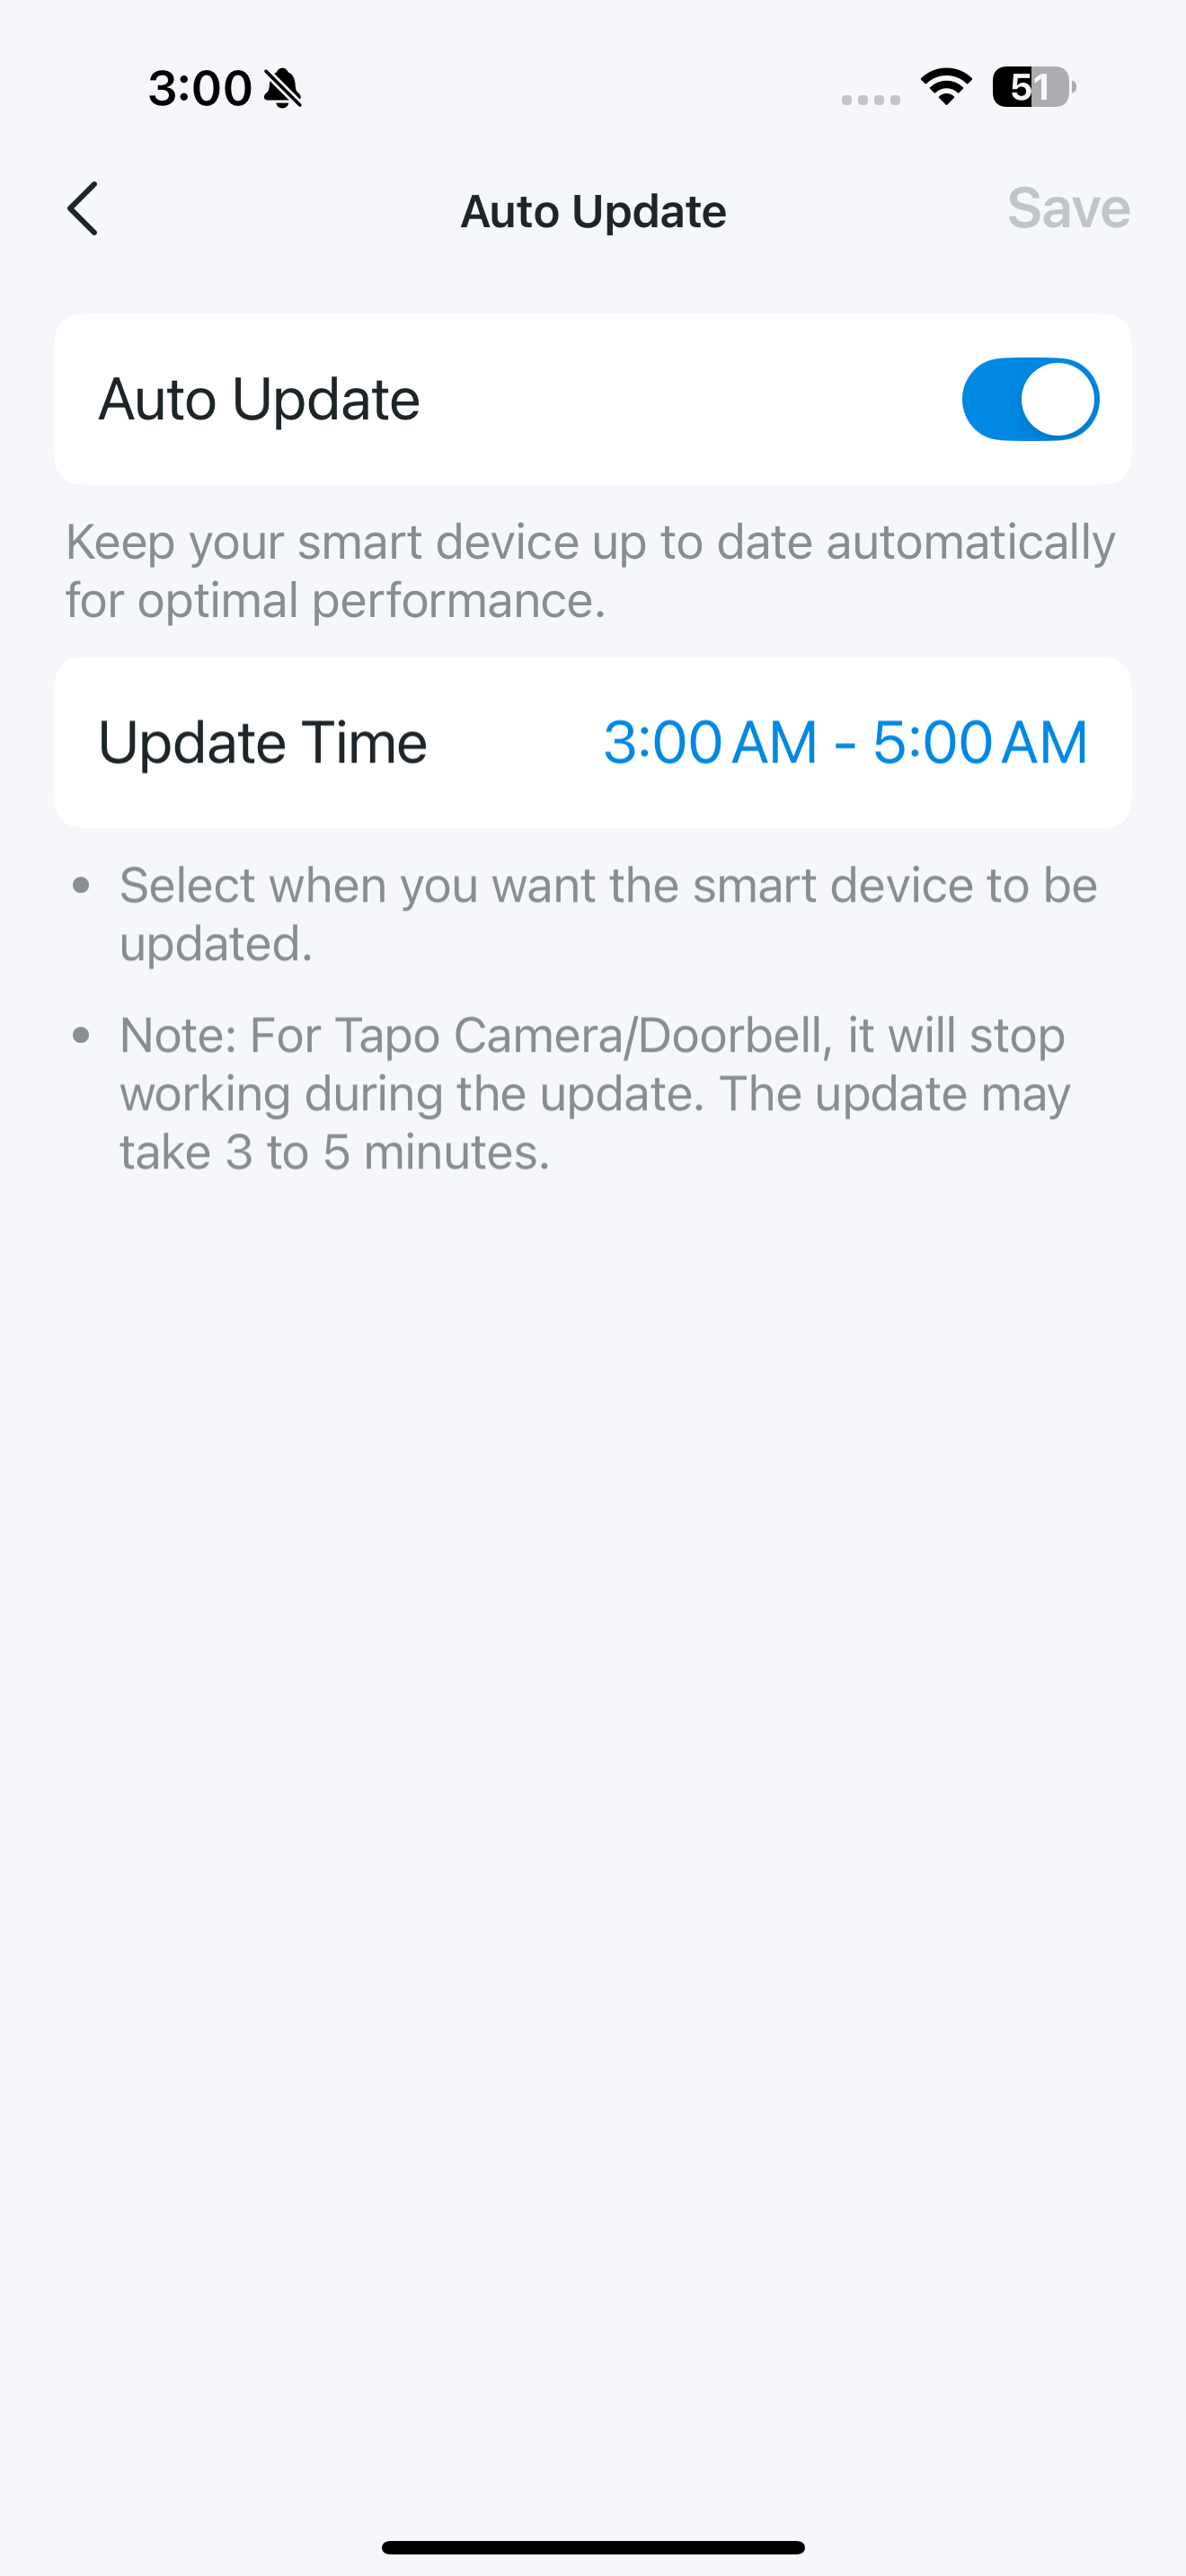
Here, you can check the current firmware version, install the latest update, or turn on Auto Update to skip manual checks.
Note: Tapo Cameras and Doorbells will stop working during the update, which may take 3 to 5 minutes.
Reboot Camera
Tap the button and your camera will restart instantly, which will take about one minute.
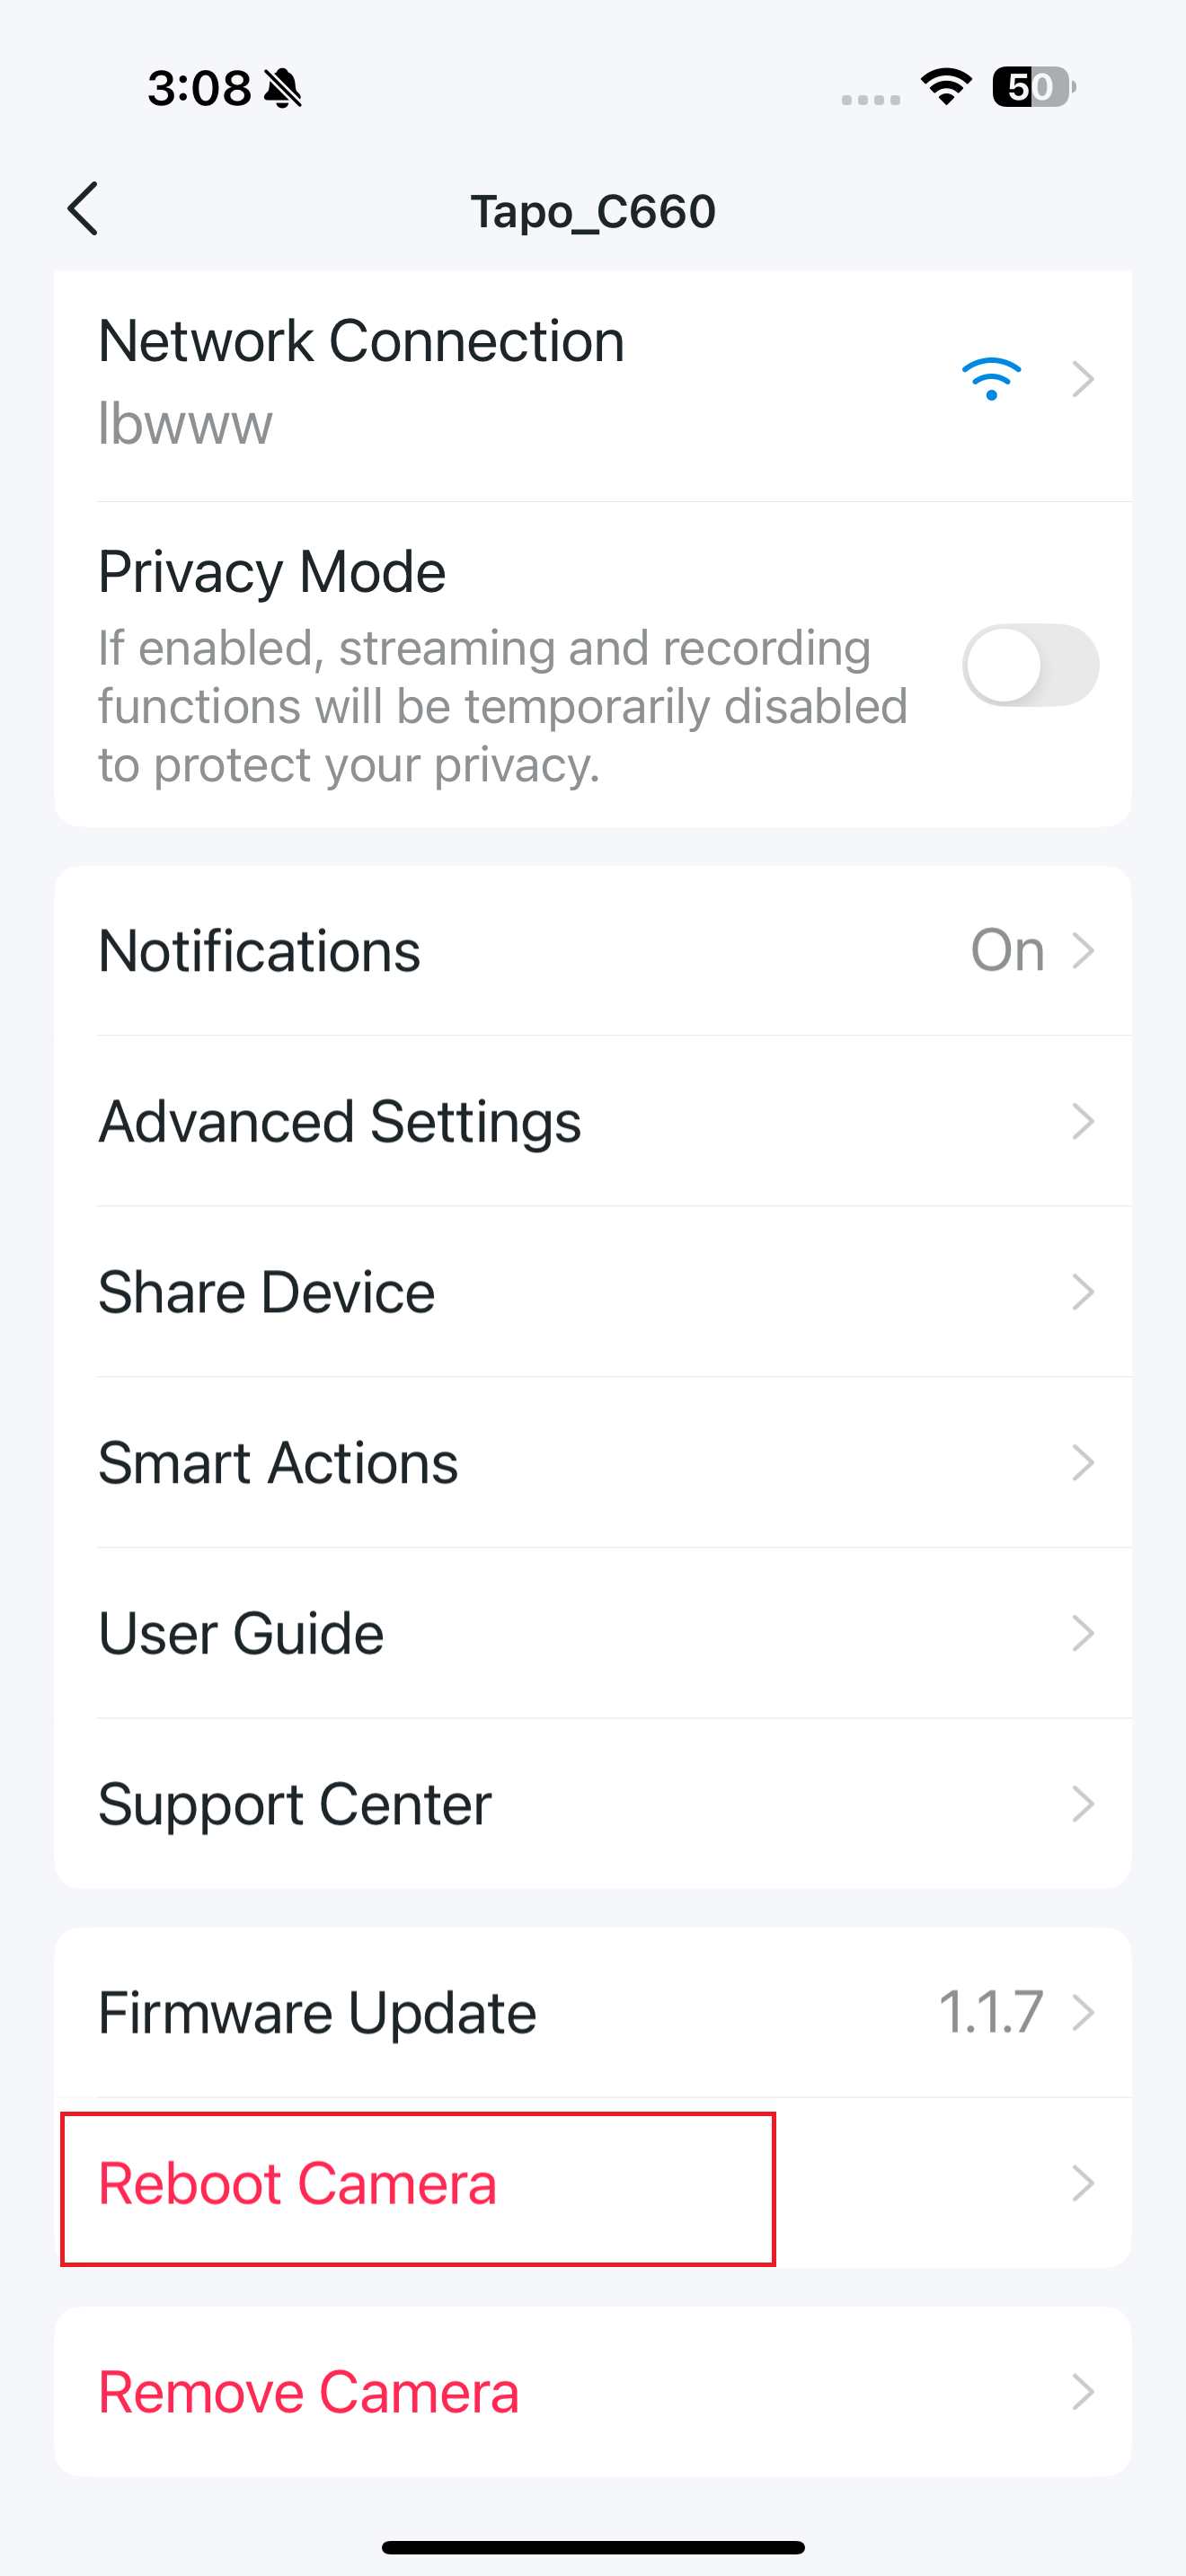
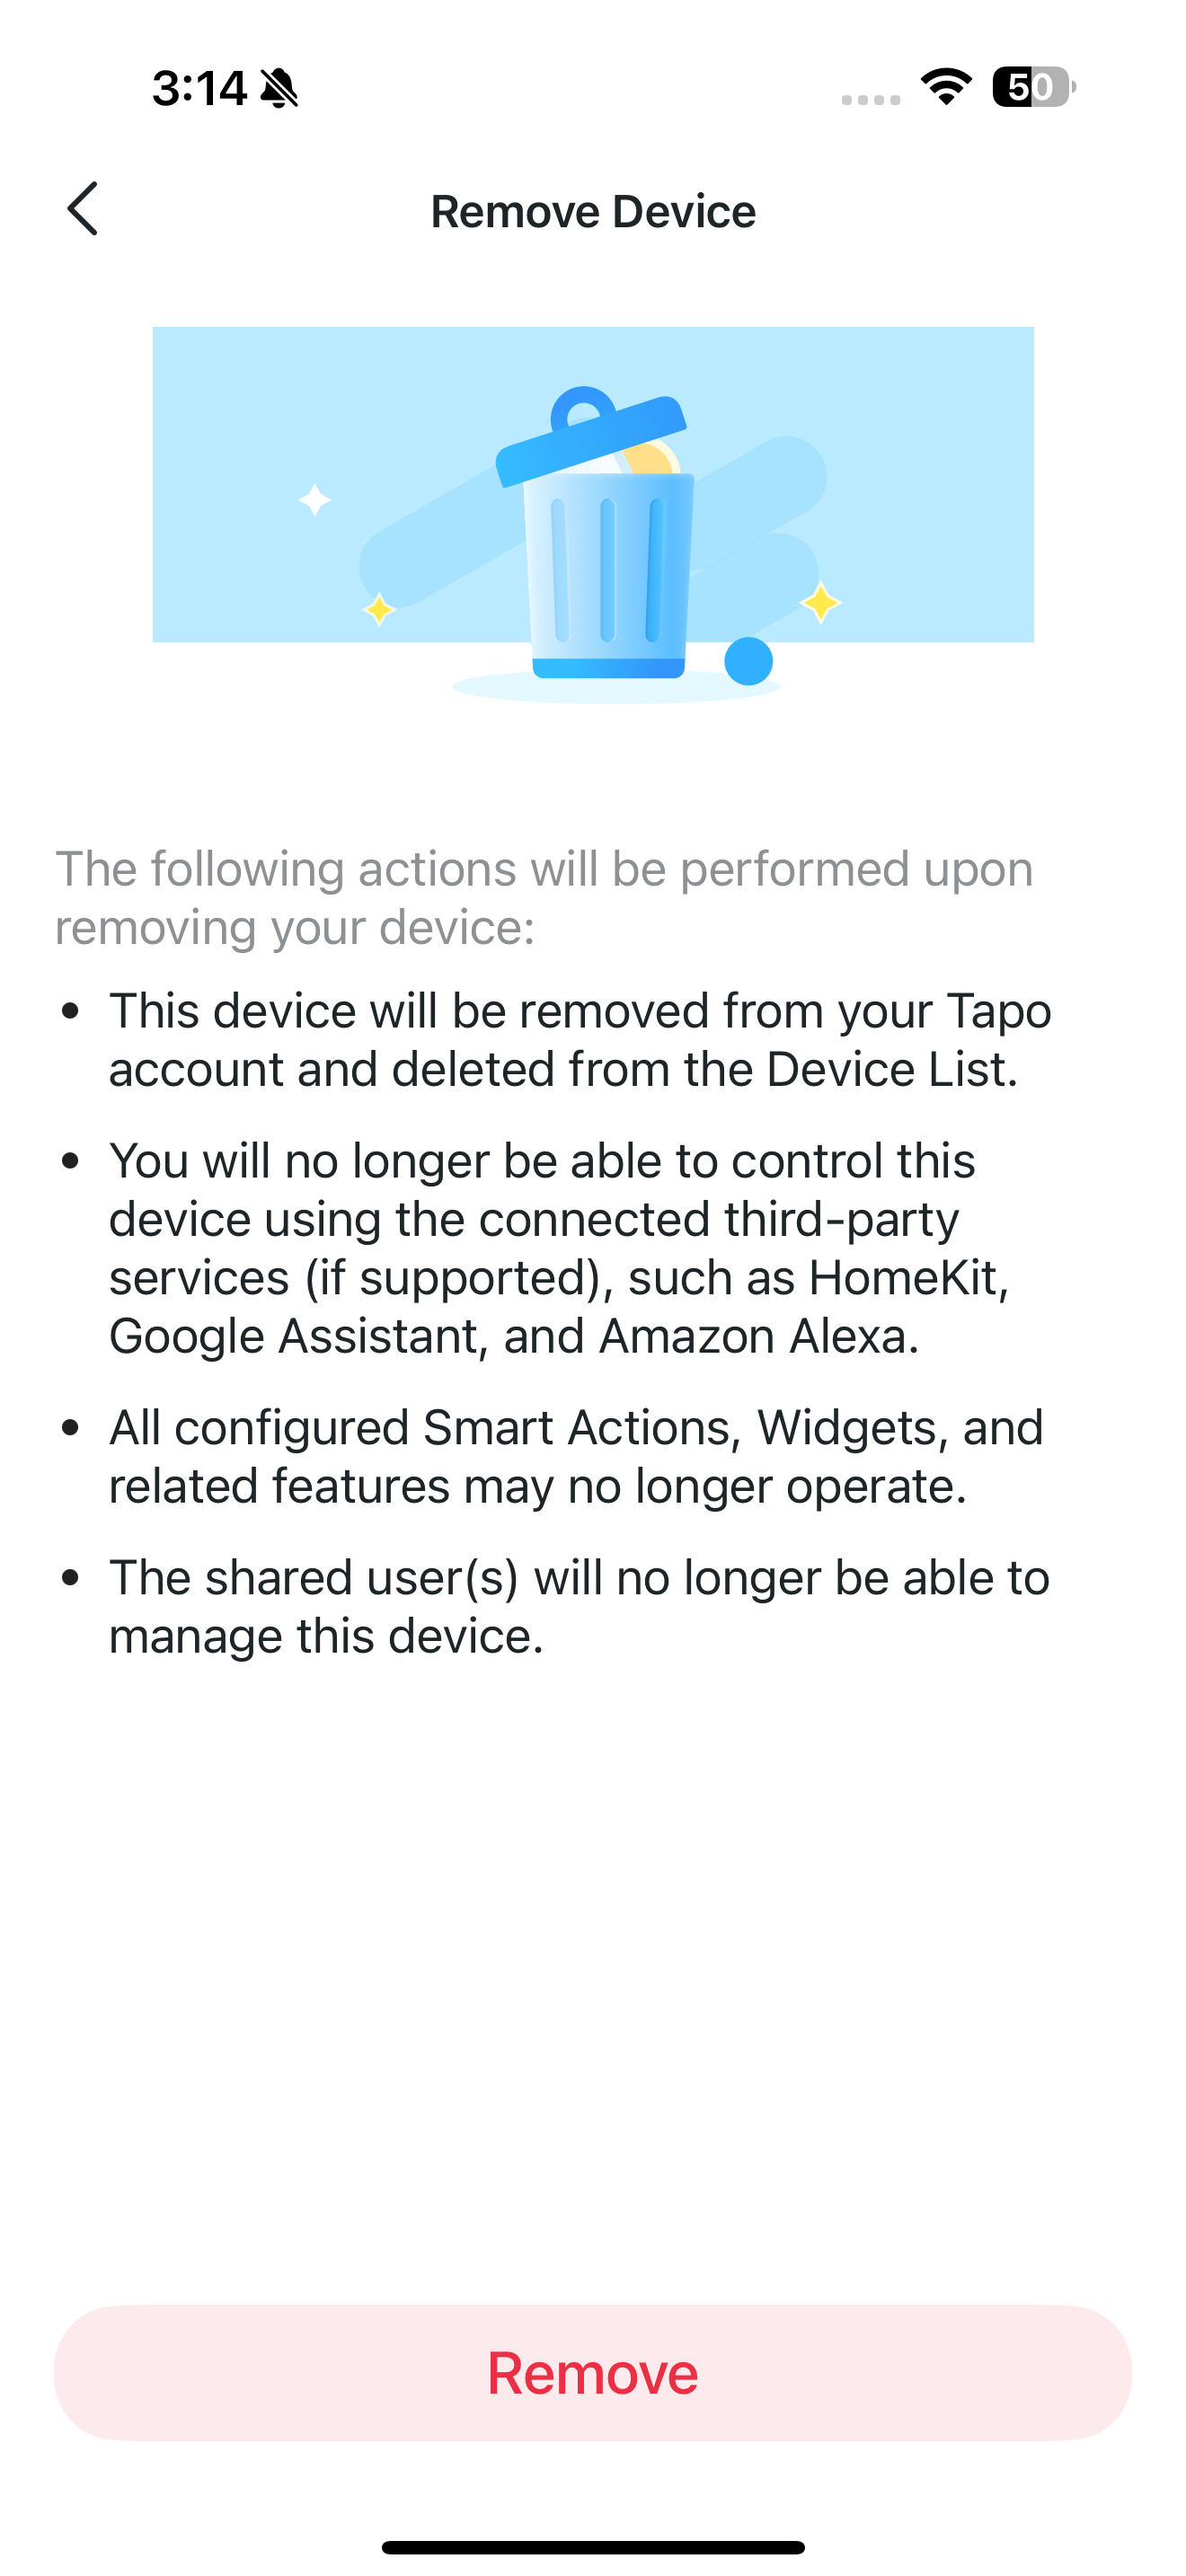
Remove Camera
If you remove your camera, it will be reset to factory settings. You can also remove the device on Home page.
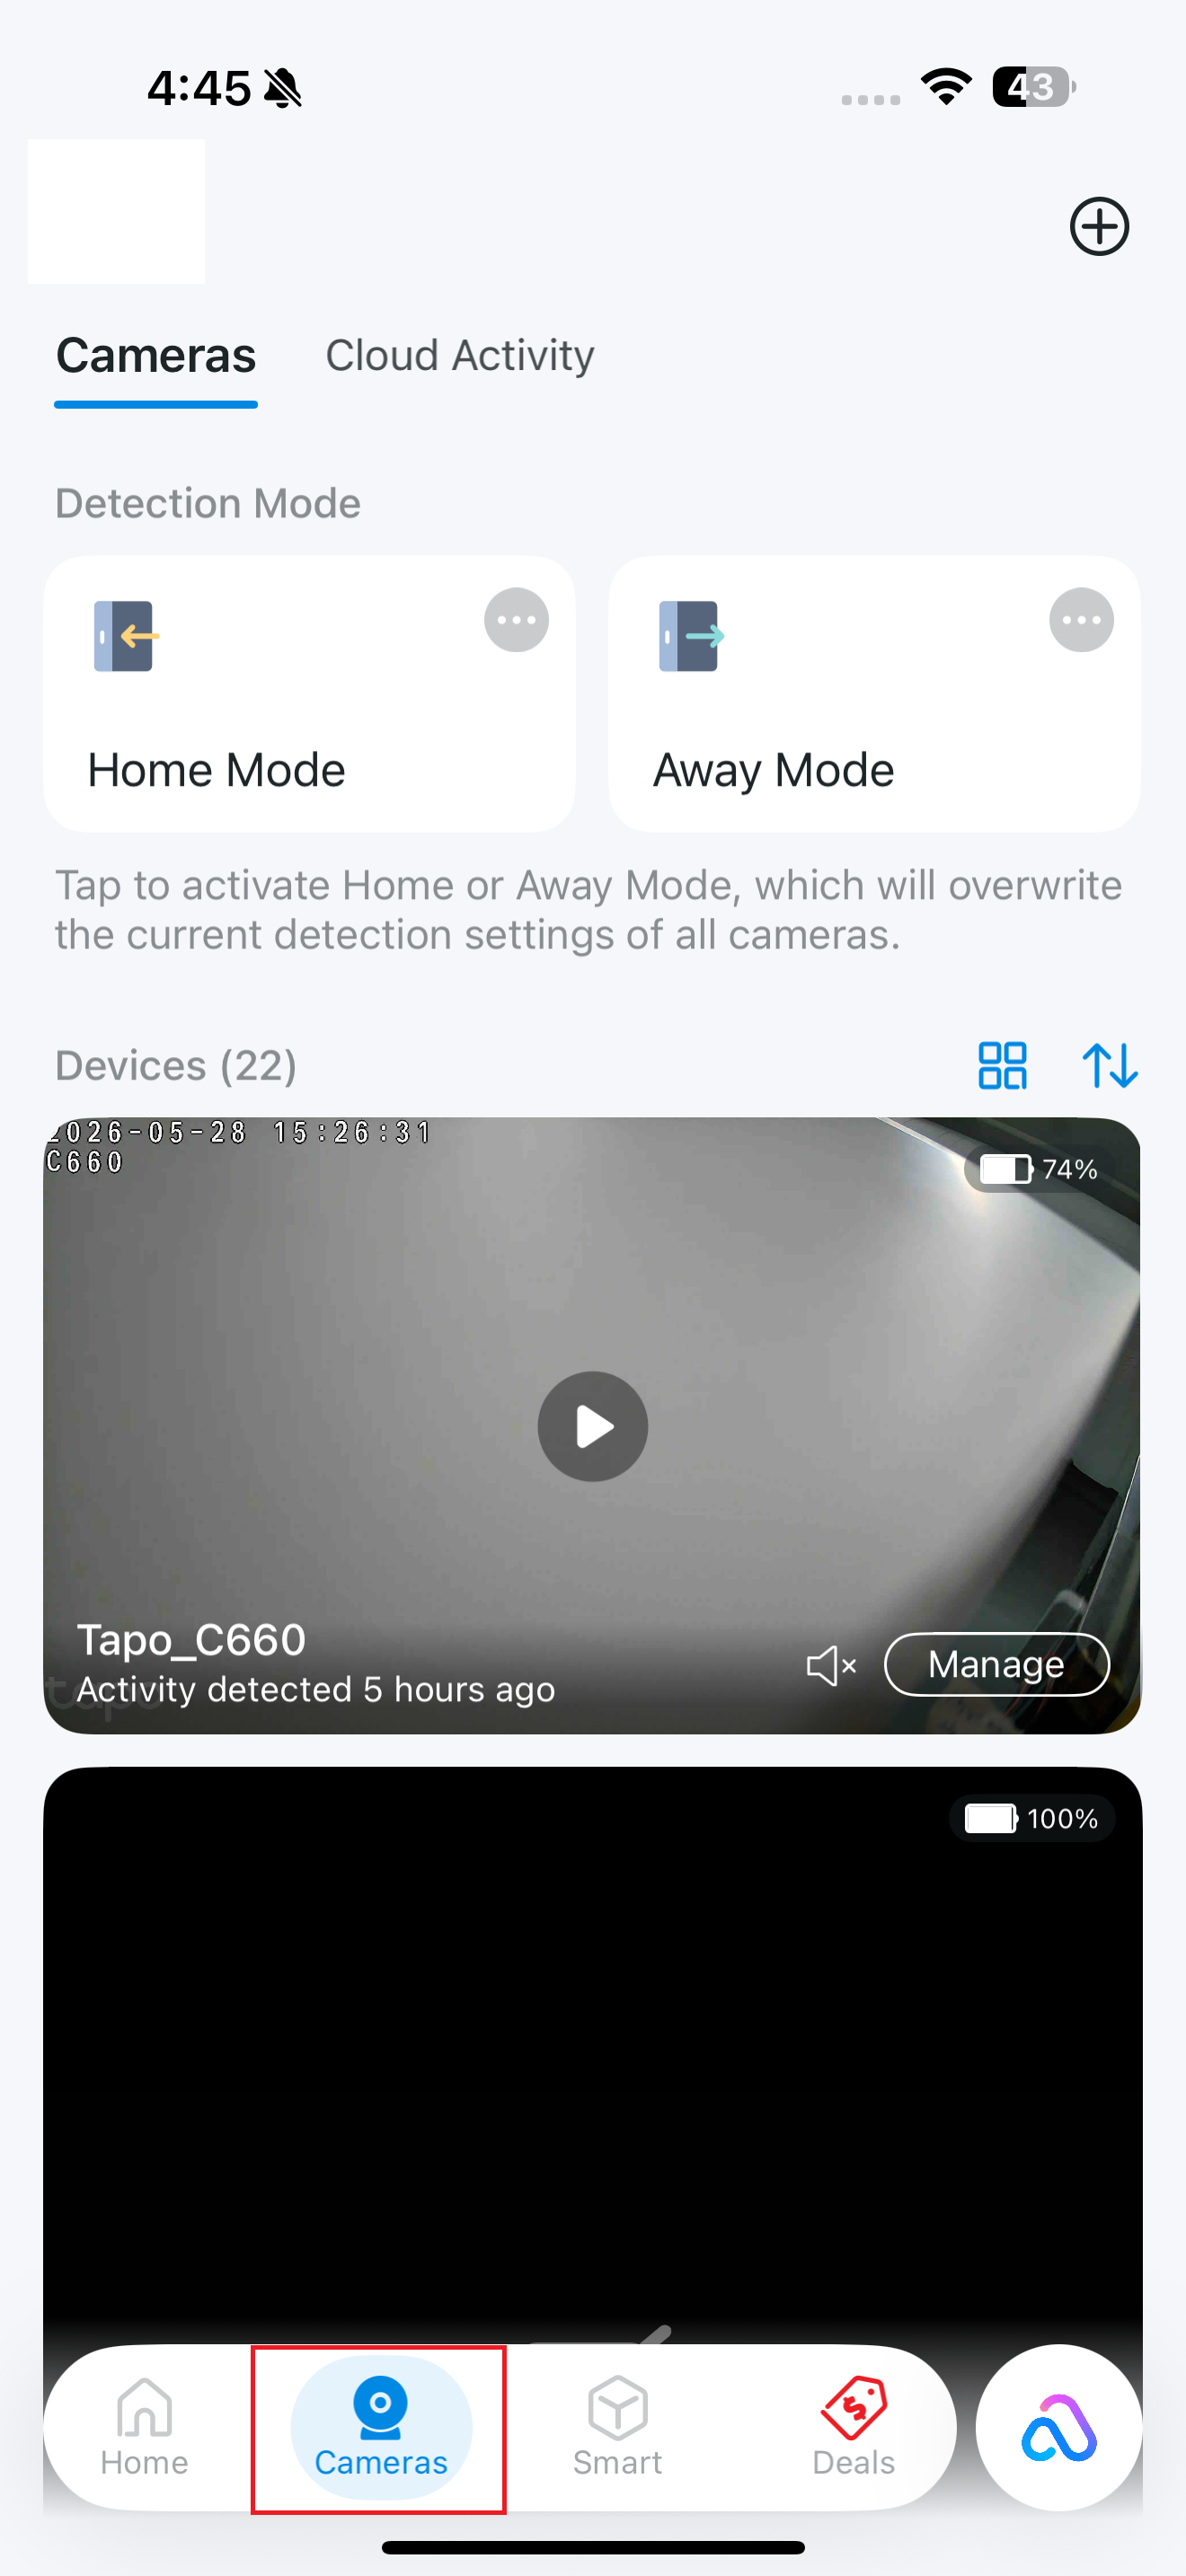
Camera Page
Tapo app provides a shortcut to activate Home or Away mode, live view all your cameras, and manage cloud activities.
Cameras
Open the Tapo app and tap Cameras at the bottom to enter the page. You can tap the triangle icon to start the live view on this page, tap Manage to enter the camera's live view page, or tap the speaker icon to mute/unmute the camera.
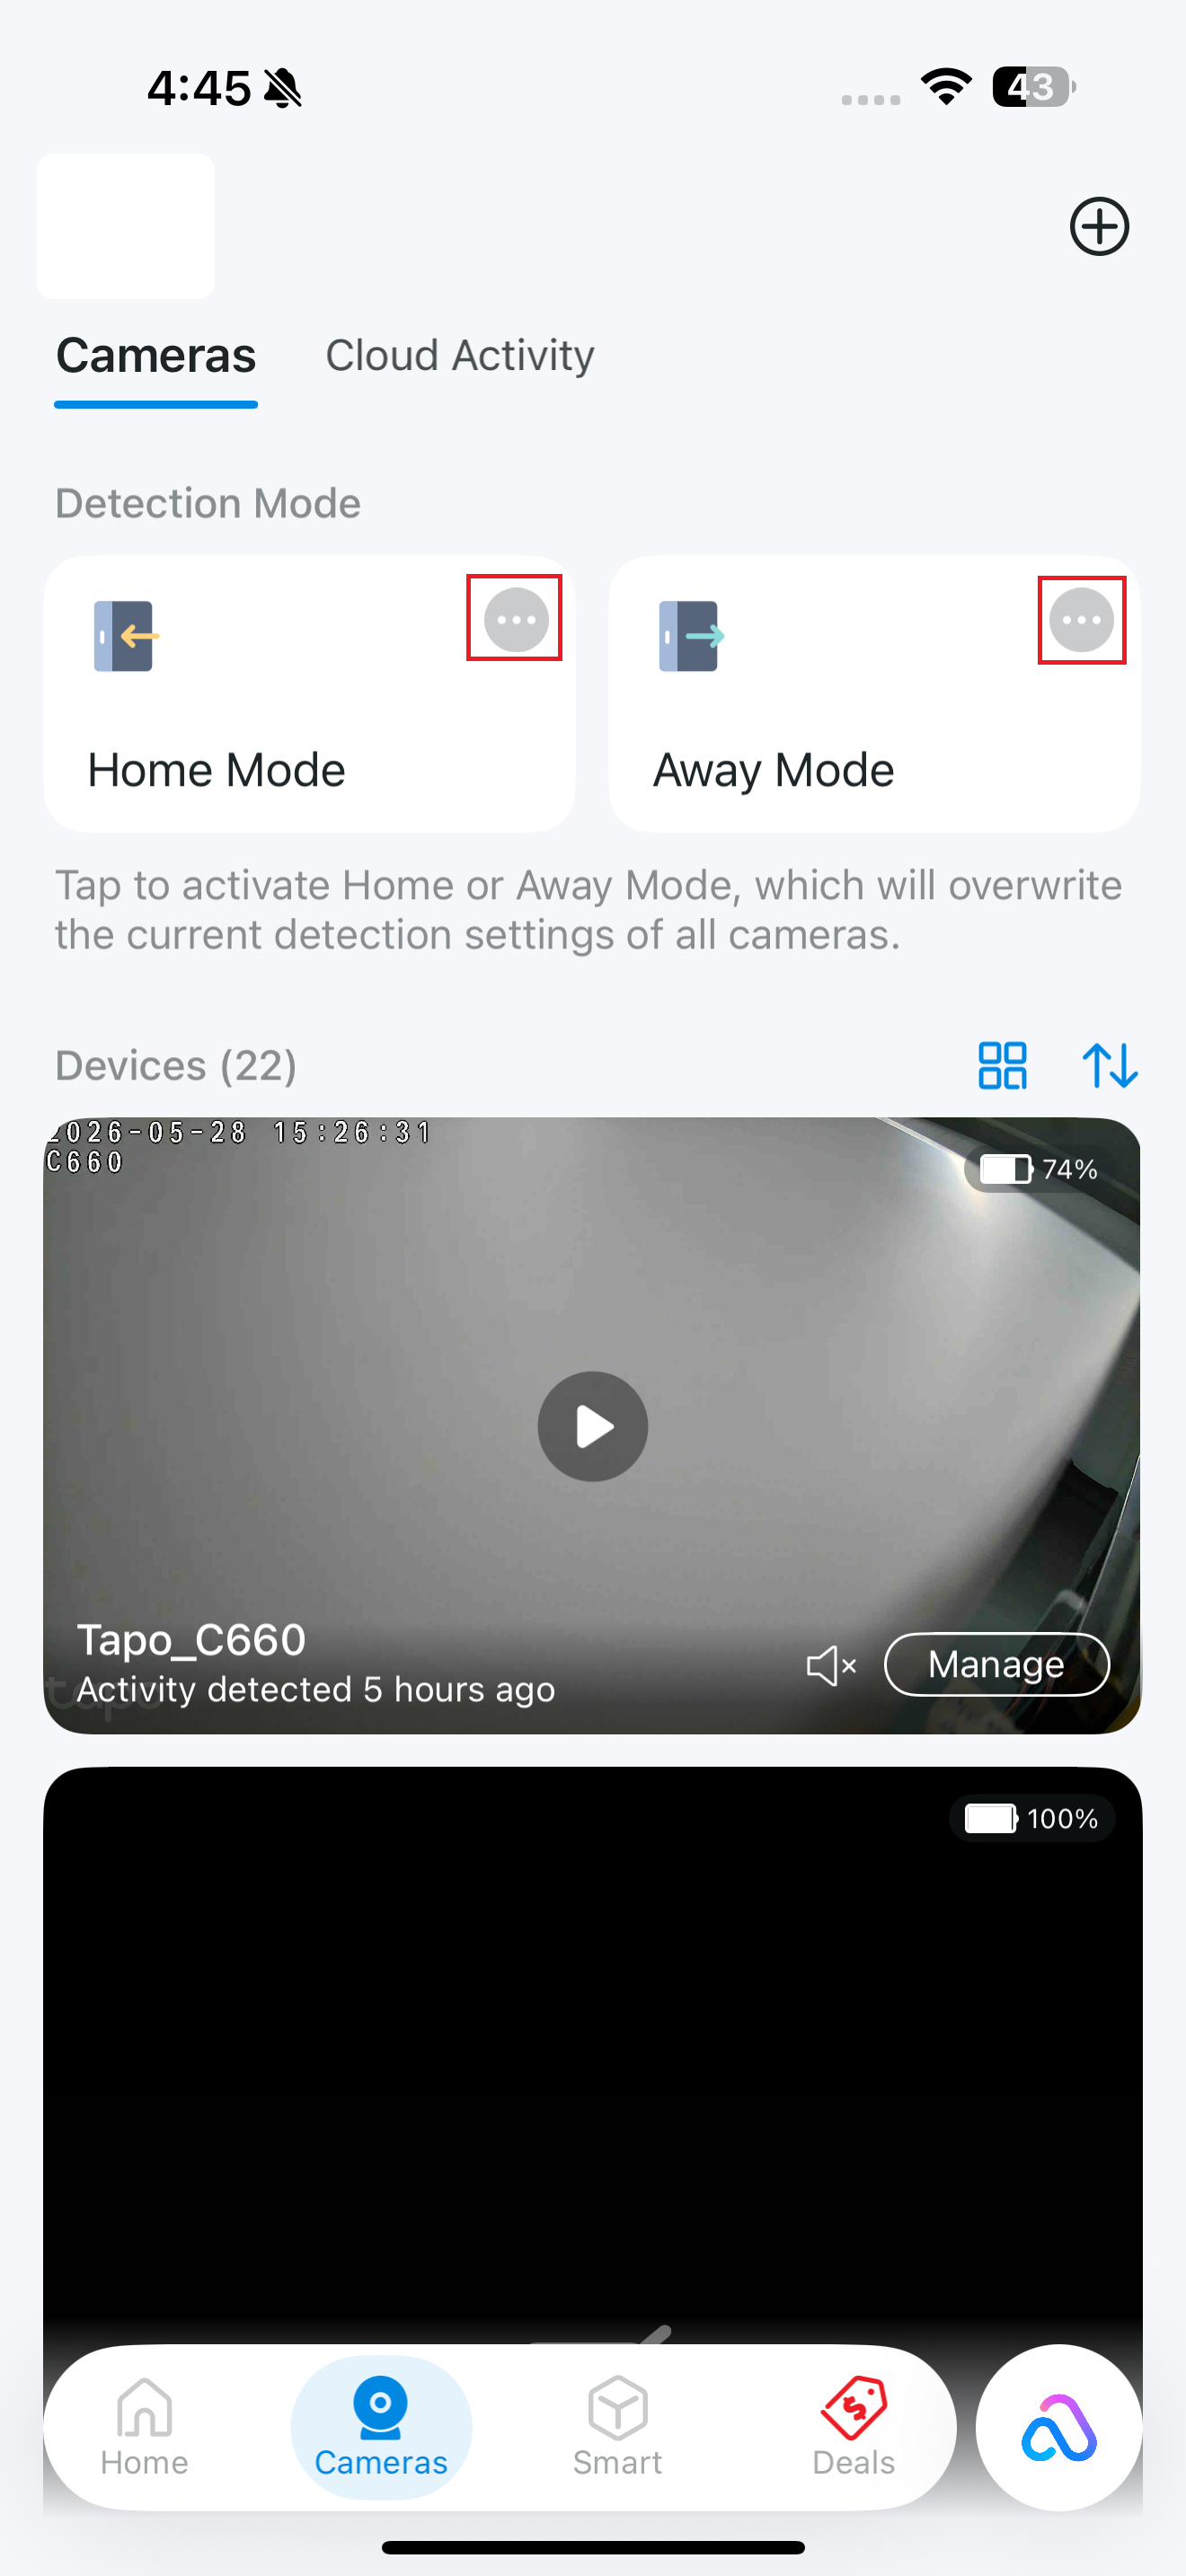
Home Mode/Away Mode
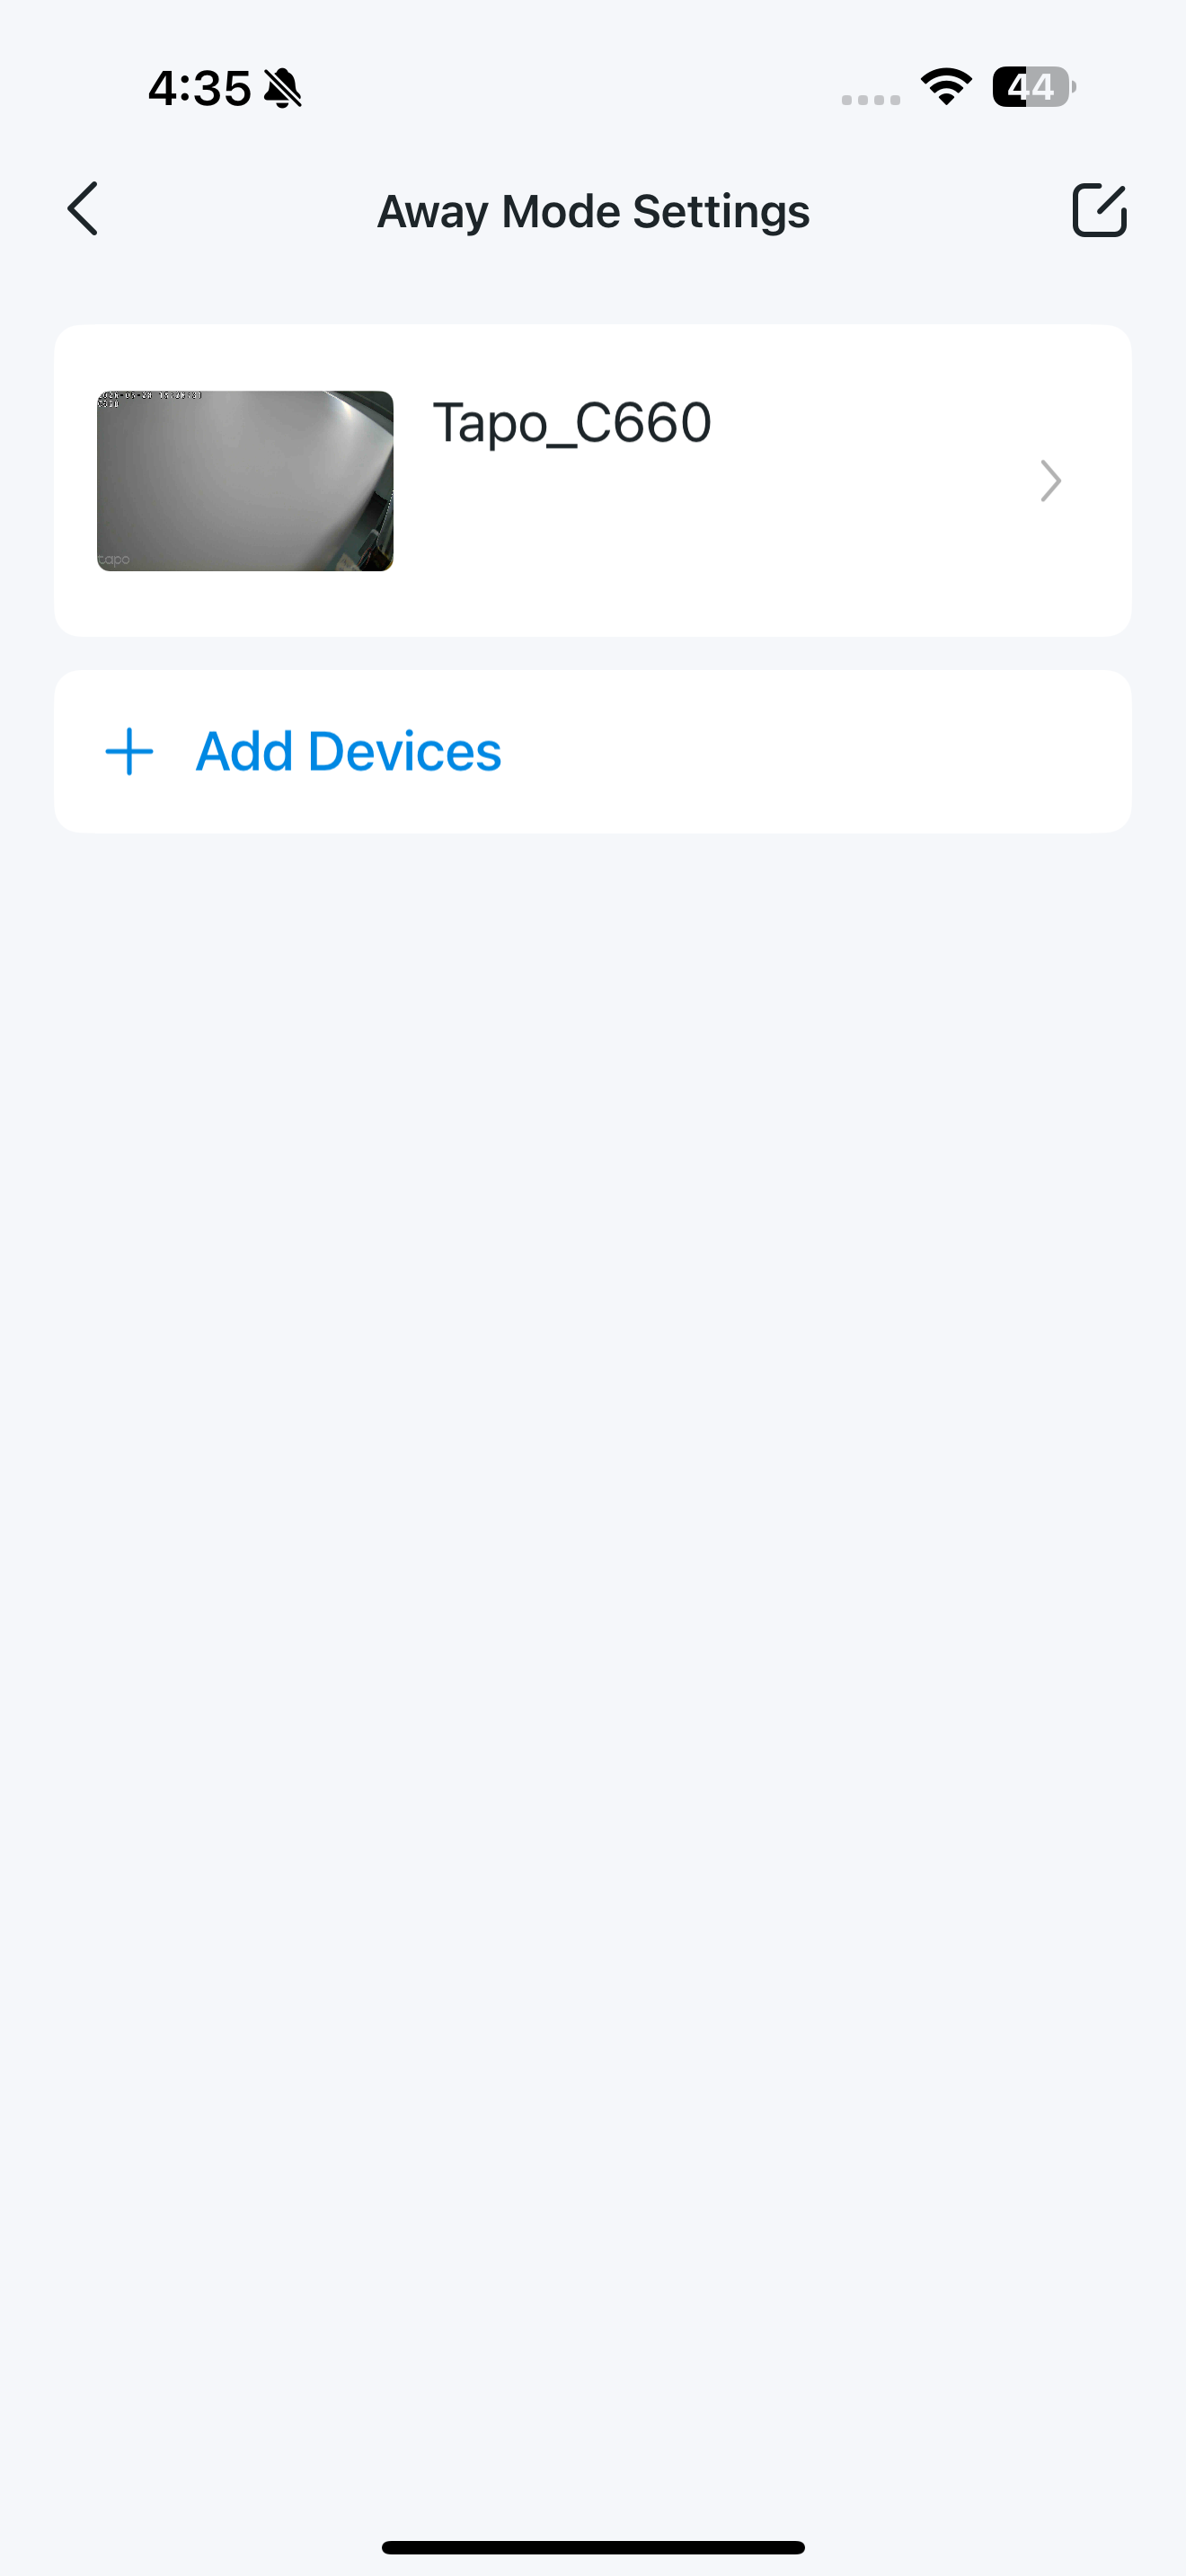
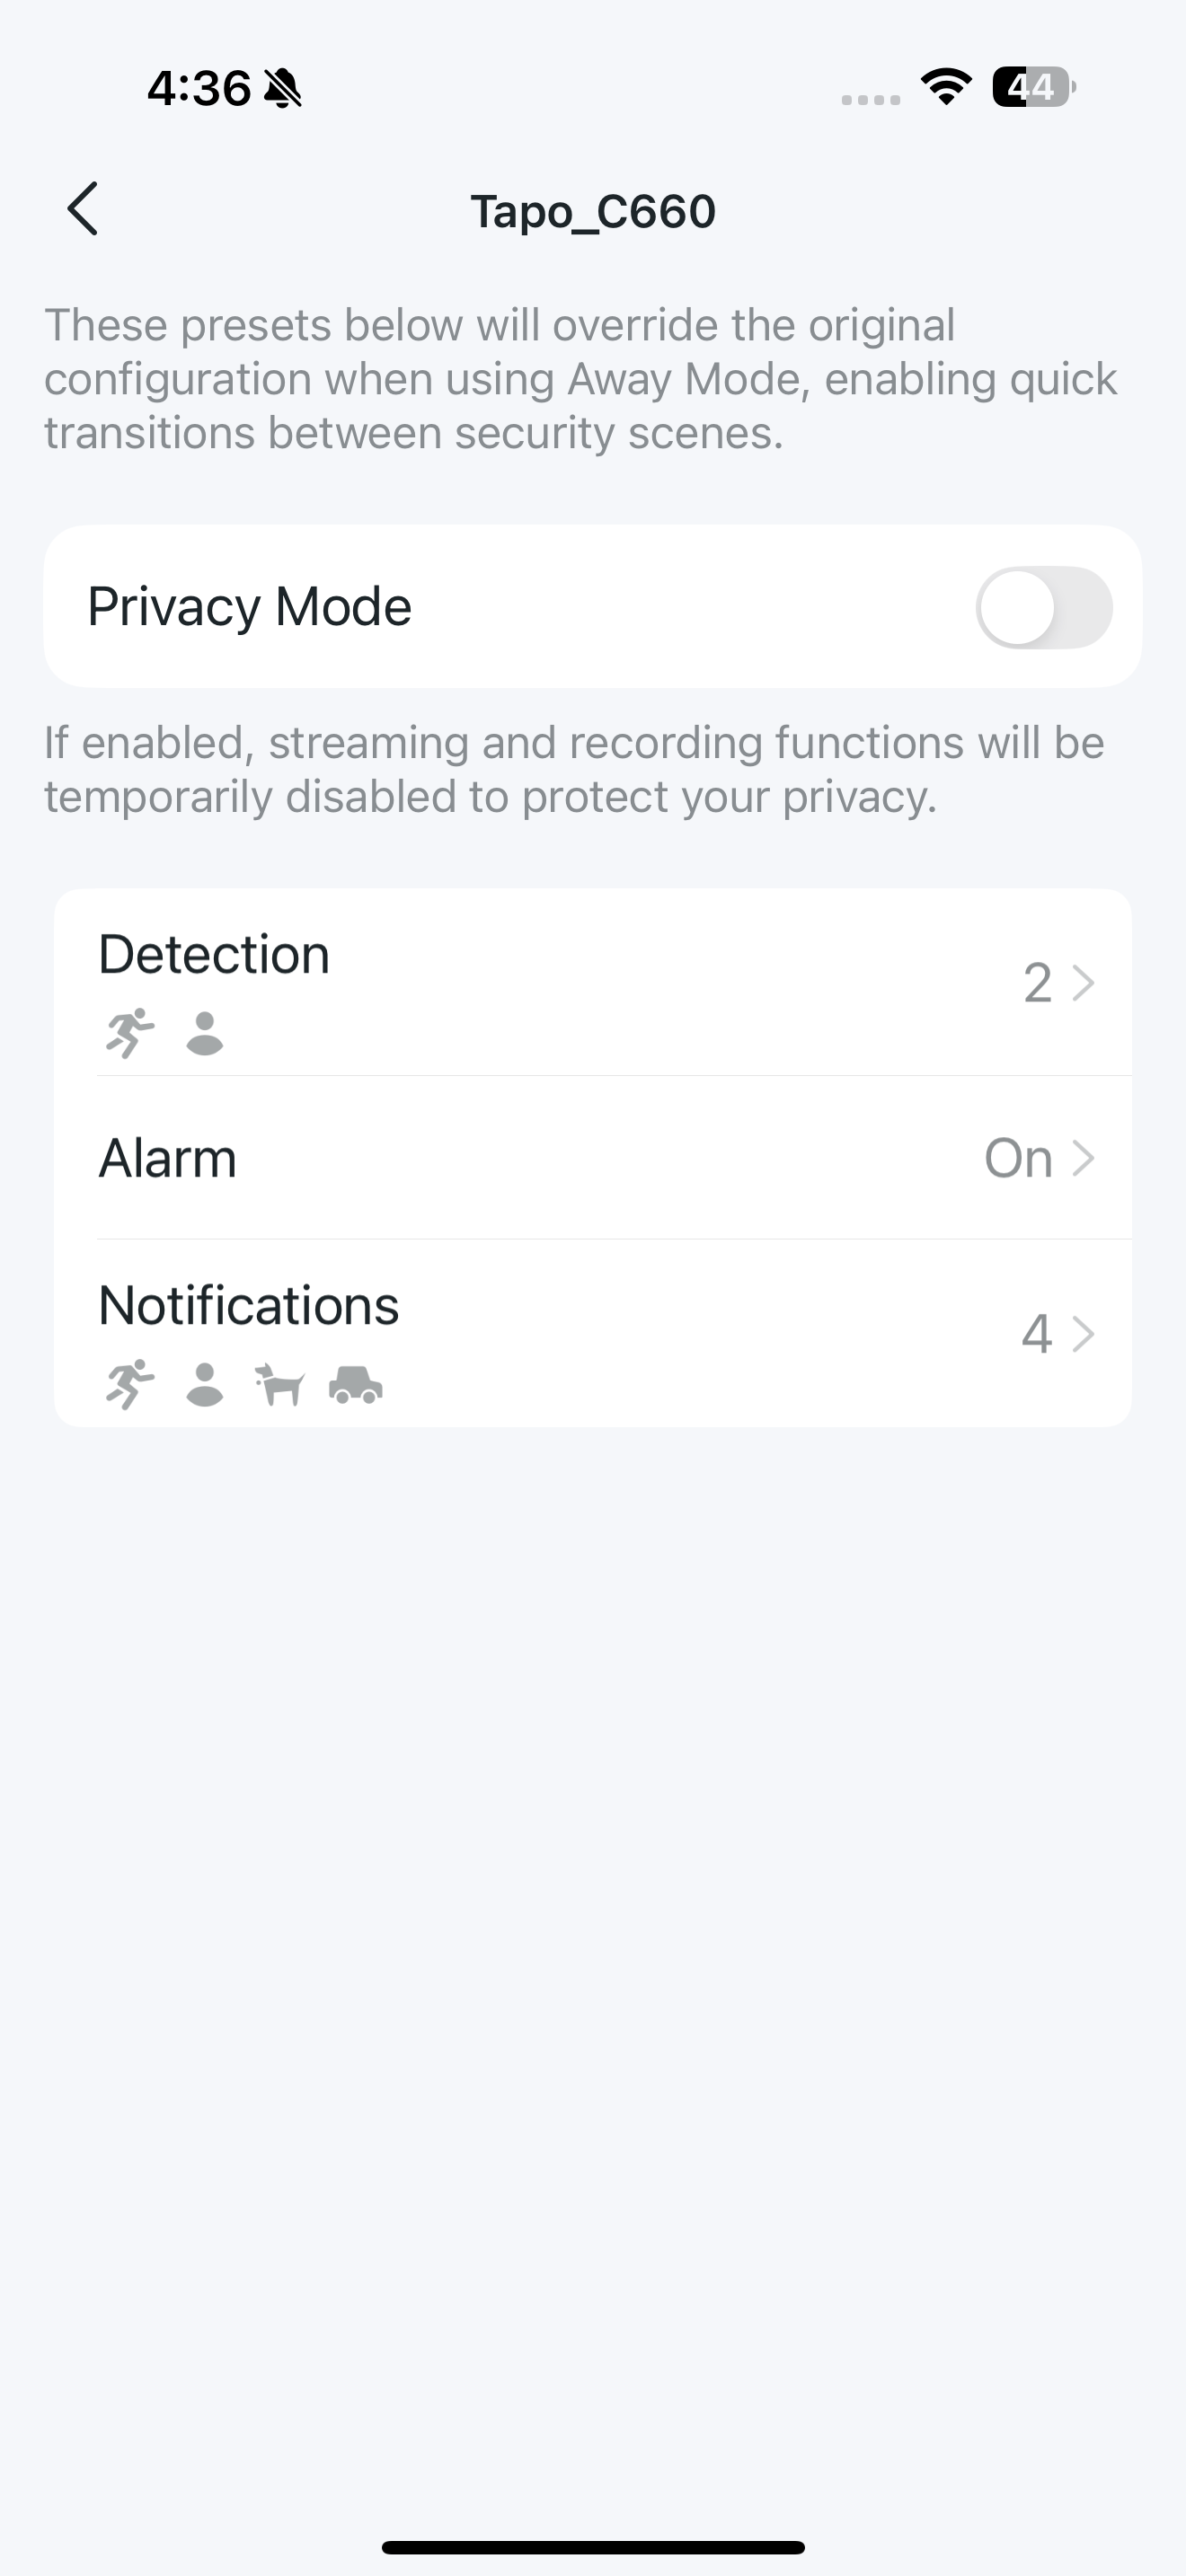
Step 1. Tap the three-dot icon to enter Home Mode Settings or Away Mode Settings. Add the cameras you want to apply preset Detection & Alerts settings.
Step 2. Tap the added camera to configure Detection, Alarm, and Notifications settings as needed.
Step 3. Tap the Home Mode or Away Mode card to activate it, which overwrites the current detection settings of all cameras.
Cloud Activity
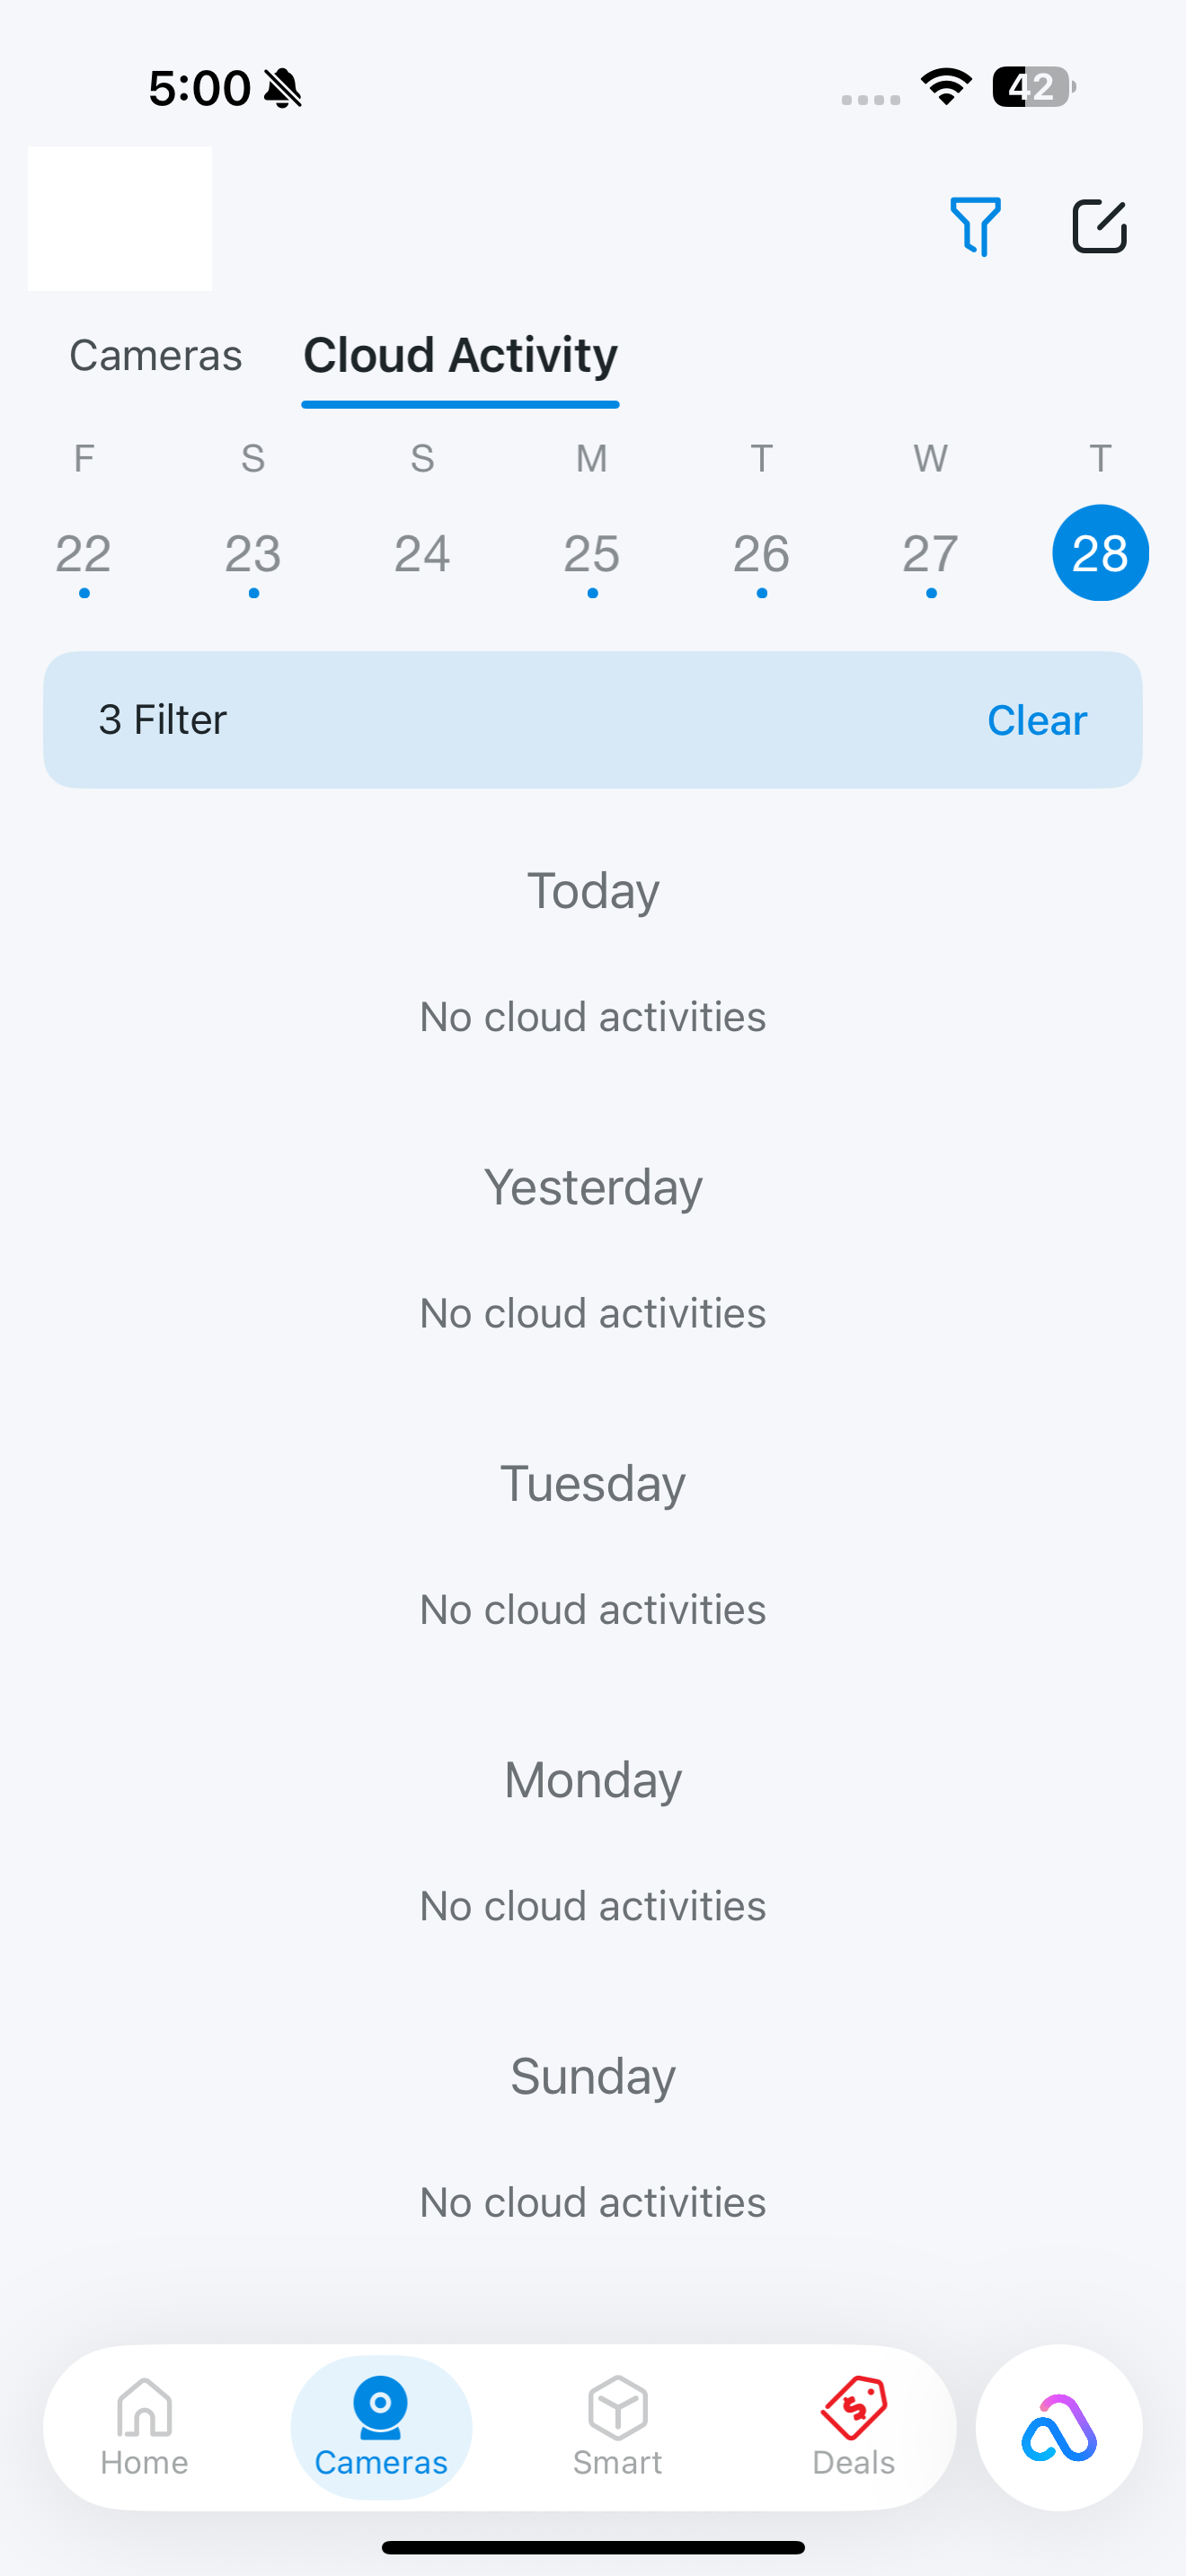
Tap Cloud Activity at the top, then you can check, filter, and delete cloud activities as needed.
Smart Actions
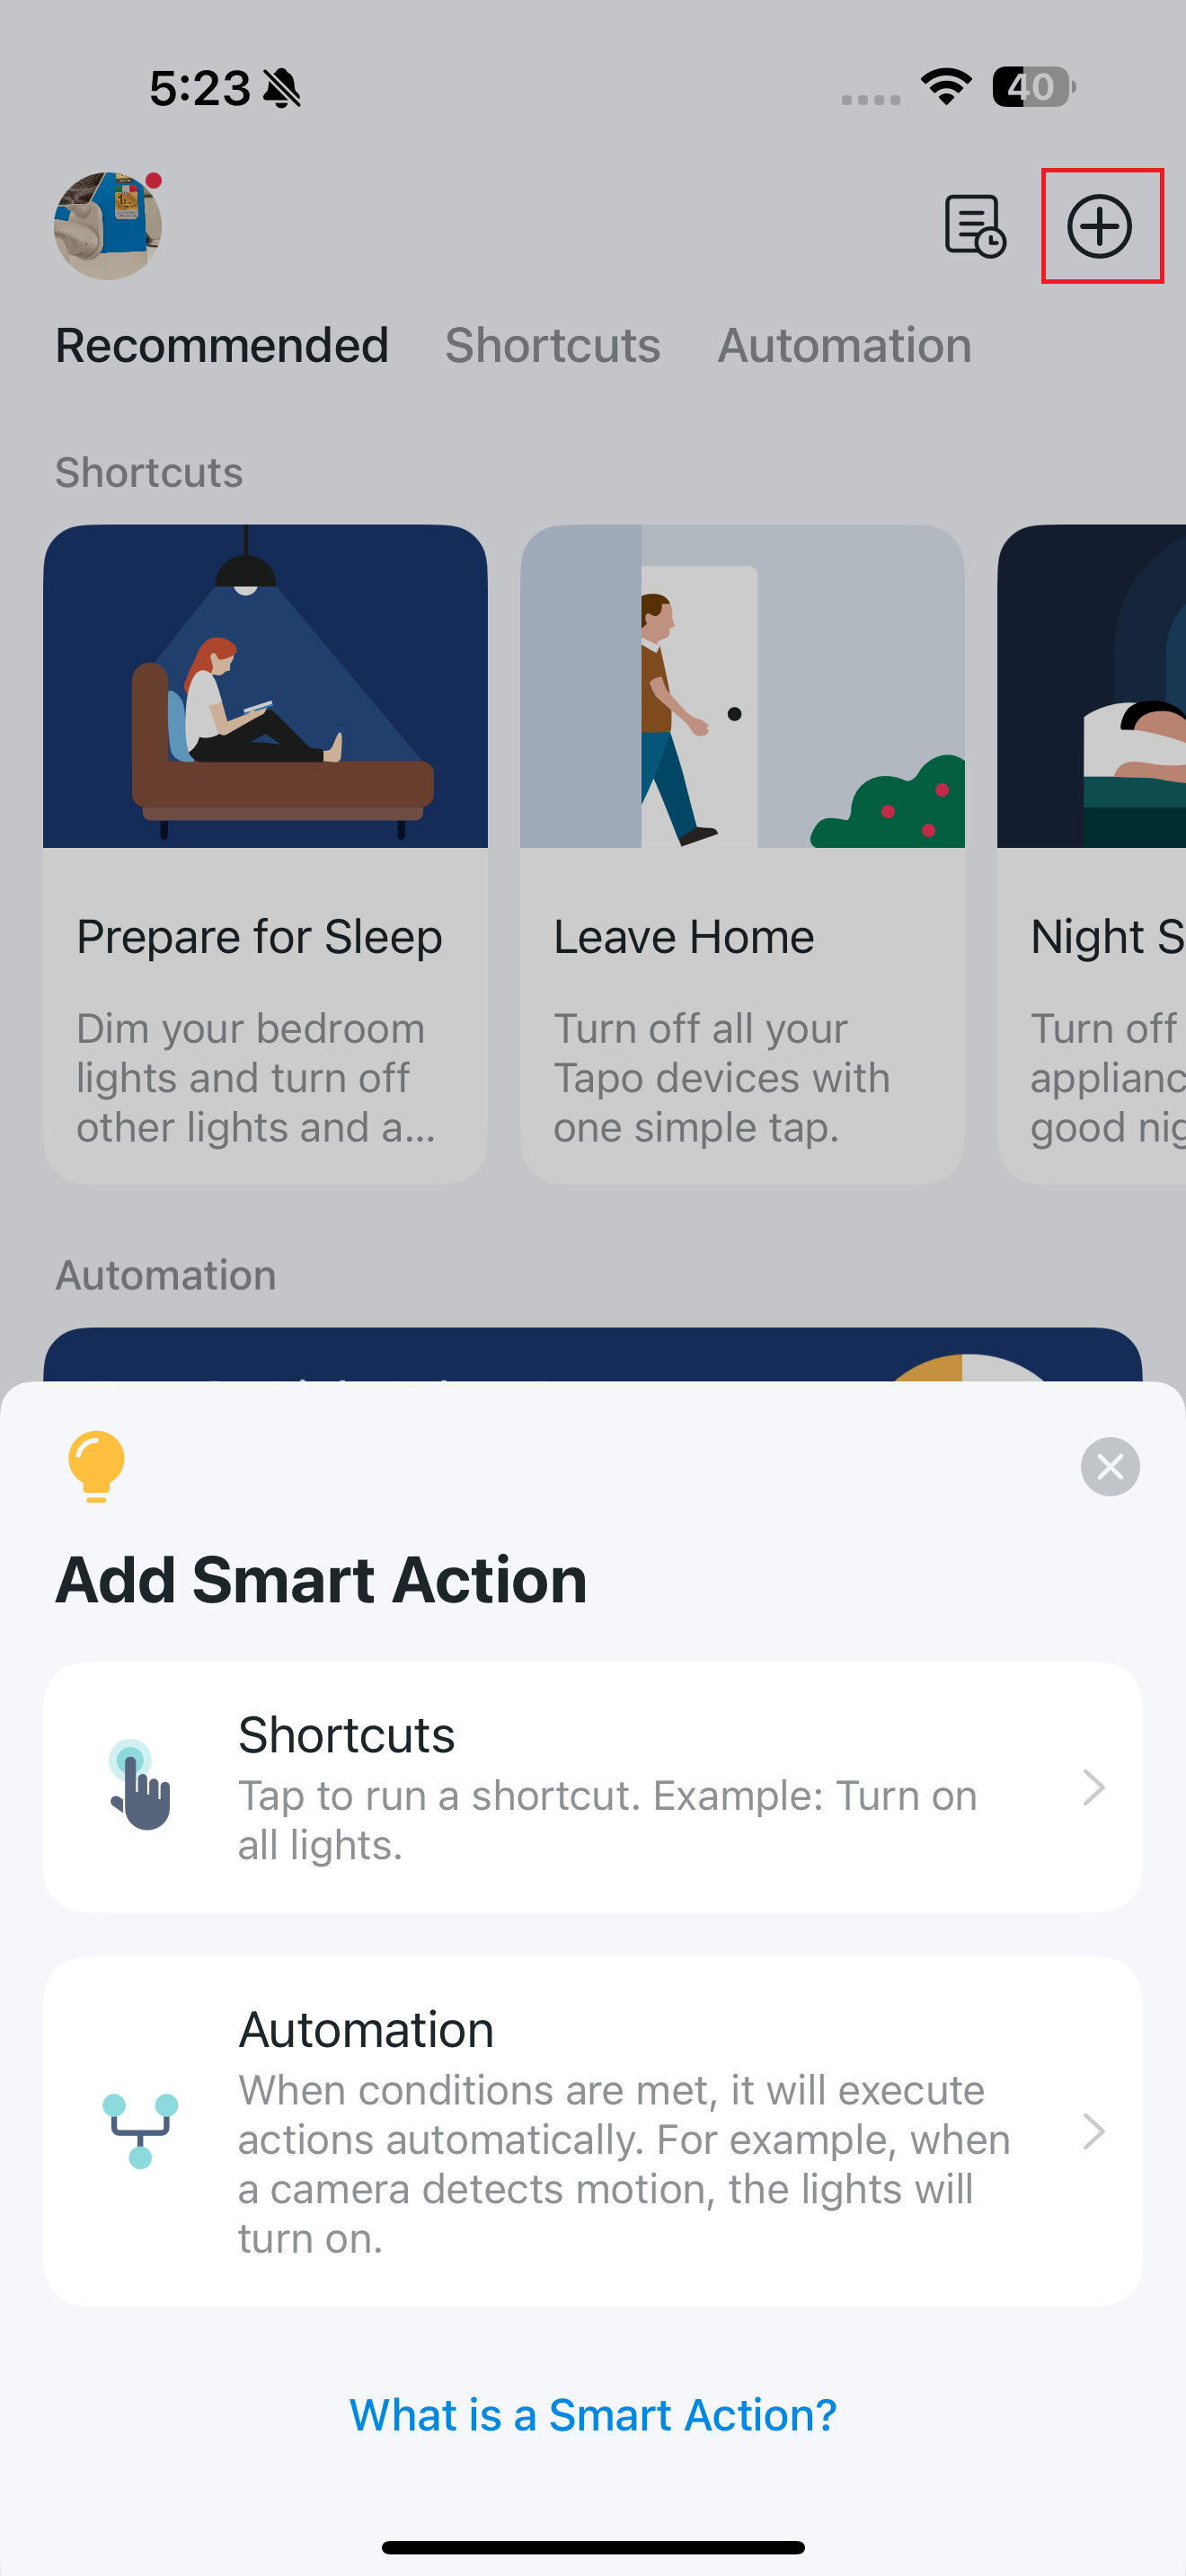
Smart Actions automate repetitive tasks, allowing you to blaze through tedium with utmost ease. Set everything up once and never have to worry about it again. With Smart Actions, giving your home that level of intelligence is a snap. Shortcuts lets you perform an action with a simple tap. Automation allows you to automate tasks to be performed at a set time. For example, turn on the lights automatically when the camera detects an event to capture clear and full-color images.
Option 1: Edit based on the featured actions
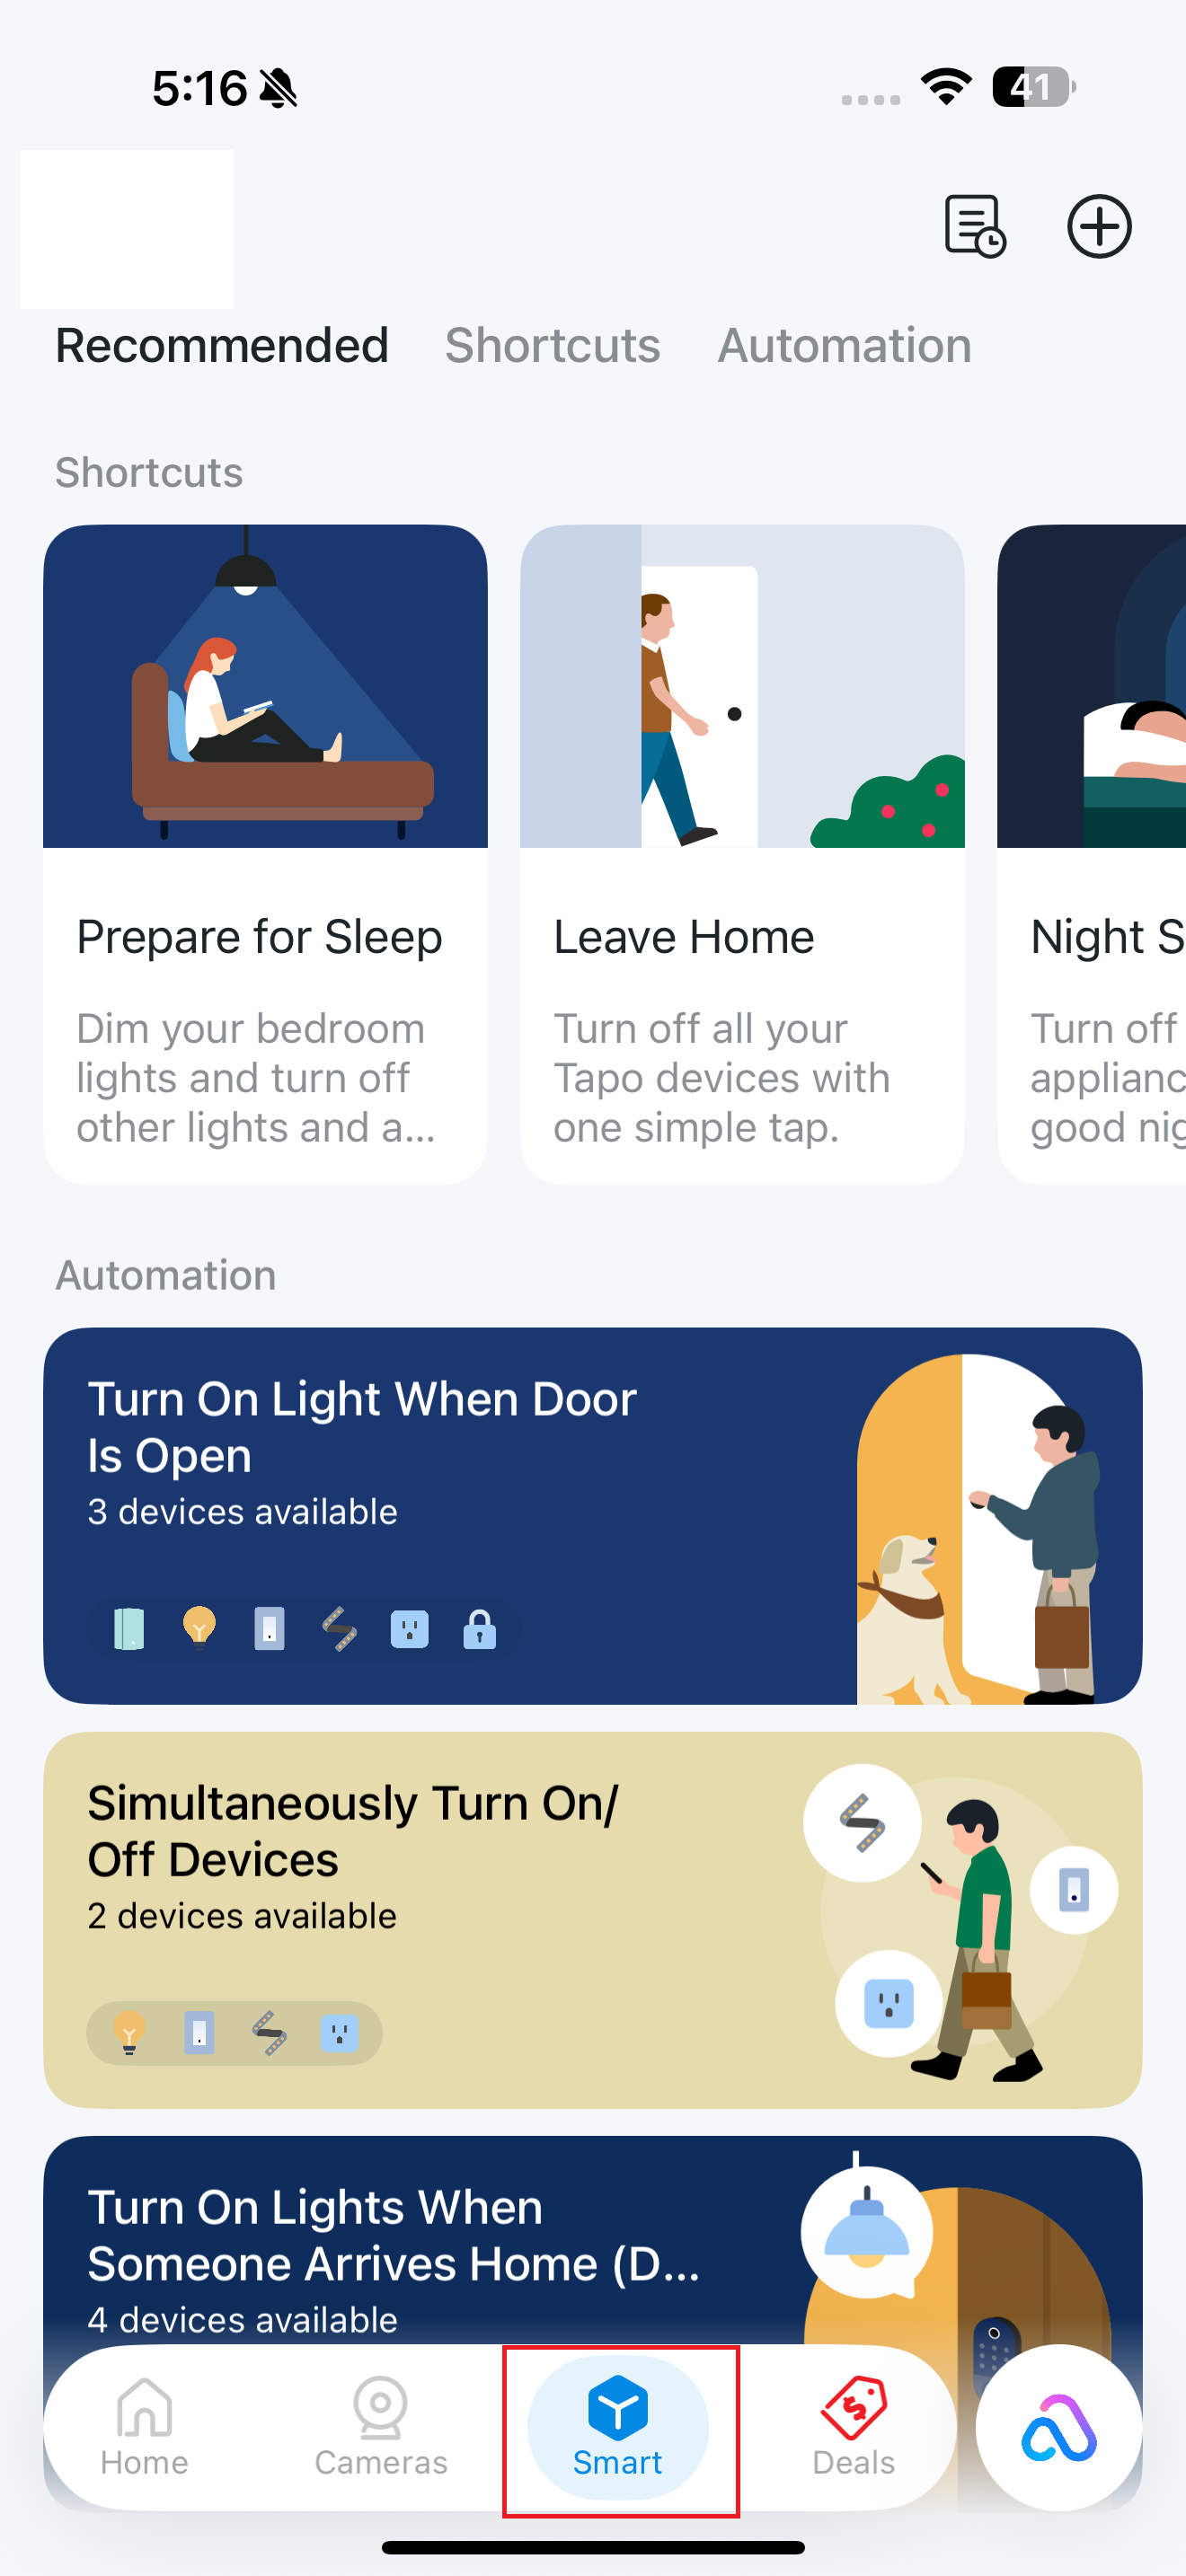
1. Tap the Smart button on the bottom to enter the Smart Actions page and you will see the Featured Actions (Shortcuts or Automation).
2. Tap on a featured action card and change the settings as needed.
Option 2: Create your own routines
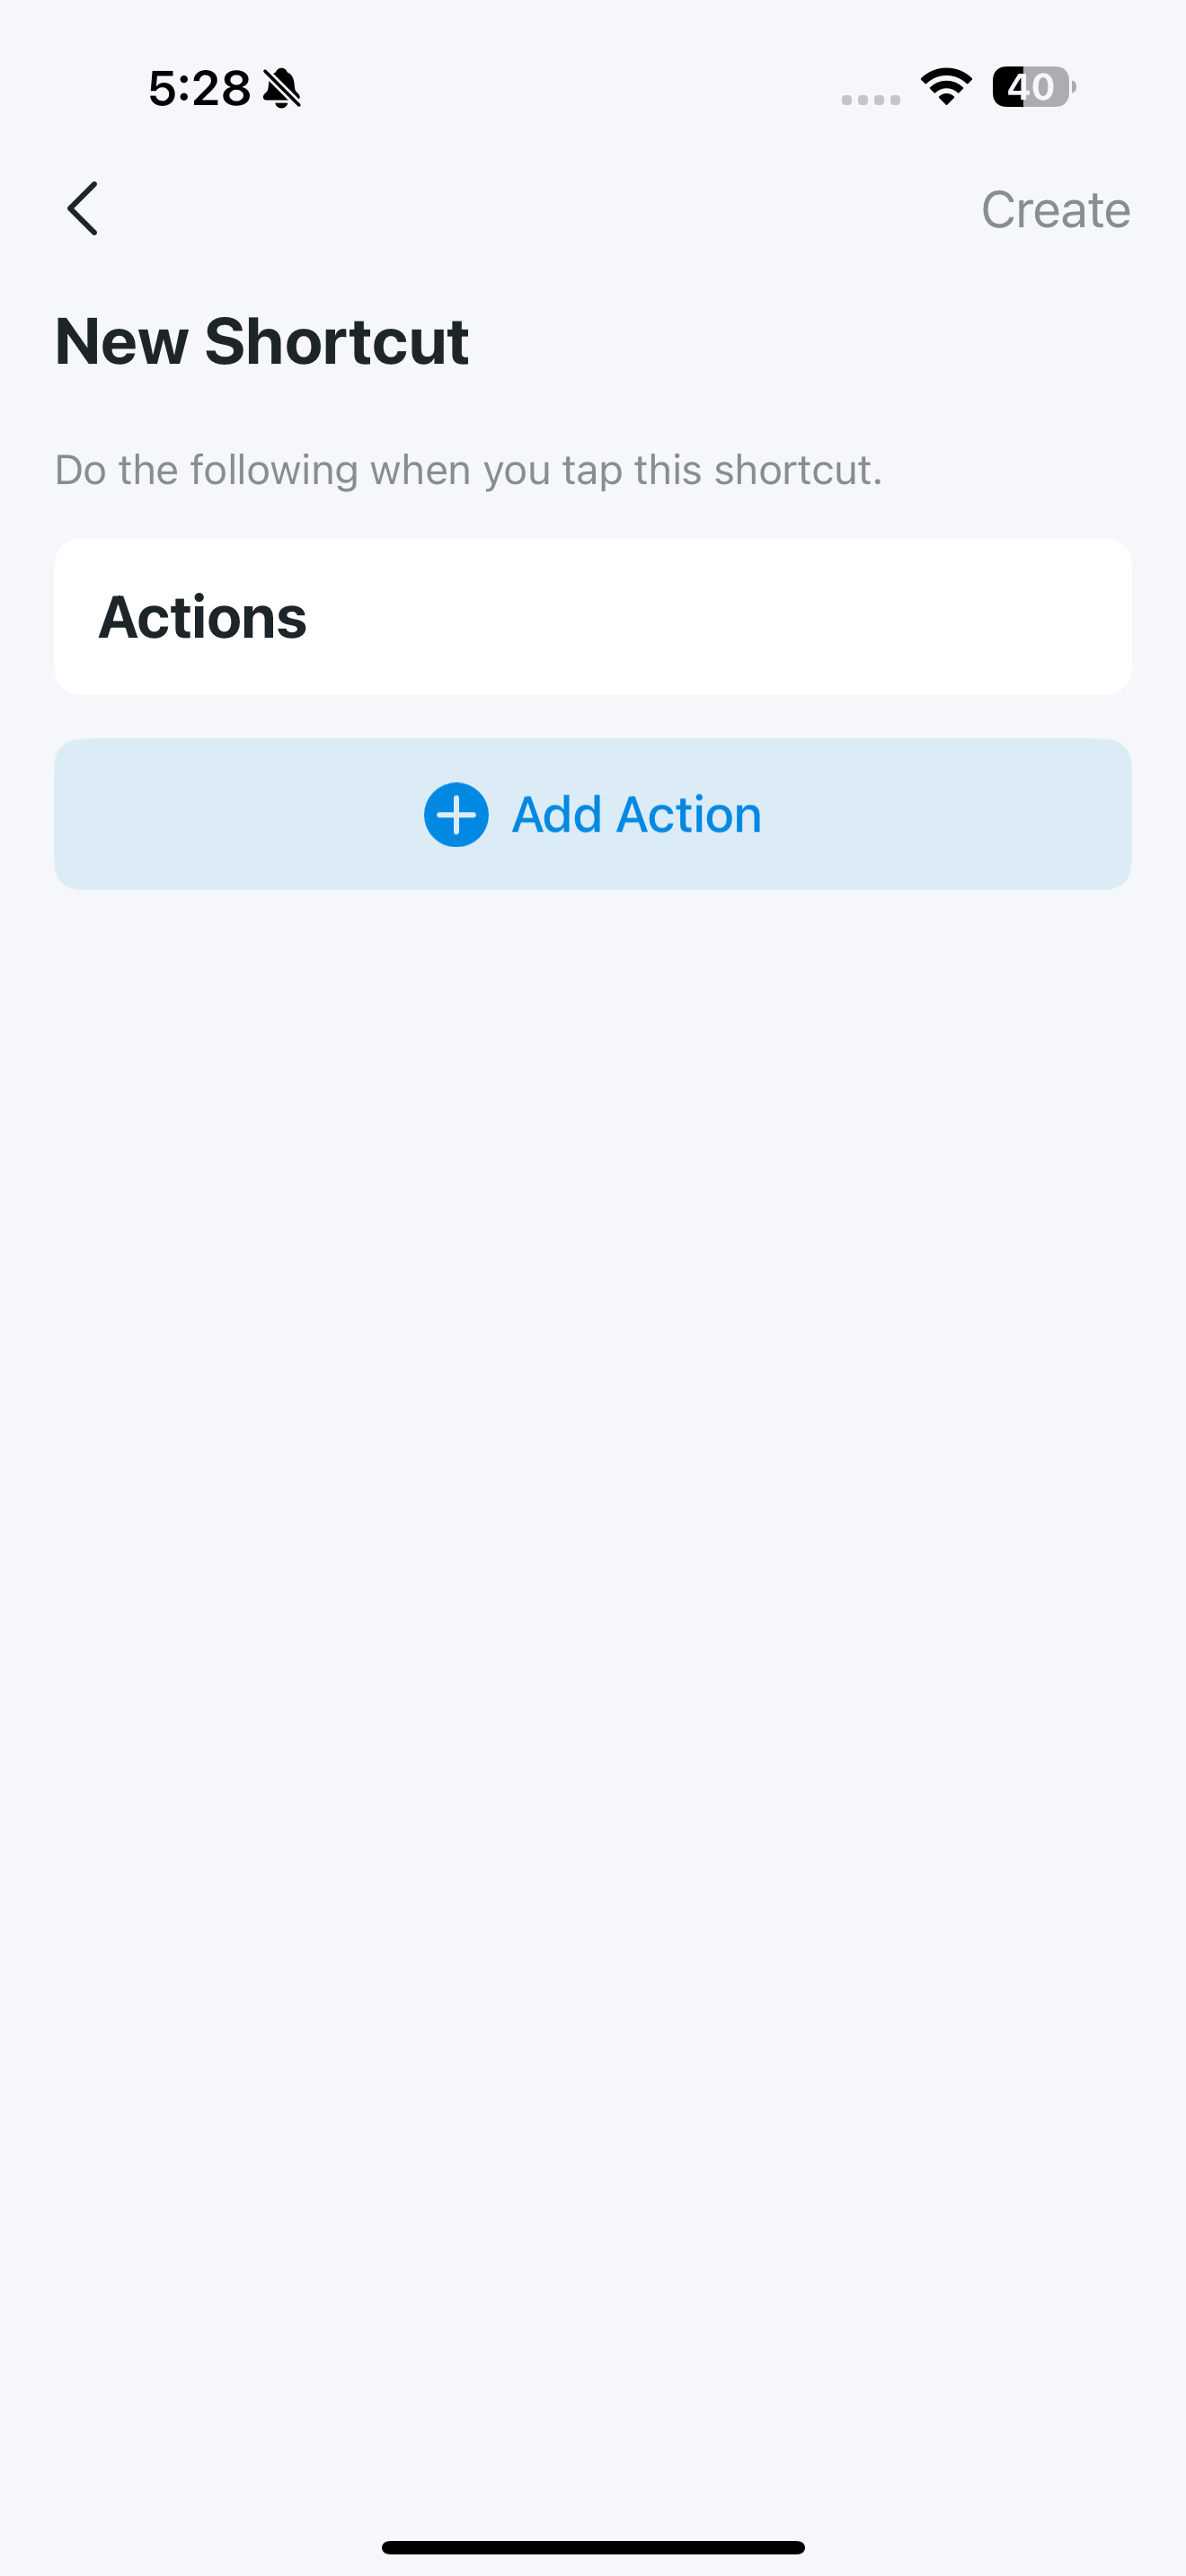
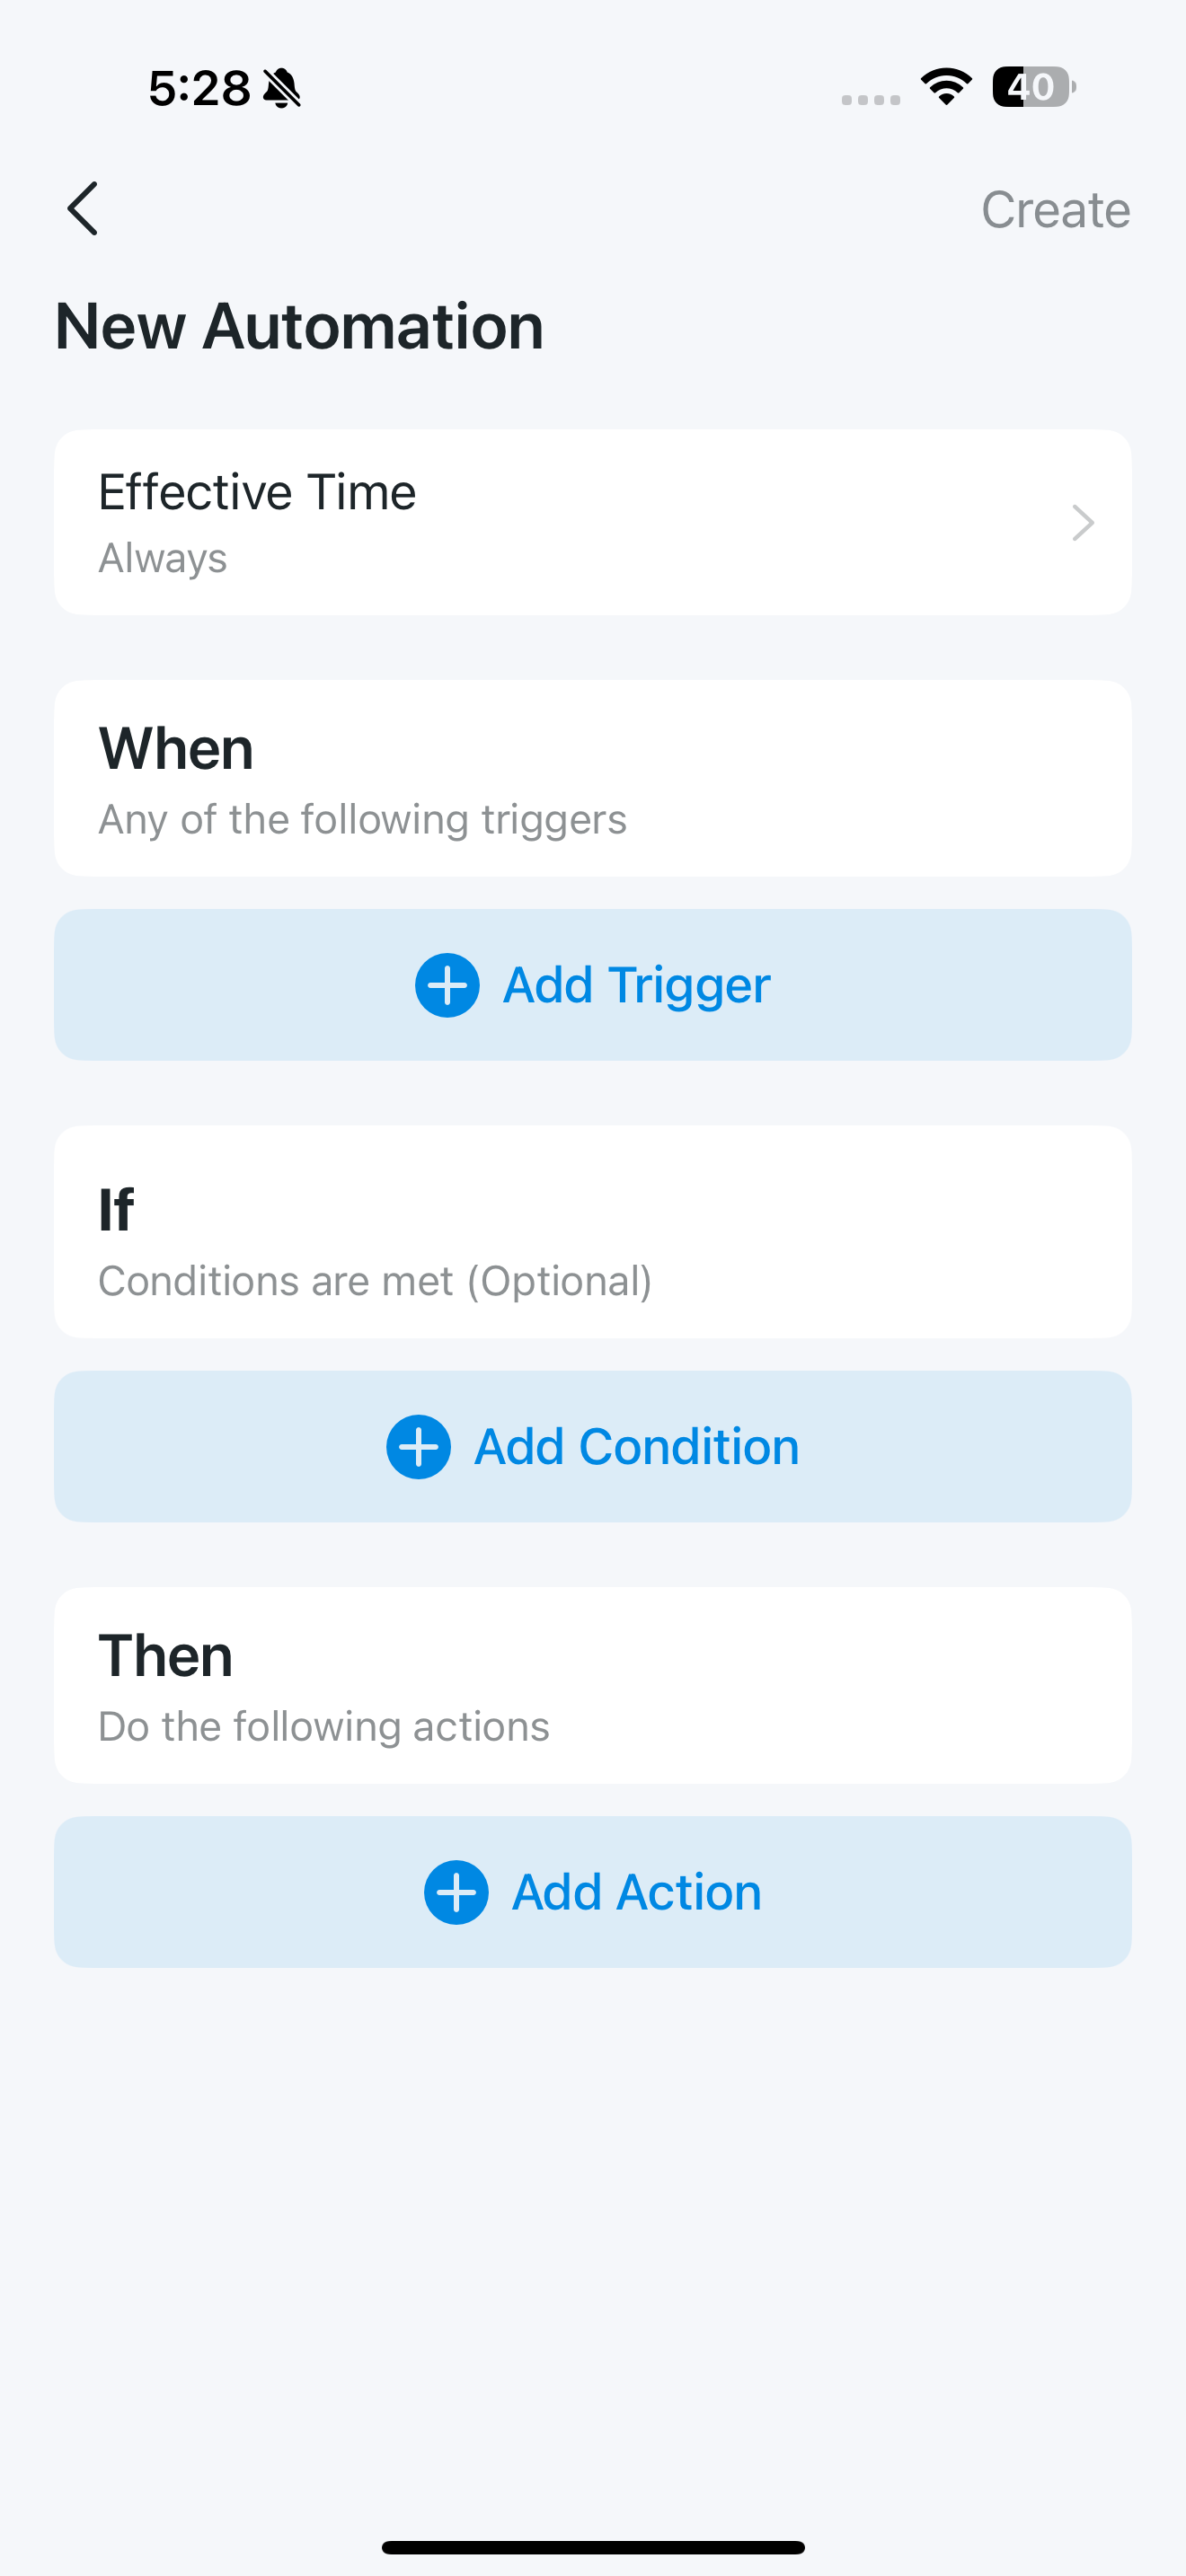
Tap the upper right + button to create your own shortcuts or automation.
For Shortcuts: Tap + to add an action like turning on the smart bulb.
For Automation: Tap + to add triggers (When), conditions (If), and actions (Then). For example, you can set a time trigger, check a device's status, and then control one or multiple devices.
Support
For technical support, the user guide, FAQs, warranty and more, please visit https://www.tapo.com/support/