What should I do if I fail to configure the cloud camera?
Note: This FAQ is suitable for all TP-Link cloud cameras including NC200, NC220, NC450 and so on. Here we take NC450 as an example.
The tpCamera app will guide you step-by-step during the initial configuration, however, you may not be able to get through all the steps due to some interference. This FAQ will tell you what to do if you have trouble getting through a certain step.
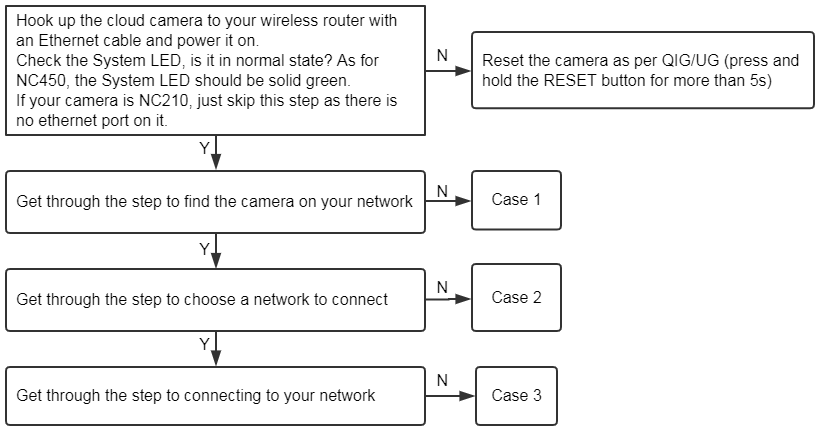
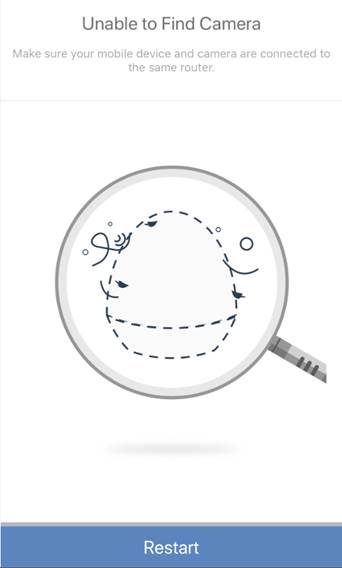
Unable to find the camera.
Step 1
Check System LED status of the camera and make sure it’s solid green. Otherwise, reset the camera as per QIG/UG (press and hold the RESET button for more than 5s until the System LED turns off).
Step 2
Make sure your smartphone is connected to the same router which your camera is connected to.
Step 4
Disable VPN connection (if there is) on the phone or use another phone to try again.
Step 5
Reset the camera as per QIG/UG and go through the process again.
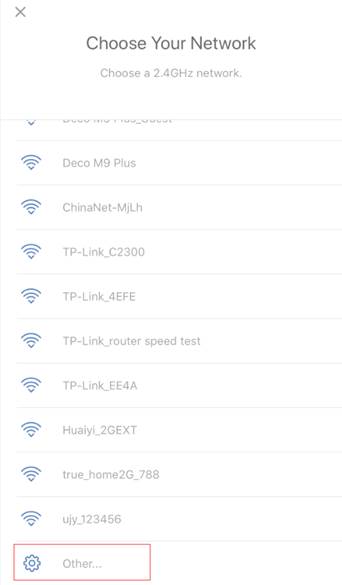
Can’t find the Wi-Fi name of the home network.
Step 1
The signal strength of your home network should be adequate, move the camera closer to your router if not. Or you are suggested to change wireless channels on your router.
Step 2
If it doesn’t display the Wi-Fi name of your router automatically, please pull down and refresh the Wi-Fi list multiple times to see if you can find it.
Step 3
If your router’s SSID is hidden, please choose “Other” to input the SSID and password manually.
Step 4
Make certain your home Wi-Fi network is working on 2.4GHz, as the cloud cameras do not support 5GHz Wi-Fi network.
Step 5
Reset the camera as per QIG/UG and go through the process again.
Can’t get through the connecting process
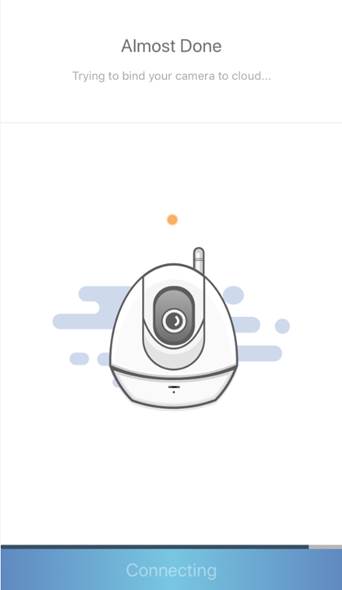
Step 1
Wait for a minute or two and then check the LED status.
If the LED is normal, indicating the network connection has been established and the camera is working now. You can unplug the cable between the camera and router and watch live view or change settings of the camera on the APP.
Step 2
Confirm the Wi-Fi password of your router. Configure the camera again if the Wi-Fi password you typed in is wrong.
The password length can’t exceed 64 characters and confirm the password does not contain characters such as single and double-quotes.
Step 3
Reset the camera as per QIG/UG and go through the process again.
Is this faq useful?
Your feedback helps improve this site.
TP-Link Community
Still need help? Search for answers, ask questions, and get help from TP-Link experts and other users around the world.