How to use PPTP VPN to access your home network on AC VDSL/ADSL Modem Router (new logo)
PPTP VPN Server is used to create a VPN connection for remote devices. To use the VPN feature, you should enable PPTP VPN Server on your router, and configure the PPTP connection on the remote device. Please follow the steps below to set up a PPTP VPN connection.
Here takes Archer VR2800 as demonstration.
Step 1. Set up PPTP VPN Server on Your Router
1. Log in the web interface of the modem router. You can refer to How to log into the web-based interface of the AC VDSL/ADSL Modem Router (new logo)?
2. Go to Advanced > VPN > PPTP VPN, and select Enable VPN Server.
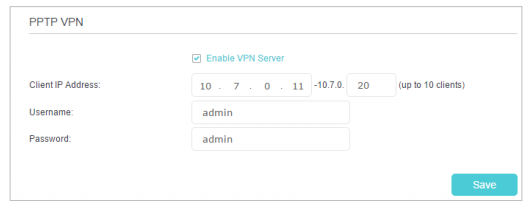
Note: Before you enable VPN Server, we recommend you configure Dynamic DNS Service (recommended) or assign a static IP address for router’s WAN port and synchronize your System Time with internet.
3. In the Client IP Address field, enter the range of IP addresses (up to 10) that can be leased to the devices by the PPTP VPN server.
4. Enter the Username and Password to authenticate clients to the PPTP VPN server.
5. Click Save.
Step 2. Configure PPTP VPN Connection on Your Remote Device
The remote device can use the Windows built-in PPTP software or a third-party PPTP software to connect to PPTP Server. Here we use the Windows built-in PPTP software as an example.
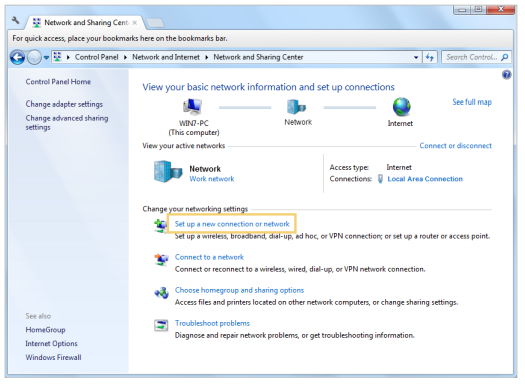
1. Go to Start > Control Panel > Network and Internet > Network and Sharing Center.
2. Select Set up a new connection or network.
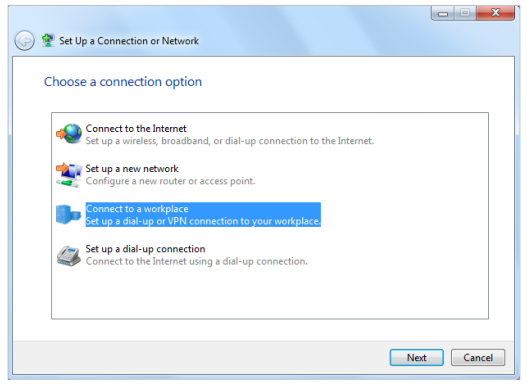
3. Select Connect to a workplace and click Next.
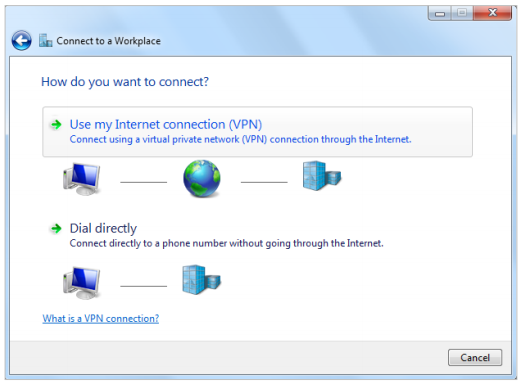
4. Select Use my Internet connection (VPN).
5. Enter the internet IP address of the router (for example: 218.18.1.73) in the Internet address field. Click Next.

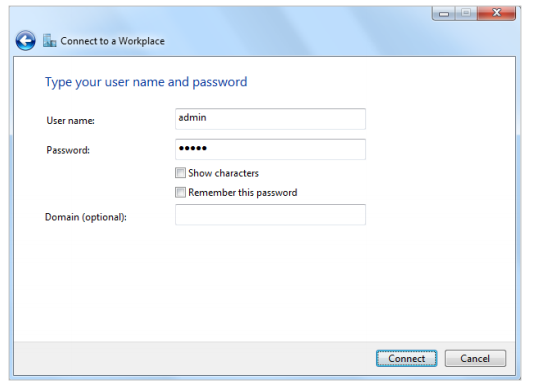
6. Enter the Username and Password you have set for the PPTP VPN server on your router, and click Connect.
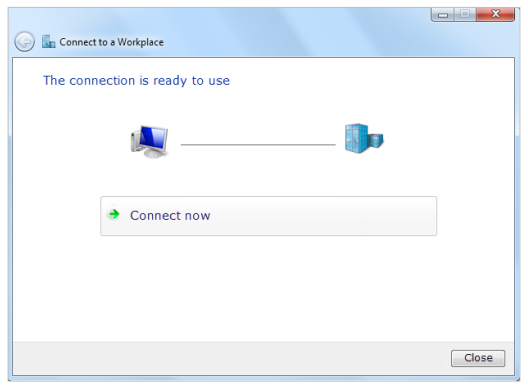
7. The PPTP VPN connection is created and ready to use.
Get to know more details of each function and configuration please go to Download Center to download the manual of your product.
Is this faq useful?
Your feedback helps improve this site.


TP-Link Community
Still need help? Search for answers, ask questions, and get help from TP-Link experts and other users around the world.