How to mount TP-Link smart light strip
After configuring your Smart Light Strip, you can mount it if needed. Your strip is flexible to cut and extend, allowing you to stick it or place it in the exact spot you desire.
Note:
* Please do not connect the light strip upside down.
* Once cut, it cannot be reattached. Prevent accidental shocks by removing its power and then cutting along the strip's indicator lines.
* To avoid damaging your Smart Light Strip, do not bend it during the installation.
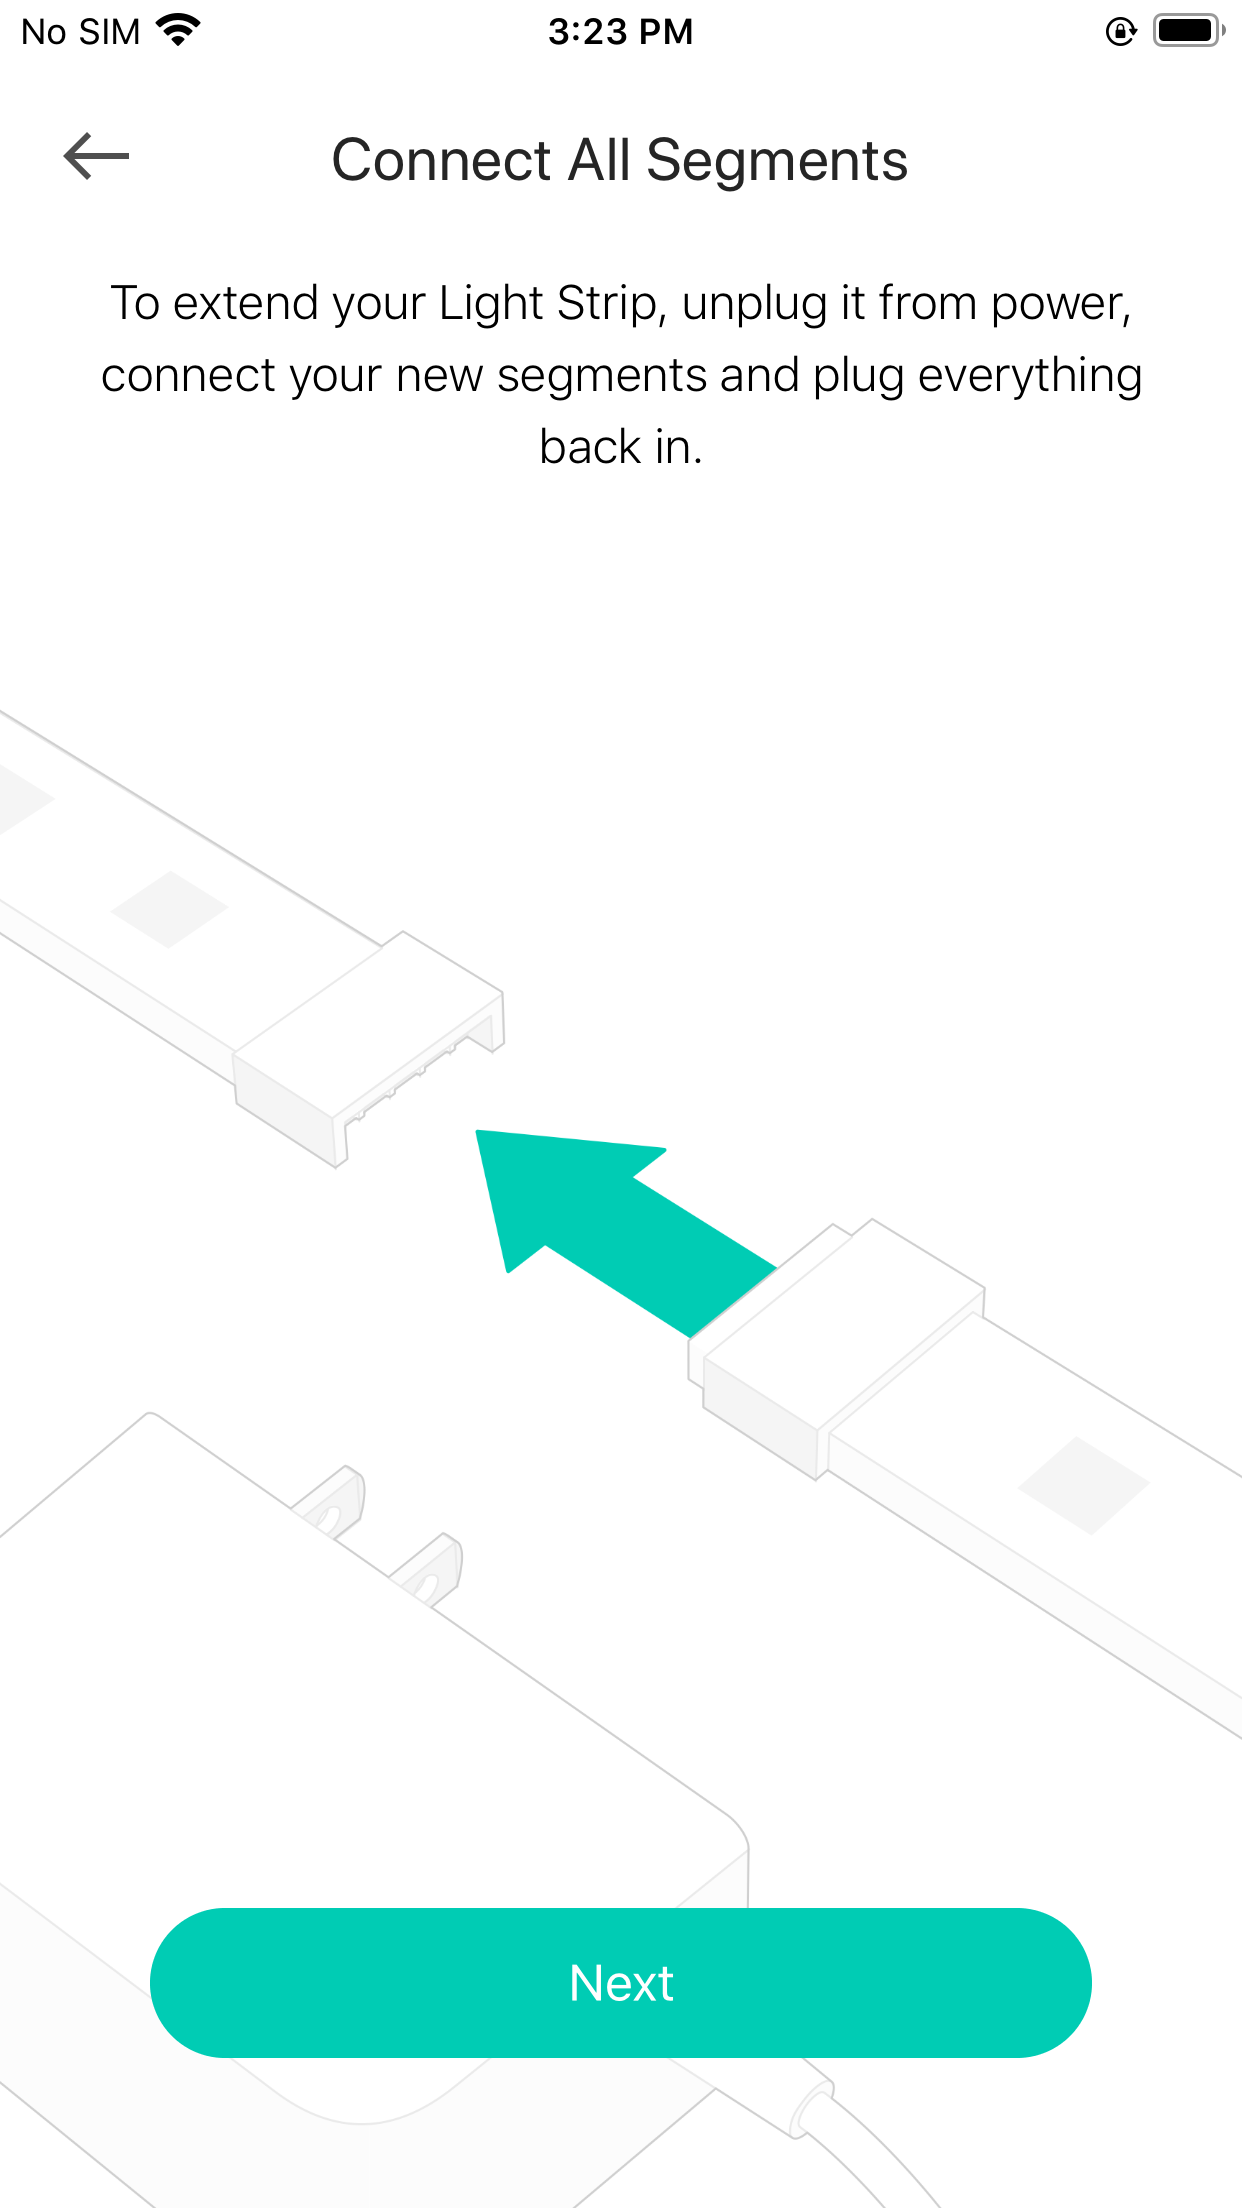
- Connect all segments
Unplug your light strip from power, then connect the new segments to it and plug everything back in.
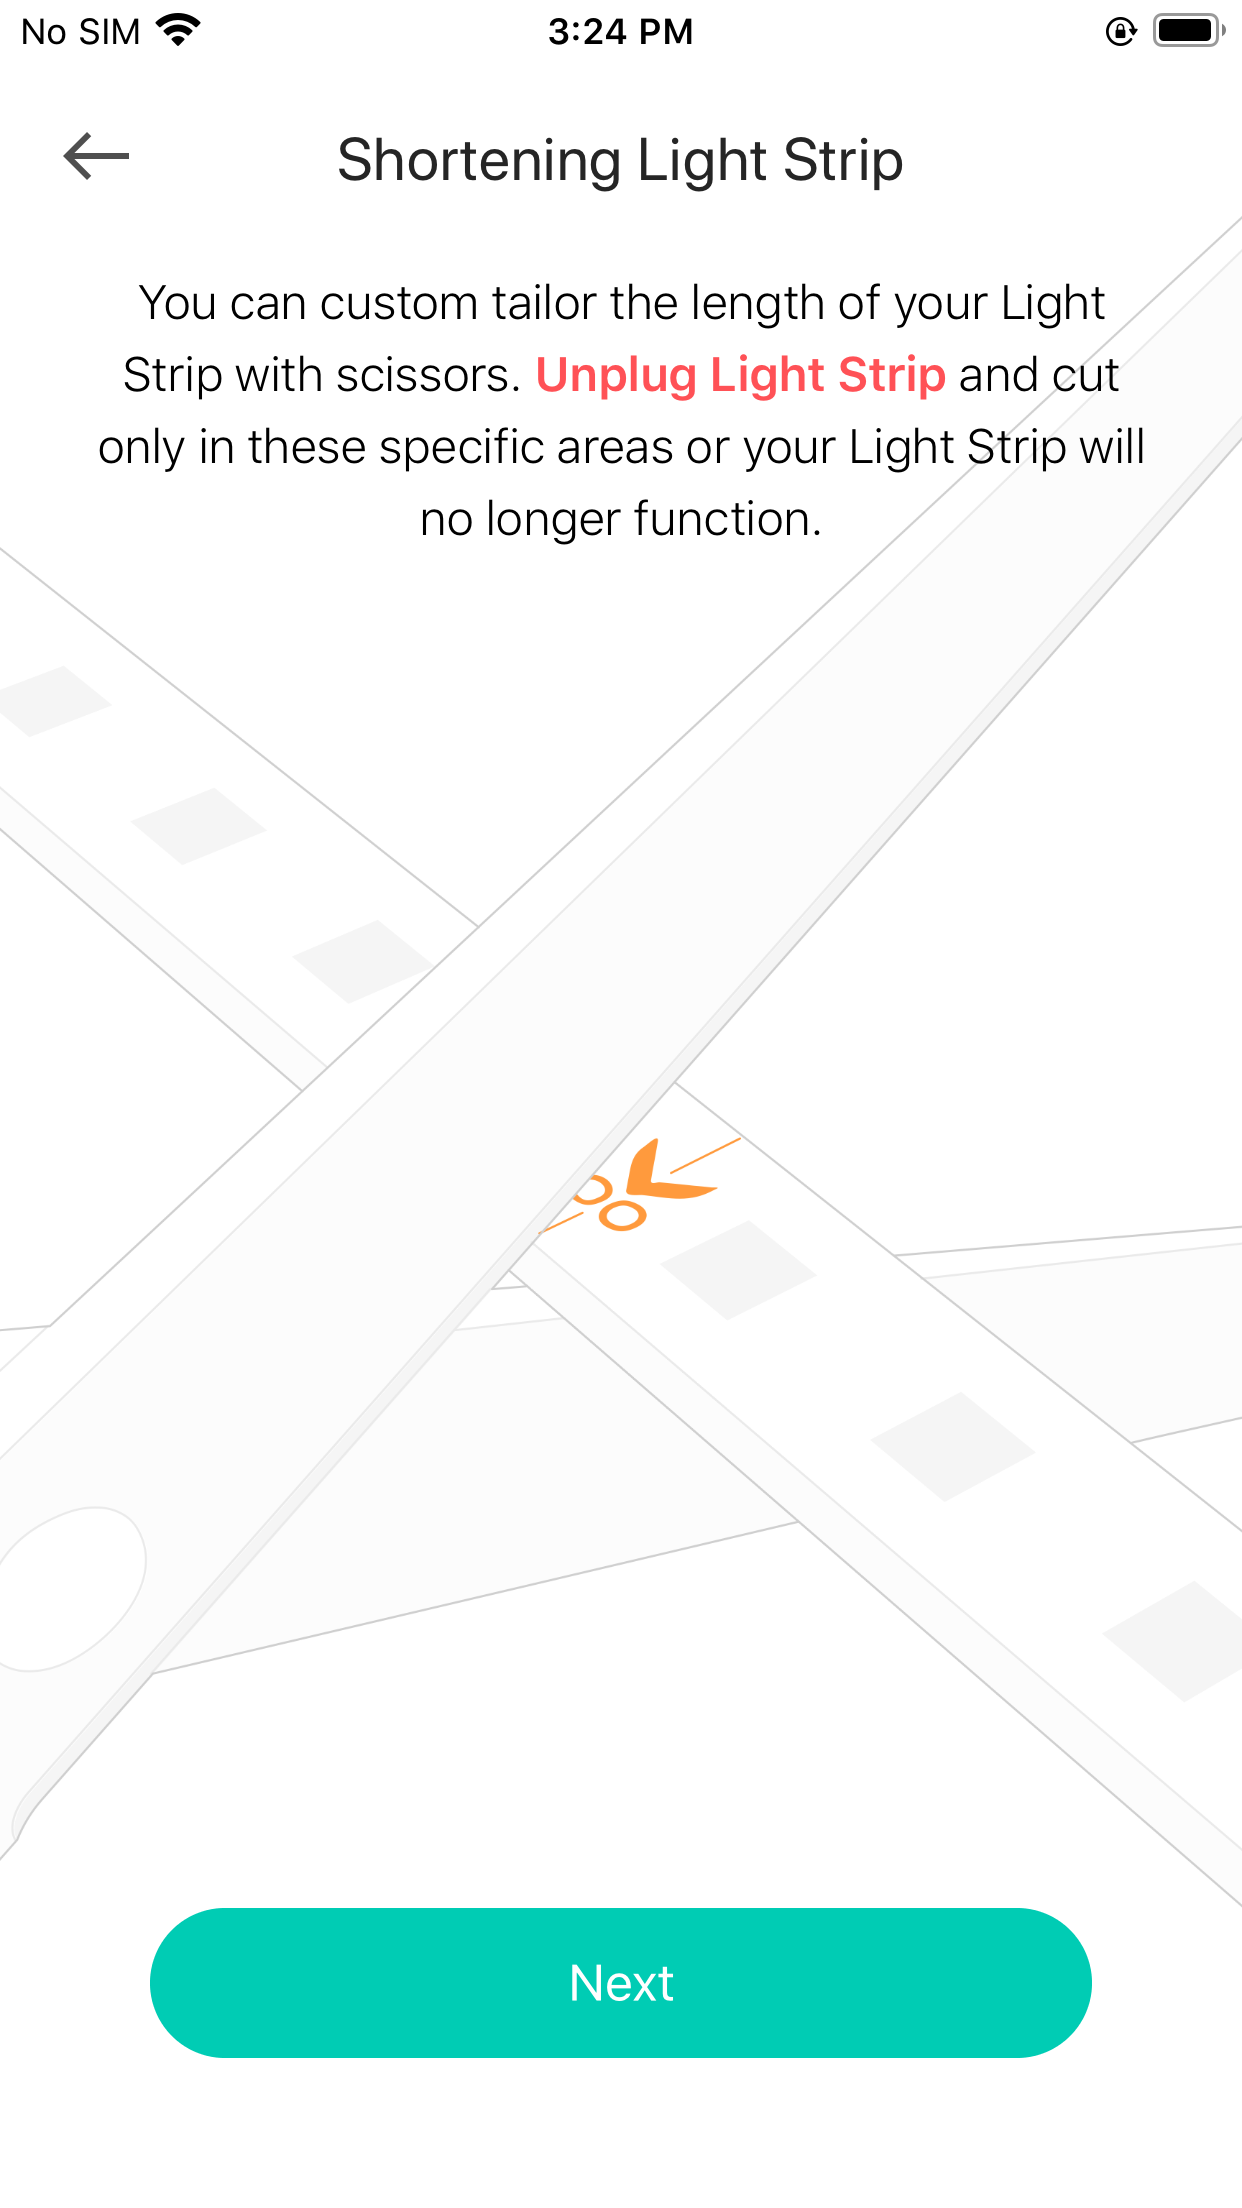
- Shorten light strip
You can custom the length of your light strip with scissors. Unplug light strip and cut only in these specific areas or your light strip will no longer function.
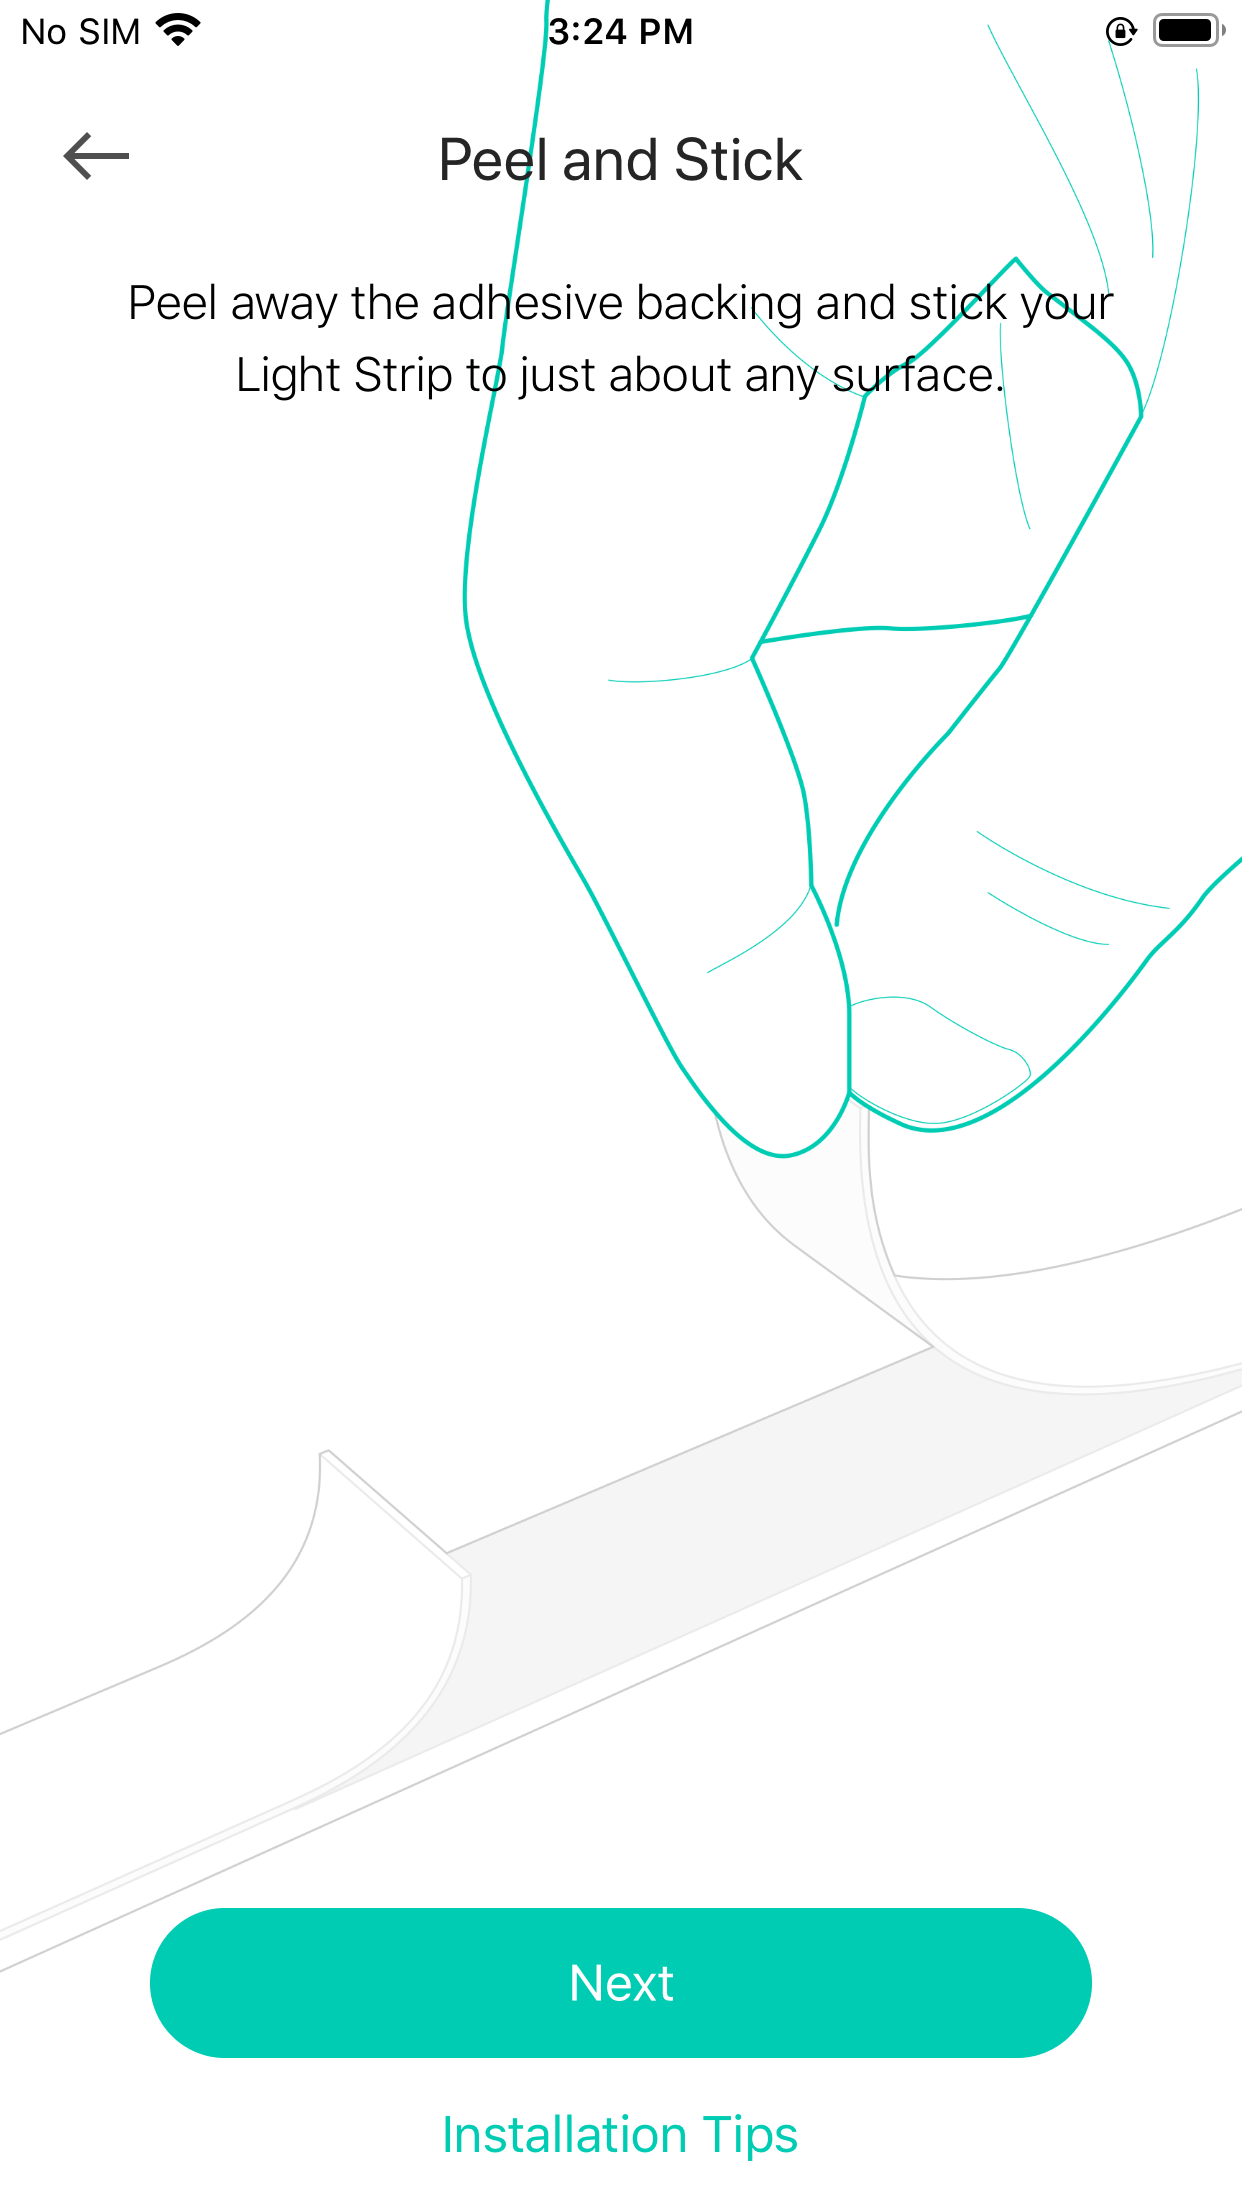
- Peel and Stick
Peel away the adhesive backing and stick your light strip to just about any surface.
Get to know more details of each function and configuration please go to Download Center to download the manual of your product.
Is this faq useful?
Your feedback helps improve this site.
_1.0_1040px_normal_20220323084648z.png)
1.0-package_normal_20220128060447g.png)

TP-Link Community
Still need help? Search for answers, ask questions, and get help from TP-Link experts and other users around the world.