How to Link Google Assistant to your TP-Link Kasa Account (Smartphone App)
This Guide will walk you through the steps of connecting your TP-Link Kasa account to your Google Assistant via the Google Assistant smartphone app. If you have not yet setup you TP-Link Cloud account click here.
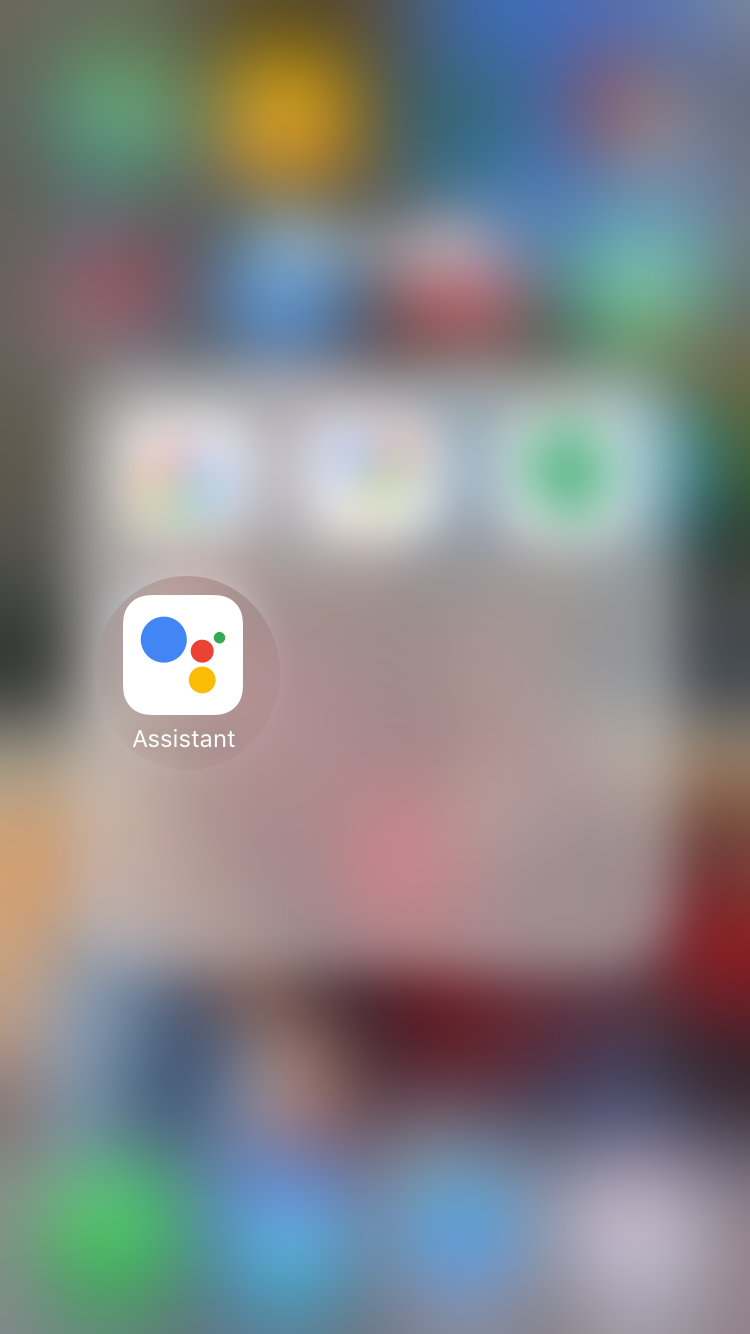
Step 1: Open the Google Assistant App
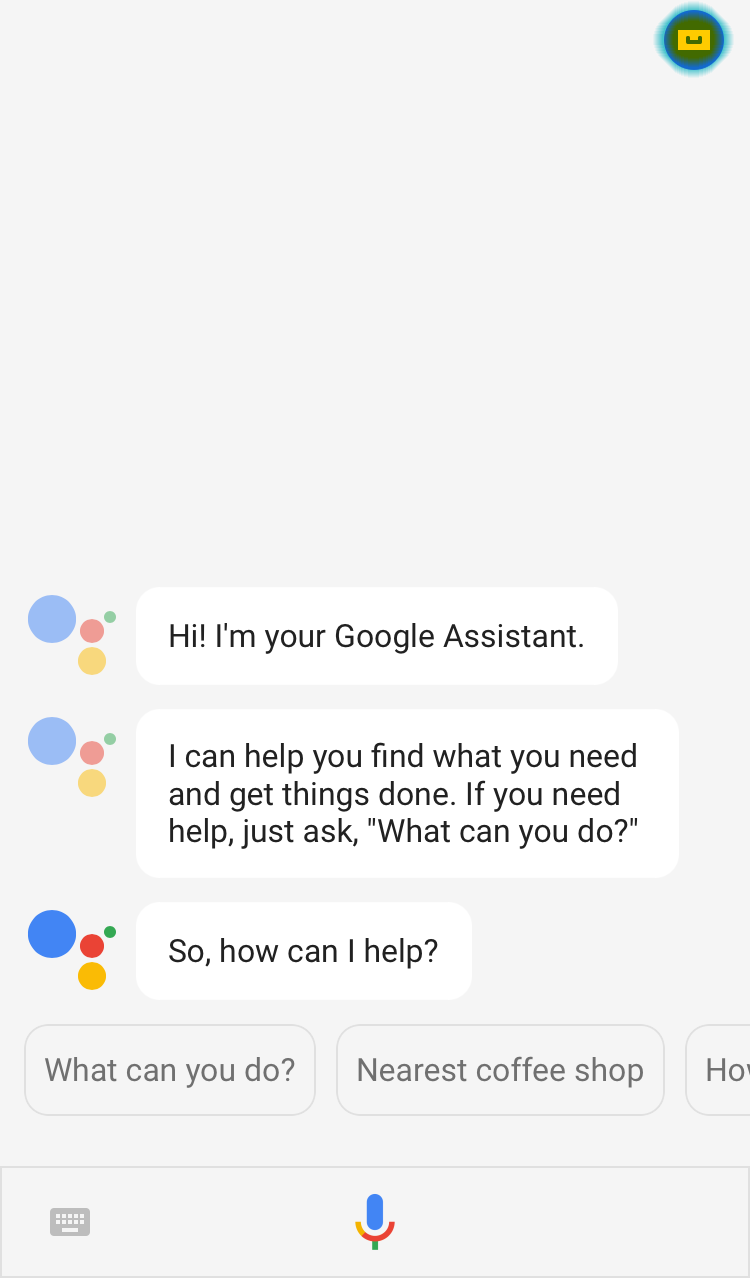
Step 2: In the upper right corner tap the “circle” button
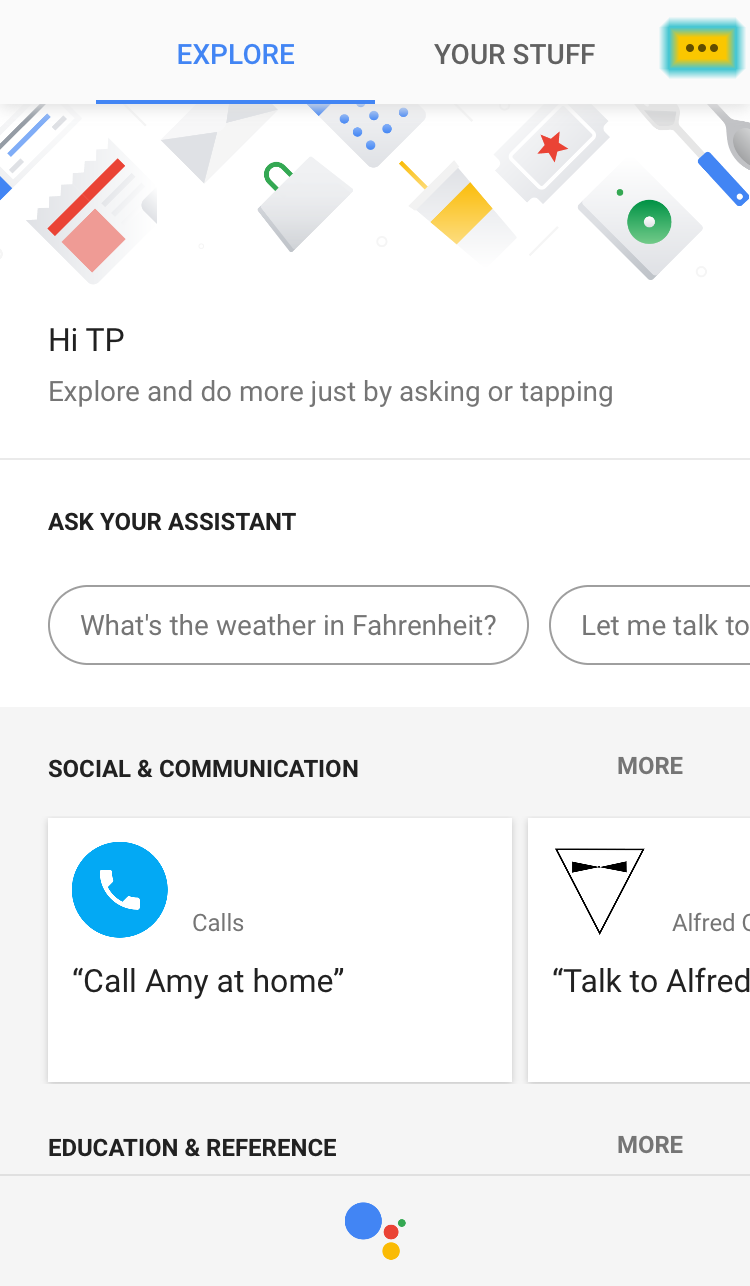
Step 3: In the upper right corner tap the “…” button
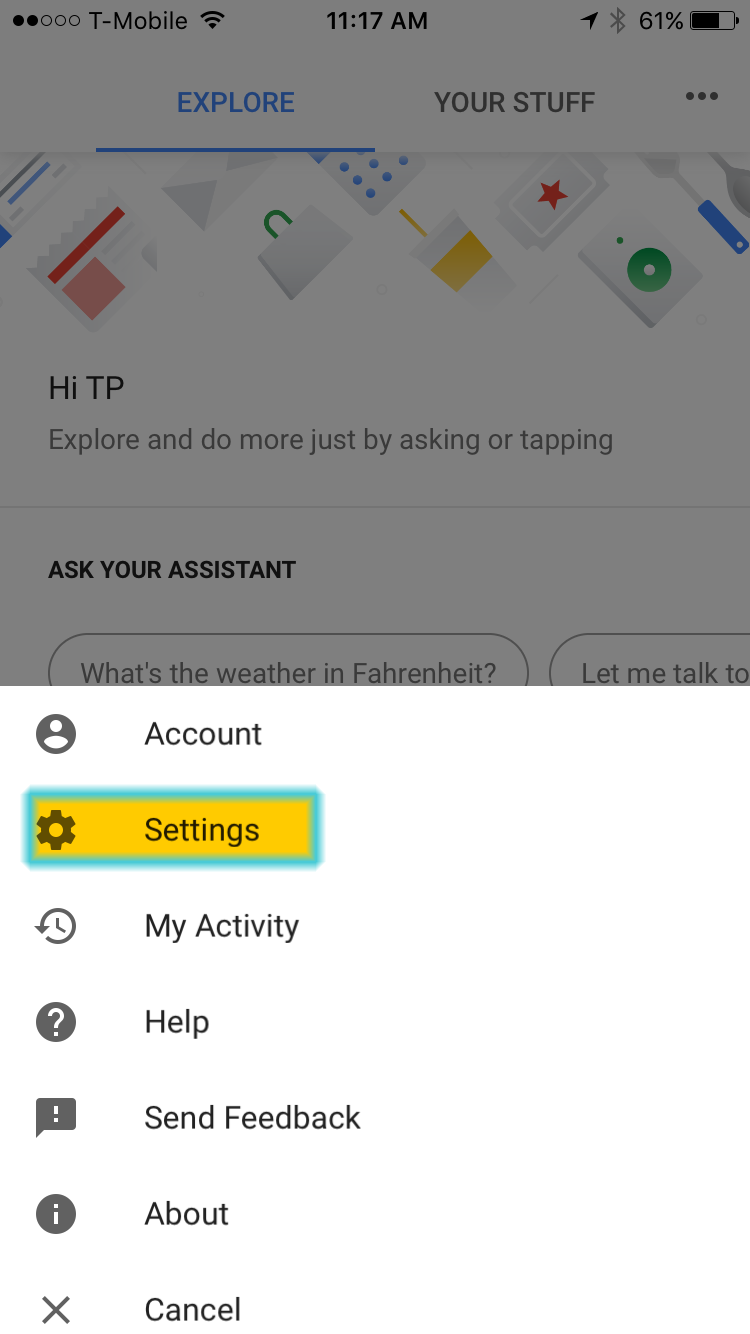
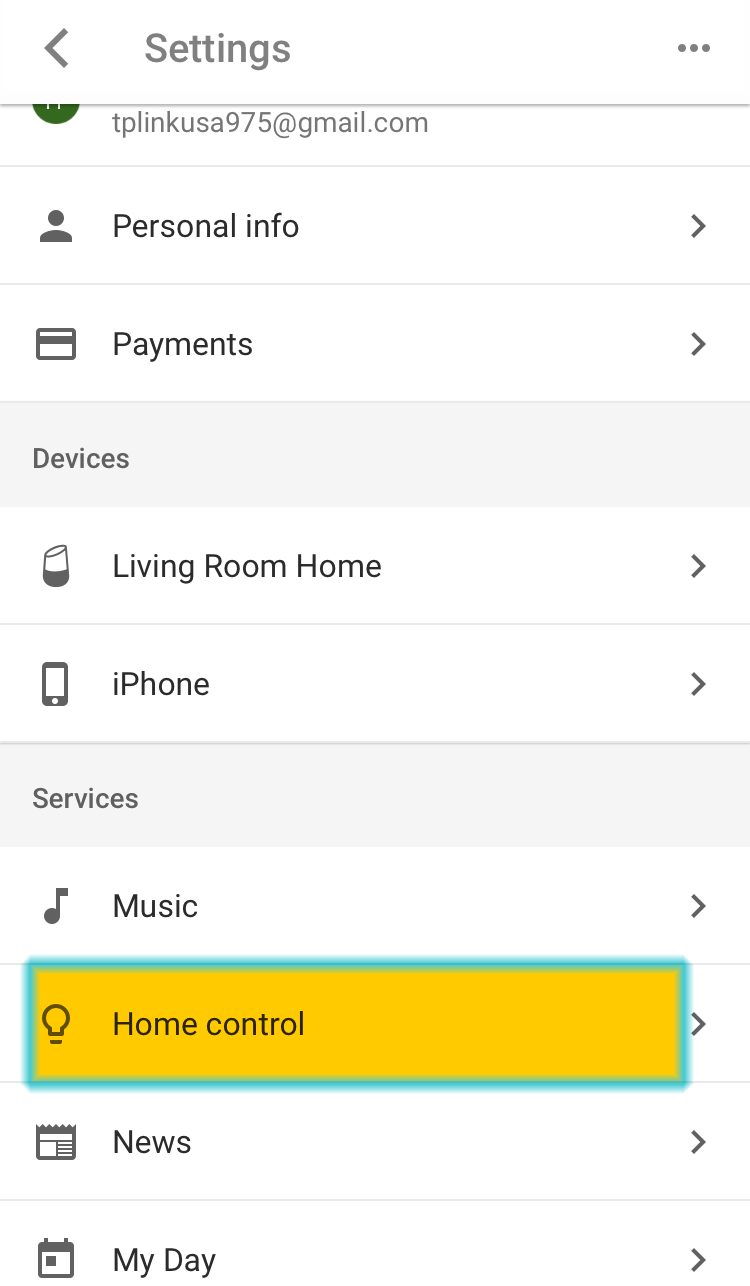
Step 4: Tap on “Settings”
Step 5: Tap on “Home Control”
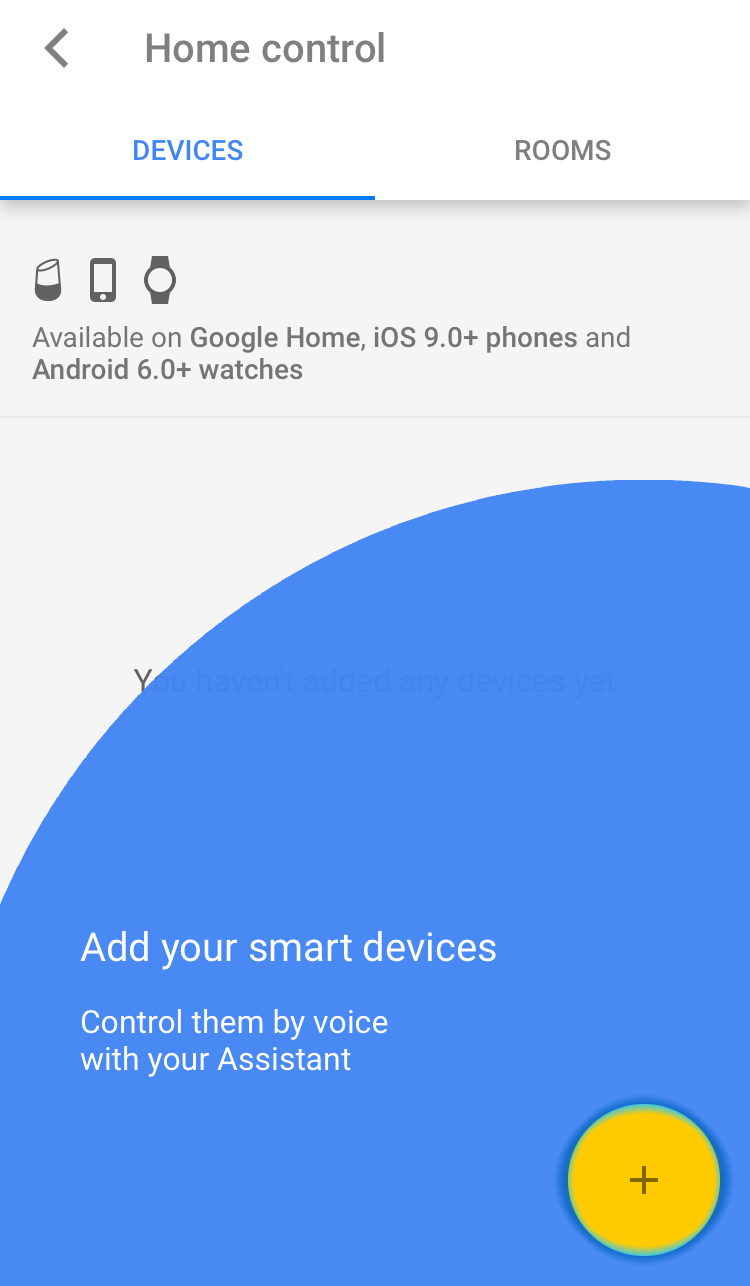
Step 6: In the lower right corner, tap the “+” button
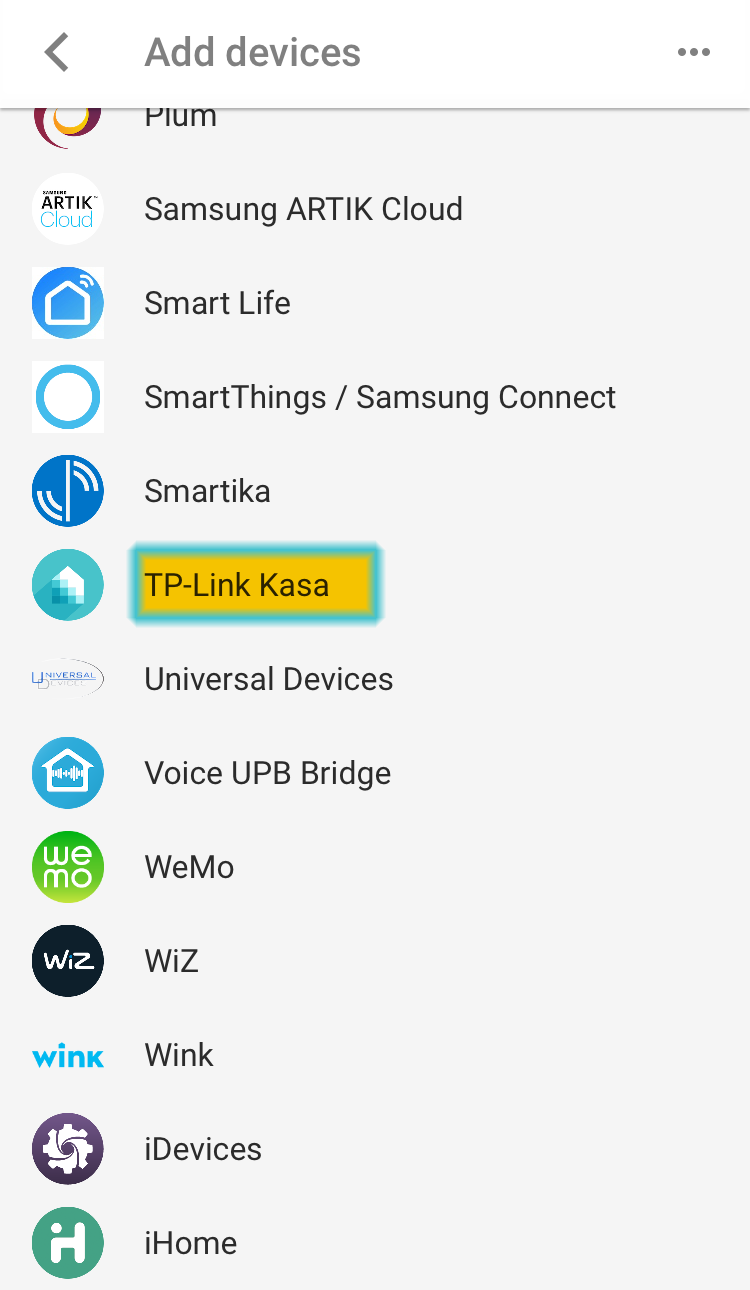
Step 7: Tap on “TP-Link Kasa”
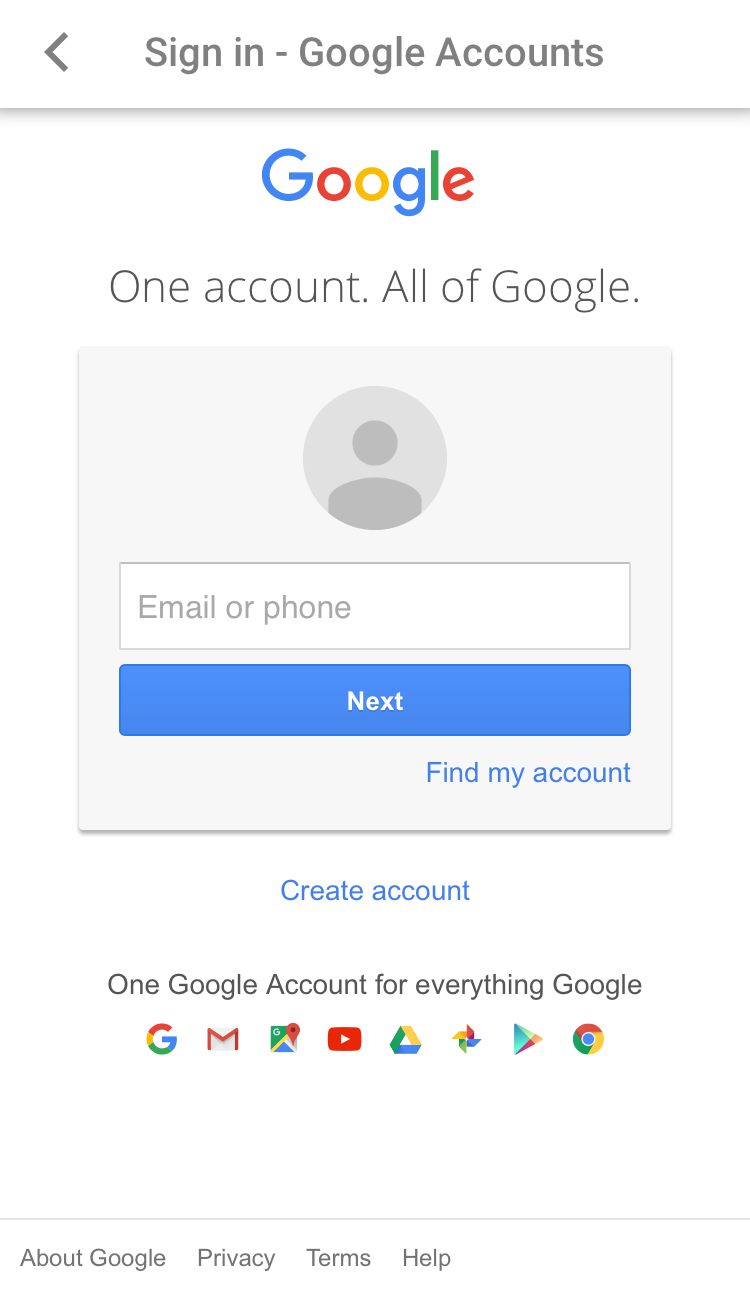
Step 8: Log into your Google Account
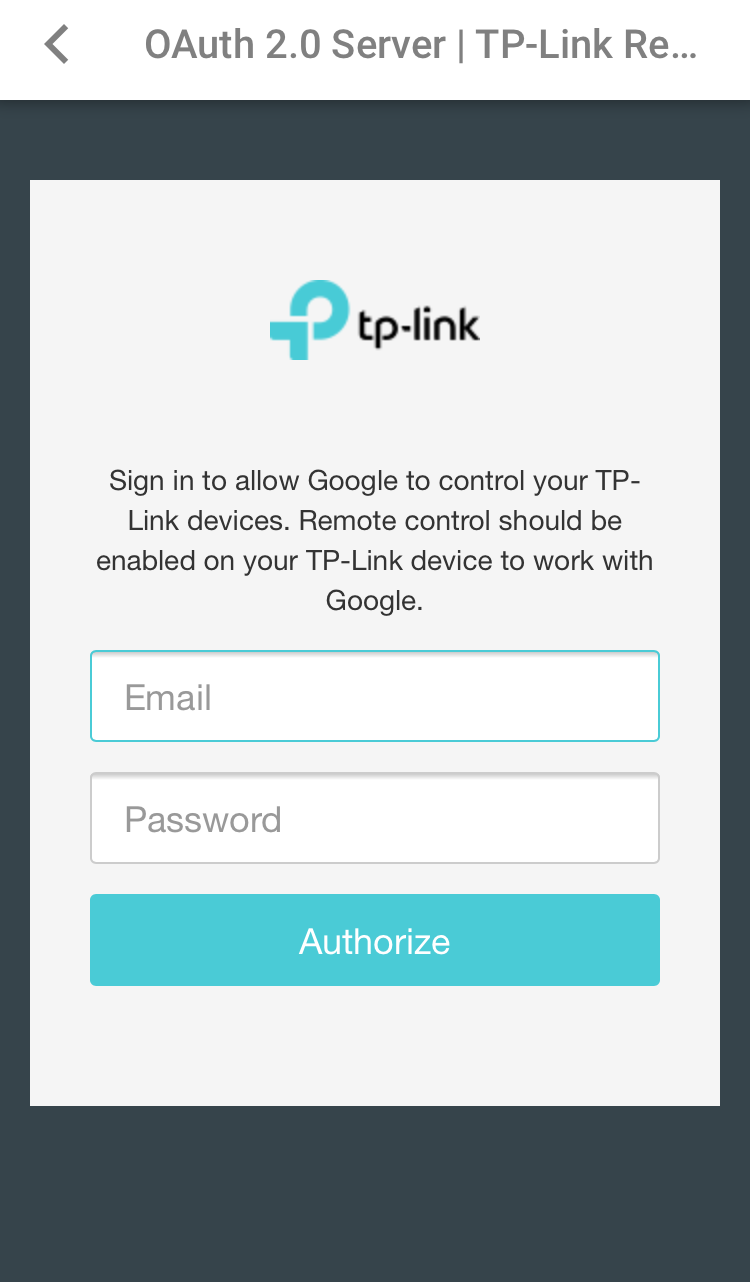
Step 9: Log into you TP-Link Kasa account.
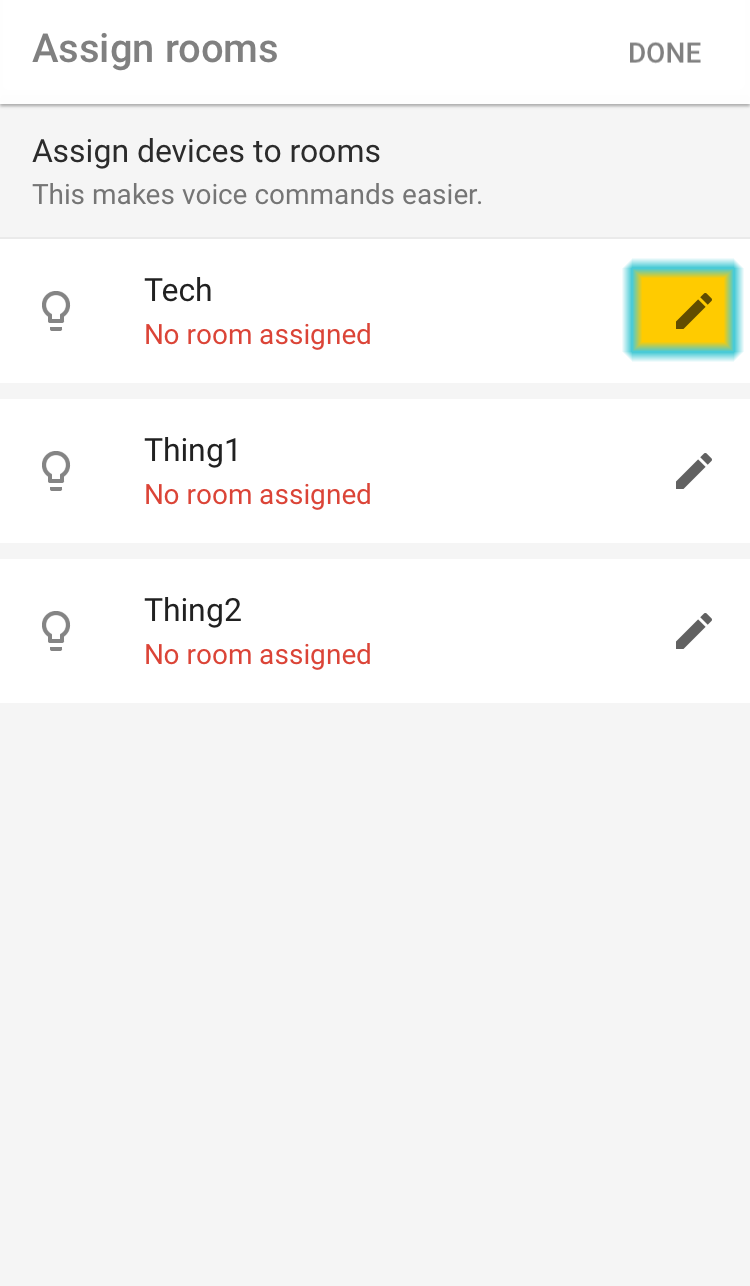
Step 10: Controllable devices in your Kasa account are now part of Google Assistant as well. Tap on the Pencil Icon next to a device to assign it to a room.
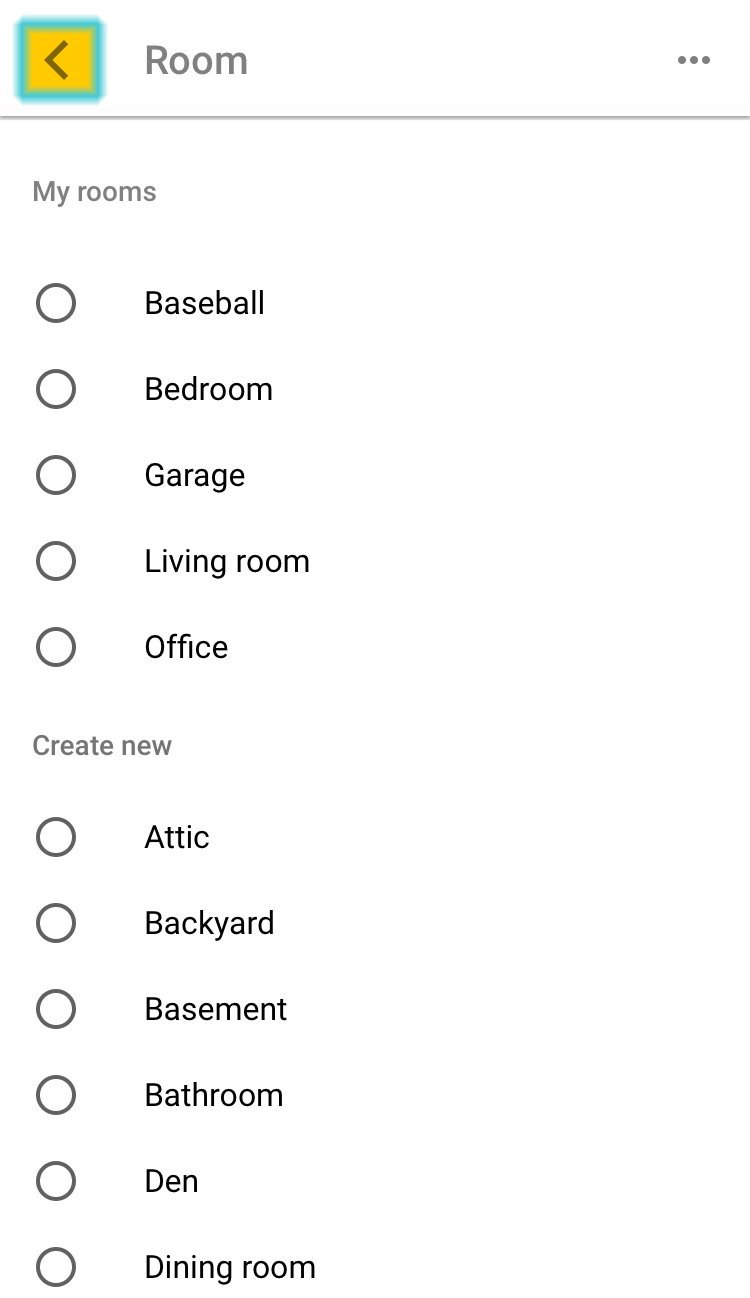
Step 11: Tap on the desired room name, then tap the back arrow In the upper left corner.
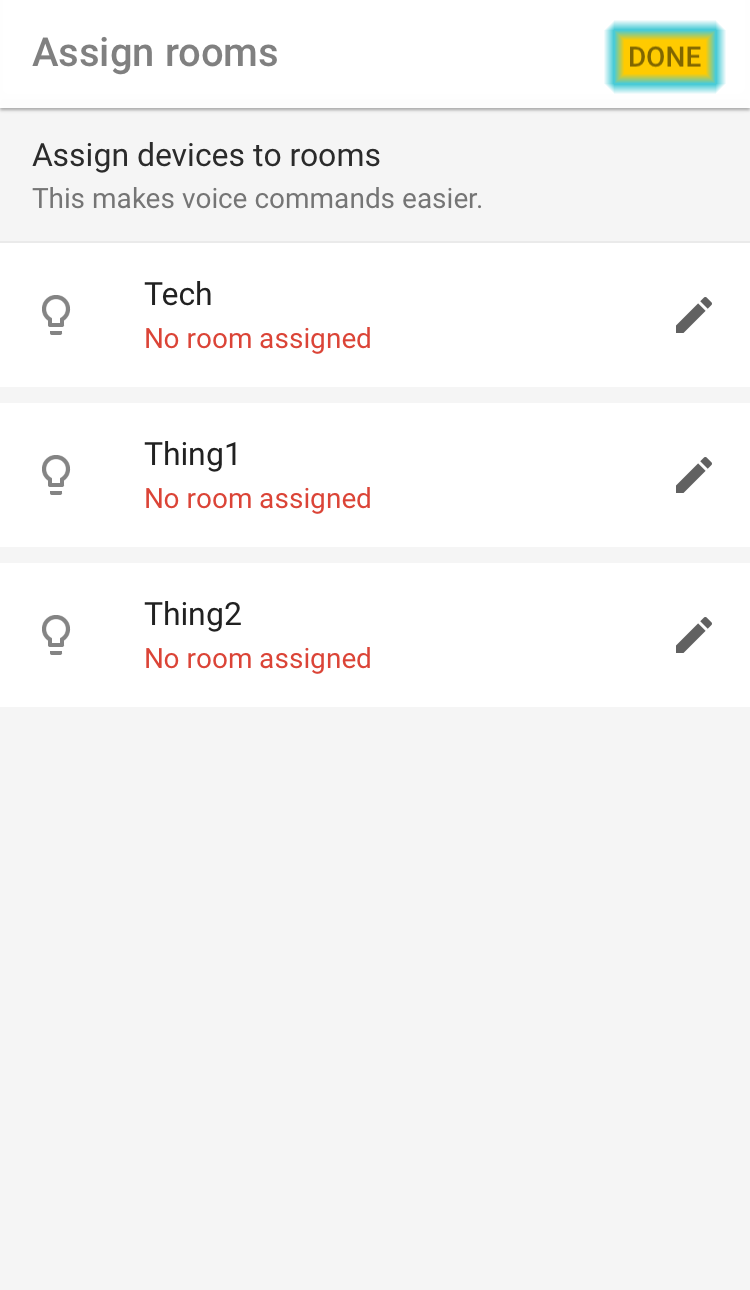
Step 12: Complete for each smart home device on the list the, in the upper right corner tap “Done”
Step 13: Tap on “Got it” and your done
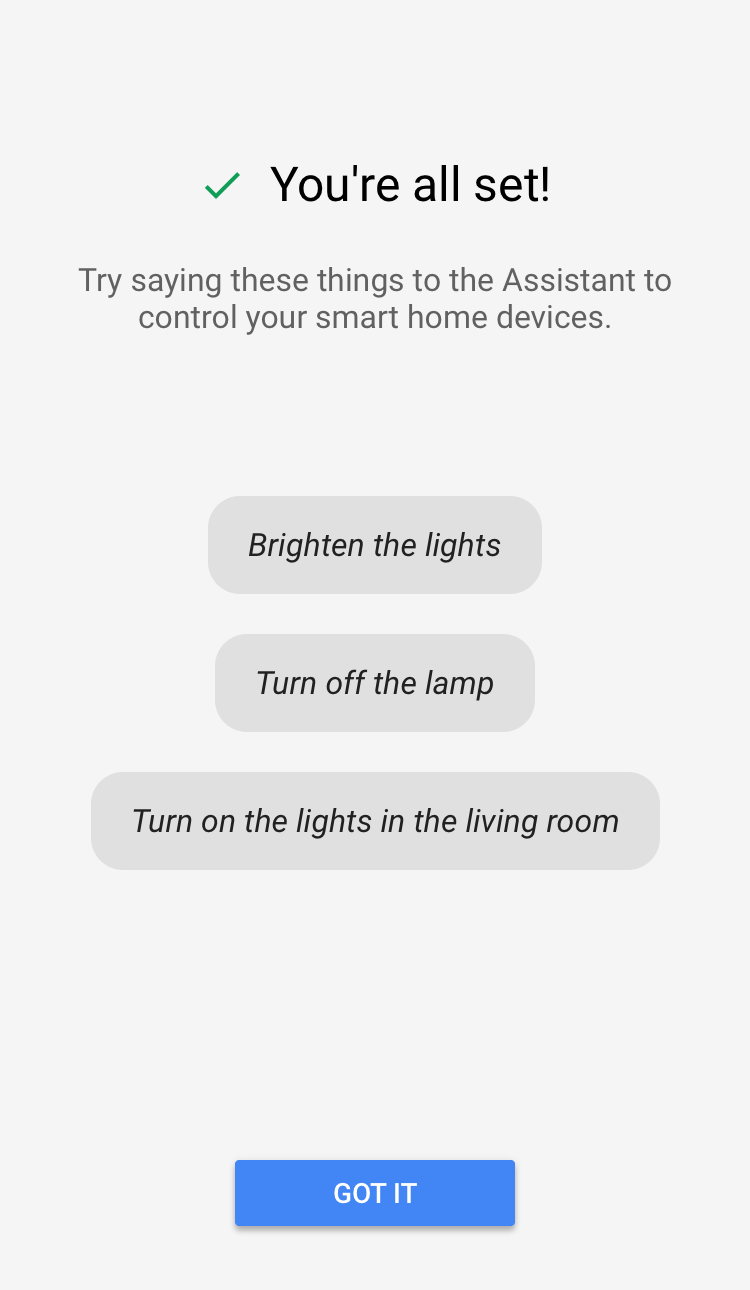
For a list of commands available click here or here.
If you need further assistance contact TP-Link Customer Support here.
Is this faq useful?
Your feedback helps improve this site.
2.0-R-Package_1000_normal_20210824010506j.png)
TP-Link Community
Still need help? Search for answers, ask questions, and get help from TP-Link experts and other users around the world.