
Table of Contents
Installation and User Guide
About This Guide
This guide provides a brief introduction to the Smart Recessed Downlight Kit and the Tapo app, as well as regulatory information. Please note that features available in Tapo may vary by model and software version. Tapo availability may also vary by region. All images, steps, and descriptions in this guide are only examples and may not reflect your actual Tapo experience.
Conventions
In this guide, the following convention is used:
| Convention | Description |
|---|---|
| Blue | Key information appears in blue, including management page text such as menus, items, buttons and so on. |
| Underline | Hyperlinks are in blue and underlined. You can click to redirect to a website. |
| Note |
Ignoring this type of note might result in a malfunction or damage to the device. |
More Info
Specifications can be found on the product page at https://www.tapo.com.
Our Technical Support and troubleshooting information can be found at https://www.tapo.com/support/.
The setup video can be found at https://www.tp-link.com/support/setup-video/.
Introduction
Meet Your Smart Kit
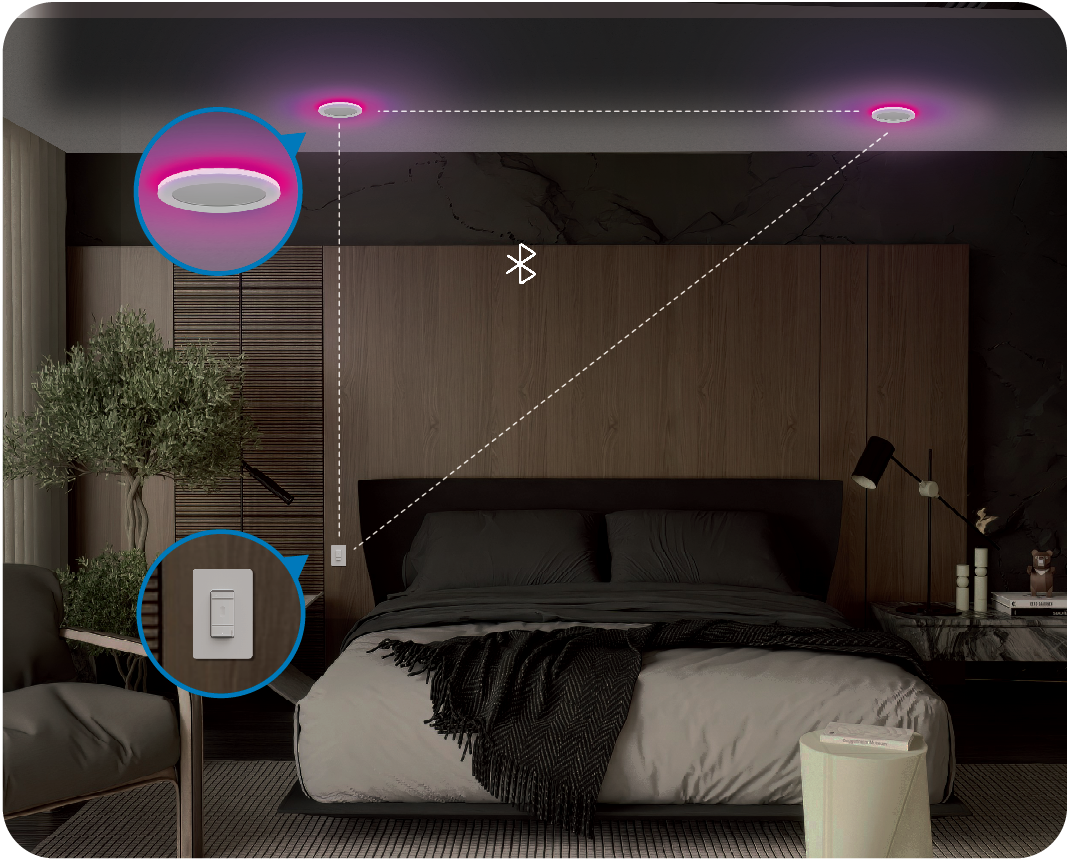
The Smart Recessed Downlight Kit includes versatile downlights and a scene controller Mate Switch. The downlights allow you to set the perfect mood for any occasion while adapting to natural sunlight patterns, and the Mate Switch enables easy dimming, switching, and scene creation. The Mate Switch maintains power flow during use, ensuring uninterrupted lighting. Enjoy smart control while keeping to your familiar habits. This kit adds stylish, functional lighting tailored to any space.

Appearance
Smart Recessed Downlight
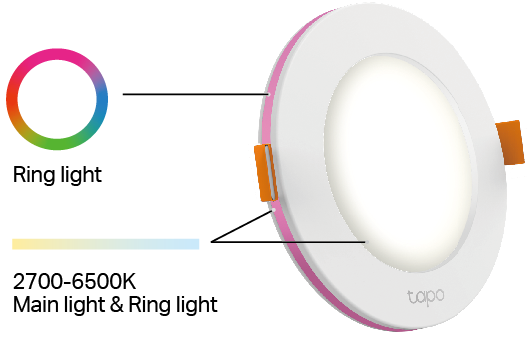 (*Here we take L730-4 as an example.)
Mate Switch
The Mate Switch S310D is a Bluetooth remote for Tapo lighting that allows for traditional control without cutting power, using BLE mesh to keep the lights connected. It cannot cut off the circuit. Be cautious when changing bulbs to avoid electric shock.
To learn more about the Mate Switch and its benifits, please refer to https://www.tapo.com/faq/811/
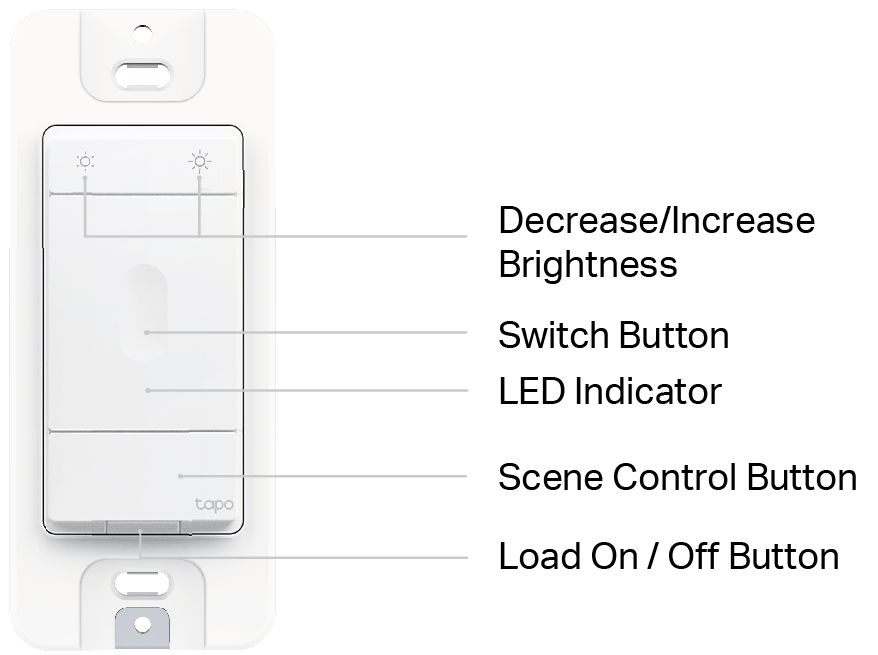
Button Explanations (Mate Switch)
| Buttons | Indication |
|---|---|
 |
Decrease or increase the brightness. |
| Switch |
Press to turn the connected lights on / off.
|
| Scene Control | Set up single-click and long-press actions in the Tapo app for various lighting scenes and smart actions. |
| Load On/Off |
Single press to power the connected lights on / off (Power is on / off). Press and hold for 10s to factory reset the Mate Switch. Press to power the lights on and off, pausing for 1 second between each press. Then repeat this on/off cycle 4 times to factory reset the connected lights. |
LED Indication (Mate Switch)
| LED Status | Indication |
|---|---|
| Blinking white & amber slowly | Ready for setup. |
| Solid amber | Inactive: not connected to any light. |
| Blinking white slowly | Connected to the phone via Bluetooth. |
| Blinking white quickly | Connecting to Wi-Fi/cloud. |
| Stay white for 10s | Connected to Wi-Fi/cloud. |
| Blinking amber slowly |
Connected lights powered down. You can press the Load On/Off button to power them back on ( |
Installation & Wiring Video
Watch the video to install your downlight and wire the Mate Switch. Alternatively, refer to the next section for detailed text instructions.
Step 1. Install Your Downlight
1. Turn off circuit breaker
Turn off the circuit breaker. Check whether your power is off with a voltage detector before installation.
 CAUTION !
1. Risk of Electric Shock - The product should be installed by a qualified electrician.
2. High Voltage - Disconnect the power supply at the circuit breaker before servicing.
2. Outline Opening
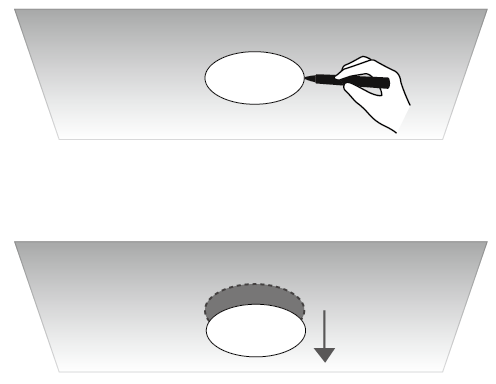
Trace the mounting template on the ceiling and cut along the outline to create an opening for the light.
*If there's already an opening, compare it to the provided template to ensure the size is correct.
3. Identify Wires
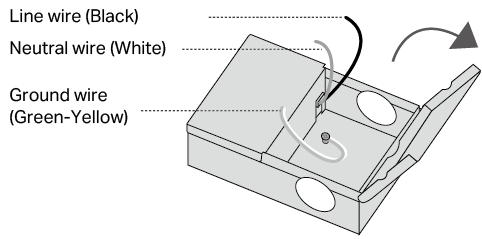
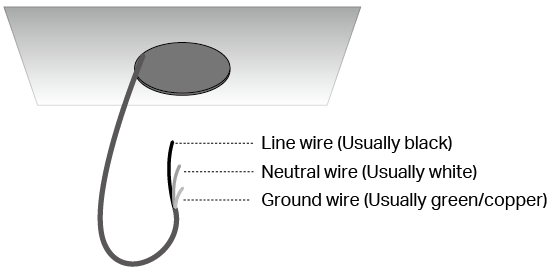
Open the hardwire box cover and push out the side hole with a tool. Identify the wires from the cable and in the box.
4. Connect Wires
Route the cable through the side hole of the hardwire box. Use wire terminals to connect the ground, neutral, and line wires from the cable to the corresponding wires in the box.
Note: If you are unsure, consult a qualified electrician.
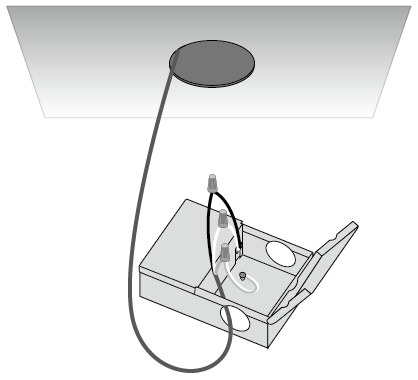
5. Tiny Wires
Tuck the wires back into the hardwire box. Close the swing cover of the hardwire box and insert it into the hole.
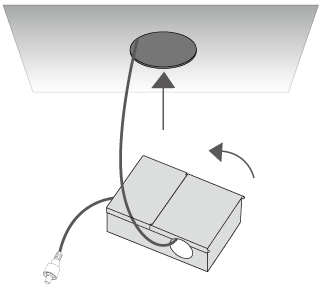
6. Align and Secure the Connector
Align the arrow symbols on the hardwire box connector and the downlight connector to connect them, then screw the nut to tighten.
Before affixing to the ceiling, turn on the circuit breaker to test if the light works, then turn off the circuit breaker. ( Ensure electrical safety)
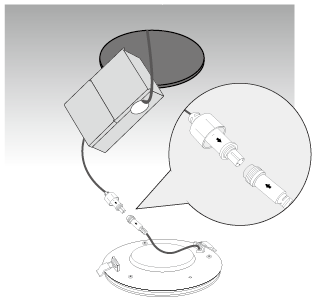
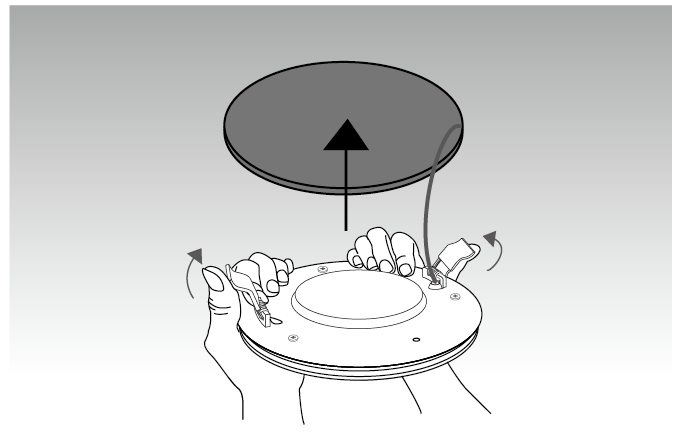
7. Affix Downlight to Ceiling
Use the spring-loaded clips to affix the downlight to the ceiling. Be careful of your fingers to avoid getting pinched.
|
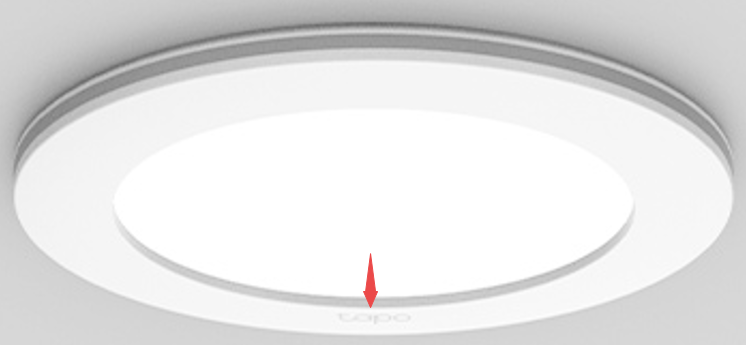
How to remove the downlight safely: 1) Locate the Tapo logo on the front. 2) Pry from either the logo side or the opposite side. 3) Avoid the spring clip areas to prevent finger pinching.
|
8. Complete Steps and Turn On Power
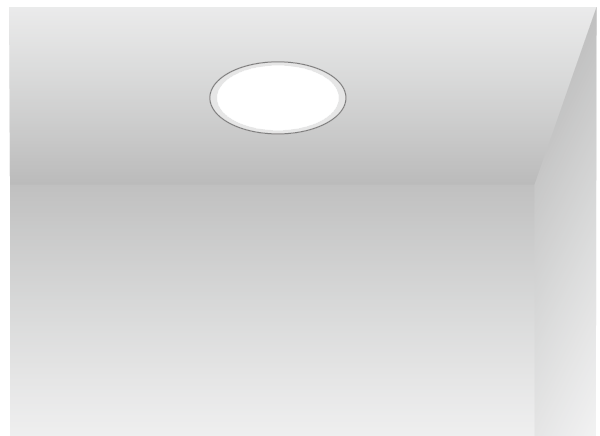
After completing the above steps, turn on the circuit breaker and enjoy the light.
Step 2. Wire Your Mate Switch
Before You Start
You can temporarily cut off power by pressing the Load On/Off button, but for safety, please turn off the circuit breaker before making any changes.
1. Turn off circuit breaker
Turn off the circuit breaker. Check whether your power is off with a voltage detector before installation.
CAUTION !
1. Risk of Electric Shock - The product should be installed by a qualified electrician.
2. High Voltage - Disconnect the power supply at the circuit breaker before installing, servicing, or removing the switch.
3. Use copper conductors only.
2. Remove Old Switch & Label Wires
Remove the wallplate of the old switch and label the wires.
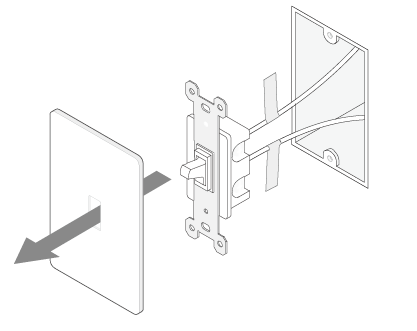
Ground: Usually green or copper
Neutral: Usually white
Line/Load: Usually black
Note: If you are unsure, consult a qualified electrician.
3. Disconnect Wires
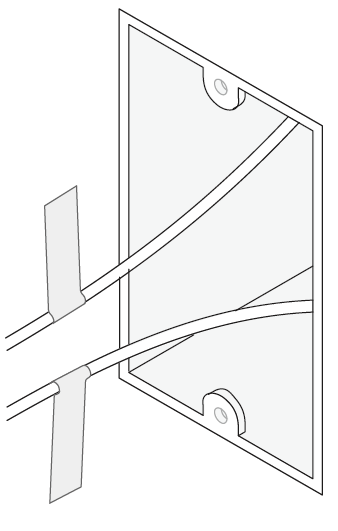
Disconnect the wires from the old switch.
4. Connect Wires
Connect the wires to the Mate Switch as shown below.
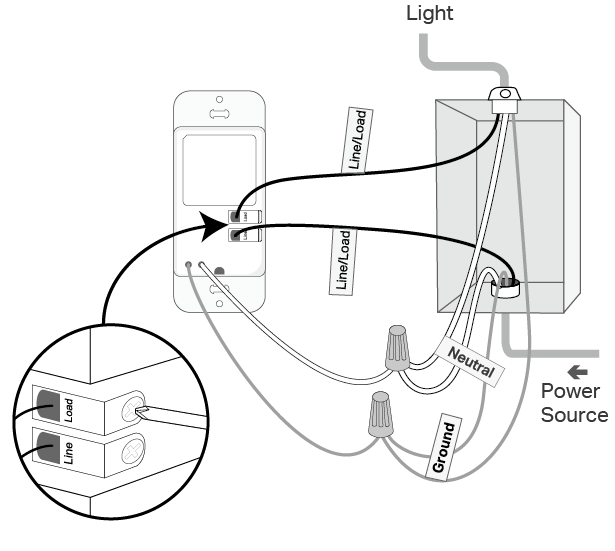
Note: No need to distinguish between Line and Load wires.
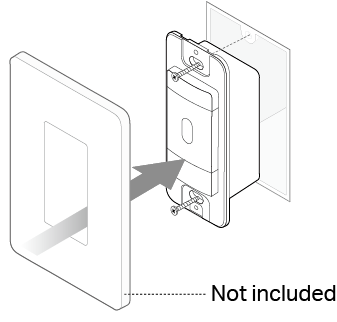
5. Secure with Screws
Line up the Mate Switch with the mounting holes. Secure it with screws, then attach the wallplate (not included).
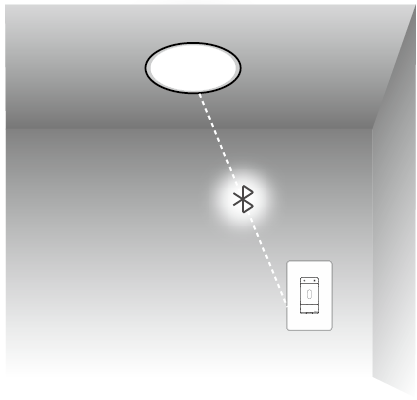
6. Turn On
Turn on the circuit breaker. Press the switch button to check if it can turn your downlights on/off.
Step 3. Set Up Your Device
The Mate Switch can intuitively control the downlights once powered on. Add your devices to the Tapo app for remote control, scheduling, smart actions, and more. You can also adjust how the Mate Switch and downlights work together in the Tapo app.
1. Download Tapo App
Get the Tapo app from the App Store or Google Play, or by scanning the QR code below.

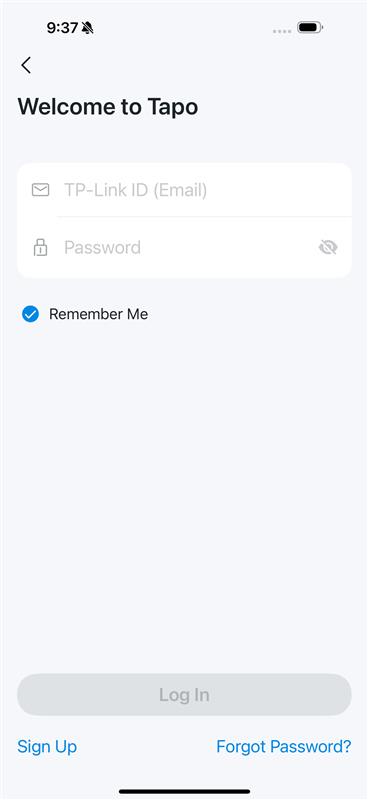
2. Log In
Open the app, and log in with your TP-Link ID. If you don't have an account, create one first.
3. Set Up
a. Enable Bluetooth on your phone.
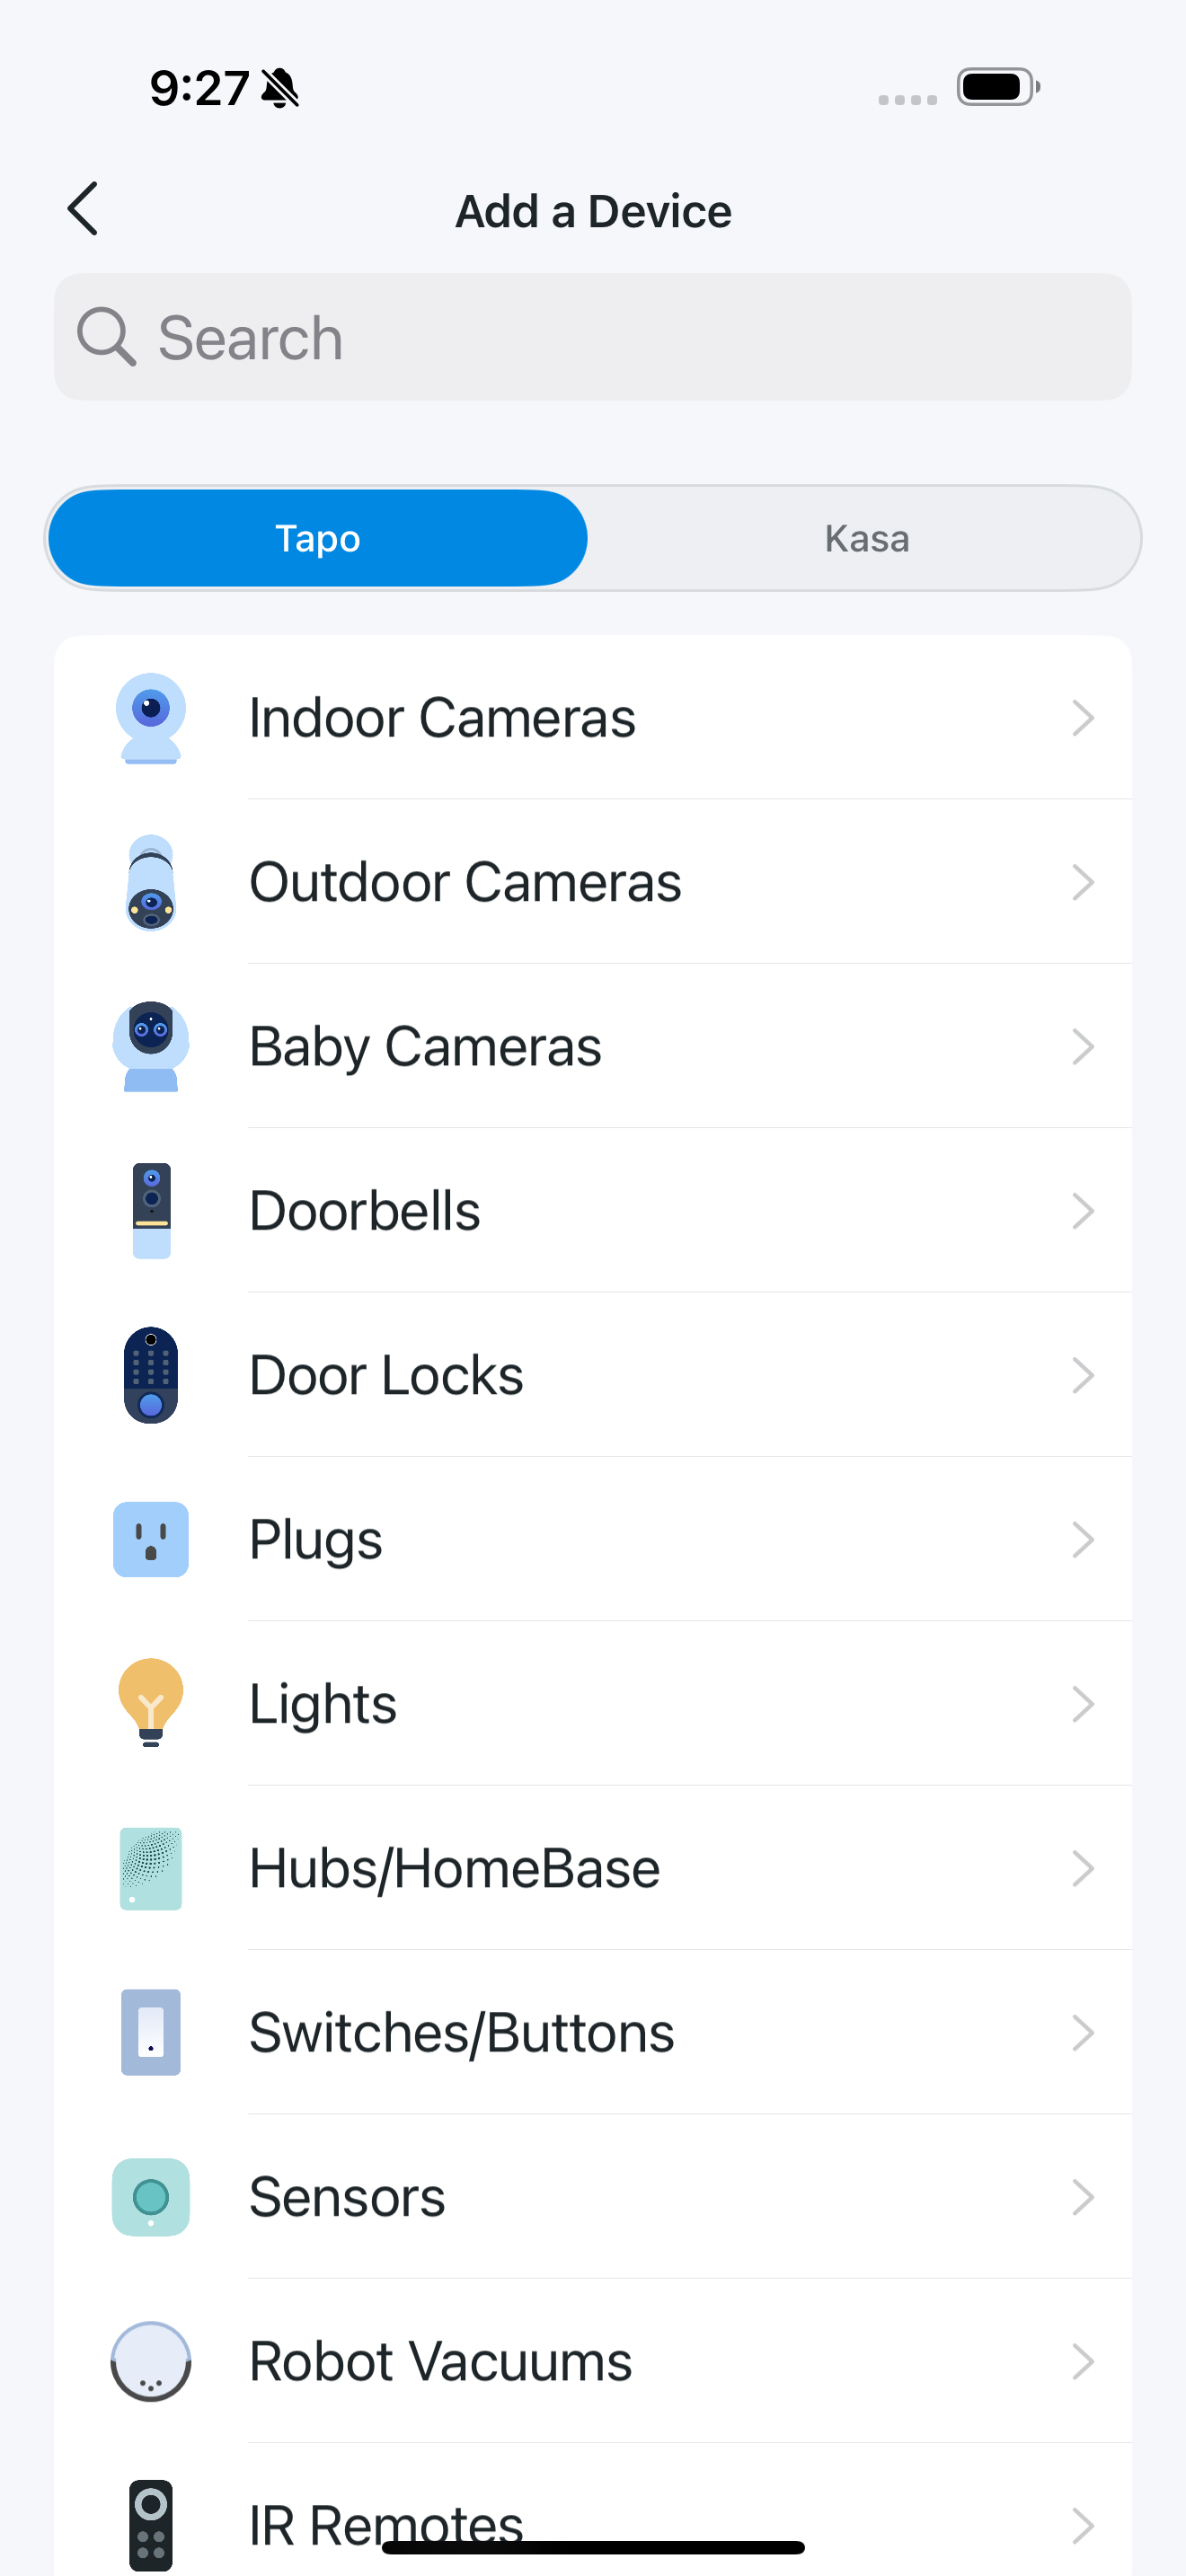
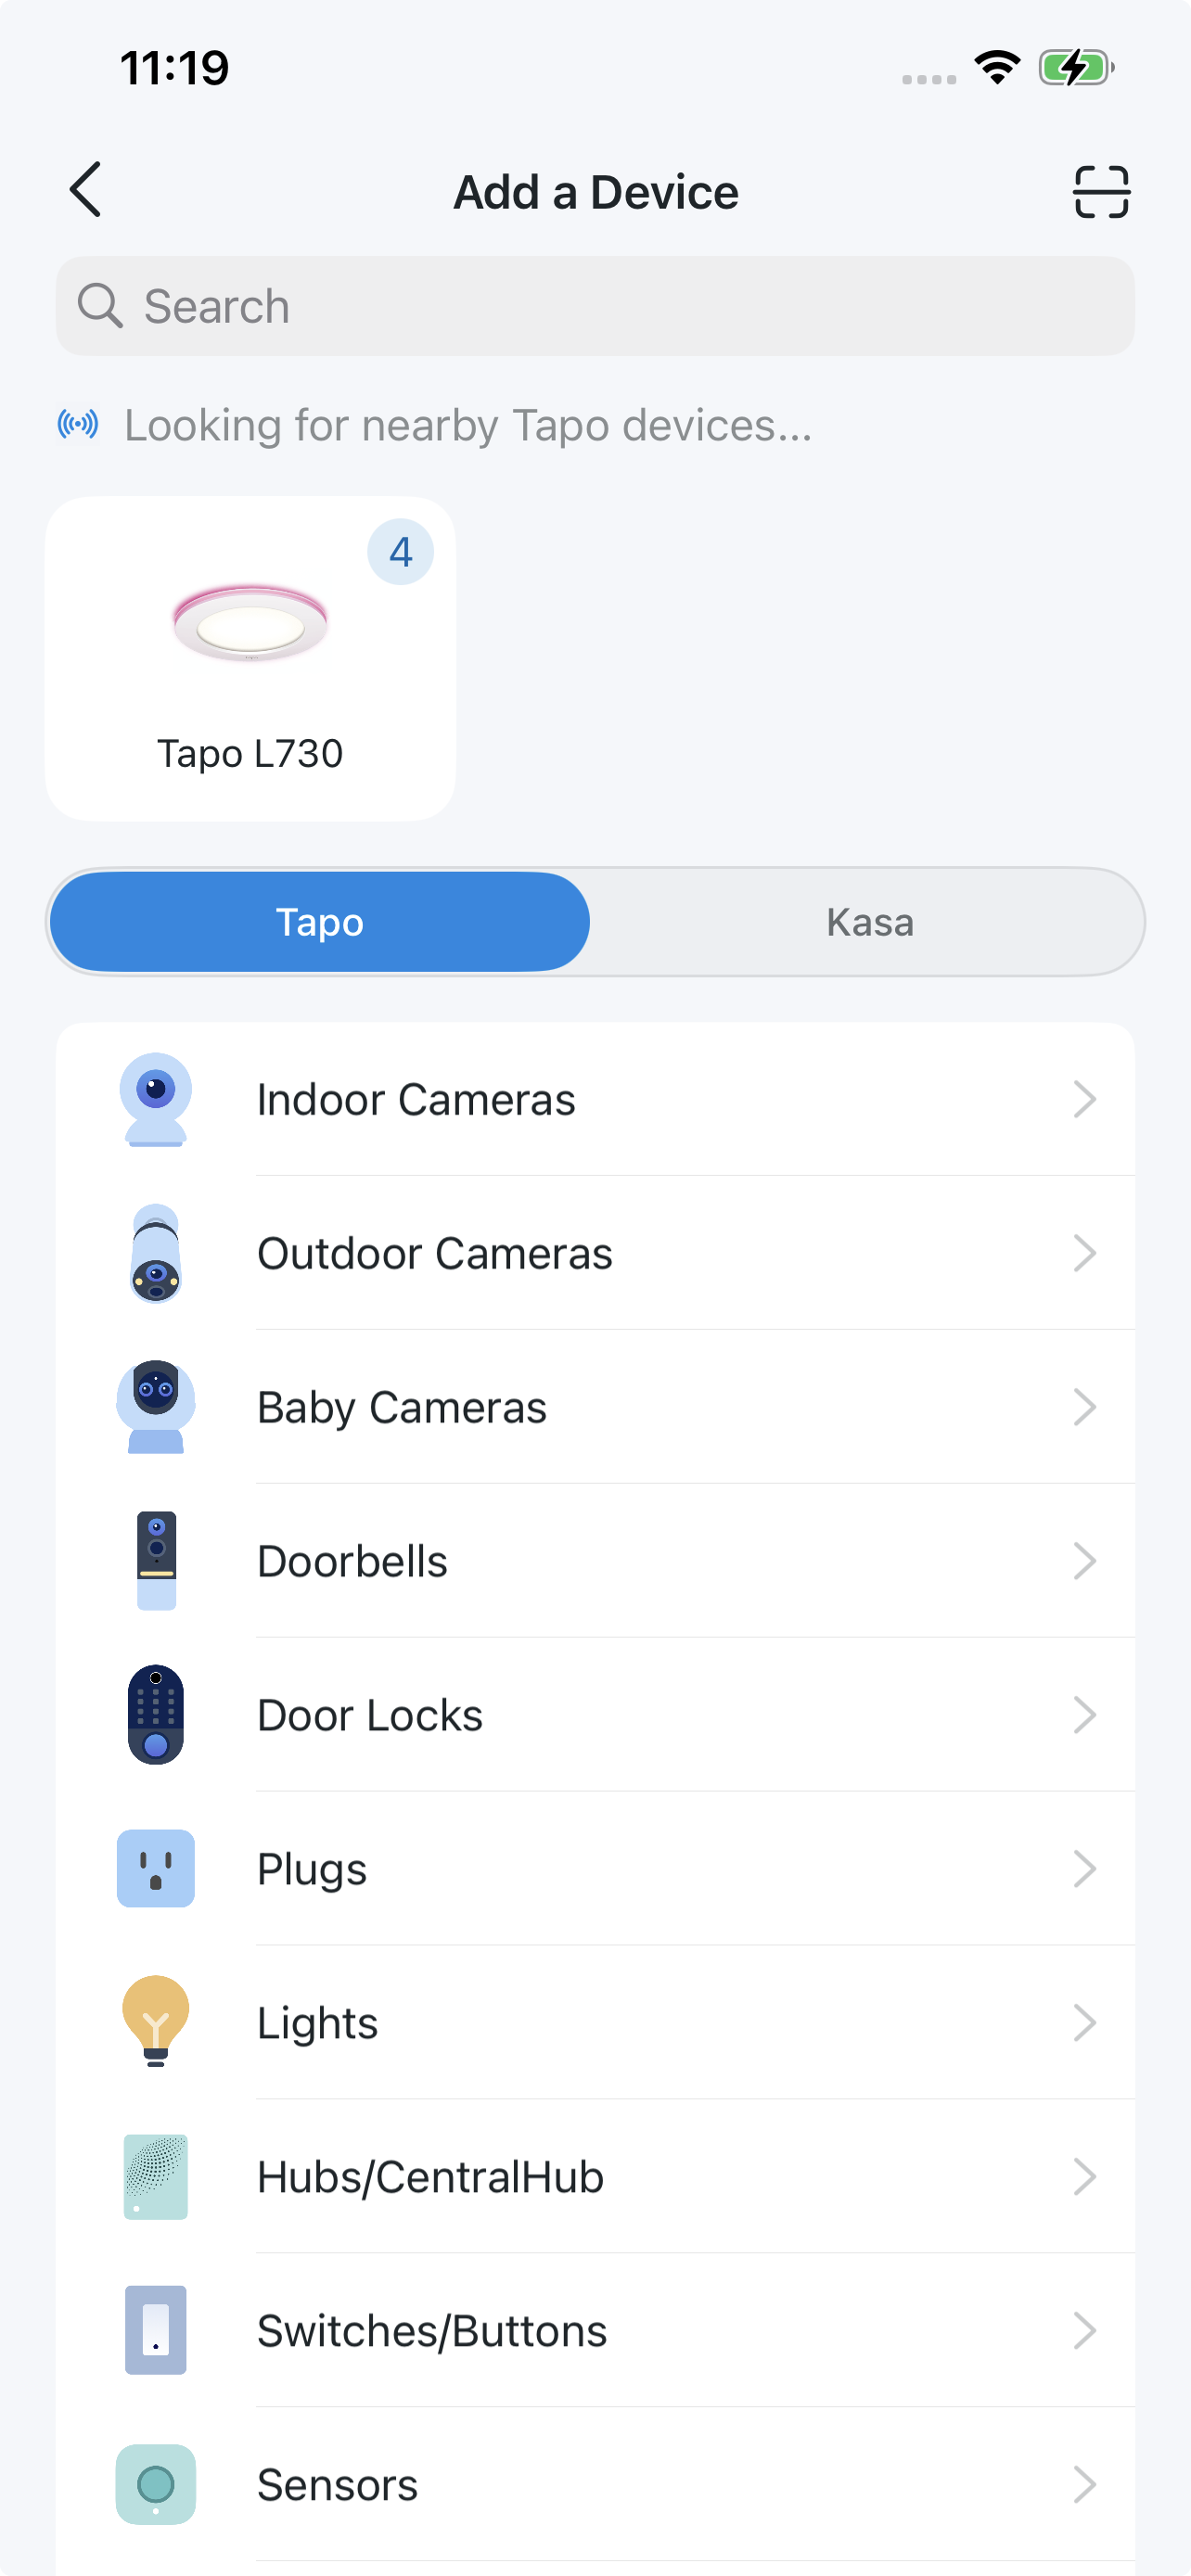
b. The lights can be found automatically and you can add in batch. Or you can manually tap the + button, then select "Add Device" in the app, choose "Lights", and your model. Follow the app instructions to set up your lights.
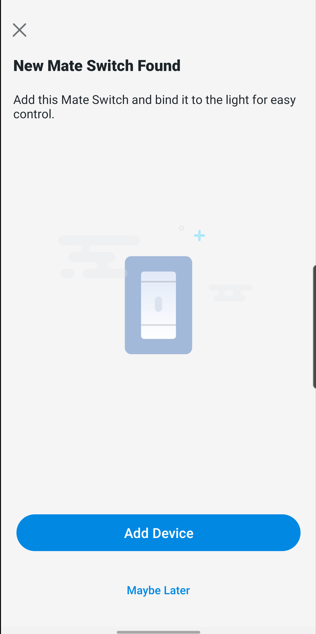
c. When you have successfully set up downlights, the Mate Switch can be found automatically. Follow instructions to add the Mate Switch and control lights in the Tapo app.
Matter Setup
Use the Matter setup code included in the package or found in the Tapo app to integrate your downlight into your preferred smart home platform (e.g., Amazon Alexa, Apple Home, Google Home).
Note that only the downlights L730 support Matter and can work with third-party services. You can integrate downlights into any Matter ecosystem you prefer for easy control.
Before You Start
• Get a Matter Controller: This is needed to connect and manage Matter devices on your home network. For instance, Apple TV and HomePod are examples of Matter controllers.
• Reset Your Device: It's important to start with a fresh device. Press the LOAD ON/OFF button on the Mate Switch to power the lights on and off 5 times to factory reset the connected lights.
• Access Matter Setup Mode: This mode turns off 15 minutes after the device is powered up. To return to setup, simply turn your device off and then back on.
• Locate Your Matter Code: Look for a QR code or numeric code included in the package or found in the Tapo app by navigating to Device Settings > Matter Setup Code.
How to Set Up
*Setup processes may vary between ecosystems.
1. Turn on Bluetooth on your phone.
2. Go to any smart home platform that supports Matter, and either scan the Matter QR code or input the given numeric code.
3. Connect your device to the same network as your controller.
4. Follow the instructions in the app to complete setup.
For more details and troubleshooting, please visit https://www.tapo.com/faq/296/
Frequently Asked Questions
Q1: If there is no router or internet, can the Tapo L730 KIT work?
A1: Yes. It can work withoutan internet connection, Wi-Fi, or app setup. Once you connect the product to the power, the lights can work and the Mate Switch automatically pairs with the lights to for control. However, if you perform a device reset, the pairing will be removed, and you will need to use the Tapo app to pair them again.
Q2: How can I change lights controlled by the Mate Switch?
A2: The S310D is pre‑paired with the downlight by default. But the reset after app setup will remove all pairings.
You can modify its paired devices in the Tapo app. Open the Tapo app, go to the "Device Status" page of the Mate Switch, tap "Controlled Devices", and modify the connected lights that are controlled by this switch.
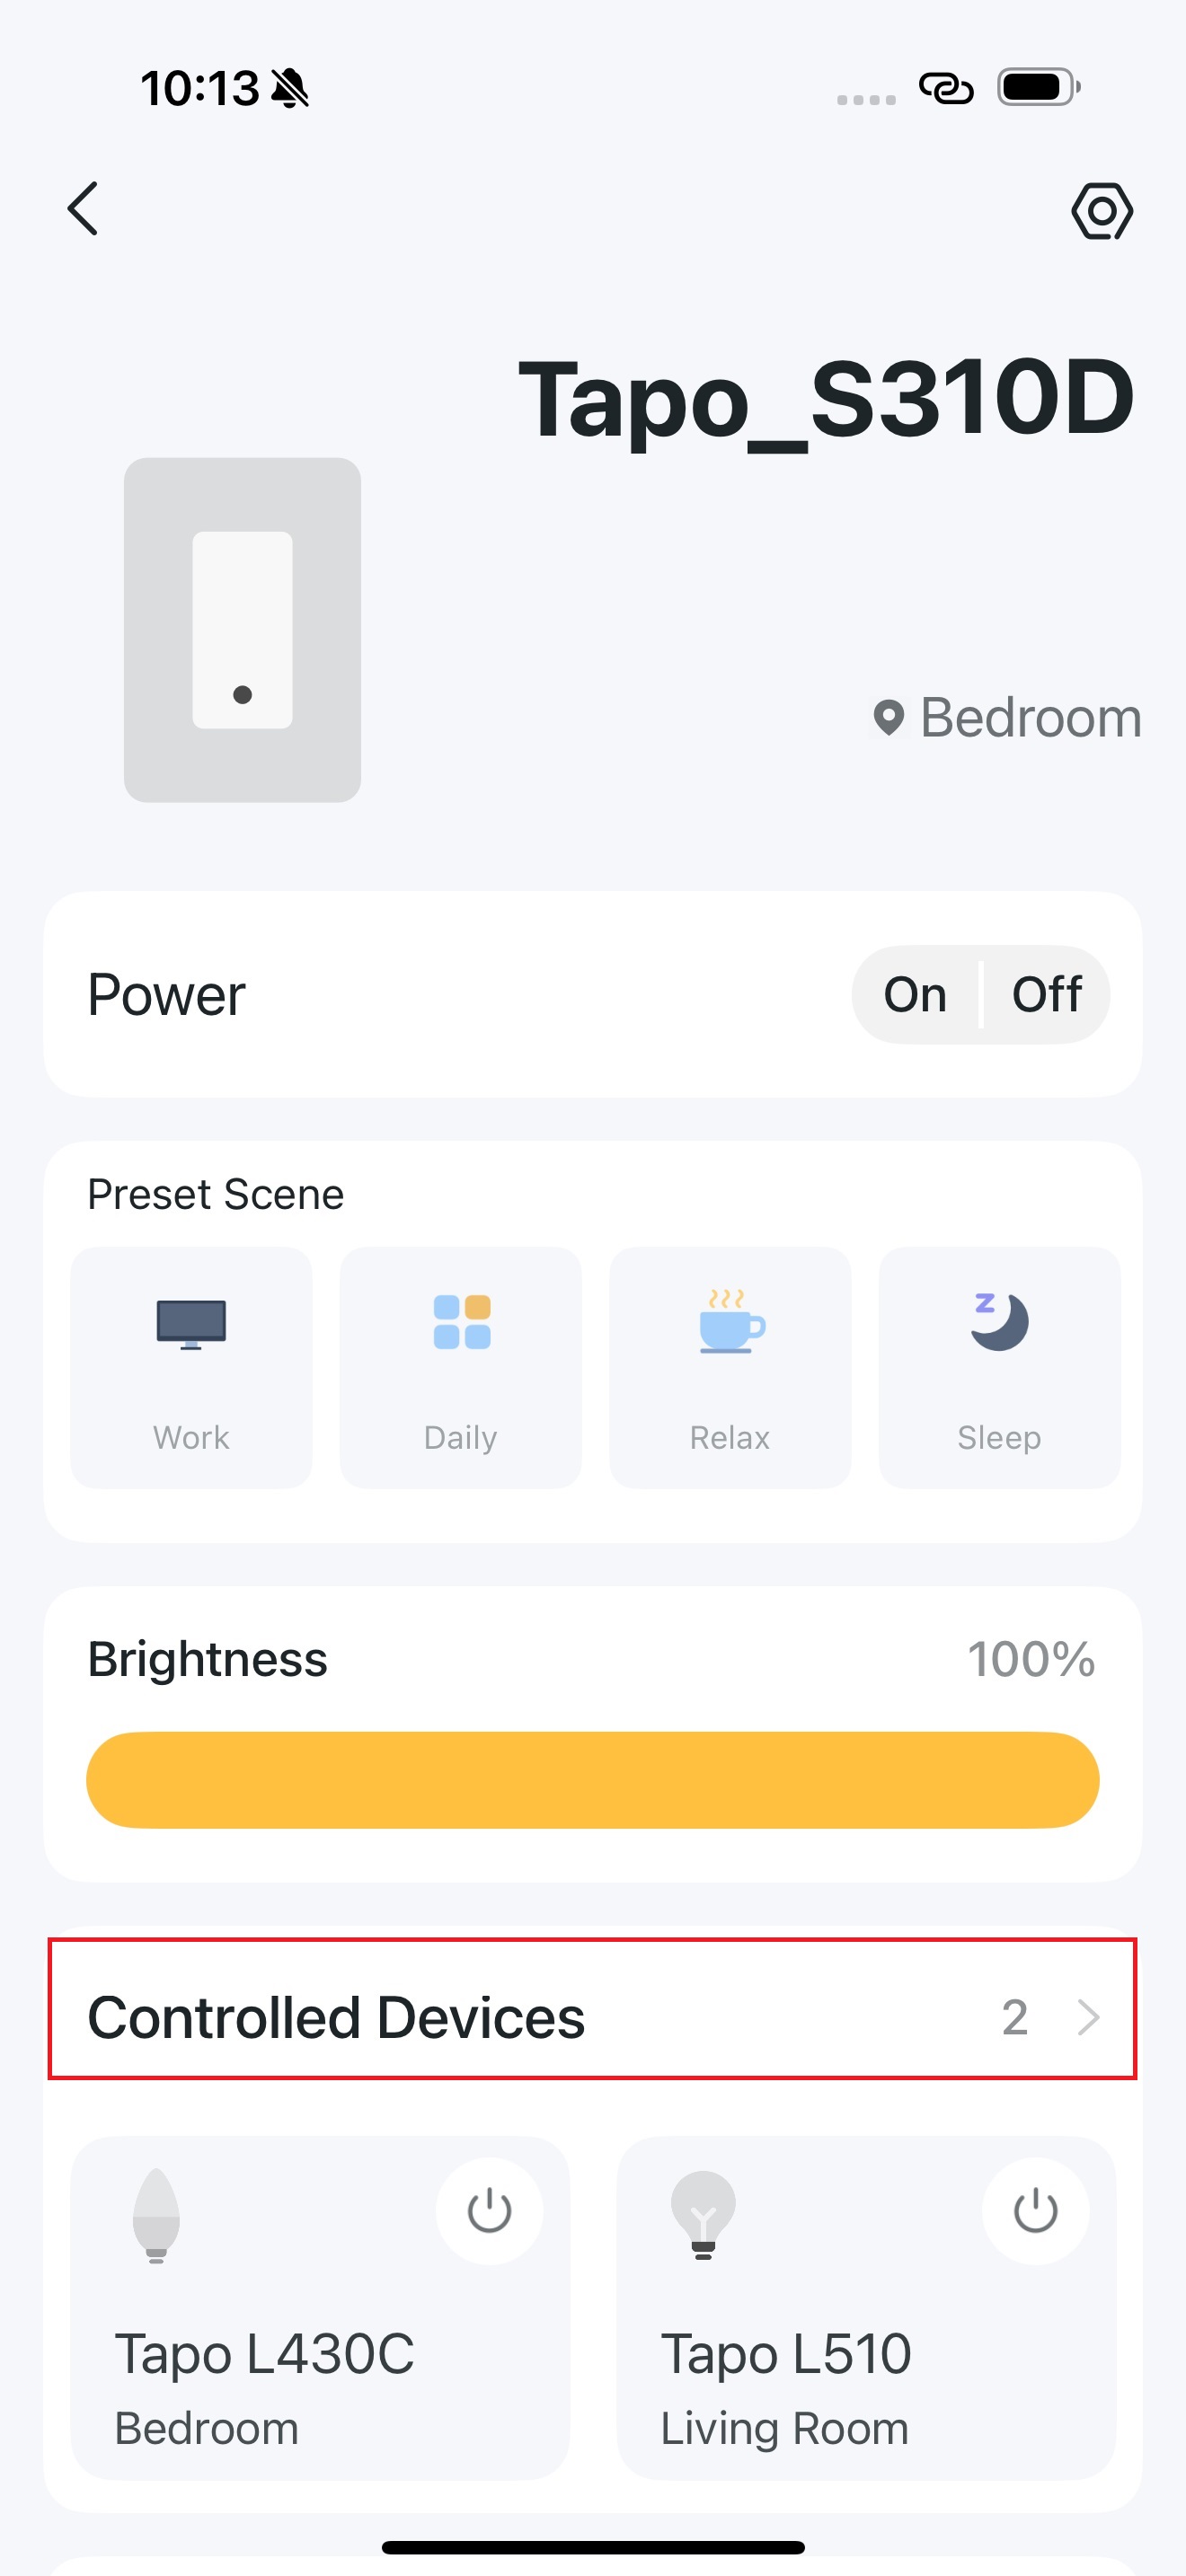
Q3: Can I use Mate Switch to control lights other than the Tapo L730?
A3: Yes, but only smart lights are supported.
· For Tapo lights
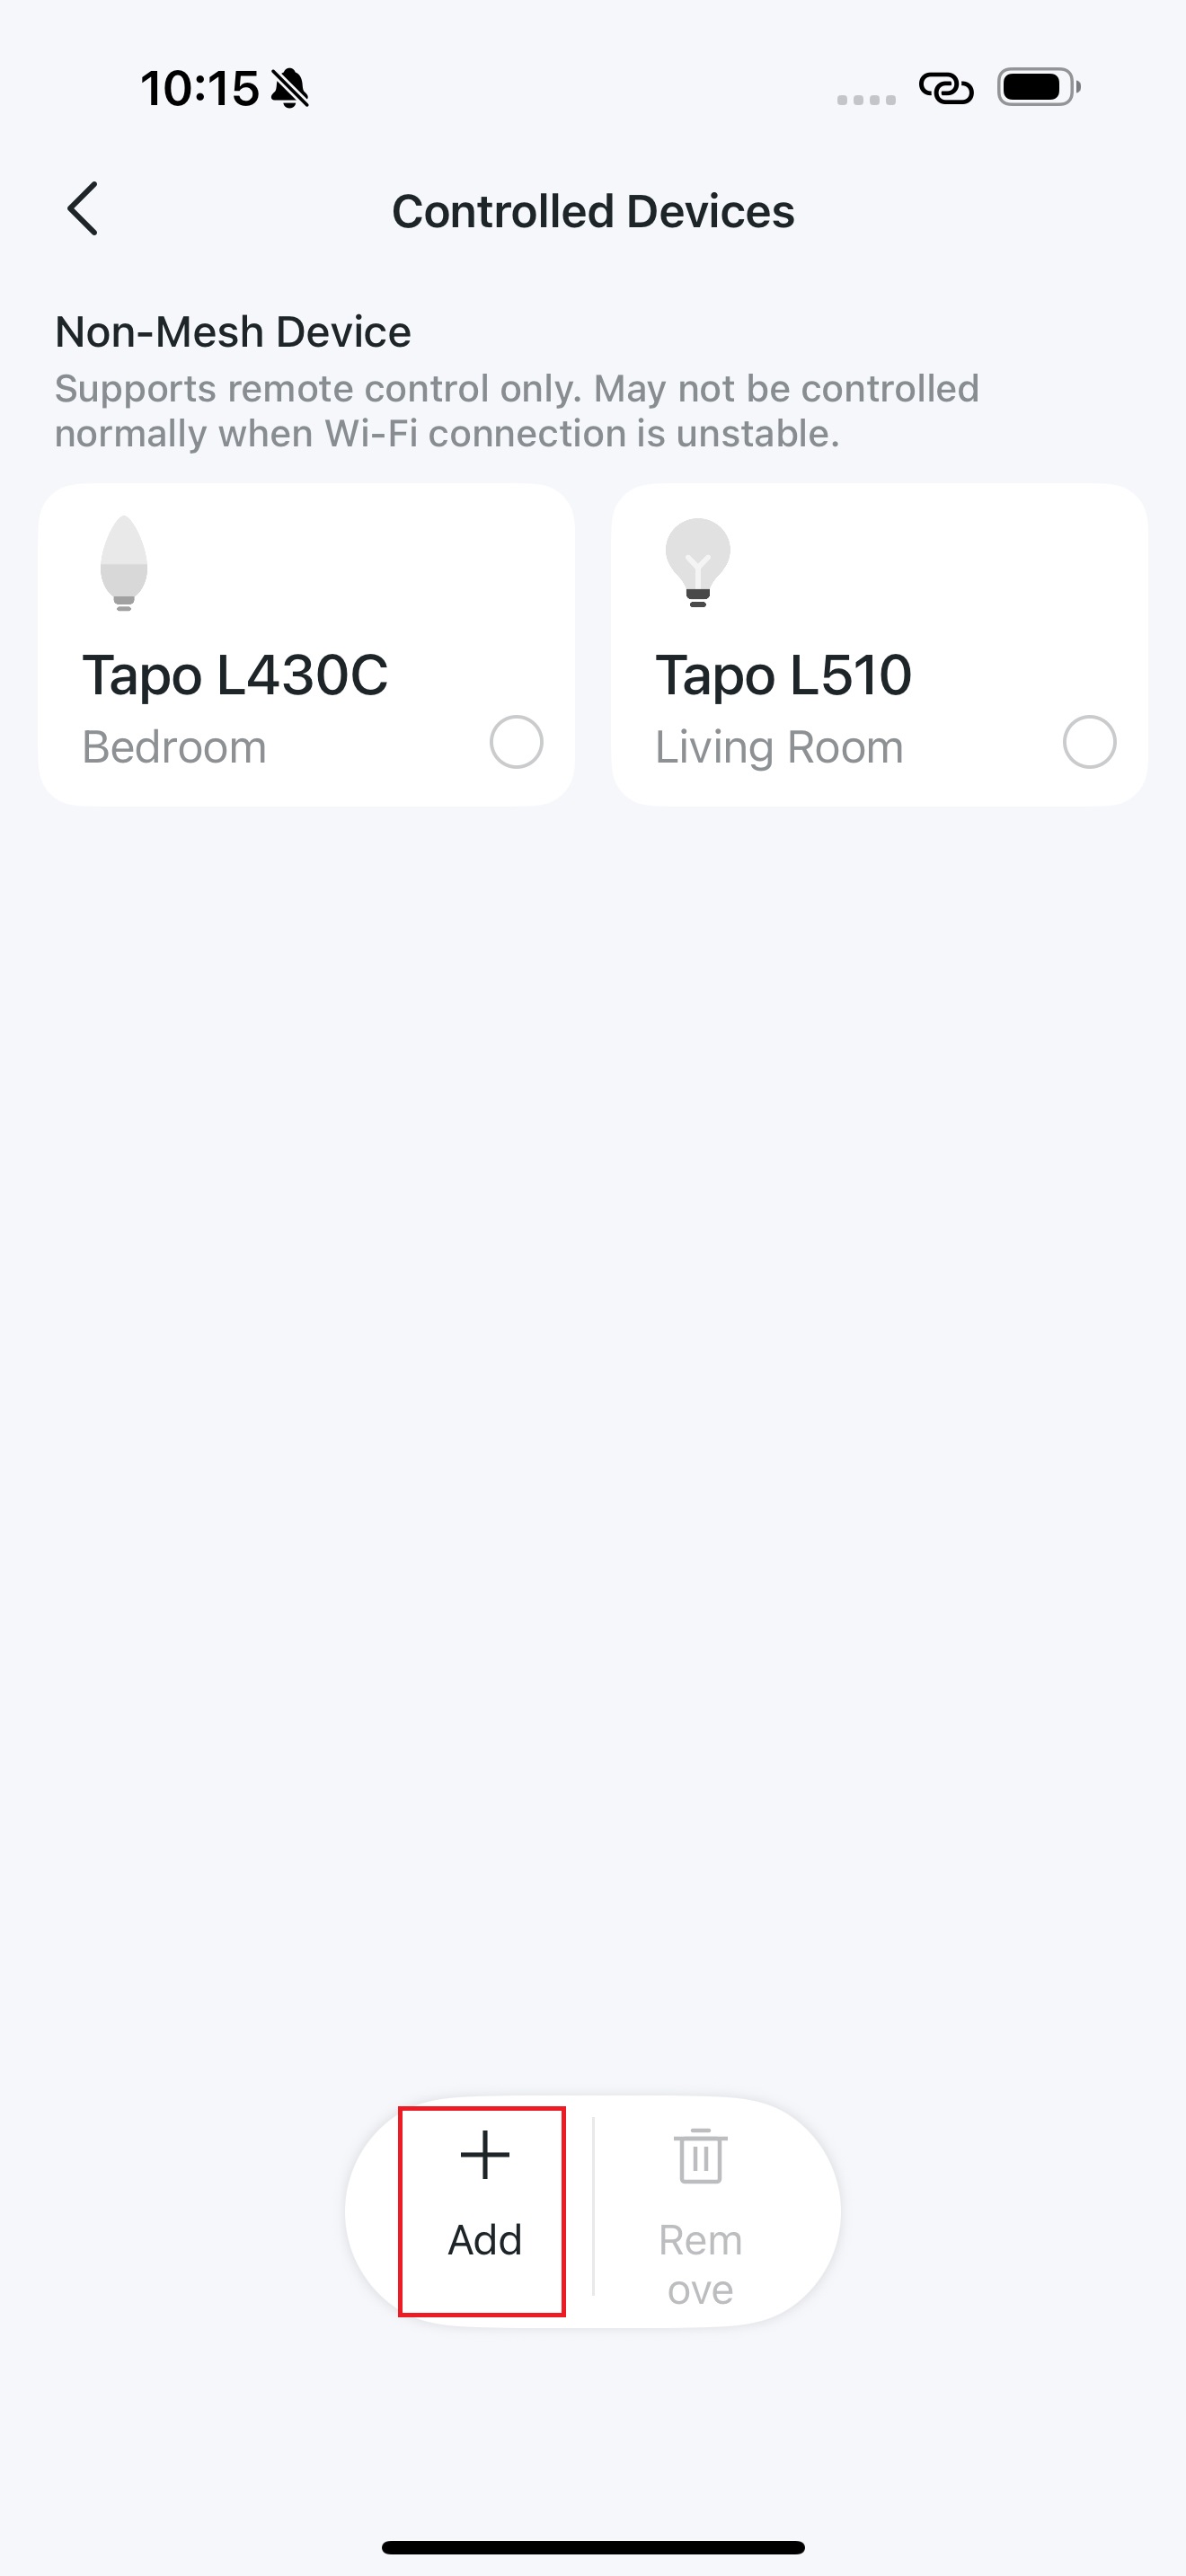
Pair them in the Tapo app for control. Open the Tapo app, go to the device status page of the Mate Switch, tap "Controlled Devices", and tap "Add" to add Tapo lights for control.
· For non-Tapo lights
You cannot control non-Tapo lights using the S310D's physical button or Tapo app. However, you can set up connections and control them via the third-party apps like Amazon Alexa or Google Home.
Go to Me > Third-Party Services and link Tapo to your preferred third-party platform. Set up connections between S310D and non-Tapo lights for control.
Please note that control is then only possible within the third-party app, not via the physical button or the Tapo app.
Q4: How can I restart the Mate Switch?
A4: To restart the S310D, turn off its circuit breaker, wait a moment, then turn it back on. (CAUTION! Risk of Electric Shock)
Q5: How can I choose the right wallplate compatible with Tapo S310D?
A5: Refer to https://www.tapo.com/faq/1903/ for detailed instructions.
Authentication
FCC compliance information statement

Product Name: Smart Recessed Downlight
Model Number: Tapo L730-6, Tapo L730-4
Responsible Party:
TP-Link Systems Inc.
Address: 10 Mauchly, Irvine, CA 92618
Website: http://www.tp-link.com/us/
Tel: +1 626 333 0234
Fax: +1 909 527 6804
E-mail: sales.usa@tp-link.com
This equipment has been tested and found to comply with the limits for a Class B digital device, pursuant to part 15 of the FCC Rules. These limits are designed to provide reasonable protection against harmful interference in a residential installation. This equipment generates, uses and can radiate radio frequency energy and, if not installed and used in accordance with the instructions, may cause harmful interference to radio communications. However, there is no guarantee that interference will not occur in a particular installation. If this equipment does cause harmful interference to radio or television reception, which can be determined by turning the equipment off and on, the user is encouraged to try to correct the interference by one or more of the following measures:
Reorient or relocate the receiving antenna.
Increase the separation between the equipment and receiver.
Connect the equipment into an outlet on a circuit different from that to which the receiver is connected.
Consult the dealer or an experienced radio/ TV technician for help.
This device complies with part 15 of the FCC Rules. Operation is subject to the following two conditions:
This device may not cause harmful interference.
This device must accept any interference received, including interference that may cause undesired operation.
Any changes or modifications not expressly approved by the party responsible for compliance could void the user’s authority to operate the equipment.
Note: The manufacturer is not responsible for any radio or TV interference caused by unauthorized modifications to this equipment. Such modifications could void the user’s authority to operate the equipment.
FCC RF Radiation Exposure Statement
This equipment complies with FCC RF radiation exposure limits set forth for an uncontrolled environment. This device and its antenna must not be co-located or operating in conjunction with any other antenna or transmitter.
“To comply with FCC RF exposure compliance requirements, this grant is applicable to only Mobile Configurations. The antennas used for this transmitter must be installed to provide a separation distance of at least 20 cm from all persons and must not be co-located or operating in conjunction with any other antenna or transmitter.”
We, TP-Link Systems Inc., has determined that the equipment shown as above has been shown to comply with the applicable technical standards, FCC part 15. There is no unauthorized change is made in the equipment and the equipment is properly maintained and operated.
Issue Date: 2026-01-27
Canadian Compliance Statement
This device contains licence-exempt transmitter(s)/receiver(s) that comply with Innovation, Science and Economic Development Canada's licence-exempt RSS(s). Operation is subject to the following two conditions:
(1) This device may not cause interference.
(2) This device must accept any interference, including interference that may cause undesired operation of the device.
L'émetteur/récepteur exempt de licence contenu dans le présent appareil est conforme aux CNR d'Innovation, Sciences et Développement économique Canada applicables aux appareils radio exempts de licence. L'exploitation est autorisée aux deux conditions suivantes:
1) L'appareil ne doit pas produire de brouillage;
2) L'appareil doit accepter tout brouillage radioélectrique subi, même si le brouillage est susceptible d’en compromettre le fonctionnement.
Radiation Exposure Statement:
This equipment complies with IC radiation exposure limits set forth for an uncontrolled environment. This equipment should be installed and operated with minimum distance 20cm between the radiator & your body.
Déclaration d'exposition aux radiations:
Cet équipement est conforme aux limites d'exposition aux rayonnements IC établies pour un environnement non contrôlé. Cet équipement doit être installé et utilisé avec un minimum de 20 cm de distance entre la source de rayonnement et votre corps.
Industry Canada Statement
CAN ICES-005(B)/NMB-005(B)
Safety Information
For Switch
Before installing, servicing or removing the switch, read and follow all safety precautions including the following:
• CAUTION – Risk of Electric Shock – An all-pole disconnect device may be required to de-energize the equipment before servicing. A circuit breaker which disconnects the Line and Neutral conductor simultaneously is suitable. Ensure power is off at the circuit breaker before removing or installing any switch. Use a non-contact voltage tester to ensure the power is off.
• The Smart Switch must be installed and used in accordance with the National Electric Code (NEC) or your local electrical code. If you are unfamiliar with these codes and requirements, or are uncomfortable performing the installation, consult a qualified electrician.
• Do not install the Smart Switch with wet hands or when standing on wet or damp surfaces.
• Install only in a suitable UL Listed outlet box (suitable dimensions: H > 2.95 in./75 mm, W > 1.81 in./46 mm, D > 2 in./51 mm).
• Do not use the device where wireless devices are not allowed.
• Keep the device away from water, fire, humidity or hot environments.
• Do not attempt to disassemble, repair, or modify the device. If you need service, please contact us.
Rating: 120 V~ 60 Hz
Max Control Number of Tapo L730: 20 PCS
Operation temperature: 0~40℃ / 32~104°F
Included Mounting Methods: Independently mounted (Vertical position only);
Operating control, Type 1.B action
Pollution Degree 2, Rated Impulse Voltage 2500 V
Software Class A, NEMA Type 1
For Downlight
• Do not use the device where wireless devices are not allowed.
• Keep the device away from water, fire, humidity or hot environments.
• Do not attempt to disassemble, repair, or modify the device. If you need service, please contact us.
• Only use the control provided with or specified by these instructions to control this lamp. This lamp will not operate properly when connected to a standard (incandescent) dimmer or dimming control.
• NOT FOR EMERGENCY LIGHTING.
| • CONSULT A QUALIFIED ELECTRICIAN TO ENSURE CORRECT BRANCH CIRCUIT CONDUCTOR. • THIS PRODUCT MUST BE INSTALLED IN ACCORDANCE WITH THE APPLICABLE INSTALLATION CODE BY A PERSON FAMILIAR WITH THE CONSTRUCTION AND OPERATION OF THE PRODUCT AND THE HAZARDS INVOLVED. |
Please read and follow the above safety information when operating the device. We cannot guarantee that no accidents or damage will occur due to improper use of the device. Please use this product with care and operate at your own risk.
Explanation of the symbols on the product label
Note: The product label is on the bottom of the product and its power supply. Symbols may vary from products.
注意:產品標籤位於產品底部及其電源供應器上。不同產品的標籤符號可能有所不同。
| Symbol 符號解釋 |
Explanation 解釋 |
|---|---|
 |
Class II equipment Class II 設備 |
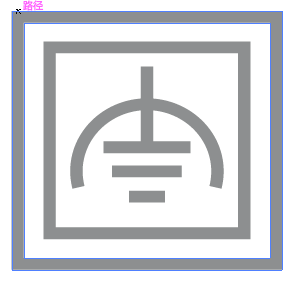 |
Class II equipment with functional earthing 具有功能接地的Class II 設備 |
 |
Alternating current 交流電 |
 |
DC voltage 直流電壓 |
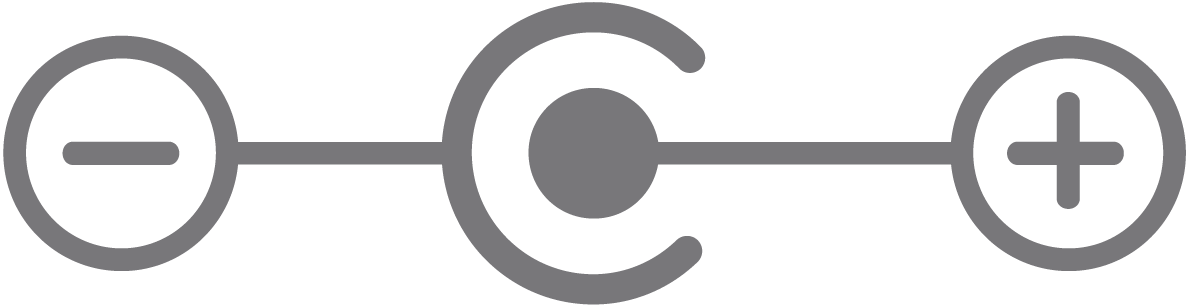 |
Polarity of output terminals 輸出端子極性 |
 |
Indoor use only 僅限室內使用 |
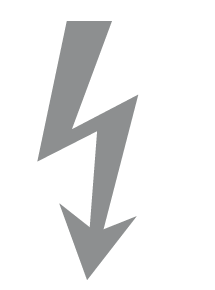 |
Dangerous voltage 危險電壓 |
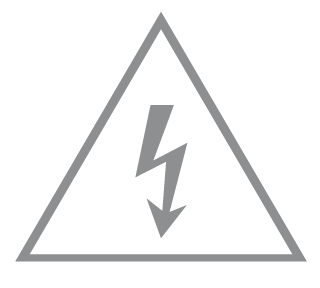 |
Caution, risk of electric shock 注意,有觸電危險 |
 |
Energy efficiency Marking 能源效率標示 |
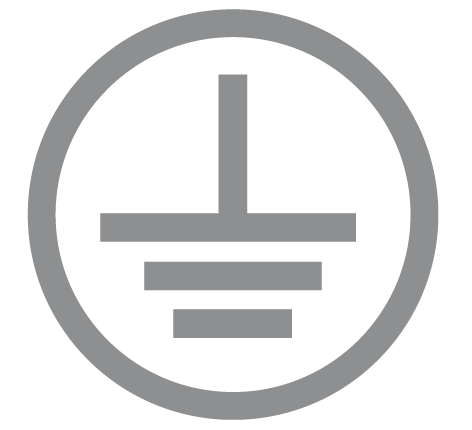 |
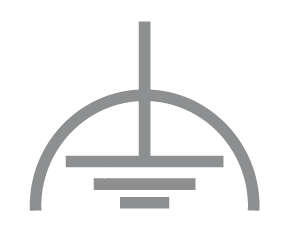
Protective earth 保護地線 |
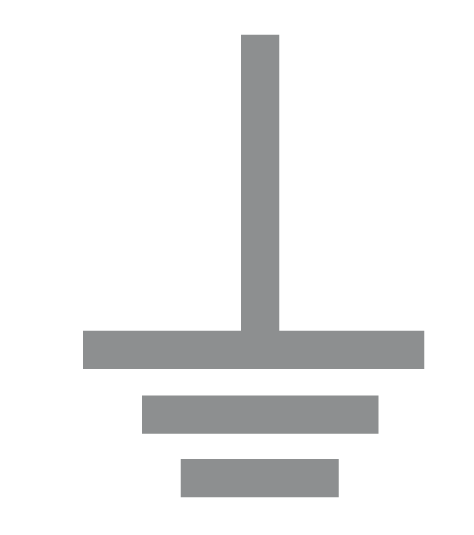 |
Earth 地線 |
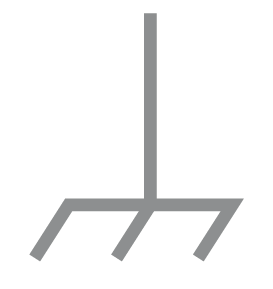 |
Frame or chassis 機架接地 |
 |
Functional earthing 功能地線 |
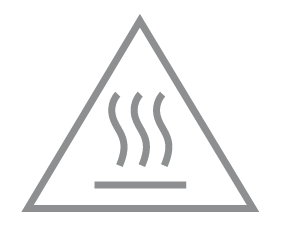 |
Caution, hot surface 警告,表面高溫 |
 |
Caution 警告 |
 |
Operator’s manual 操作手冊 |
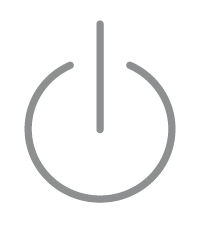 |
Stand-by 待機 |
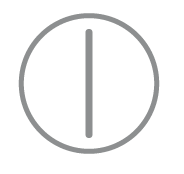 |
“ON”/”OFF” (push-push) 「開」/「關」 ( 按壓式) |
 |
Fuse 保險絲 |
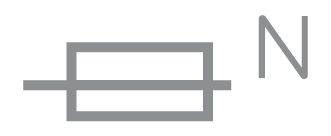 |
Fuse is used in neutral N 保險絲用於中性線N |
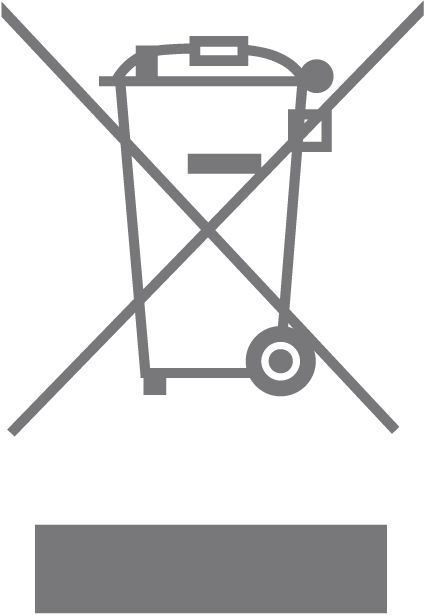 |
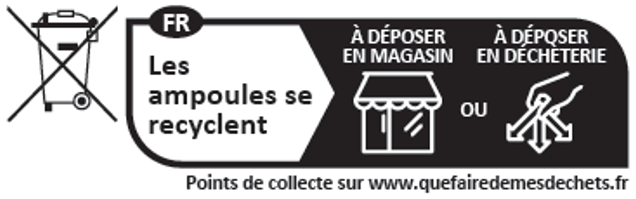
RECYCLING This product bears the selective sorting symbol for Waste electrical and electronic equipment (WEEE). This means that this product must be handled pursuant to European directive 2012/19/EU in order to be recycled or dismantled to minimize its impact on the environment. User has the choice to give his product to a competent recycling organization or to the retailer when he buys a new electrical or electronic equipment. 回收利用 本產品標示有「廢棄電氣電子設備(WEEE)」的分類回收標誌。這表示本產品必須依據歐盟指令 2012/19/EU 進行妥善回收或拆 解,以減少對環境的影響。 使用者可選擇將本產品交給合格的回收機構,或在購買新電器或電子設備時,交回給零售商進行回收處理。 |
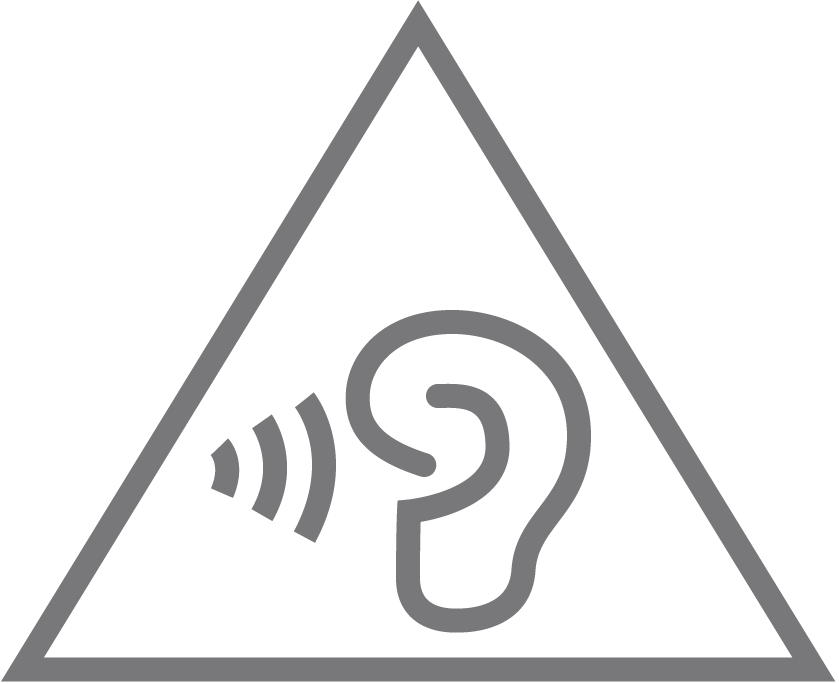 |
Caution, avoid listening at high volume levels for long periods 注意,避免長時間以高音量收聽 |
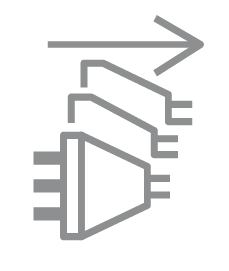 |
Disconnection, all power plugs 斷開所有電源插頭 |