How to Prevent and Fix Image Overexposure on VIGI Cameras
Contents
Introduction
The overexposure of surveillance images can be roughly divided into overexposure during the day and overexposure at night. The overexposure in the daytime is basically caused by the backlight of the scene, while the overexposure at night is caused by the over-intensity of the infrared reflected light of the object. Before performing any adjustments, always ensure the camera lens is clean.
Requirements
- VIGI Cameras
Troubleshooting Guidance
This section describes the troubleshooting steps for two scenarios: overexposure in the daytime and overexposure at night.
Overexposure in the daytime
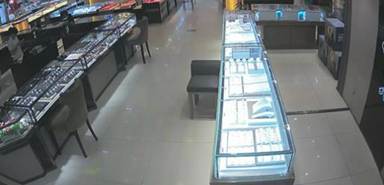
As shown in the image below, strong reflections from the counter surface may cause image overexposure, making the counter area appear excessively bright and resulting in a loss of detail.
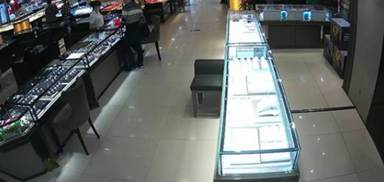
The camera may overexpose when bright light is directed into or reflected toward the lens, resulting in unclear image details. During installation, it is important to avoid direct light or strong reflections whenever possible. If such conditions cannot be avoided, adjust the image parameters to help reduce overexposure.
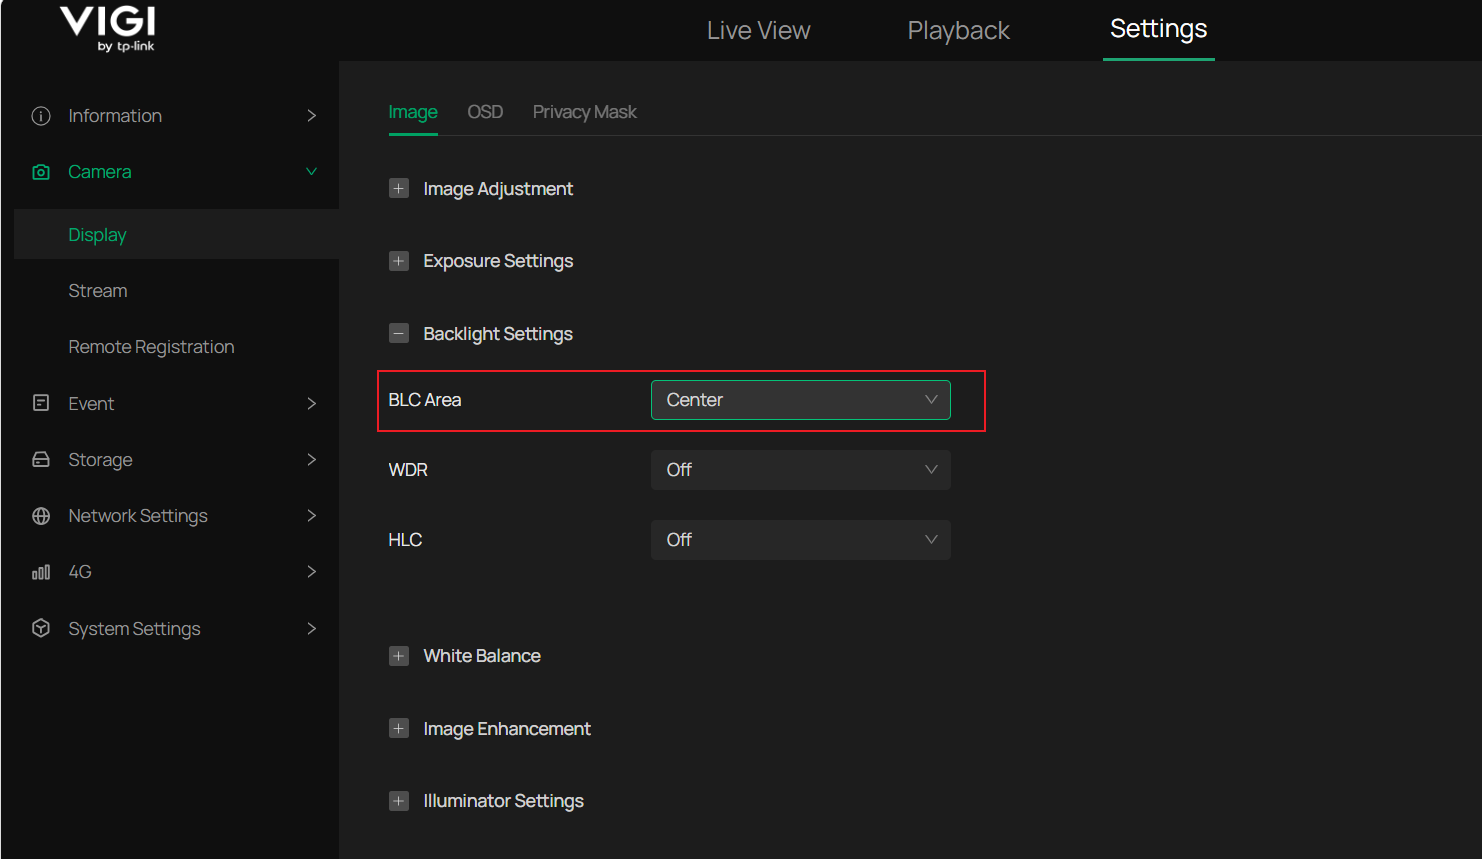
Step 1. Adjust Backlight Compensation (BLC).
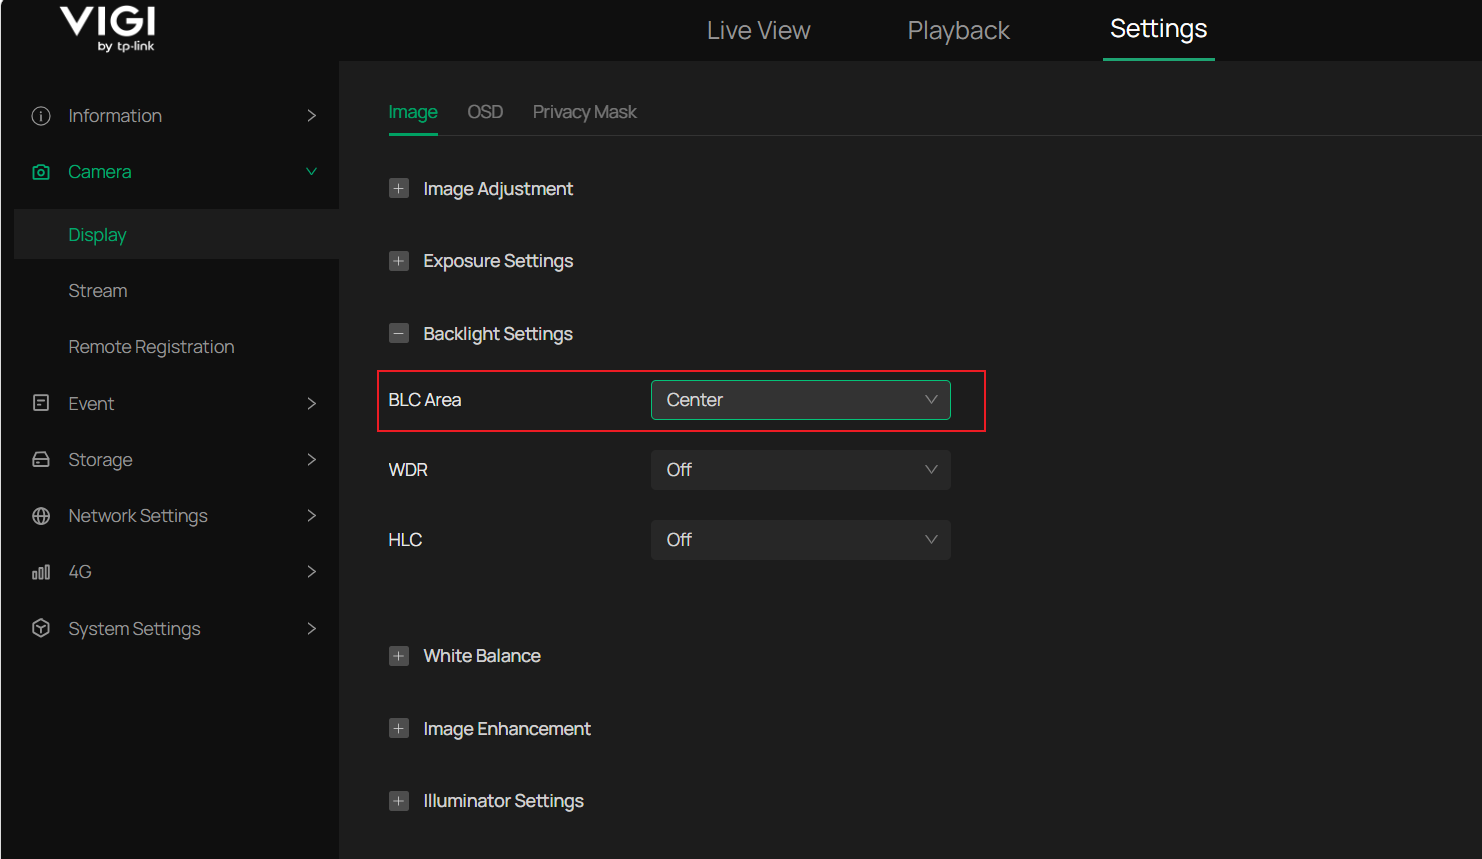
Enable BLC and set the overexposed area as the exposure target. This helps reduce the overall light input and balance the image brightness. Navigate to Settings > Camera > Display > Image > Backlight Settings for configuration. In this example, the overexposed area is near the center of the image, so set the BLC Area to Center.
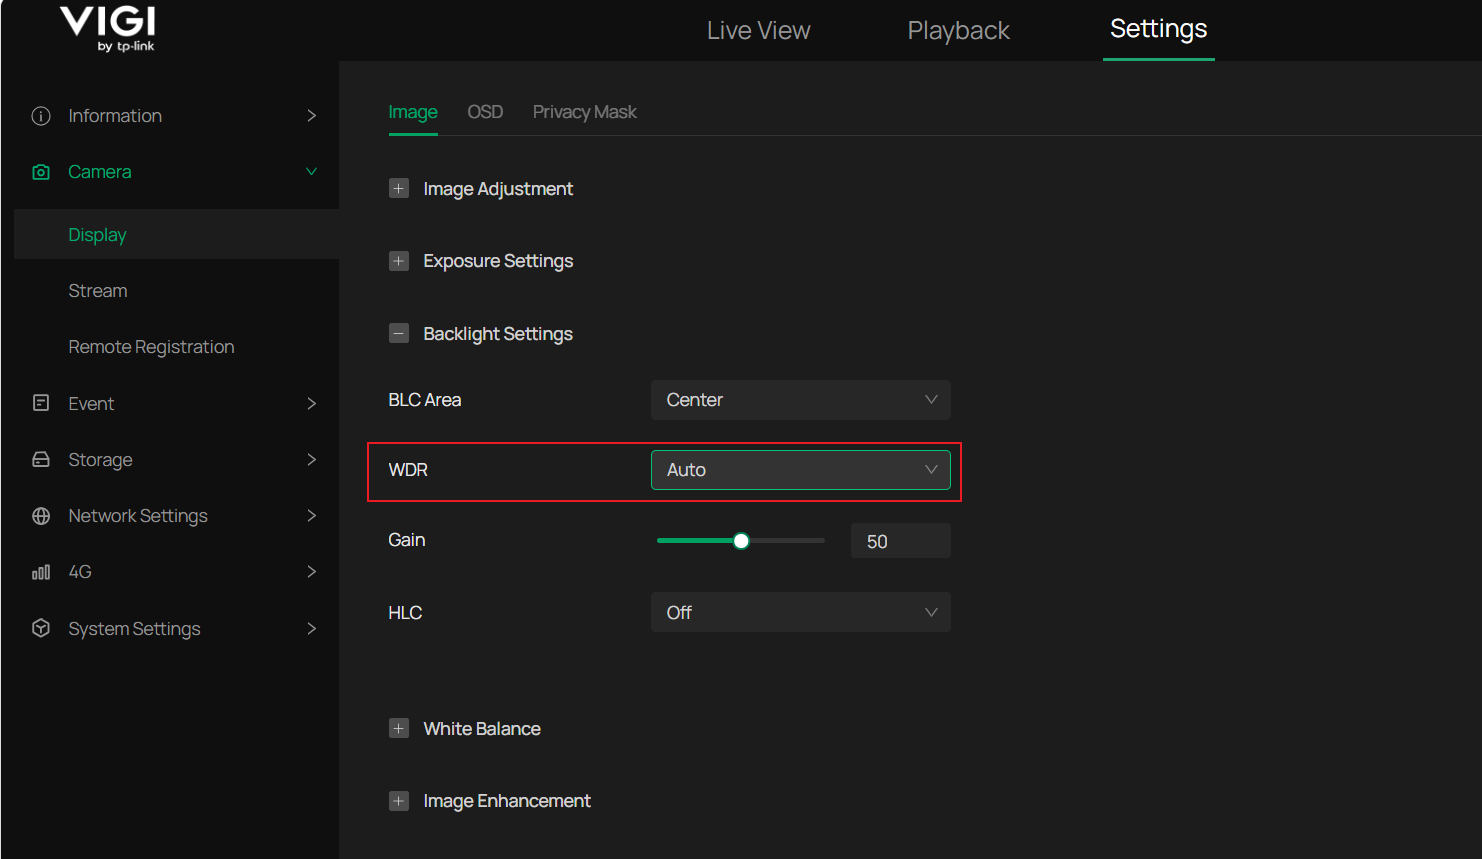
Step 2. Enable Wide Dynamic Range (WDR).
After enabling BLC, the surroundings may appear darker. WDR can be used to brighten darker areas and improve overall balance. Navigate to Display > Image > Backlight Settings for configuration. Set WDR to Auto for dynamic adjustment.
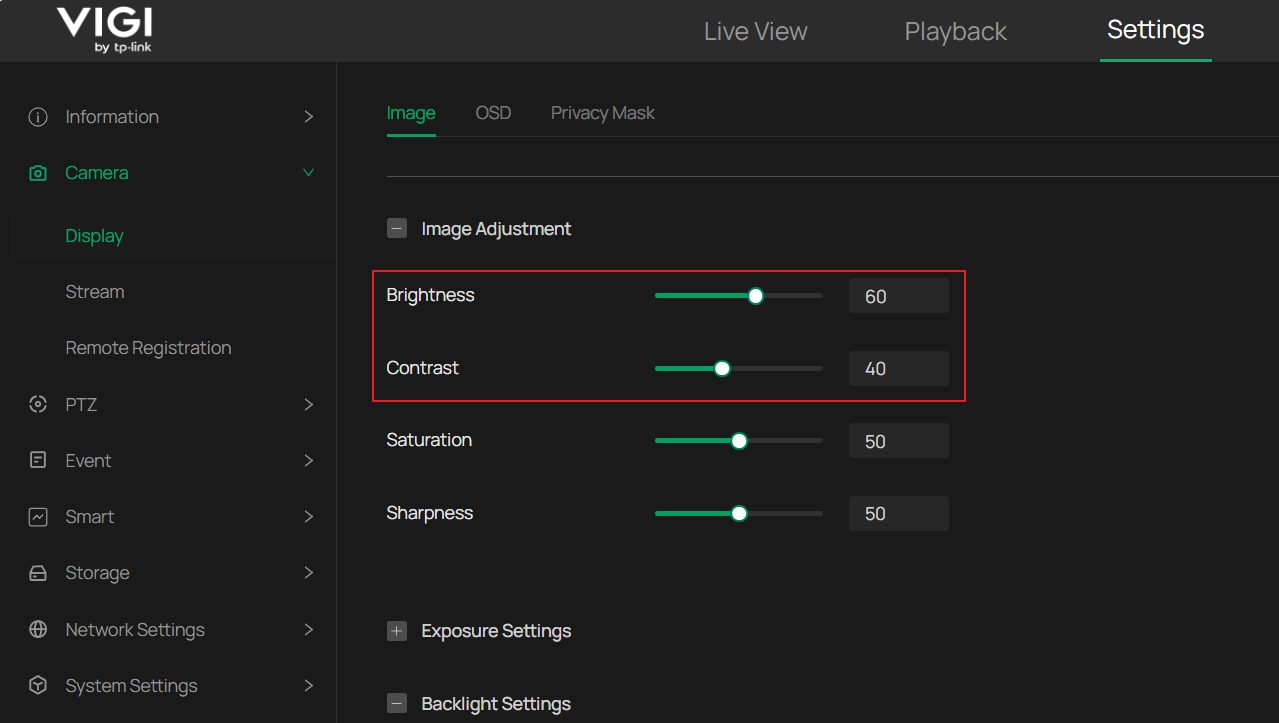
Step 3. Fine-tune Brightness and Contrast.
Adjust the brightness and contrast parameters to achieve the best possible image quality, for example, Brightness 60, Contrast 40.
The image below shows the adjusted result (BLC area set to Center + WDR enabled + Brightness 60, Contrast 40). As shown, the counter area is clearer, with more details preserved. You can further adjust the parameters based on your specific image quality requirements.
Overexposure at night
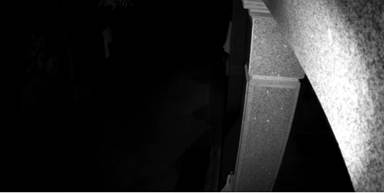
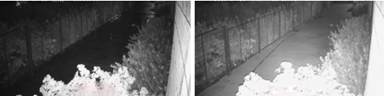
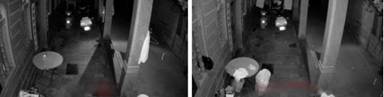
As shown in the image below, nighttime overexposure may occur when the camera is installed too close to a wall or angled toward it. Strong IR light reflected from the wall back into the lens can cause the wall area to appear overly bright. To maintain overall image brightness, the camera may shorten the shutter exposure time, causing other areas of the image to appear too dark.
Step 1. Adjust the angle to reduce the area of overexposed objects in the picture.
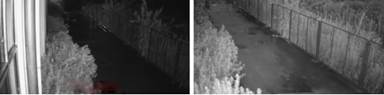
Reduce the portion of overexposed reflective surfaces in the frame while maintaining effective monitoring coverage. This not only increases the visible area but also allows the camera to use a longer exposure time, improving clarity.
Step 2. Set the BLC area to make dark areas brighter.
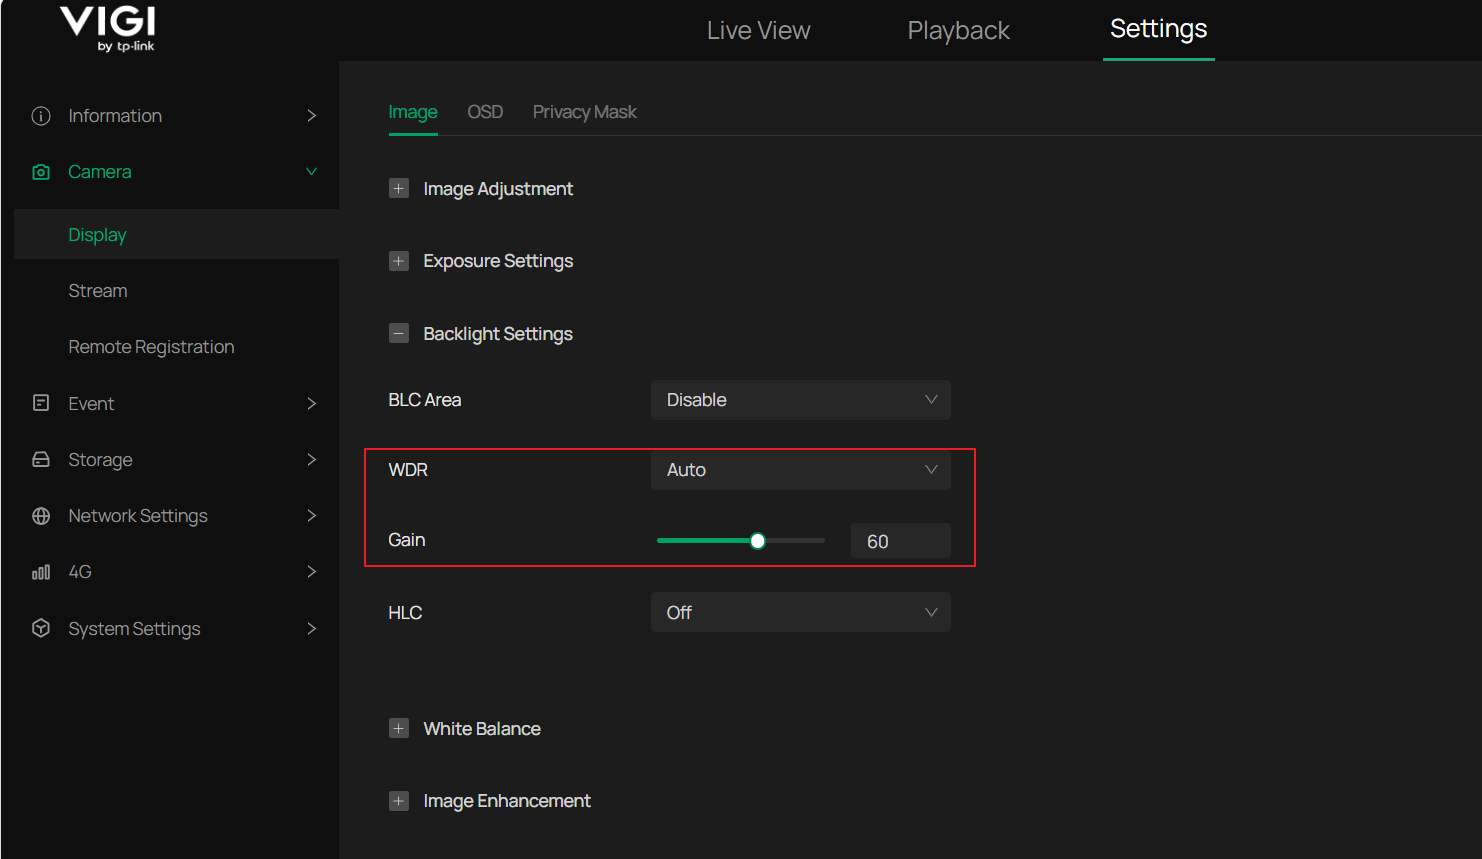
Configure the BLC area to prioritize darker parts of the image. This increases exposure time and improves visibility in important monitoring zones, though reflective areas may appear brighter. Navigate to Settings > Camera > Display > Image > Backlight Settings for configuration. In this example, the overexposed area is near the center of the image, so set the BLC Area to Center.
Step 3. Enable WDR to balance the brightness.
Increasing WDR can enhance details in darker areas, improving night vision quality. Navigate to Display > Image > Backlight Settings for configuration. Set WDR to Auto for dynamic adjustment. Adjust WDR dynamically based on actual conditions.
Note: Setting WDR too high at night can increase image noise. Adjust moderately for best results.
Conclusion
By identifying the cause of overexposure and applying the appropriate settings, such as BLC, WDR, and camera angle adjustments, image overexposure can be effectively reduced. Proper configuration helps improve image clarity and preserve more details under different lighting conditions.
To learn more about each function and configuration, please visit Support Home to download or check the manual for your product.
Looking For More
Чи була ця стаття корисною?
Ваш відгук допомагає вдосконалити цей сайт.



TP-Link Community
Still need help? Search for answers, ask questions, and get help from TP-Link experts and other users around the world.