Is Your TP-Link Range Extender Working and in the Right Spot?
There are a few quick ways to check whether your TP-Link range extender is connected and working correctly. This page covers both how to confirm the wifi extender is working after setup and how to check whether your range extender is positioned in the best location for strong Wi-Fi coverage.
Key Takeaways
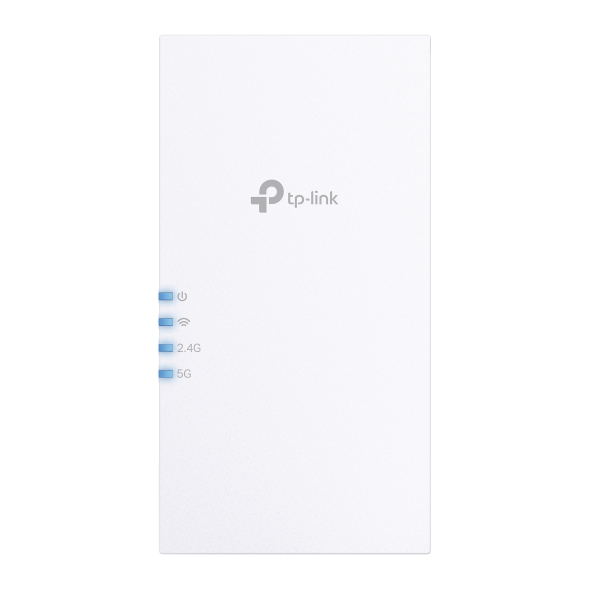
- A TP-Link range extender is successfully connected to the router when its Signal LED light is solid on, regardless of color or number of bars.
- You can also confirm the connection by logging in to www.tplinkrepeater.net or http://192.168.0.254 and checking Settings > Status.
- If devices connected to the extender can access the Internet, the extender is working correctly.
- For best Wi-Fi coverage, place the extender approximately halfway between the router and the dead zone, within range of the router.
- The color or number of Signal LED lights indicates how strong the extender's connection to the router is. A red light means the signal is weak and the extender should be moved closer to the router.
If your range extender is configured correctly according to the Quick Start Guide or User Guide, you should have internet access when you connect to it. To confirm whether your range extender is successfully configured with the best signal, try the following methods.
How to Tell If Your Range Extender Is Working
Method 1: Check the Signal LED Lights
All range extenders have Signal LED lights (light styles may vary by model) to indicate a successful connection to the router. Once your range extender has successfully connected to your wireless router, the Signal LED light will be solid on (no matter what color it is or how many signal bars there are). Here are some examples of different range extenders:

Method 2: Check the Internet Status
1. Launch a web browser, visit www.tplinkrepeater.net or http://192.168.0.254, and log in with the password you set for the extender.
2. Go to Settings > Status to check the internet status of your extender. If everything is OK as shown below, your extender is successfully connected to your router.

Method 3: Test Your Device's Internet Connection
Connect your devices to the extender wirelessly or via an Ethernet cable. If your devices can access the internet, your extender is successfully connected to your router.
Is Your Range Extender in the Best Location?
For better Wi-Fi coverage and signal strength, plug in the extender about halfway between your router and the Wi-Fi dead zone after configuration. The location you choose must be within the range of your router.
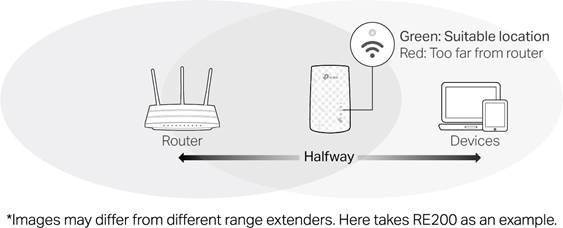
To ensure your range extender is in the best location, use the Signal LED lights (light styles may vary by model). The color or number of Signal LED lights indicates the signal strength that the range extender gets from the main router. For example, if RE200 is connected to your router and the signal is good, the 2.4G or 5G light (Signal LED light) will be solid green. If the signal is poor and the red LED is on, relocate it closer to the router to improve signal quality. For more details about your range extender, please refer to the Quick Installation Guide or User Guide.
Citește despre:
A fost util acest FAQ?
Părerea ta ne ajută să îmbunătățim acest site.


TP-Link Community
Still need help? Search for answers, ask questions, and get help from TP-Link experts and other users around the world.