


Step-by-Step Guide for Installing a Reliable CCTV System
Published: August 11, 2026 | Last Updated: August 11, 2026
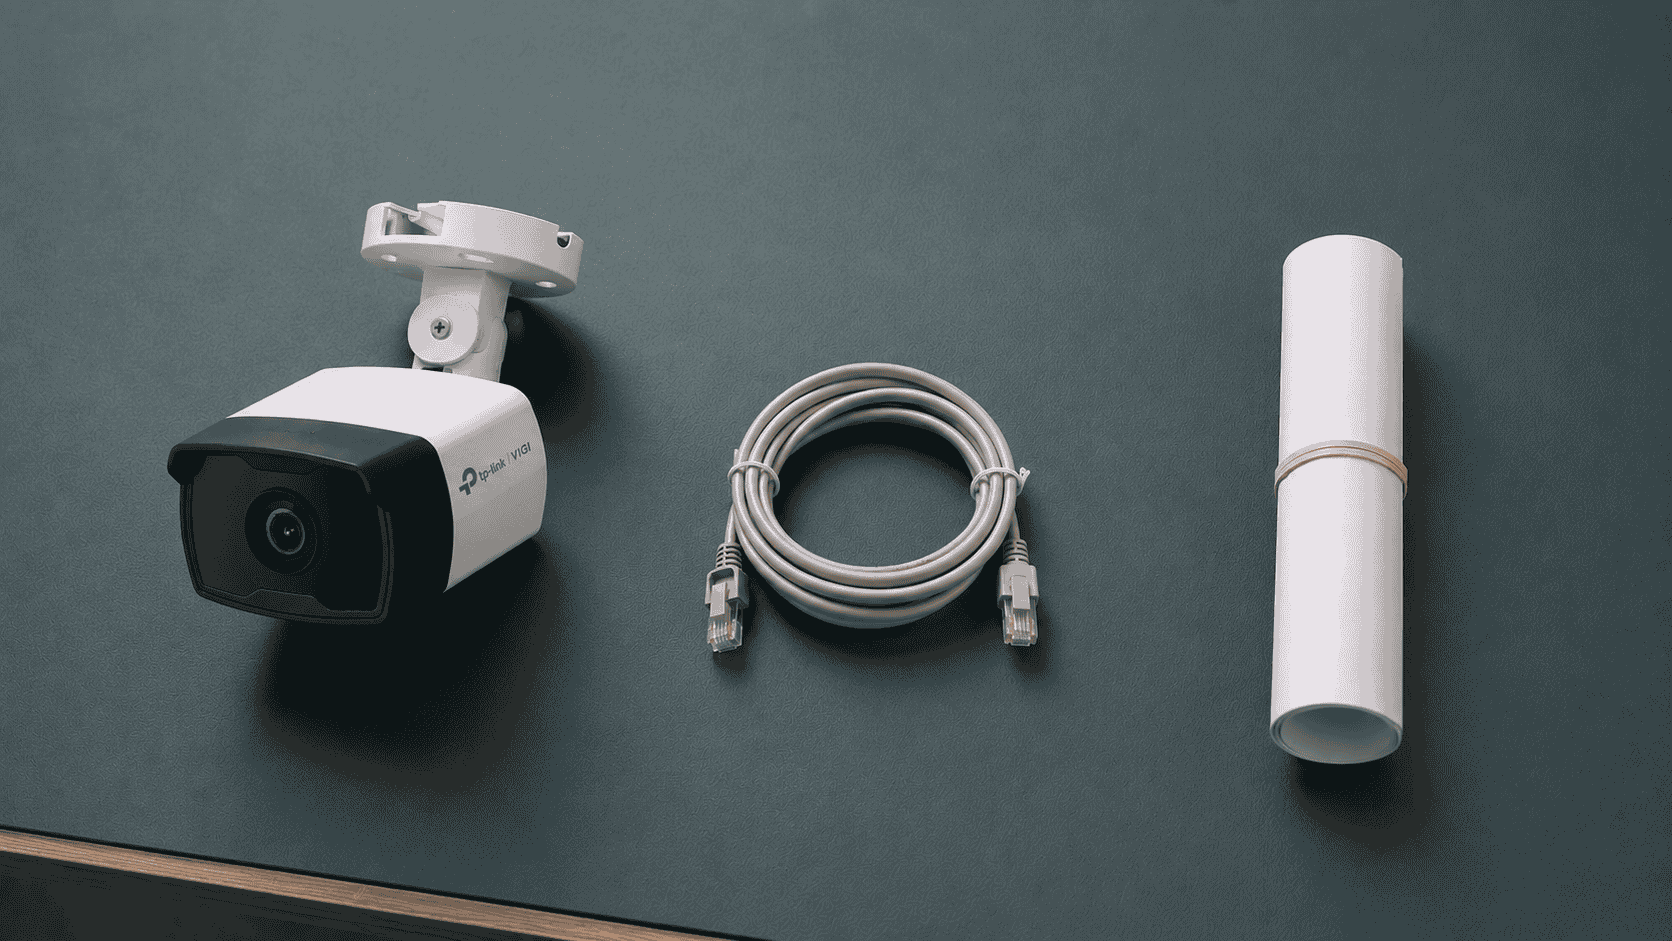
Quick Answer
- Calculate two things before purchase: the lens required to resolve identifiable detail at each position's actual distance, and the total bandwidth and storage that every planned camera will demand simultaneously. VIGI publishes free calculators for both.
- Plan coverage on a floor plan before mounting. VIGI's designer tool produces a floor plan, an equipment list, and a camera coverage map, with a 2D and 3D view for simulating the installation.
- Run the work in order: plan, bench test, cable, mount, seal, then configure. Bench testing before drilling catches a faulty cable while it is still a five-minute fix.
A reliable CCTV installation is decided before anyone picks up a drill. The failures that are expensive to fix all originate in planning: a lens that cannot resolve a face at the distance for which it was mounted, a recorder that runs out of bandwidth once every camera is actually connected, or a camera aimed somewhere it is not permitted to look. The physical work of cabling, mounting, and sealing is standard and well understood. What separates a system that works from one that disappoints is whether the numbers were calculated and the coverage mapped before anything was bought.
Table of Contents
What Actually Makes a CCTV Installation Reliable?
What Do You Need to Calculate Before Buying Anything?
How Do You Plan Camera Positions and Coverage?
What Order Should the Work Run In?
How High and at What Angle Should Cameras Be Mounted?
What Does Setting Up the System Involve?
How Do You Know the Installation Is Actually Finished?
What Actually Makes a CCTV Installation Reliable?
Decisions made before any hardware is bought. Almost every disappointing system traces back to one of three planning failures rather than to poor workmanship on the day.
The lens was chosen without a distance. A camera can cover an area perfectly and still be unable to identify anyone in it, because covering and resolving are different jobs. This is the most common and the least fixable, since no adjustment after mounting changes what the lens can resolve.
The recorder was chosen by channel count. Eight channels does not mean eight cameras at any settings you like. Total bandwidth across every camera has to fit inside what the recorder accepts, and that is a separate published number.
The coverage was never drawn. Positions decided by walking the site and pointing tend to leave gaps at exactly the boundaries between cameras, which is where people actually move.
None of the three is discovered during installation. All three are discovered weeks later, when someone needs footage, and it is not usable. The rest of this article is the order of work that prevents them.
What it means for you: if you are getting quotes, ask what the installer calculated rather than what equipment they propose. A quote with a camera count and no distances behind it is a guess with a price on it.
What Do You Need to Calculate Before Buying Anything?
Three numbers: the lens for each position, the total bandwidth, and the storage for your retention period. VIGI publishes free calculators for all three, so none of this needs estimating.
Three numbers: the lens for each position, the total bandwidth, and the storage for your retention period. VIGI publishes free calculators for all three, so none of this needs estimating.
Lens, from the distance. The lens calculator takes sensor dimension, focal length, object distance, and object width, and solves for focal length or distance. Use it per position, working from the distance between the mounting point and the thing you need to see. Coverage width and identification detail are different questions, so check the camera's published DORI distances as well, which provide separate figures for detecting, observing, recognizing, and identifying.
Bandwidth, from the camera list. VIGI publishes a bandwidth calculator alongside the others, taking resolution, bit rate, and encoding type. Total every camera at the settings you actually intend to run, then compare against the recorder's published incoming bandwidth figure, which is not the same as its channel count.
Storage, from the retention period. The capacity calculator works both ways, giving either the storage a period consumes or the days a disk holds, from resolution, bit rate, encoding type, smart encoding, and camera count. Start from how many days of footage you need and size the disk to that, rather than accepting whatever the disk happens to hold.
All the calculators state that their results are for reference only, which is the sensible reading: they turn a guess into a working figure, not into a guarantee.
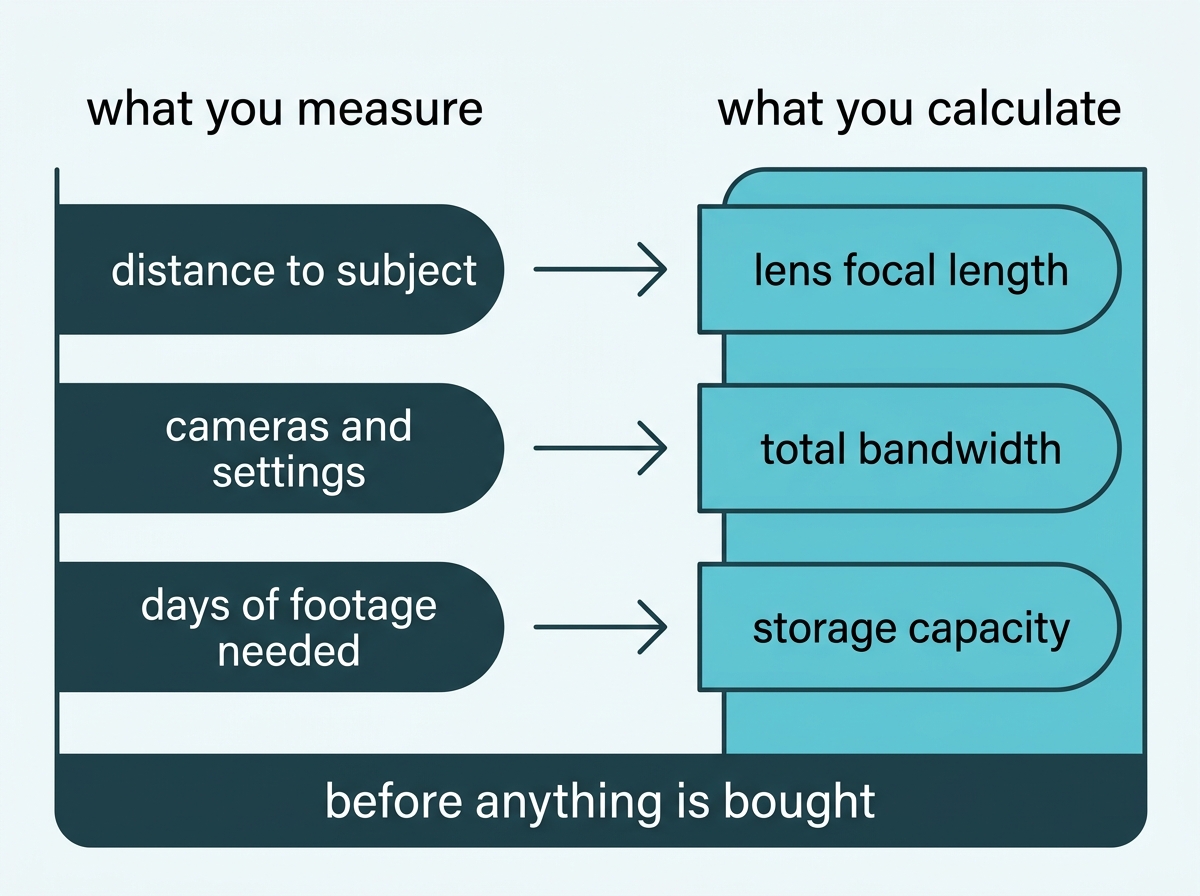
What it means for you: walk the site once with a tape measure and record the distance for each intended camera position. That single list is the input to all three calculations, and without it none of them can be run.
How Do You Plan Camera Positions and Coverage?
On a drawing, before anything is mounted. VIGI publishes a designer tool for exactly this, and its output is the document the rest of the installation follows.
The tool produces a floor plan, an equipment list, and a camera coverage map, with a 2D and 3D view described as an installation simulation, plus a monitoring coverage display and an image clarity display so you can see what each camera will actually resolve where. Working this way turns coverage into something you can check before committing: gaps between cameras become visible on the plan rather than after the fact, and the equipment list falls out of the design rather than being assembled from guesswork.
Two things belong on that plan besides the cameras. Cable routes back to the recorder, because the recorder's position and the length of each run affect what is practical. And the positions you are not permitted to cover, which matters more than most installers expect.
The placement rules that are not negotiable
NPC Circular 2024-02 prohibits CCTV in areas where people have a heightened expectation of privacy, naming rest rooms, toilets, fitting rooms, and lactation or breastfeeding rooms. It also requires visible notice that a system is operating, which is a physical task belonging to installation day rather than to paperwork afterwards. And where a camera can pan, tilt, or zoom, those movements must not end up covering private spaces such as a neighboring property.
Marking these on the plan costs nothing. Discovering them after mounting means re-siting cameras and patching walls. The full set of obligations is covered in CCTV System Philippines Buyer's Guide.
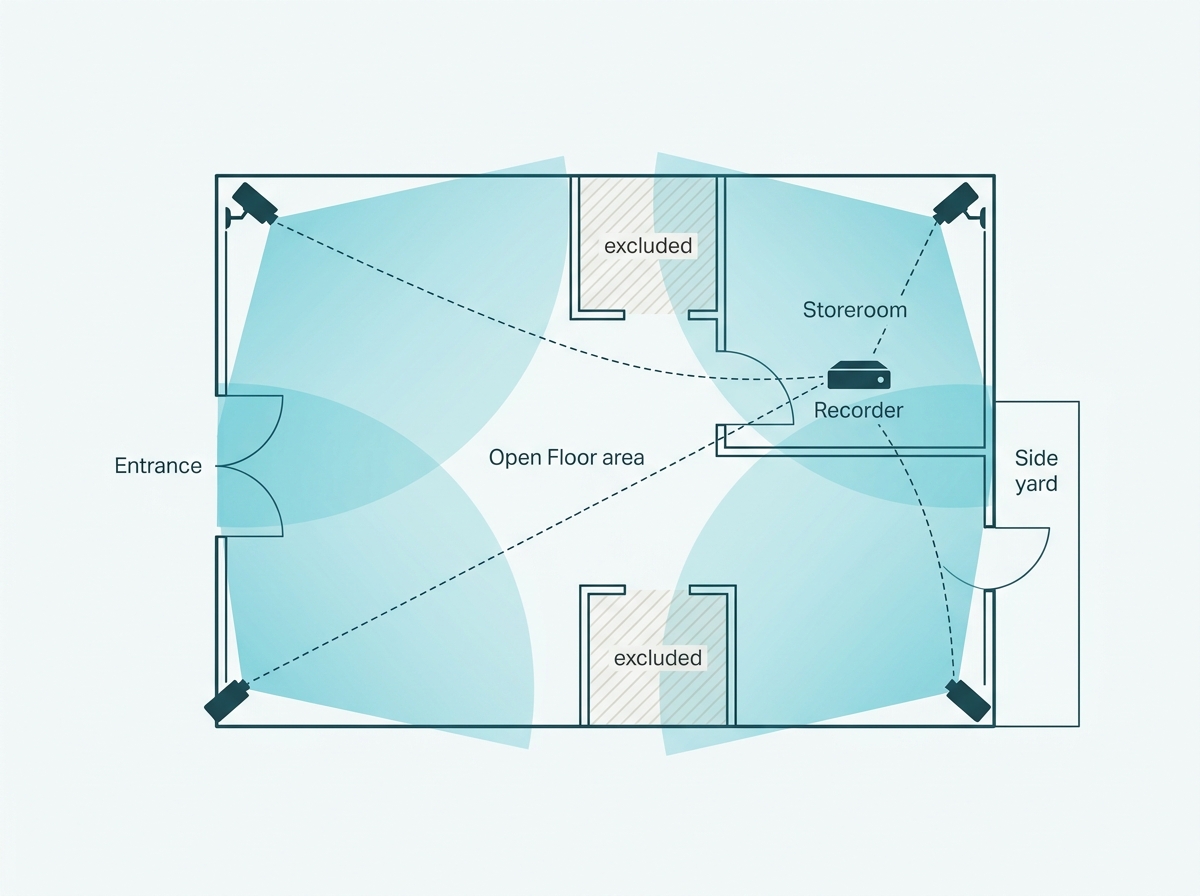
What it means for you: produce the plan before ordering, and keep it. It is the document you check the finished installation against, and it is also what a privacy query would ask you to produce.
What Order Should the Work Run In?
Plan, bench test, cable, mount, seal, configure. The order matters most at the second step, which nearly everyone skips.
Bench test before drilling. Connect every camera to the recorder indoors and power the system up, confirming each feed loads. A faulty cable or a misconfigured port found on a table is a five-minute problem. The same fault found after the camera is mounted at height and the cable is inside a wall is an afternoon.
Feature-to-Benefit: The Installation Sequence
|
Phase |
What happens |
What it prevents |
|
Plan and calculate |
Site distances measured, lens, bandwidth, and storage calculated, coverage and excluded areas drawn |
Cameras that cannot resolve what they were bought for, and a recorder that runs short |
|
Bench test |
Every camera connected to the recorder indoors, every feed confirmed |
Diagnosing a dead cable from the top of a ladder |
|
Cable |
Runs pulled along planned routes, protected where exposed, slack left at each camera |
Re-pulling cable, and damage at exposed sections |
|
Mount |
Brackets fixed with anchors matched to the surface, cameras aimed against the plan |
Cameras aimed by eye that miss what they were planned to cover |
|
Seal |
Every outdoor cable entry weatherproofed |
Moisture failures months later that get blamed on the camera |
|
Configure |
Recorder initialized, storage and schedules set, detection tuned, access secured |
A system that records but nobody can use |
Planning and calculation decide whether the equipment can do the job, bench testing moves fault-finding to a table instead of a ladder, cabling and mounting are where the plan becomes physical, sealing decides whether the installation survives the wet season, and configuration turns mounted hardware into a working system. Skipping a phase does not remove its work. It relocates it to a more expensive moment.
On cabling and sealing specifically, one cable carries both data and power on a PoE camera, so each position needs a single run rather than two. Protecting exposed cable and sealing every entry point are the steps most often rushed, and they are covered properly in our guide to junction boxes and cable protection.
What it means for you: insist on the bench test, whether you are doing the work or paying for it. It is the cheapest hour in the whole project.
How High and at What Angle Should Cameras Be Mounted?
High enough to be out of easy reach, low enough that faces are still faces. Around nine to ten feet is the common working convention, and the angle matters more than the height.
That figure is installer practice rather than a published standard, and the reasoning behind it is what to hold onto. Too low, and a camera is easy to tamper with or block. Too high, with a steep downward angle, and the footage captures the tops of people's heads, which identifies nobody. The steeper the angle, the less of a face the camera sees.
The practical constraint is the identification distance you calculated earlier. A camera positioned to identify someone at the gate needs both the right lens and an angle shallow enough to see their face rather than their shoulders. VIGI's universal metal ball bracket adjusts through pan 0 to 360 degrees, tilt 0 to 90 degrees, and rotation 0 to 360 degrees, so the aim is adjustable in the field, but the mounting height is not once the holes are drilled.
Fix the bracket with anchors matched to the surface, since concrete, hollow block, wood, and metal each need different hardware; then aim the camera while watching the live feed and compare what you see against the coverage you planned. Leave roughly one to two feet of cable slack at the camera, which is another working convention rather than a rule, so the angle can be adjusted later without re-pulling the run.
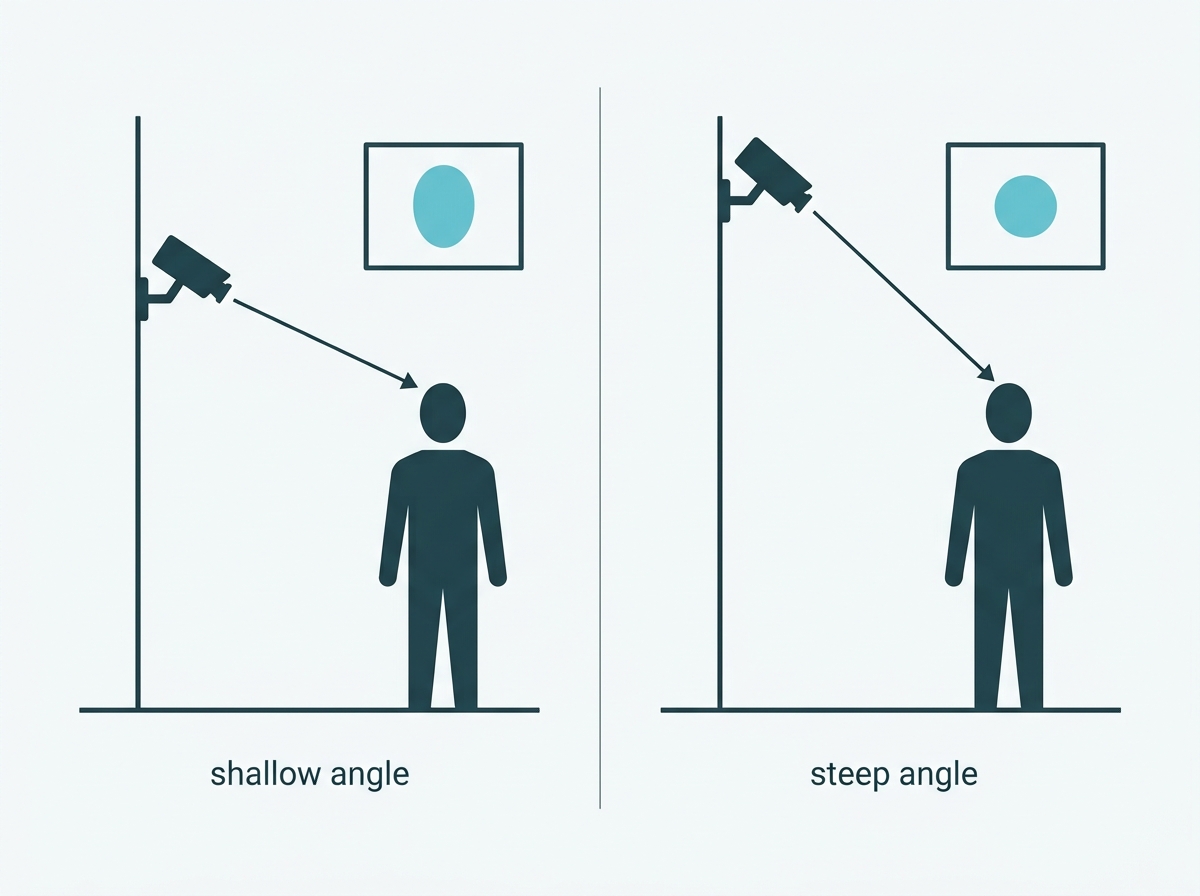
What it means for you: decide the height from what each camera must identify, not from a rule of thumb. Then check the live view against the plan before you tighten the bracket, because that is the last cheap moment to change it.
What Does Setting Up the System Involve?
Less than it used to. Initializing the recorder, adding the cameras, setting storage and schedules, tuning detection, and securing access, most of which is now automated.
VIGI recorders support one-click system initialization, which adds cameras, initializes the disk, and sets the recording schedule in a single action; initialization can be done from the app without opening the recorder's own interface. Devices on the same network are detected and added automatically, and configuration can be applied to several devices at once using rules rather than device by device. Third-party cameras are supported over ONVIF Profile S, T, and G.
Two setup steps still need judgment rather than a click.
Detection tuning. Motion detection left at defaults on a street-facing camera will alert on passing traffic and moving foliage until the person receiving the alerts stops reading them. Detection zones and classification settings are what make alerts worth having. How each detection technology decides what counts as movement, and where classification runs, is covered in Motion Sensor Technology.
Access security. VIGI devices ship without a usable default login, so there is no default password to change. What matters is that the password chosen at activation is strong and that you know who else holds an account. Remote viewing is set up here too, and the available routes and their limits are covered in our guide on accessing cameras remotely, with the app-side walkthrough for connecting a camera to your phone.
What it means for you: budget an hour for configuration rather than a day, but spend most of that hour on detection zones and passwords, which are the two parts no automation decides for you.
How Do You Know the Installation Is Actually Finished?
When every camera has been checked against the plan it was installed from, and when the system tells you if something changes. Finished is a verification step, not the moment the last bracket is tightened.
Check each feed against the plan. Walk the site with the coverage drawing and confirm each camera sees what it was positioned to see, at the detail level it was specified for. Stand at the point you need to identify someone and look at the recording, not the live view.
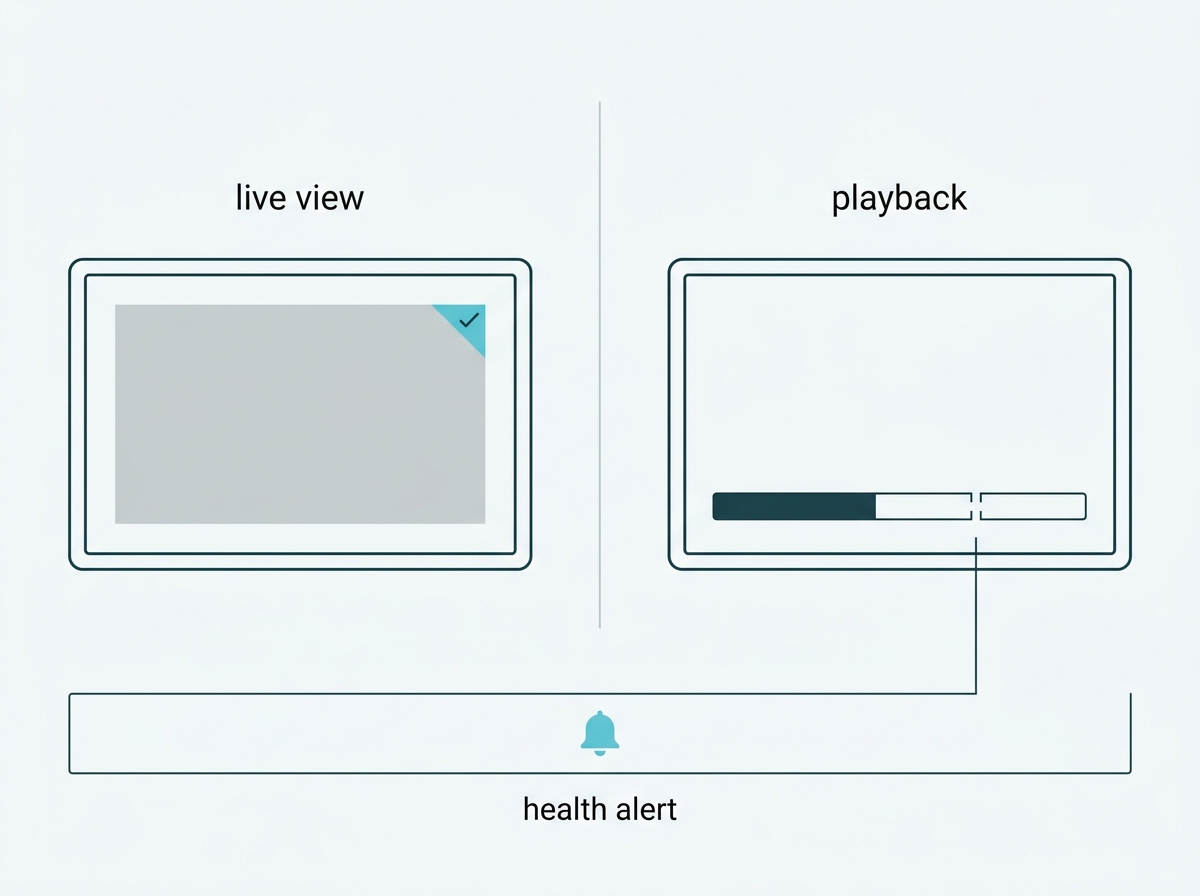
Confirm the recording is actually happening. A camera showing a live image is not necessarily recording to the schedule you set. Check playback for each camera rather than assuming.
Turn on the health alarms. VIGI recorders can raise real-time alerts for disk anomalies, video loss, and devices going offline, which is what converts a silent failure into a notification. A camera that stops recording quietly is the failure mode that costs people evidence, and it is preventable in a settings menu.
Keep firmware current. Online and automatic firmware updates are supported, and scheduling them is a two-minute task at commissioning that otherwise gets forgotten for years.
To see cameras, recorders, and mounting accessories together, browse VIGI cameras or explore VIGI's surveillance solutions.
What it means for you: do the walk-through with the plan in your hand before you consider the job done, and switch on the health alerts before you leave the recorder. Both take minutes, and both are the difference between a system that works and one that appears to.
Frequently Asked Questions
What should I do before installing CCTV?
Measure the distance from each intended camera position to what it needs to see, then calculate the lens for each position, the total bandwidth across all cameras, and the storage your retention period needs. VIGI publishes free calculators for all three, and a designer tool that produces a floor plan, equipment list, and coverage map before anything is bought.
How high should outdoor CCTV cameras be mounted?
Around nine to ten feet is the common installer convention, high enough to resist tampering and low enough to capture faces. It is a working practice rather than a published standard, and the angle matters more than the height, because a steep downward view captures the tops of heads rather than identifiable faces.
Do I need to calculate bandwidth before buying an NVR?
Yes, because channel count and bandwidth are separate specifications. Total the bandwidth of every planned camera at the settings you intend to run, then compare that against the recorder's published incoming bandwidth figure. A recorder can have enough channels and still not have enough bandwidth for all of them at once.
Can I install a CCTV system myself?
Many small businesses do, particularly with PoE systems where one cable carries both power and data to each camera. The planning and calculation matter more than the physical skill, so the realistic dividing line is project size: a few cameras on one building is a DIY job, while multi-building sites benefit from professional planning.
Why should I test cameras before mounting them?
Because a faulty cable or a misconfigured port is a five-minute problem on a table and an afternoon once the camera is at height with the cable inside a wall. Connect every camera to the recorder indoors and confirm each feed loads before anything is drilled.
Are there places I am not allowed to put a camera?
Yes. NPC Circular 2024-02 prohibits CCTV in areas carrying a heightened expectation of privacy, naming restrooms, toilets, fitting rooms, and lactation or breastfeeding rooms. It also requires visible notice that a system is operating, which is an installation-day task rather than paperwork to follow later.
Do I need to change the default password on a new camera?
There is no default password to change on VIGI devices, because activation requires setting one before the device will operate. What matters instead is that the password chosen at setup is strong, and that you know who else has an account with access to the footage.
Final Thoughts
The mounting is the easy part. What decides whether a CCTV system is worth having is a set of numbers worked out before anything is bought: the lens each position needs at its actual distance, the bandwidth every camera will demand at once, and the storage your retention period requires. VIGI publishes free calculators for all three and a designer tool that turns them into a floor plan, an equipment list, and a coverage map, so none of it needs to be estimated.
After that, the order carries the rest. Bench test before drilling, cable and mount to the plan, seal every outdoor entry, and finish by checking each camera against the drawing it came from rather than declaring the job done when the last bracket is tight.
If you would rather have the plan checked than built twice, send a VIGI specialist three things: a rough site drawing with your intended camera positions, the distance from each one to what it needs to identify, and how many days of footage you need to keep. You will get back a coverage plan with lens recommendations per position, a recorder sized to the bandwidth and storage that plan implies, and a flag on any position that will not resolve what you are expecting it to. Or explore VIGI's surveillance solutions to see the cameras and recorders behind the plan.