
Katalógus
Deco BE65_Product and Installation Guide
About This Guide
This guide provides a brief introduction to BE9300 Whole Home Mesh Wi-Fi 7 System and regulatory information.
Features available in Deco may vary by model and software version. Deco availability may also vary by region or ISP. All images, steps, and descriptions in this guide are only examples and may not reflect your actual Deco experience.
Conventions
In this guide, the following conventions are used:
|
Convention |
Description |
|---|---|
| Deco | Stands for Deco Whole Home Mesh Wi-Fi System/Unit. |
|
Underline |
Underlined words or phrases are hyperlinks. You can click to redirect to a website or a specific section. |
|
Bold |
Contents to be emphasized and texts on the web page are in bold, including the menus, items, buttons and so on. |
|
> |
The menu structures to show the path to load the corresponding page. For example, Settings > System Tools > Firmware Upgrade means the Firmware Upgrade page is under the System Tools menu that is located in the Settings tab. |
|
Note: |
Ignoring this type of note might result in a malfunction or damage to the device. |
|
Tip: |
Indicates important information that helps you make better use of your device. |
More Info
- Specific product information can be found on the product page at https://www.tp-link.com.
- A Technical Community is provided for you to discuss our products at https://community.tp-link.com.
- Our Technical Support contact information can be found at the Help center of the Deco app and the Contact Technical Support page at https://www.tp-link.com/support.
Disclaimer
Speed/Coverage/Device Quantity Disclaimer
Maximum wireless signal rates are the physical rates derived from IEEE Standard 802.11 specifications. Actual wireless data throughput and wireless coverage, and quantity of connected devices are not guaranteed and will vary as a result of network conditions, client limitations, and environmental factors, including building materials, obstacles, volume and density of traffic, and client location.
MU-MIMO Disclaimer
Use of MU-MIMO requires clients to also support MU-MIMO.
IoT Compatibility Disclaimer
IoT compatibility refers only to smart devices that can be controlled via the Deco app. Other wireless devices can still connect to Deco for normal Wi-Fi use.
Seamless Roaming Disclaimer
Clients need to support 802.11k/v/r and may require additional set up. Performance may vary depending on the client device.
1. Appearance
Each Deco has an LED that changes color according to its status, a WPS button, four 2.5 Gbps WAN/LAN ports, a USB port, a power slot, and a Reset button.
See the explanation below:
1.0-F_20260112030616t.png)
LED Explanation
| LED | Indication |
|---|---|
| Pulse Yellow | Deco is resetting. |
| Solid Yellow | Deco is starting up. |
| Pulse Blue | Deco is ready for setup. |
| Solid Blue | Deco is setting up. |
| Pulse Green | Deco is upgrading firmware. |
| Solid Green | Deco is all set up and connected to the internet. |
| Pulse Red | The satellite Deco is disconnected from the main Deco. |
| Solid Red | The main Deco is disconnected from the internet. |
1.0-B_20260112030644z.png)
Ports and Buttons
| Port/Button | Description |
|---|---|
| WPS Button | Press this WPS button, and immediately press the WPS button on your client device to start the WPS process. |
| Reset Button | Press for 1 second and release to reset Deco to factory default settings. The light changing from pulsing yellow to solid yellow indicates a successful reset. |
| 2.5 Gbps WAN/LAN port | For connecting Deco to your modem, the Ethernet outlet, or other internet devices. |
| USB Port | For connecting a USB storage device to Deco. |
| Power Slot | For connecting Deco to the power socket via the provided power adapter. |
2. Set Up Your Deco Network
First, let's start by setting up the Deco network. Get the TP-Link Deco app for iOS or Android, then follow the app to walk through the setup.
1. Get the Deco app
Scan the QR code below or go to Google Play or the App Store to download the Deco app. Install the app on your Android or iOS smartphone or tablet.


2. Log in or sign up with TP-Link ID
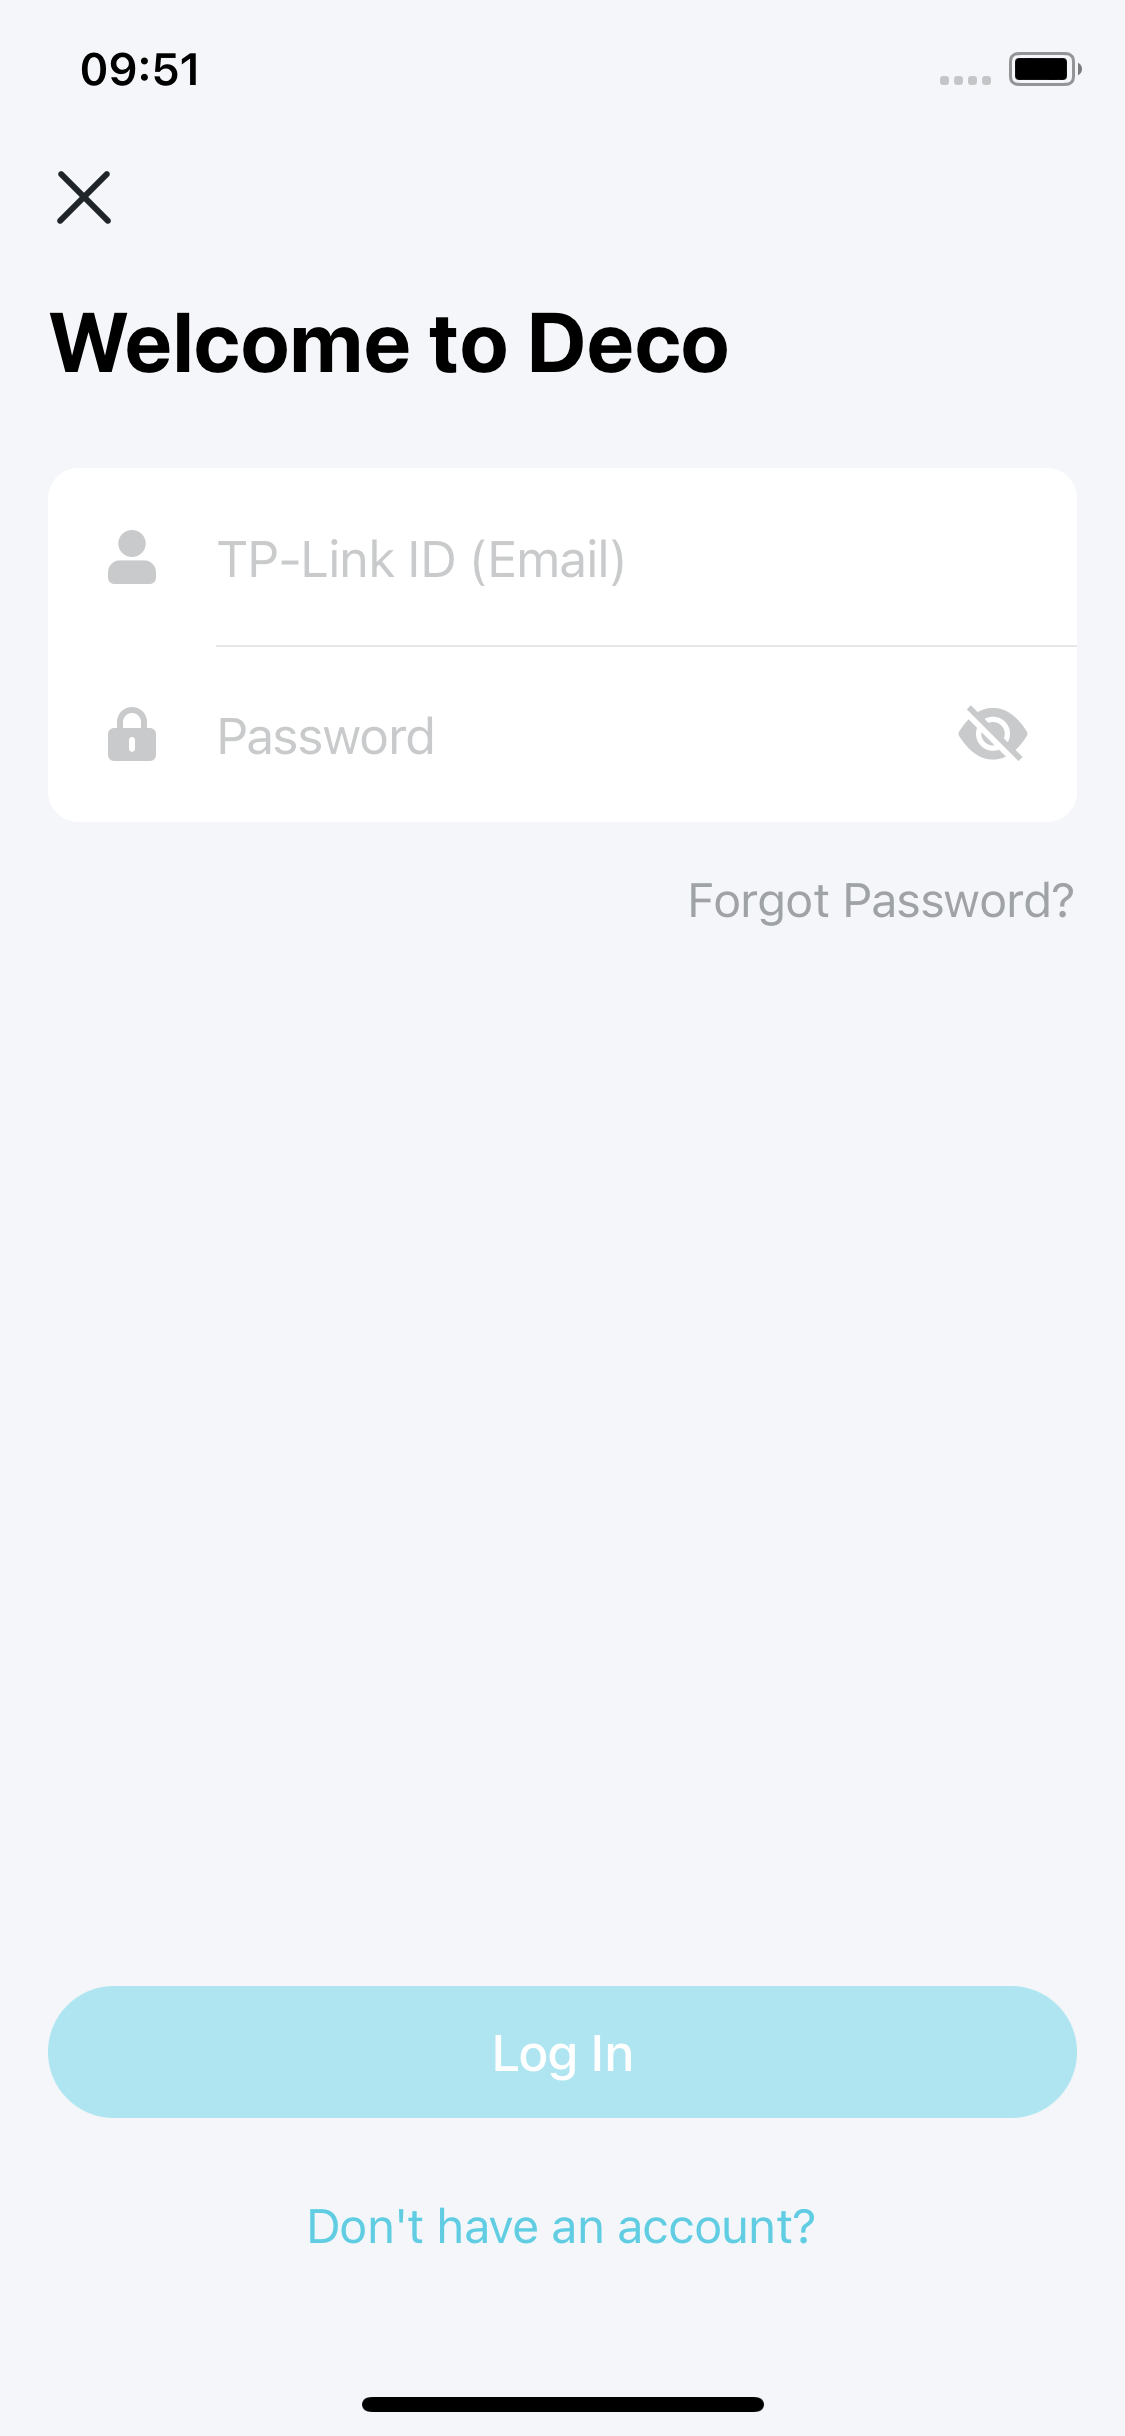
Open the app and log in with your TP-Link ID. If you don’t have a TP-Link ID, create one first.
Note: If you forgot your login password, tap Forgot Password?. The app will help you reset your password.
3. Create a Network
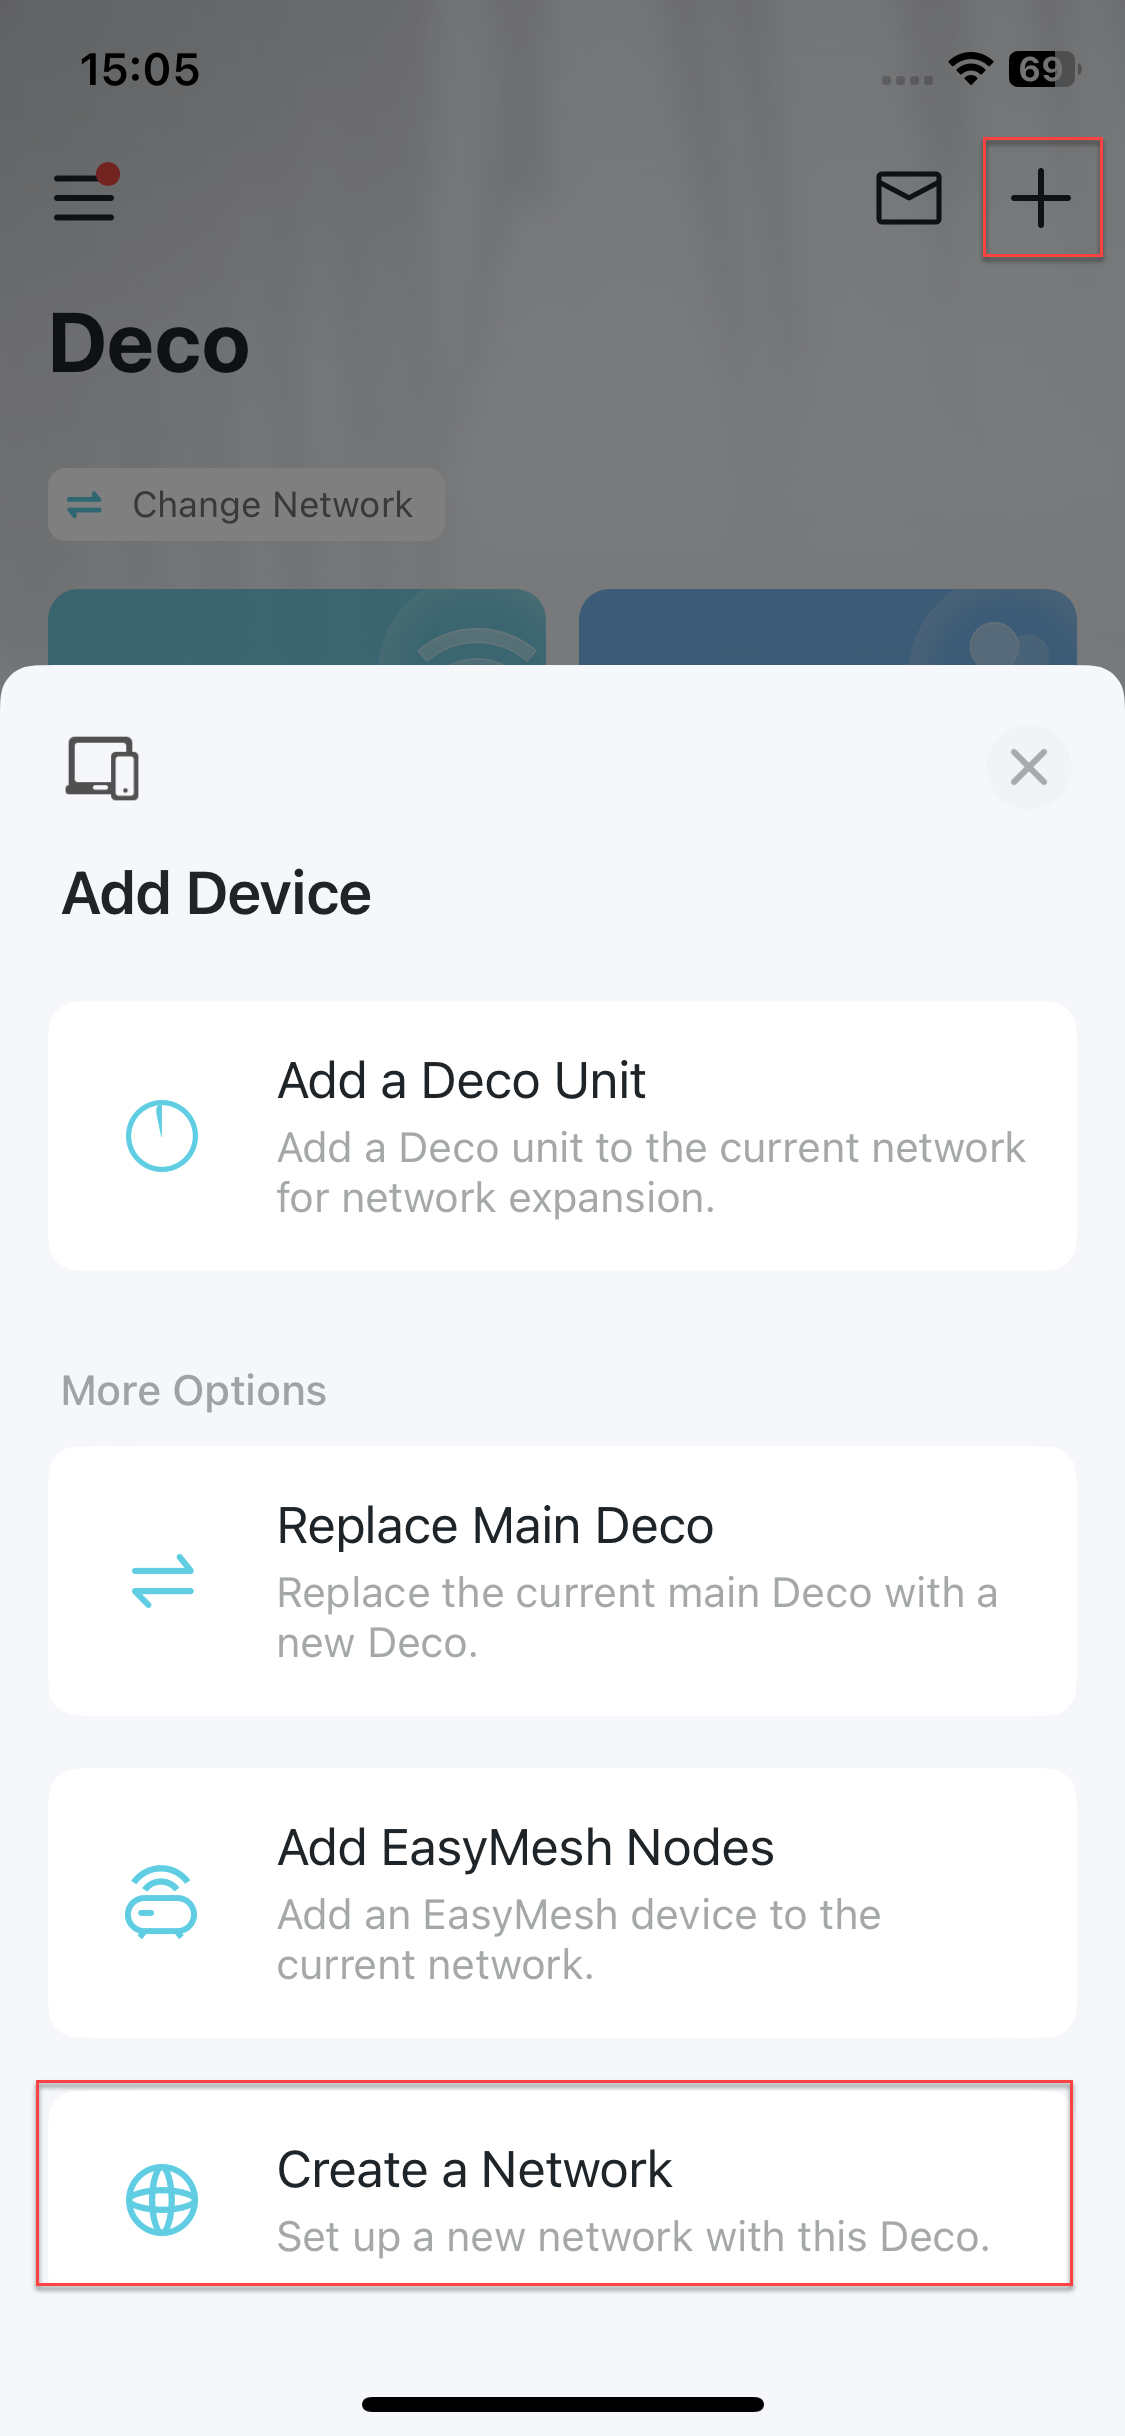
In the Deco app, tap the + button on the top right corner of the homepage, then select Create a Network.
4. Plug in your Deco
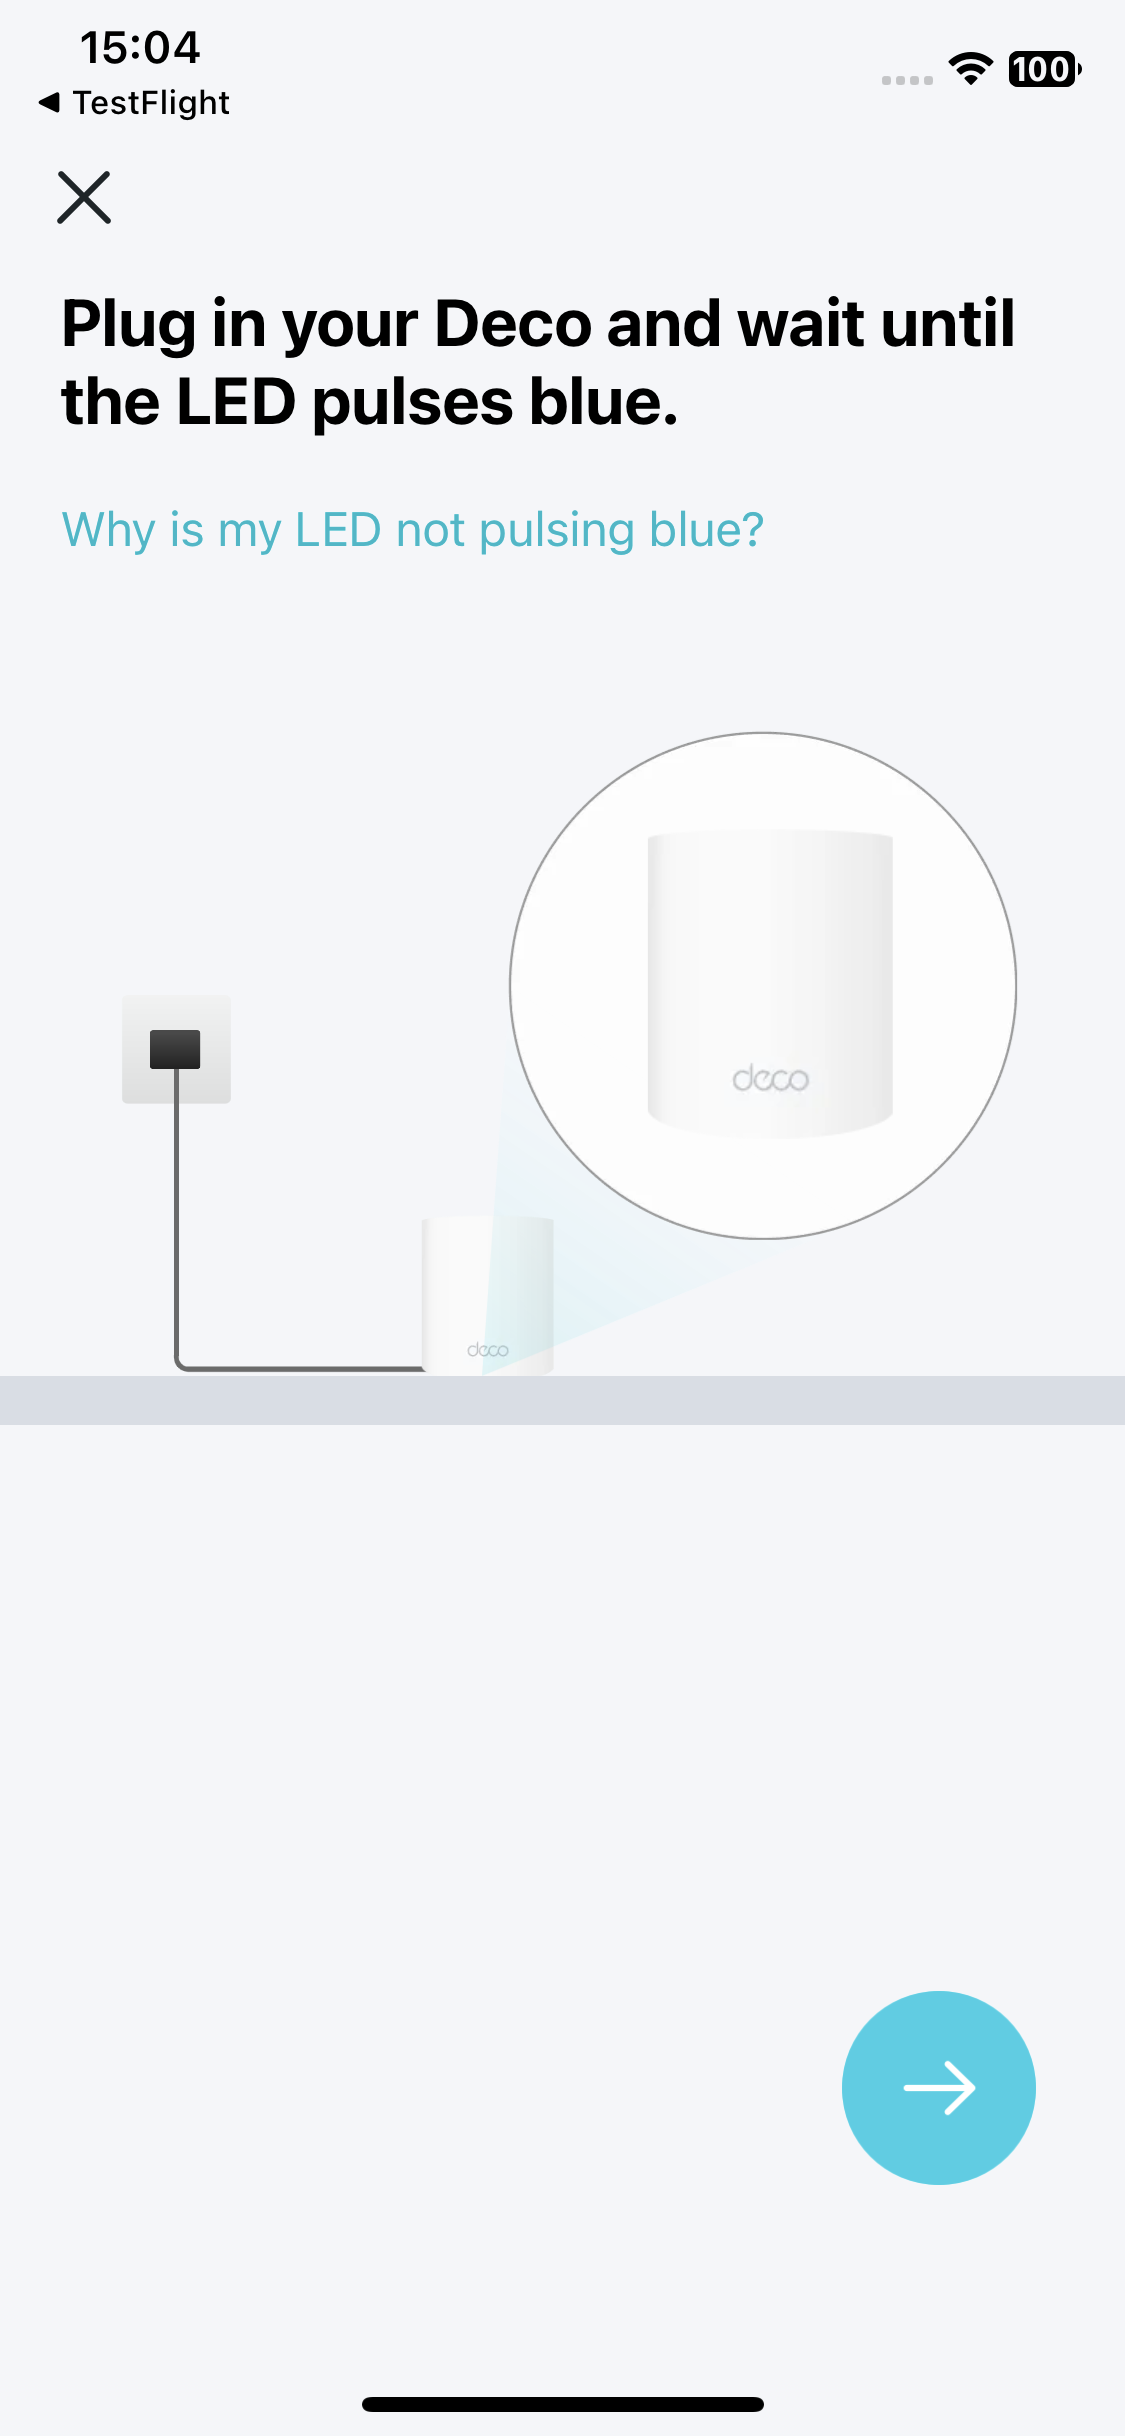
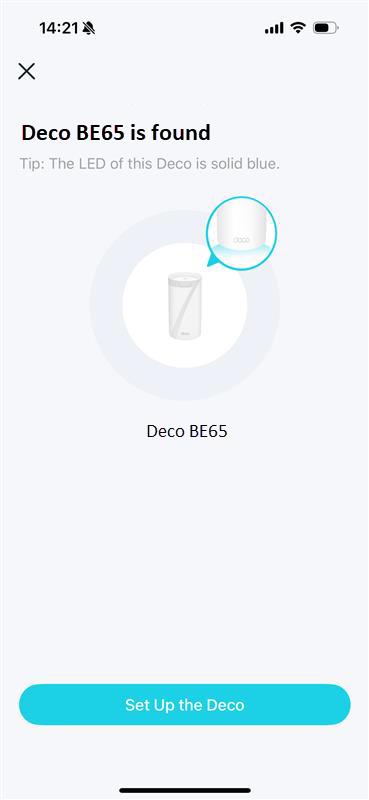
Plug in your Deco and wait until your Deco's LED pulses blue, then your phone/tablet will connect to the Deco's default Wi-Fi automatically.
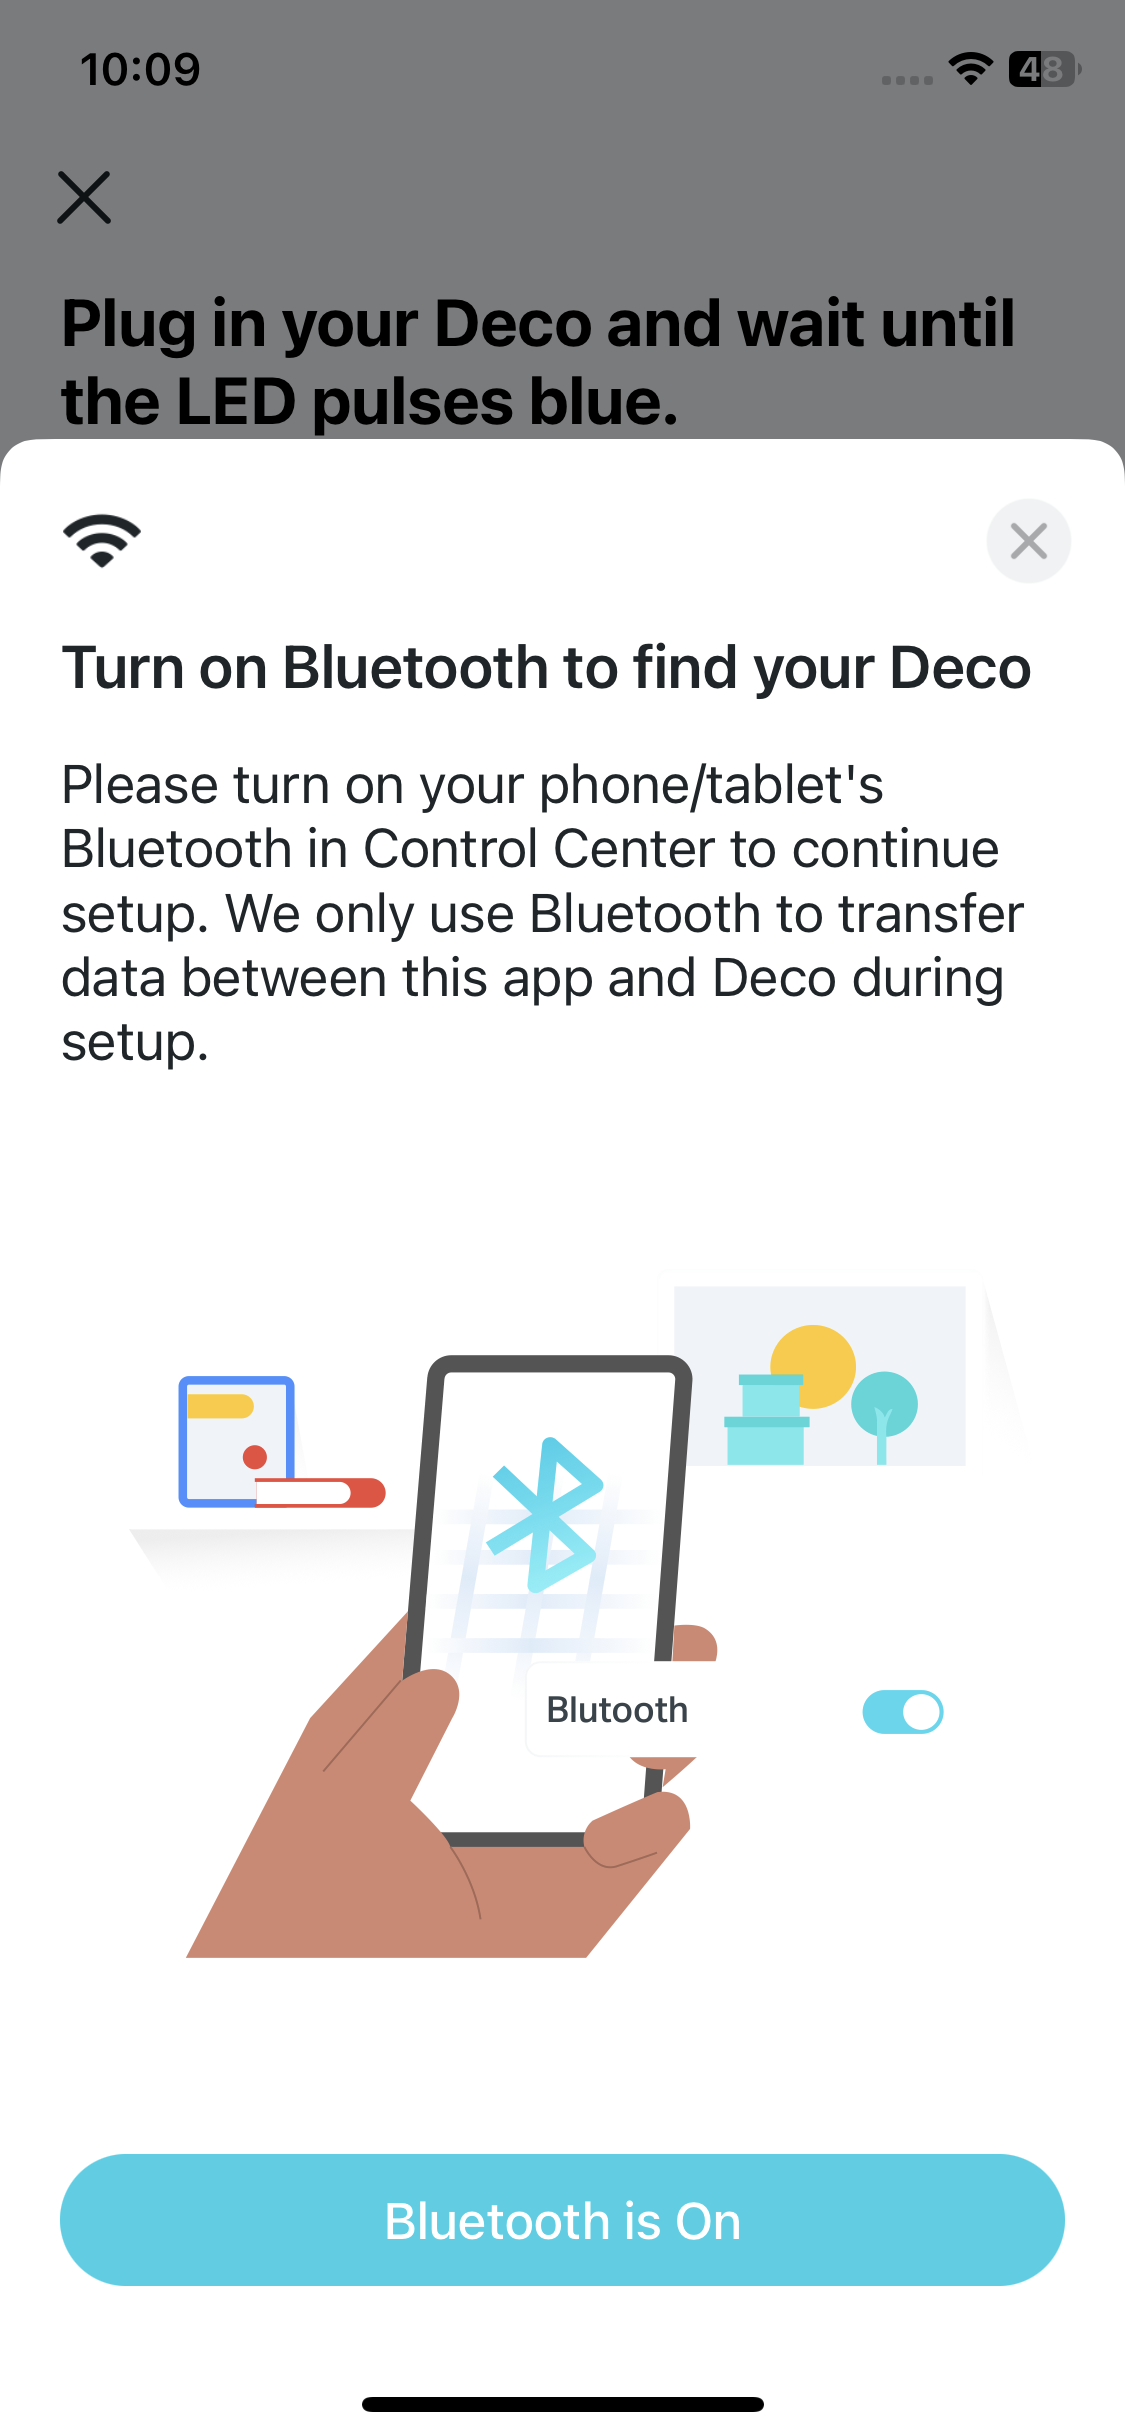
Note: You can turn on Bluetooth on your phone/tablet in advance for a quicker setup.
5. Connect your Deco
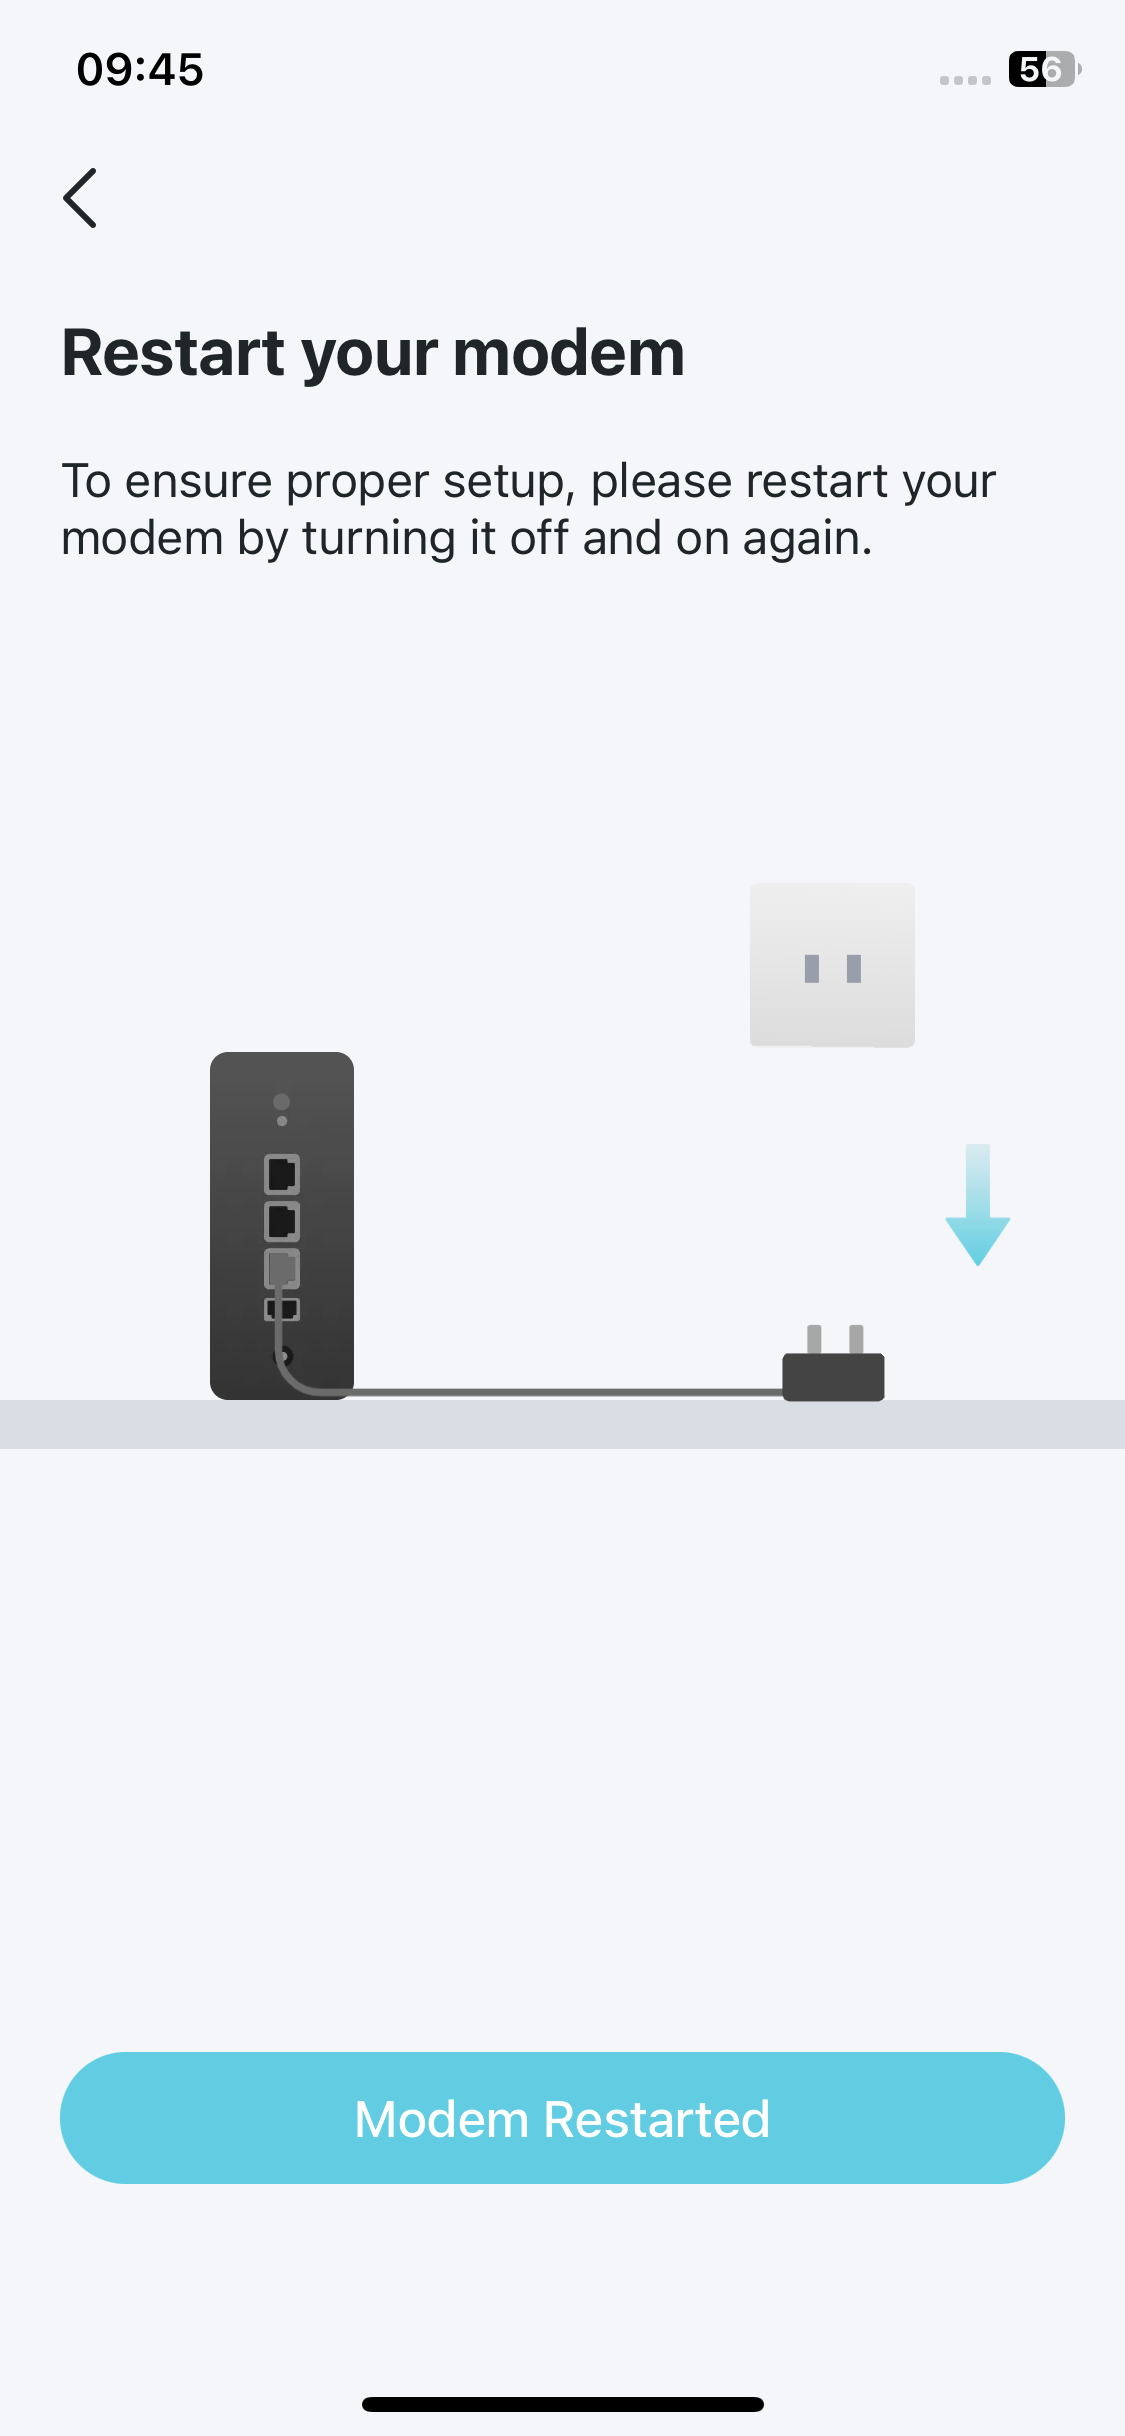
Power off your modem. Connect your Deco to the modem and power it on. If you don't have a modem, connect your Deco to a networking device's LAN port.
_20251014095832l.jpg)
 or
or_20251014095857a.jpg)
6. Specify your Deco's location
Select or custom a location for your Deco. The location will be used as the name of your Deco.
_20250820072949f.jpg)
7. Connect your Deco to the internet
Select the internet connection type and enter the information. If you are not sure, contact your internet service provider.
_20250820073011m.jpg)
8. Create your Wi-Fi network
Set a network name and a password. These will be the name and password you use to connect your devices to Wi-Fi.
_20250820073212h.jpg)
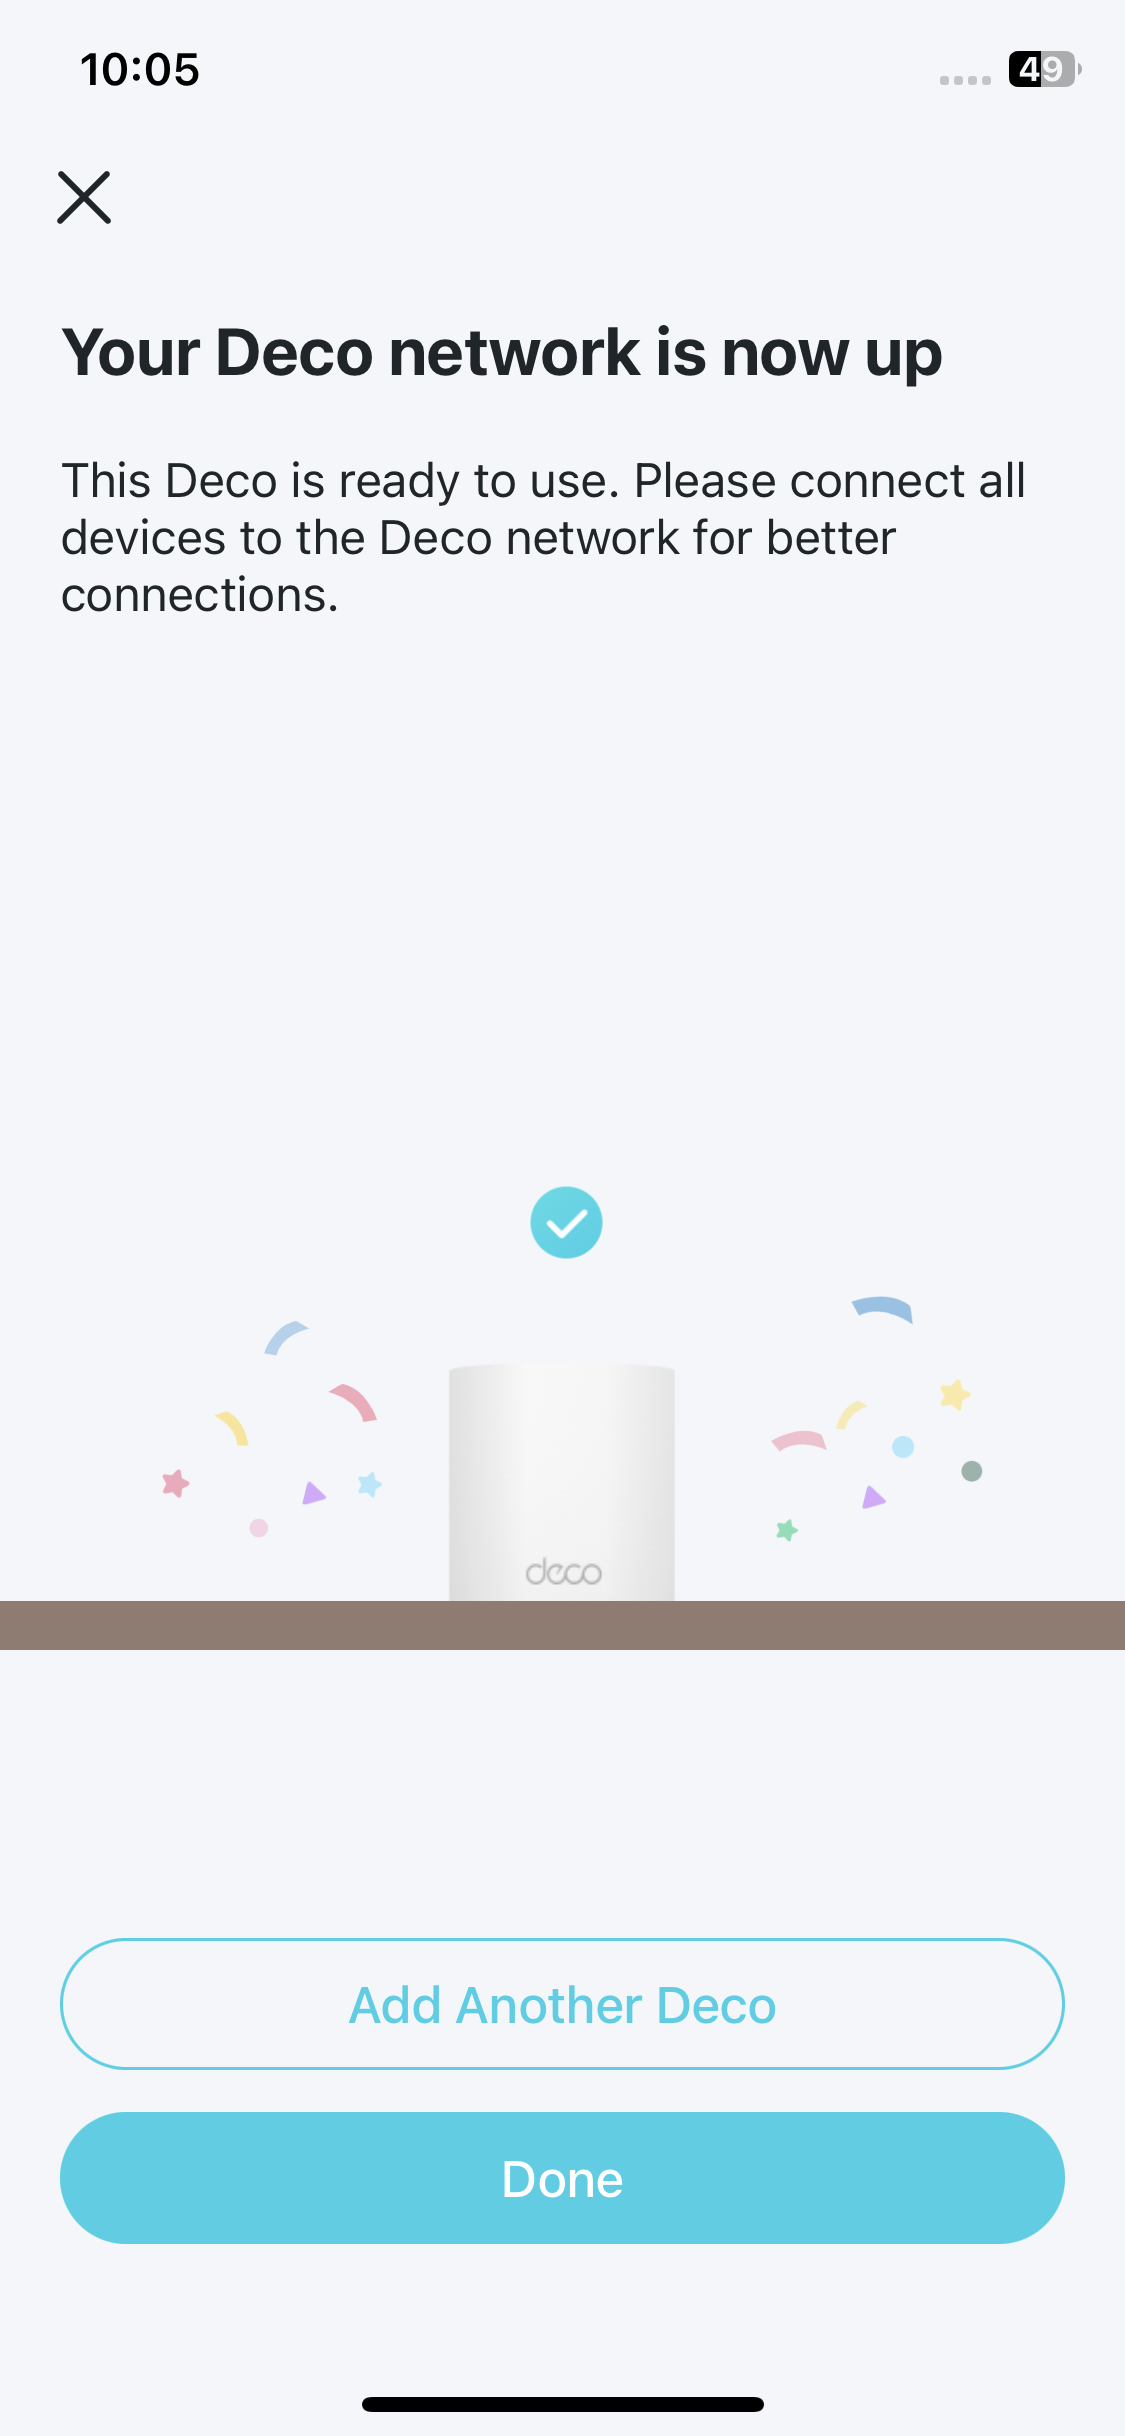
9. Setup complete
Your Deco network is now up. You can connect your devices to the Deco network for better connections. Additionally, add more Deco units to expand the Wi-Fi coverage.
Troubleshooting
Solutions to common problems during setup or use are provided here for reference. Follow the steps and the provided link below to diagnose and solve problems you might experience with your Deco.
If problems still exist, contact us: TP-Link Product Support
Q1. What should I do if I fail to configure the main Deco and get stuck on “We couldn't find Deco”?
Refer to the guide Main Deco Failed to Complete Setup or follow the video What to do if I fail to configure the main Deco and get stuck on “We couldn't find Deco”?
Q2. What should I do if I fail to configure the satellite Deco and get stuck on “We couldn't find another Deco”?
Refer to the guide Encountering an Error When Adding a Deco or follow the video What should I do if I fail to configure the satellite Deco, and get stuck on the step Looking for Deco
Q3. What should I do if I fail to configure the main Deco and get stuck on “Testing Internet Connection”?
Refer to the guide Main Deco Failed to Complete Setup
Refer to the video What to do if I fail to configure the main Deco and get stuck on “Testing Internet Connection”
Q4. What should I do if my wireless devices cannot connect to Deco?
Refer to the guide Cannot connect to Deco Wi-Fi
Q5. What should I do if Deco suddenly lost internet access?
Refer to the guide The internet connection is unstable or suddenly stops working when connected to the Deco network?
Q6. How can I find a suitable spot for my Deco?
Refer to the guide How can I find a suitable spot for my Deco?
Q7. What can I do if the Deco app isn't working properly?
Refer to the guide What can I do if the Deco app isn't working properly
Authentication
CE Mark Warning

Power Adapter:
| Manufacturer | Model |
|---|---|
| TP-Link Systems Inc. | T120250-2B4 |
| TP-Link Systems Inc. | T120250-2C4 |
| TP-Link Systems Inc. | T120250-2D4 |
| TP-Link Systems Inc. | T120250-2E4 |
OPERATING FREQUENCY (the maximum transmitted power)
2400MHz—2483.5MHz (20dBm)
5150MHz—5250MHz (23dBm)
5250MHz—5350MHz (23dBm)
5470MHz—5725MHz (30dBm)
5945MHz—6425MHz (23dBm)
Frequency band 5150 - 5250 MHz:
Indoor use: Inside buildings only. Installations and use inside road vehicles and train carriages are not permitted. Limited outdoor use: If used outdoors, equipment shall not be attached to a fixed installation or to the external body of road vehicles, a fixed infrastructure or a fixed outdoor antenna. Use by unmanned aircraft systems (UAS) is limited to within the 5170 - 5250 MHz band.
Frequency band: 5250 - 5350 MHz:
Indoor use: Inside buildings only. Installations and use in road vehicles, trains and aircraft are not permitted. Outdoor use is not permitted.
Frequency band: 5470 - 5725 MHz:
Installations and use in road vehicles, trains and aircraft and use for unmanned aircrafts systems (UAS) are not permitted.
Outdoor use, including in road vehicles, is not permitted.
Frequency band 5945 -6425MHz:
Restricted to indoor use, including in trains with metal-coated windows and aircraft. Outdoor use, including in road vehicles, is not permitted.
EU Declaration of Conformity
TP-Link hereby declares that the device is in compliance with the essential requirements and other relevant provisions of directives 2014/53/EU, 2009/125/EC, 2011 /65/EU and (EU) 2015/863.
The original EU declaration of conformity may be found at https://www.tp-link.com/en/support/ce/
RF Exposure Information
This device meets the EU requirements (2014/53/EU Article 3.1a) on the limitation of exposure of the general public to electromagnetic fields by way of health protection.
The device complies with RF specifications when the device used at 20 cm from your body.
National restrictions
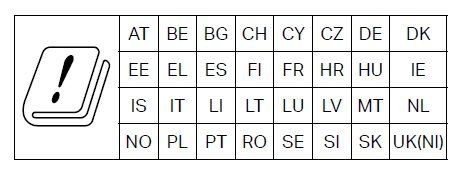
Attention: This device may only be used indoors in all EU member states and EFTA countries, and Northern Ireland.
UKCA Mark

UK Declaration of Conformity
TP-Link hereby declares that the device is in compliance with the essential requirements and other relevant provisions of the Radio Equipment Regulations 2017.
The original UK Declaration of Conformity may be found at https://www.tp-link.com/support/ukca/
National restrictions
Attention: This device may only be used indoors in Great Britain.
Korea Warning Statements:
당해 무선설비는 운용중 전파혼신 가능성이 있음.

Продукт сертифіковано згідно с правилами системи УкрСЕПРО на відповідність вимогам нормативних документів та вимогам, що передбачені чинними законодавчими актами України.

Safety Information
- Keep the device away from water, fire, humidity or hot environments.
- Do not attempt to disassemble, repair, or modify the device. If you need service, please contact us.
- Do not use damaged charger or USB cable to charge the device. 請勿使用損壞的充電器或USB線來供應設備充電。損傷した電源アダプターまたはUSBケーブルを使用してデバイスを給電 しないでください。 손상된 충전기나 USB 케이블을 사용하여 제품을 충전하지 마십시오.
- Do not use any other chargers than those recommended. 請勿使用推薦充電器以外的任何其他充電器。推奨する電源アダプター以外は使用しないでください。권장되는 충전기 이외의 다른 충전기를 사용하지 마십시오.
- Do not use the device where wireless devices are not allowed.
- Adapter shall be installed near the equipment and shall be easily accessible. 變壓器應安裝在設備附近且易於操作。アダプターは機器の近くに設置し、容易に手が届くようにしてください。어댑터는 장치 근처에 설치하여 쉽게 접근할 수 있어야 합니다.
- Use only power supplies which are provided by manufacturer and in the original packing of this product. If you have any questions, please don’t hesitate to contact us.
- The included Ethernet cable is for internet connection only, not for PoE power supply.
- Operating Temperature: 0°C~40°C (32°F~104°F)/動作温度:0ºC~40ºC(32℉~104℉)/작동 온도: 0°C ~ 40°C (32°F ~ 104°F)/Température de fonctionnement: 0°C~40°C (32°F~104°F)/運作溫度: 0°C~40°C (32°F~104°F)
- This product uses radios and other components that emit electromagnetic fields. Electromagnetic fields and magnets may interfere with pacemakers and other implanted medical devices. Always keep the product and its power adapter more than 15 cm (6 inches) away from any pacemakers or other implanted medical devices. If you suspect your product is interfering with your pacemaker or any other implanted medical device, turn off your product and consult your physician for information specific to your medical device.
Please read and follow the above safety information when operating the device. We cannot guarantee that no accidents or damage will occur due to improper use of the device. Please use this product with care and operate at your own risk. - Power consumption in networked standby: 6.1 W.
- Power consumption in networked standby when all wired network ports are connected and all wireless network ports are activated: 11.3 W.
- The default period of time after which the power management function switches the equipment automatically into a condition providing networked standby: 13minutes.
- How to activate and deactivate wireless network: Enter the webpage of product through wired connecting. The wireless function can be turn on/off via ‘Advanced -> System Parameters -> Enable 2.4GHz/5GHz/6GHz Wi-Fi Network Checkbox’.
Explanation of the symbols on the product label 產品標籤上符號的解釋 製品ラベルのシンボルマーク表示と内容 제품 라벨의 기호 설명
The product label is on the bottom of the product and its power supply. Symbols may vary from products. 符號可能因產品而異 注意:產品標籤可以在產品底部和其I.T.E.電源供應器上找到。注: 製品ラベルは製品底あるいは背面および付属の電源アダプターにあります。また、ラベルではなく製品に直接印字されてる場合があります。シンボルマークは実際の製品と異なる場合があります。참고: 제품 라벨은 제품과 제품의 I.T.E. 전원 공급장치의 하단에서 찾을 수 있습니다.기호 표시 방법은 제품에 따라 다를 수 있습니다
|
Symbol シンボルマーク 기호 |
Explanation シンボルマークが表示する内容 설명 |
|---|---|
 |
Class II equipment クラス2電源機器 Class II 장비 |
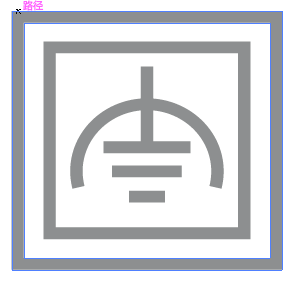 |
Class II equipment with functional earthing 機能接地を備えたクラス2電源機器 기능 접지가 가능한 Class II 장비 |
 |
Alternating current 交流 교류 |
 |
DC voltage DC電圧 DC 전압 |
 |
Polarity of output terminals 出力端子の極性 출력 단자의 극성 |
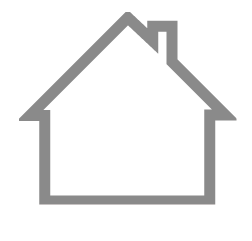 |
Indoor use only 屋内使用専用 실내에서만 사용 |
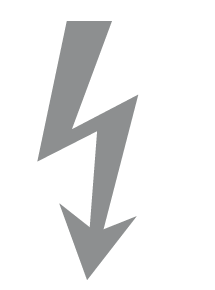 |
Dangerous voltage 高電圧注意 위험전압 |
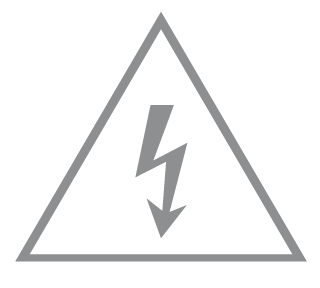 |
Caution, risk of electric shock 感電注意 주의: 감전 위험 |
 |
Energy efficiency Marking 省エネルギー表示 에너지 효율 등급 |
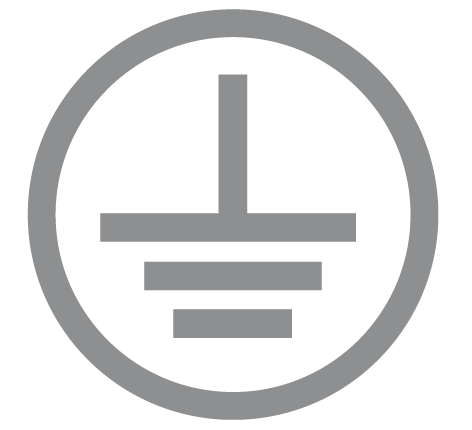 |
Protective earth 保護アース (保護接地) 보호 접지 |
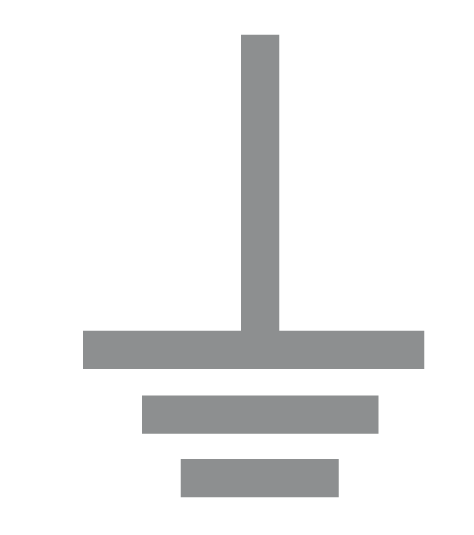 |
Earth アース (接地) 접지 |
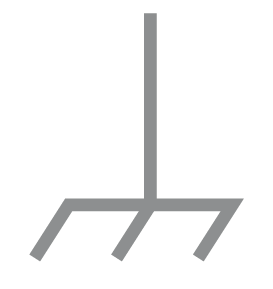 |
Frame or chassis フレーム/シャーシ 프레임 또는 섀시 |
 |
Functional earthing 機能アース (機能接地) 기능 접지 |
 |
Caution, hot surface 高温注意 주의: 뜨거운 표면 |
 |
Caution 注意 주의 |
 |
Operator’s manual 取扱説明書 운영자 매뉴얼 |
 |
Stand-by スタンバイ 스탠바이 |
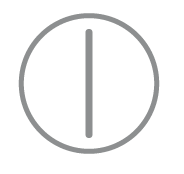 |
“ON”/”OFF” (push-push) “ON”/”OFF” (push-push) “ON”/”OFF” (누름 버튼 스위치) |
 |
Fuse ヒューズ 퓨즈 |
 |
Fuse is used in neutral N ヒューズはニュートラル (接地側) で使用されます 중성선(영선)에 퓨즈가 사용됨 |
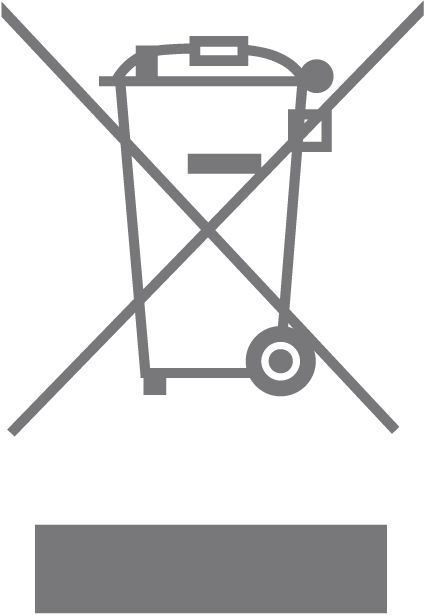 |
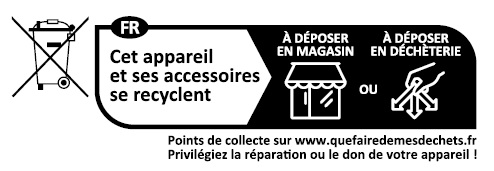
RECYCLING リサイクル 本製品には、電気電子廃棄物 (WEEE) の分別マークが付いています。これは、本製品がリサイクルまたは解体される際は、環境への影響を最小限に抑えるために、欧州議会・理事会指令2012/19/EU に従って取り扱われる必要があることを意味します。 ユーザーは、新しい電気機器または電子機器を購入する際、製品をリサイクル組織と小売業者のどちらに引き渡すかを選択できます。 재활용 이 제품에는 WEEE(폐 전기제품 및 전자제품) 선택적 분류 기호가 부착되어 있습니다. 이는 환경에 미치는 영향을 최소화하며 제품을 재활용하거나 분해하기 위해 유럽연합 지침 2012/19/EU에 따라 이 제품을 취급해야 한다는 것을 의미합니다. 사용자는 이 제품을 재활용 기관에 전달하거나 새 전기제품 또는 전자제품을 구매할 때 소매업체에 전달할 수 있습니다. |
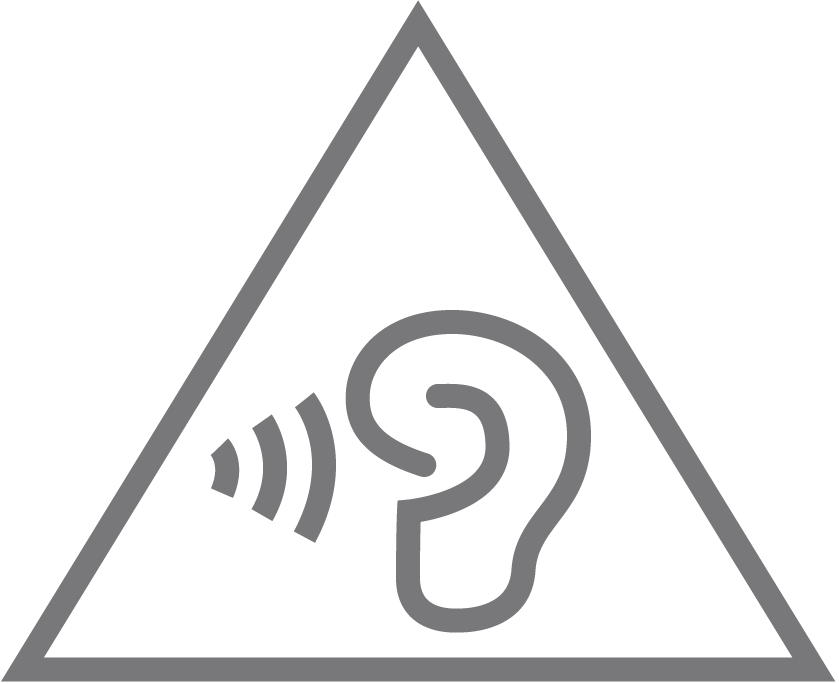 |
Caution, avoid listening at high volume levels for long periods 注意:大きな音で長時間聴き続けないでください 주의: 장시간 높은 음량으로 청취 지양 |
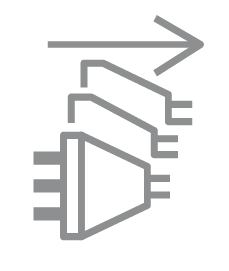 |
Disconnection, all power plugs 全電源プラグの切断 모든 전원 플러그의 연결 해제 |
| m |
Switch of mini-gap construction ミニギャップ構造のスイッチ 미니 갭 구조 스위치 |
| µ |
Switch of micro-gap construction (for US version) 「マイクロギャップ構造のスイッチ (米国版用) マイクロギャップ/マイクロ切断構造のスイッチ (米国版以外のバージョン用)」 마이크로 갭 구조 스위치 (US 버전) 마이크로 갭/마이크로 디스커넥션 구조 스위치 (기타 버전) |
| ε |
Switch without contact gap (Semiconductor switching device) 接点ギャップがないスイッチ (半導体スイッチ) 접점 갭이 없는 스위치 (반도체 개폐 장치) |