


How to troubleshoot Festa Switches in the Standalone mode
Note:
The Standalone mode for Festa devices only supports some basic troubleshooting. For device management, please use the Festa Cloud-Based Controller.
In the Standalone mode, you can upgrade the firmware, reboot and reset the system of the Festa switch, and configure SSH (Security Shell).
Access the Web GUI
Step 1. Open a browser and type the switch’s IP address in the address field, and then press the Enter key.
- If the switch obtains IP address from the DHCP server (typically a router/gateway), find the switch’s IP address on the DHCP server.
- If not, use the default IP address 192.168.0.1 to launch the switch’s Web GUI page.
Note:
Make sure the switch and the computer are in the same subnet.
Step 2. Enter admin for both the username and password in the lower case letters to log in. The first time you log in, change the password to better protect your network and devices.

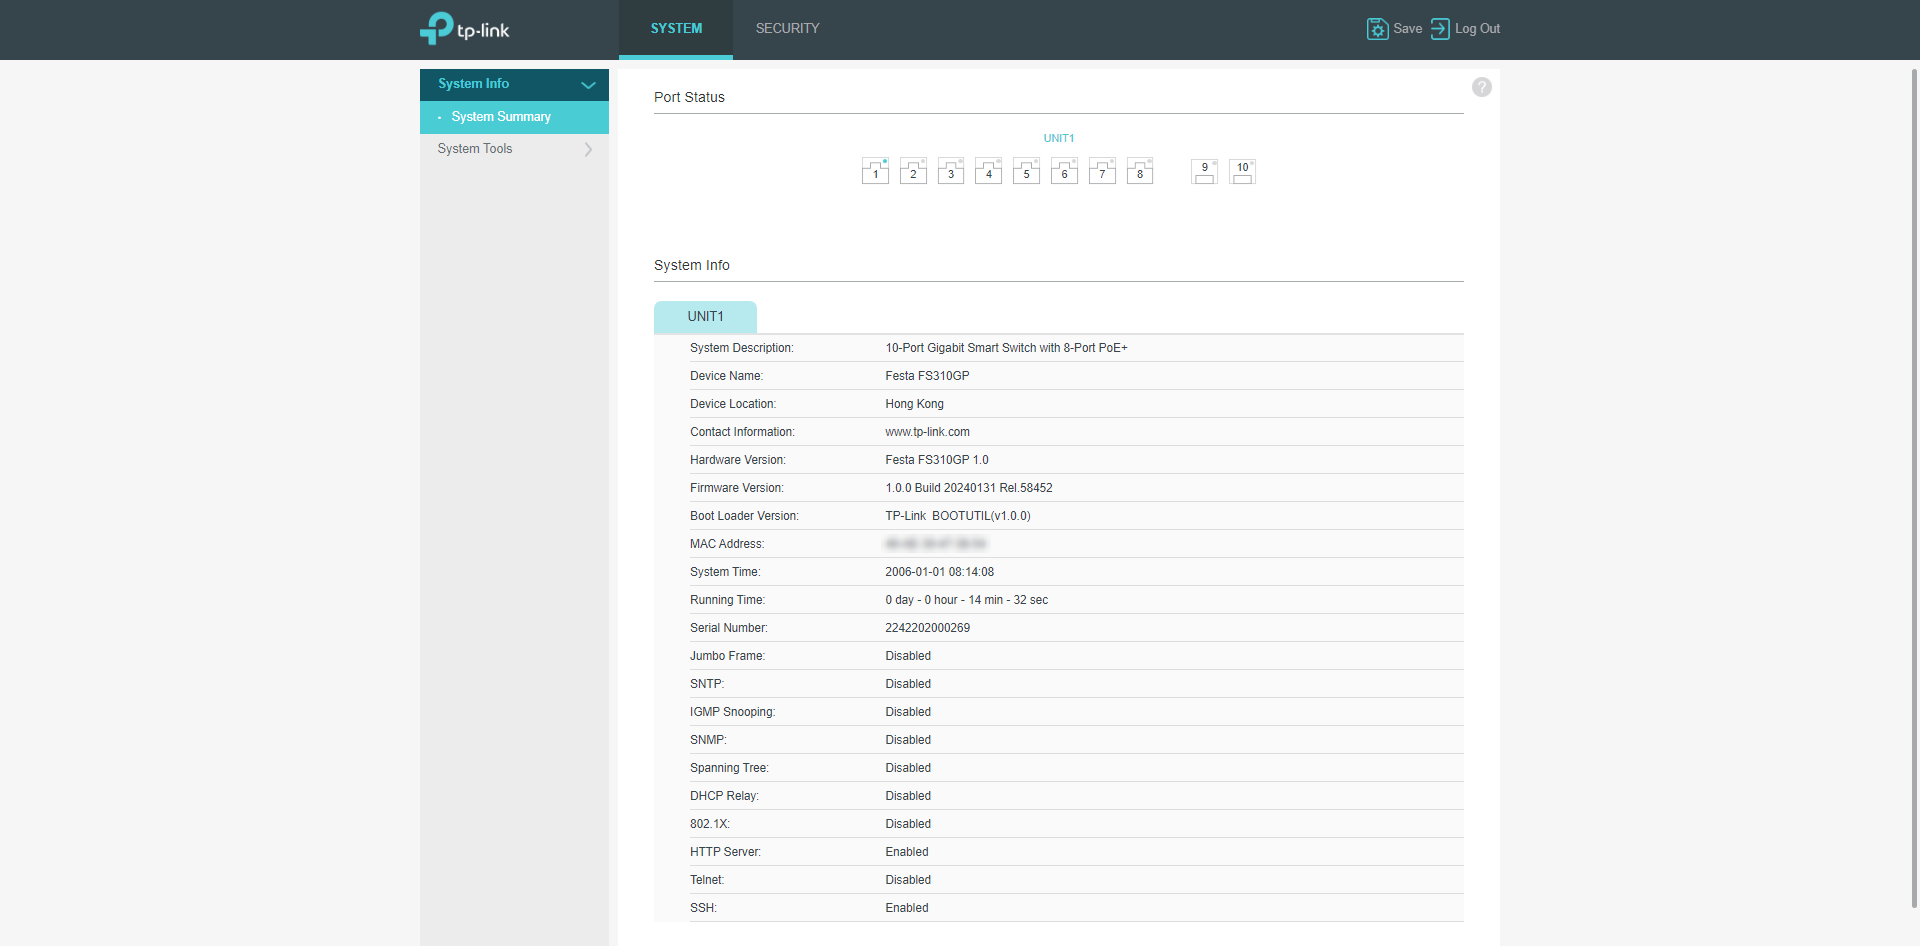
Step 3. After a successful login, the main page will appear. You can click the menus on the top side and left side to configure the corresponding functions.
Firmware Upgrade
The page displays the current firmware version, hardware version, and image name of the switch. You can upgrade the firmware of the switch using the new upgrade file.
Step 1. Download the latest firmware file for the switch from our website www.tp-link.com/ support/download/?type=smb.
Step 2. Log into the Web GUI of the Festa switch and go to System > System Tools > Firmware Upgrade.
Step 3. Click the Browse button to select the upgrade file and click the Upgrade button to upgrade the switch.
With the option Reboot the switch using the backup image after upgrading is complete enabled, the switch will reboot using the firmware you have uploaded after upgrading.

Notes:
1. Select the appropriate upgrade software version that matches your hardware.
2. To avoid damage, DO NOT turn off the device while upgrading.
System Reboot
You can reboot the switch manually in this page.
Step 1. Log into the Web GUI of the Festa switch and go to System > System Tools > System Reboot.
Step 2. Select a target unit to reboot.
With the option Save the current configuration before reboot enabled, you can select whether to save the current configuration before reboot.

Notes:
To avoid damage, DO NOT turn off the device while rebooting.
System Reset
You can reset the switch to factory defaults in this page.
Step 1. Log into the Web GUI of the Festa switch and go to System > System Tools > System Reset.
Step 2. Select a target unit to reset.

Notes:
System Reset will restore the system to the factory defaults and your current settings will be lost.
SSH Config
You can connect the device remotely and securely to the SSH server to check the device log when the connection to the controller fails. The SSH is enabled by default.
Step 1. Log into the Web GUI of the Festa switch and go to Security > Access Security > SSH Config.
Step 2. Configure the SSH parameters based on your own needs for secure remote management and click Apply.

Questa faq è utile?
Your feedback helps improve this site.


