How to upgrade VIGI VMS and VIGI Config Tool
Contents
Objective
This article provides configuration guide to upgrading VIGI VMS and VIGI Config Tool.
Requirements
- VIGI VMS Local
- VIGI Config Tool
Introduction
This article explains how to upgrade VIGI VMS and VIGI Config Tool.

Configuration
VIGI VMS Local
VIGI VMS Local consists of VMS Service Manager, VMS PC Client and VIGI App. We will introduce how to upgrade VMS Service Manager and VMS PC Client.
VMS Service Manager
Step 1. Open the VMS Service Manager and ensure Basic Service and Media Service are running. Click Open Web Portal.

Step 2. Log in to VIGI VMS. If you don’t have an account, create one first.

Step 3. Download the latest version of the software package. Choose a method below:
- Via pop-up Window
A pop-up will appear when a new version is detected. Click Download.

- Check for Updates
Go to Admin > System Settings, and then click Check for Updates in the VMS Status section. Click Download in the pop-up window.


Manual Download
Visit Download for VIGI VMS | TP-Link to Download the latest software version.

Step 4. Upgrade the VMS. In the pop-up window, click Next.

Step 5. The installation package will be applied.

STEP 6. Click Finish.

VMS PC Client
Step 1. Open the VMS PC Client and log in. Use the same account as the VMS Web Portal or sign up for a TP-Link ID if needed.

Step 2. Download and install the latest software package. The VMS PC Client will be updated automatically along with the VMS Web Portal.
VIGI Config Tool
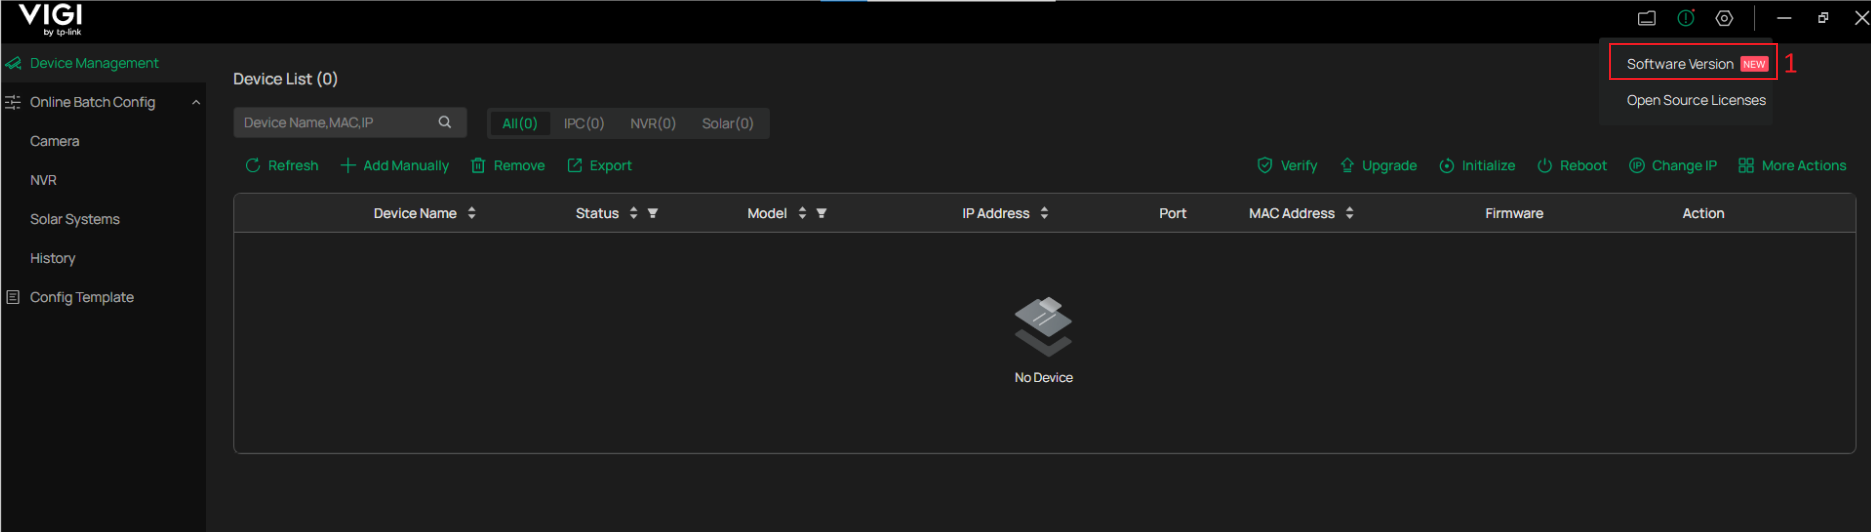
Step 1. Open the VIGI Config Tool.
Step 2. Download the latest version of the software. Choose a method below:
- Check for Update
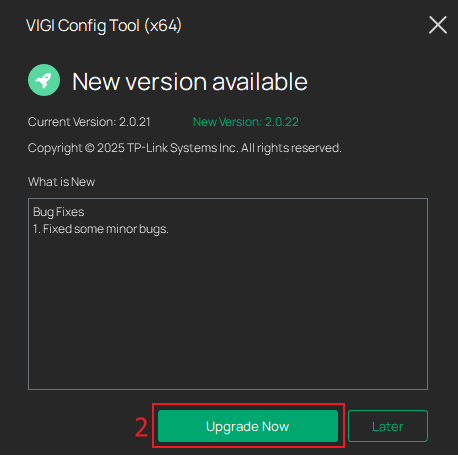
Click the Software version to automatically check for updates. If a new version is available, click Upgrade Now in the pop-up window.
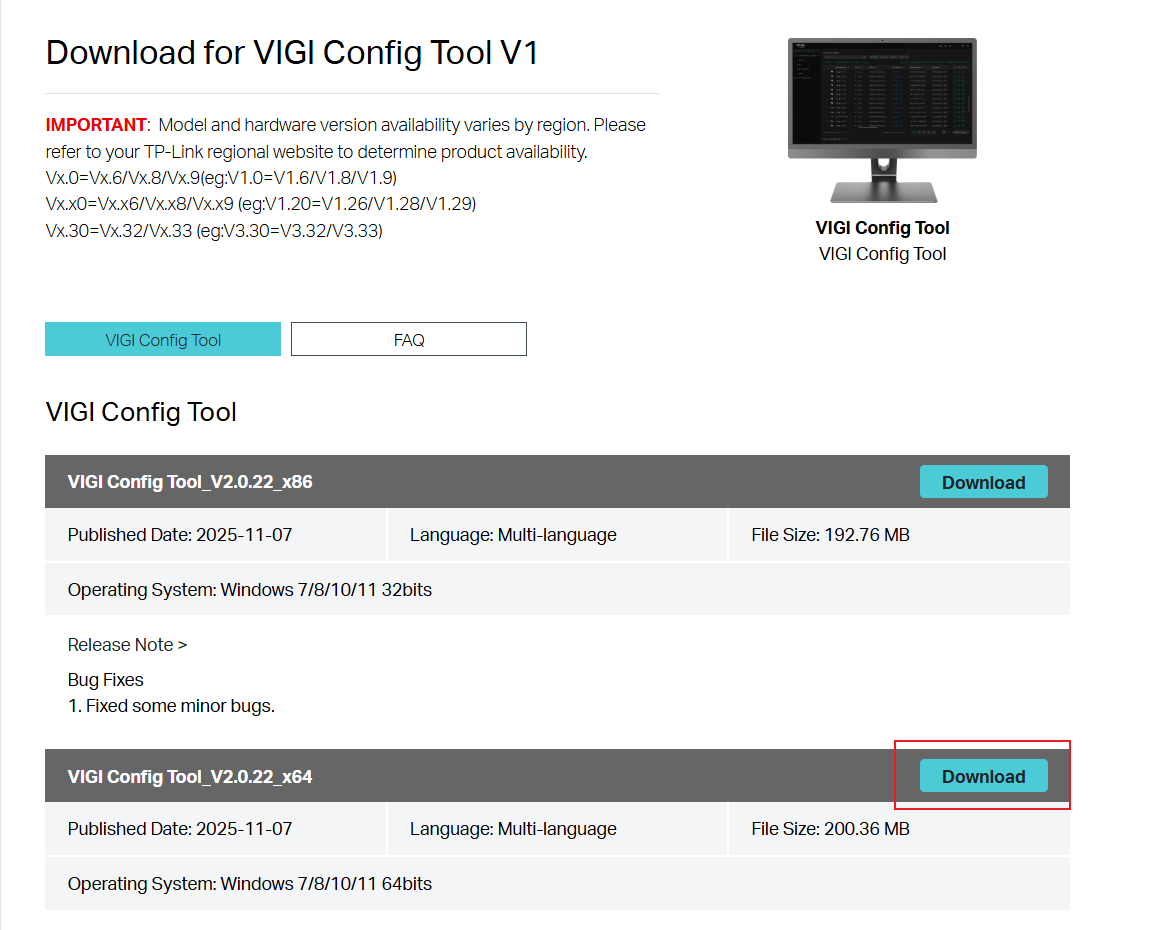
- Manual Update
Visit Download for VIGI Config Tool | TP-Link to download the latest software version.
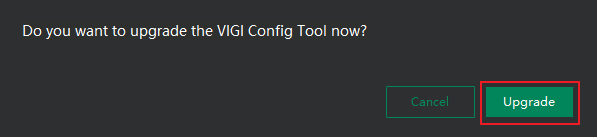
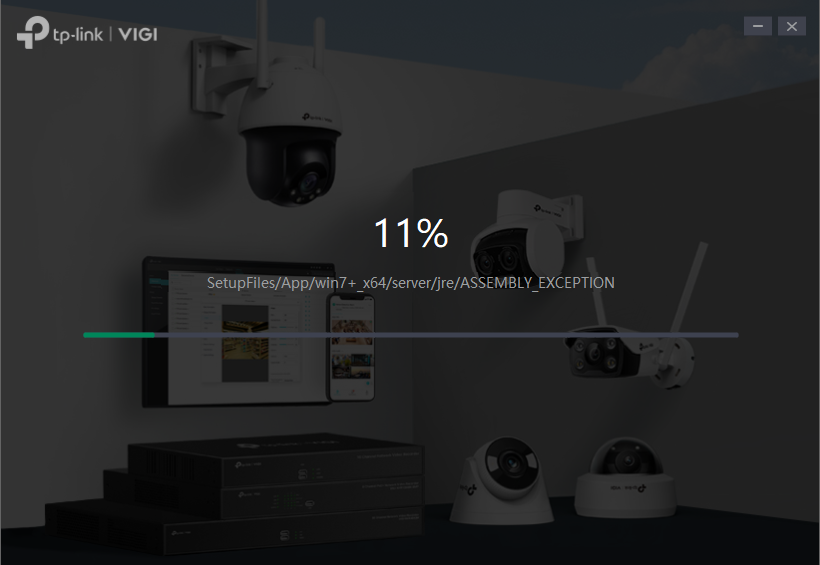
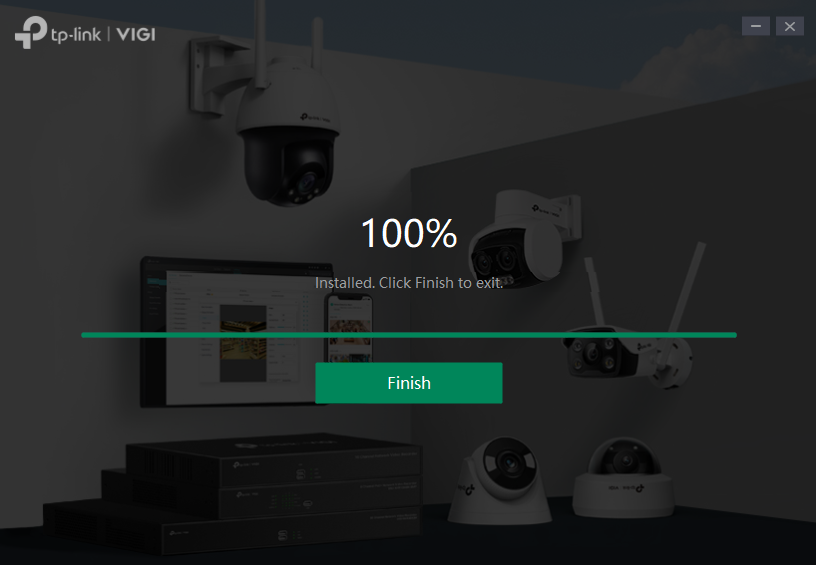
Step 3. Install the downloaded package. The tool will detect the installed package and prompt for an Upgrade.
Verification
VMS Local
VMS Service Manager
- Version Check
Click the icon at the top right corner and click About VIGI VMS to check the Version. If it matches the version you upgraded, the upgrade is successful.


- Upgrade Detection
Go to Admin > System Settings and click Check for Updates. If the version is up-to-date, the upgrade is successful.

VMS PC Client
-
Version Check
Click Software Version to view the current version. If it matches the version you upgraded, the upgrade is successful.

- Upgrade Detection
Click Check for Updates. If the version is up-to-date, the upgrade is successful.

VIGI Config Tool
- Version Check
Click Check for Updates. If the version is up-to-date, the upgrade is successful.
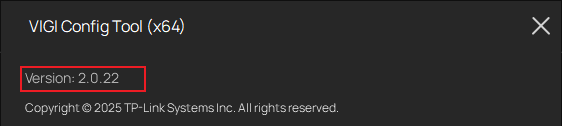
- Upgrade Detection
Click Software Version to view the current version. If it matches the version you upgraded, the upgrade is successful.

Conclusion
You have now successfully upgraded your VMS Service Manager, VMS PC Client and VIGI Config Tool.
Get to know more details of each function and configuration, please go to Download Center | TP-Link to download the manual of your product.
Finden Sie diese FAQ hilfreich?
Mit Ihrer Rückmeldung tragen Sie dazu bei, dass wir unsere Webpräsenz verbessern.


Von United States?
Erhalten Sie Produkte, Events und Leistungen speziell für Ihre Region