What to do when the image of VIGI Camera is misty and hazy on the Night Vision

VIGI C400HP , VIGI C340HPWSM , VIGI C540HPWSM , InSight S345-4G , VIGI C540V , VIGI C540S , VIGI C250 , VIGI C450 , VIGI C330 , VIGI C330I , VIGI C455 , VIGI C440HWSM-W4 , VIGI C230I Mini , VIGI C580-W , VIGI C340 , VIGI C540-4G , VIGI C340-W , VIGI C540 , VIGI C385 , VIGI C420 , VIGI C430I , VIGI C220I , VIGI C345 , VIGI C240I , VIGI C440-W , VIGI C540HWSM-W4 , InSight S445ZI , VIGI C340S , VIGI NK4P-T4425-2T , VIGI C540-W , VIGI C230 , VIGI C350 , VIGI C300P , VIGI C430 , VIGI C355 , InSight S345ZI , VIGI C320I , VIGI C340I , VIGI C580-4G , VIGI C420I , InSight S245ZI , VIGI C340HWSM-W4 , EasyCam C320 , VIGI C300HP , VIGI C340 (VIGI C340HPWSM) , VIGI C240 , VIGI C485 , VIGI C400P , VIGI C440 , VIGI C440I , VIGI C445 , VIGI C230I
Recent updates may have expanded access to feature(s) discussed in this FAQ. Visit your product's support page, select the correct hardware version for your device, and check either the Datasheet or the firmware section for the latest improvements added to your product. Please note that product availability varies by region, and certain models may not be available in your region.
This article aims to optimize the image quality when it looks misty and hazy in night vision mode.
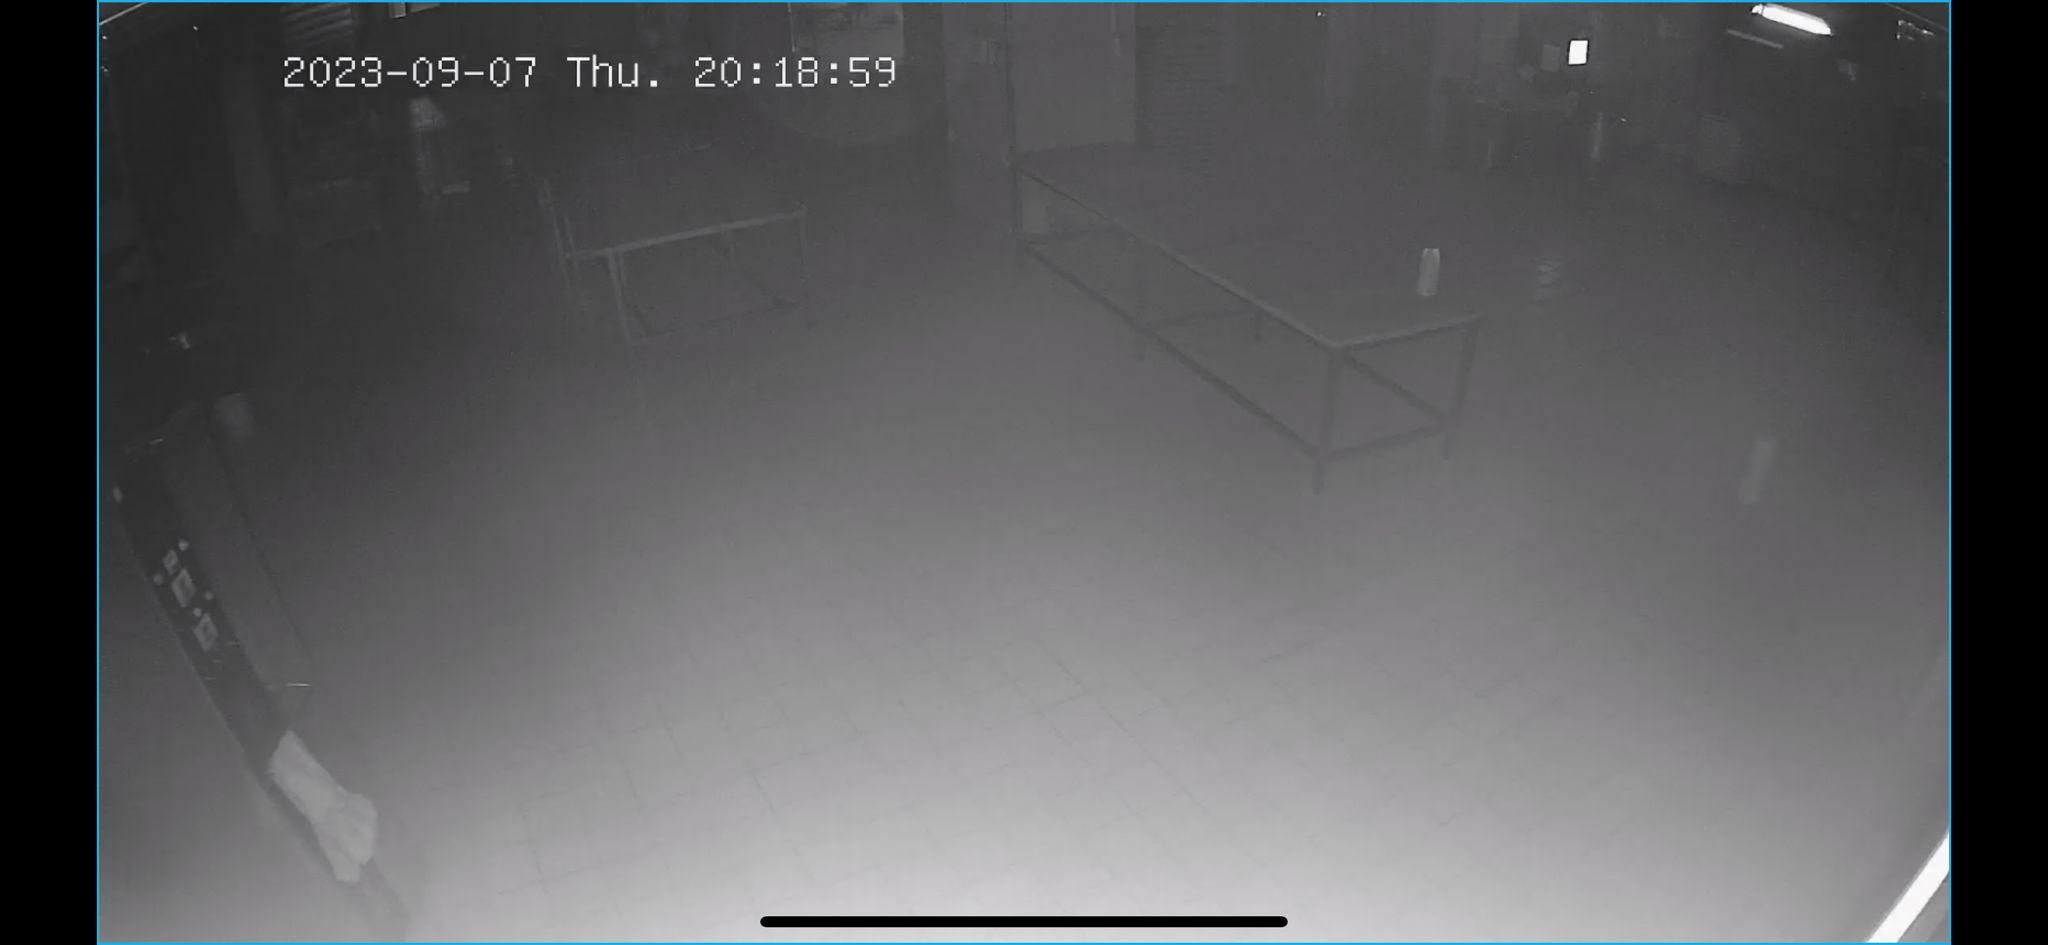
As shown in the above image, sometimes we may notice that the camera display appears to be covered with a layer of silk, or like fingerprints on the lens, making it particularly blurry and difficult to see anything in night vision mode.
Generally speaking, there are several reasons that can cause abnormal image:
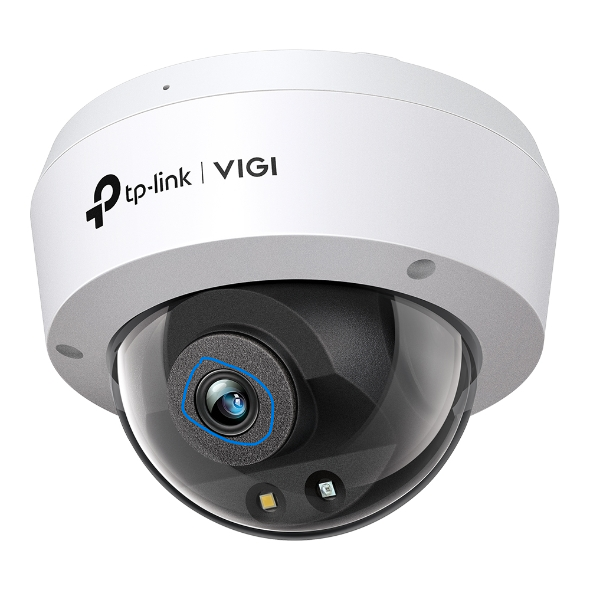
- Dirty lens or dome cover:
There may be fingerprints during the installation, dust, or dirt on the lens or dome cover, causing the image to appear blurry. It is necessary to clean the lens and the inside and outside of the dome cover with a clean cloth to avoid interference.
- Reflection issues:
There may be obvious reflections from objects near the housing or lens, such as metal railings, walls, or the housing itself. Pay attention to the position relationship between the lens and the housing, and make sure to install it correctly according to the Quick Installation Guide (QIG). Also, adjust the camera's installation angle to avoid direct reflection from fixed objects like walls, ensuring proper illumination in the monitoring area.
- Condensation:
In areas with large temperature differences, water mist is prone to condense near the lens, resulting in a blurred image. You can clean it with a clean cloth or add a bit of desiccant inside the camera.
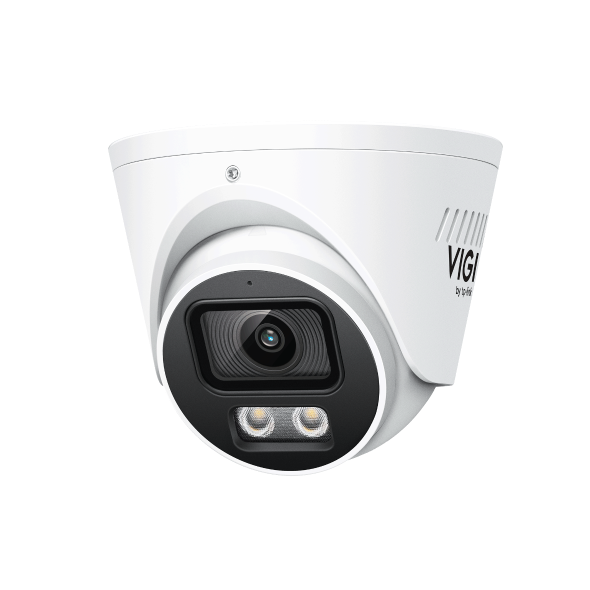
- Loss of lens cushion:
If the lens cushion, as shown in the diagram below, is damaged or lost, which is installed in the housing, then the prototype needs to be repaired.
To optimize the camera performance and ensure clear image quality:
- Regularly clean the lens and dome cover to keep them free from dirt or fingerprints.
- Adjust the camera's position and angle to minimize reflections from surrounding objects.
- Use a desiccant in areas prone to condensation to prevent water mist from affecting image clarity.
- Replace any damaged or missing components, such as the lens cushion, to maintain the camera's functionality.
By following these steps, you can improve the clarity of the camera's display and ensure better surveillance performance.
Finden Sie diese FAQ hilfreich?
Mit Ihrer Rückmeldung tragen Sie dazu bei, dass wir unsere Webpräsenz verbessern.
Was ist Ihr Bedenken bei diesem Artikel?
- Mit Produkt unzufrieden
- Zu kompliziert
- Irreführende Titel
- Betrifft mich nicht
- Zu ungenau
- Was anderes
Vielen Dank.
Vielen Dank für Ihr Feedback.
Von United States?
Erhalten Sie Produkte, Events und Leistungen speziell für Ihre Region
Diese Webseite verwendet Cookies, um die Websitenavigation zu verbessern, Online-Aktivitäten zu analysieren und die bestmögliche Nutzererfahrung auf unseren Webseiten zu haben. Sie können der Verwendung von Cookies jederzeit Widersprechen. Nähere Informationen finden Sie in unseren Datenschutzhinweisen.
Notwendige Cookies
Diese Cookies sind zur Funktion der Website erforderlich und können in Ihren Systemen nicht deaktiviert werden.
TP-Link
SESSION, JSESSIONID, accepted_local_switcher, tp_privacy_base, tp_privacy_marketing, tp_smb-select-product_scence, tp_smb-select-product_scenceSimple, tp_smb-select-product_userChoice, tp_smb-select-product_userChoiceSimple, tp_smb-select-product_userInfo, tp_smb-select-product_userInfoSimple, tp_top-banner, tp_popup-bottom, tp_popup-center, tp_popup-right-middle, tp_popup-right-bottom, tp_productCategoryType
Youtube
id, VISITOR_INFO1_LIVE, LOGIN_INFO, SIDCC, SAPISID, APISID, SSID, SID, YSC, __Secure-1PSID, __Secure-1PAPISID, __Secure-1PSIDCC, __Secure-3PSID, __Secure-3PAPISID, __Secure-3PSIDCC, 1P_JAR, AEC, NID, OTZ
Zendesk
OptanonConsent, __cf_bm, __cfruid, _cfuvid, _help_center_session, _pendo___sg__.<container-id>, _pendo_meta.<container-id>, _pendo_visitorId.<container-id>, _zendesk_authenticated, _zendesk_cookie, _zendesk_session, _zendesk_shared_session, ajs_anonymous_id, cf_clearance
Analyse- und Marketing-Cookies
Analyse-Cookies ermöglichen es uns, Ihre Aktivitäten auf unserer Website zu analysieren, um die Funktionsweise unserer Website zu verbessern und anzupassen.
Die Marketing-Cookies können über unsere Website von unseren Werbepartnern gesetzt werden, um ein Profil Ihrer Interessen zu erstellen und Ihnen relevante Anzeigen auf anderen Websites zu zeigen.
Google Analytics & Google Tag Manager
_gid, _ga_<container-id>, _ga, _gat_gtag_<container-id>
Google Ads & DoubleClick
test_cookie, _gcl_au